Are you tired of the same old cabinet handles that everyone else has? What if you could create unique hardware that perfectly matches your style and gives your cabinets a fresh, personal touch?
Making your own cabinet hardware isn’t as hard as it sounds, and you don’t need fancy tools or skills to get started. In this guide, you’ll discover simple steps to craft custom handles and knobs that will transform your space.
Keep reading, and by the end, you’ll have everything you need to make your cabinets truly one of a kind.
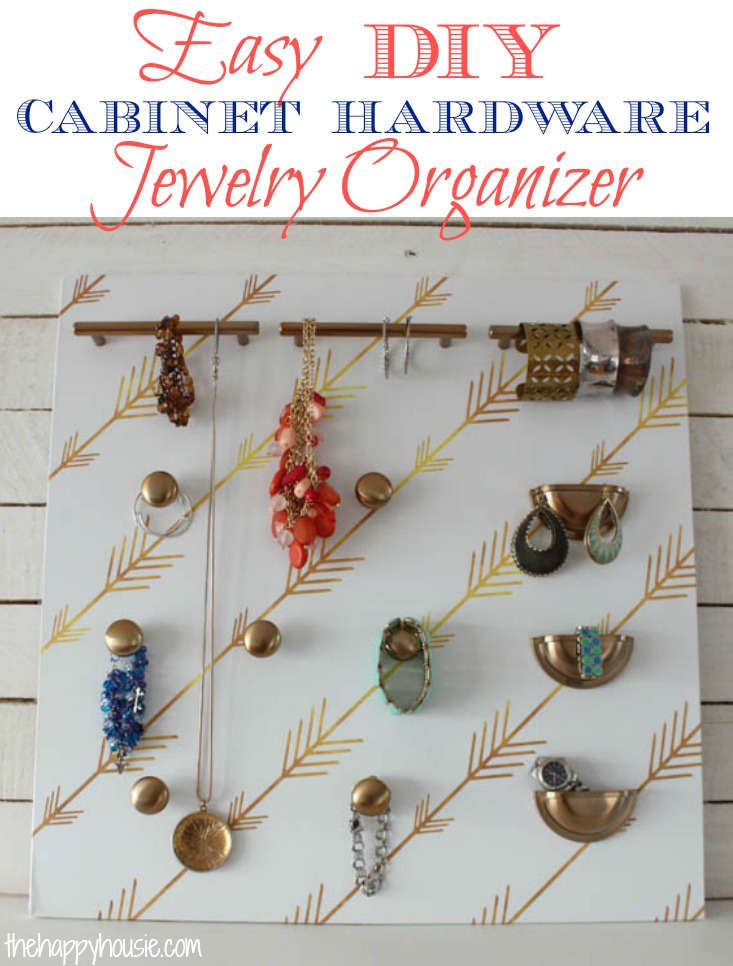
Credit: www.thehappyhousie.com
Choosing Materials
Choosing the right material is key to making cabinet hardware that lasts. The material affects the look, feel, and strength of your hardware. Some materials suit classic styles, while others fit modern designs. Think about how the hardware will be used and the style you want to create. Here are some common options to consider.
Wood Options
Wood is a warm, natural choice for cabinet hardware. It is easy to shape and paint. Soft woods like pine are simple to carve but less durable. Hardwoods like oak and maple last longer and resist dents. Wood can be stained or left natural for different effects. It works well for rustic or farmhouse-style cabinets.
Metal Choices
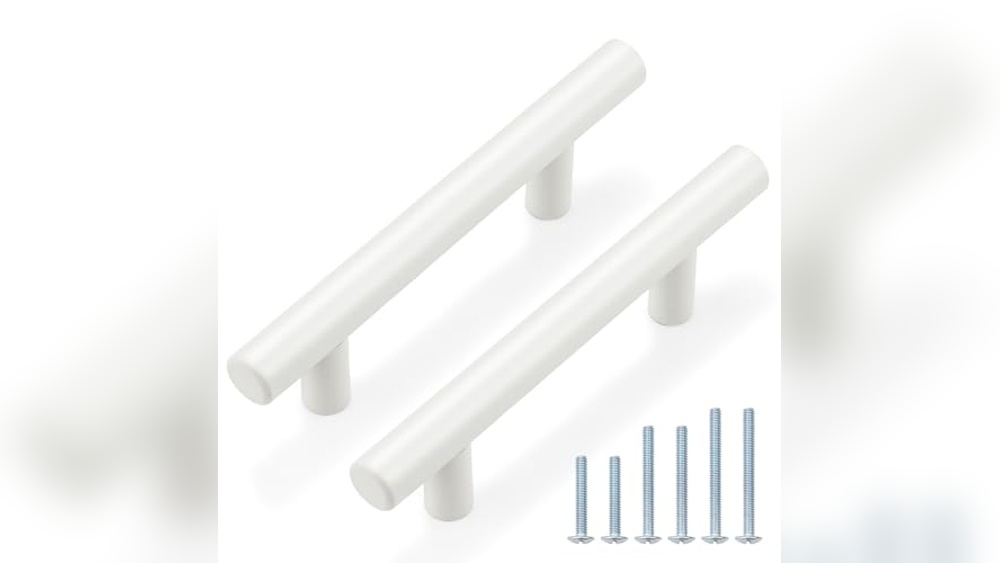
Metal offers strength and a sleek look. Popular metals include brass, stainless steel, and bronze. Brass has a classic, shiny finish that ages beautifully. Stainless steel is tough and resists rust, perfect for kitchens. Bronze gives a vintage feel with its dark tones. Metal hardware fits modern and traditional styles alike.
Creative Alternatives
Explore unique materials to make your hardware stand out. Ceramic knobs add color and pattern. Glass pulls create a delicate, elegant touch. Leather straps bring softness and texture. Even recycled materials like bottle caps or seashells can work. These options add personality and charm to any cabinet.
Tools You Need
Making your own cabinet hardware requires the right set of tools. These tools help you work safely and achieve a clean, professional look. The tools fall into three main categories: basic hand tools, power tools, and safety gear. Each group plays a key role in the process.
Basic Hand Tools
Start with simple tools you likely have at home. A screwdriver set is essential for assembling parts. Measuring tape or a ruler helps ensure precise cuts and placements. A pencil or marker lets you mark measurements clearly. A small hammer can help with light tapping tasks. A set of pliers is useful for holding and bending metal pieces.
Power Tools
Power tools speed up the work and improve accuracy. A drill with various bits lets you make holes for screws and fasteners. A jigsaw or rotary tool cuts shapes from metal or wood. A sander smooths rough edges for a polished finish. Use clamps to hold materials steady during cutting or drilling. These tools save time and create better results.
Safety Gear
Protect yourself during the project with proper safety gear. Safety glasses shield your eyes from flying debris. Gloves protect your hands from sharp edges and splinters. Ear protection reduces noise from loud power tools. A dust mask prevents inhaling fine particles. Wearing the right gear keeps you safe and comfortable throughout the process.
Design Ideas
Designing your own cabinet hardware allows you to add a personal touch to your furniture. It can be simple or detailed. The style you choose can change the whole look of your cabinets. Here are some ideas to inspire your design process.
Simple Shapes
Simple shapes like circles, squares, and rectangles work well for cabinet hardware. These shapes are easy to make and fit most styles. They give a clean and modern look. You can create pulls or knobs with smooth edges. Simple shapes also make your cabinets look neat and organized.
Decorative Patterns
Decorative patterns add charm and detail to your hardware. You can carve or engrave lines, dots, or floral designs. Patterns can be geometric or organic. They create interest and make your cabinets stand out. Choose patterns that match your room’s style for a cohesive look.
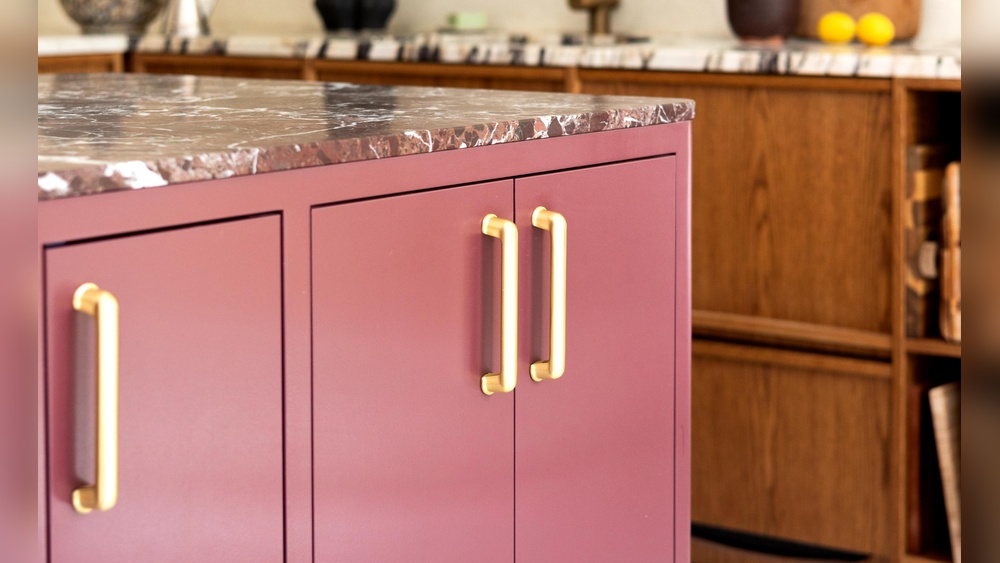
Customizing Finishes
Finishes change the feel of your hardware. Try painting, staining, or polishing for different effects. Matte finishes look soft and subtle. Shiny finishes catch the eye and add brightness. You can mix metals like bronze, silver, or gold for a unique style. Customized finishes make your hardware truly yours.

Credit: www.ksrenovationgroup.com
Step-by-step Crafting
Creating your own cabinet hardware can be a fun and rewarding project. It lets you add a personal touch to your furniture. Follow these simple steps to craft hardware that fits perfectly and looks great.
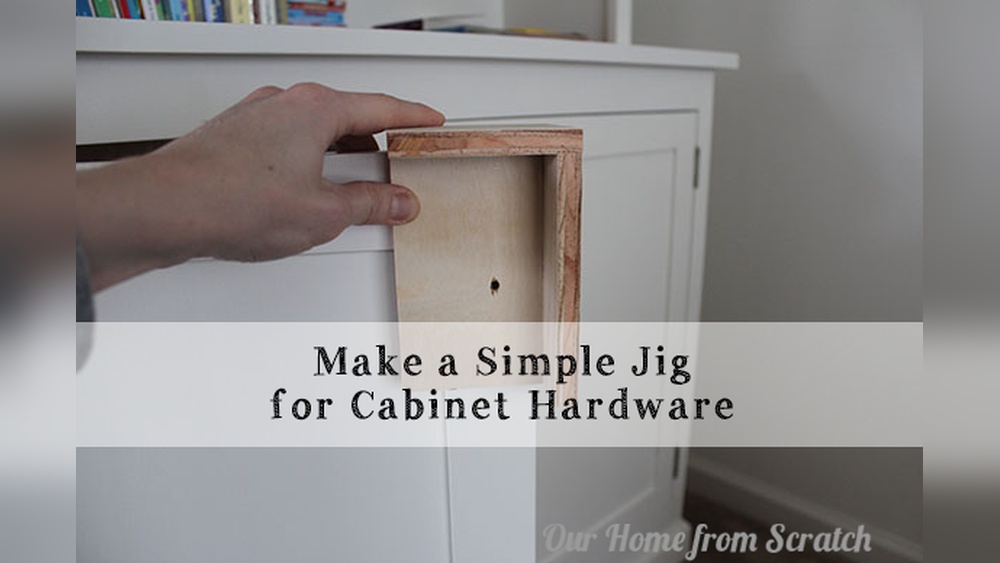
Measuring And Marking
Start by measuring the size of your cabinet doors or drawers. Use a ruler or measuring tape for accuracy. Mark the spots where the hardware will attach. Double-check your marks to avoid mistakes. Precise measuring ensures your hardware fits well.
Cutting And Shaping
Choose the material for your hardware, like wood, metal, or plastic. Cut the pieces carefully using the right tools. Shape the edges smooth with sandpaper or a file. Take your time to get clean, neat shapes. Well-shaped pieces look professional and feel good to touch.
Assembling Pieces
Put your cut and shaped parts together. Use glue, screws, or small nails to join them. Make sure everything fits tightly and holds firm. Let glue dry fully before moving to the next step. Strong assembly makes your hardware last longer and work better.
Finishing Touches
Finishing touches bring out the true beauty of cabinet hardware. These final steps make the hardware smooth, attractive, and long-lasting. Proper finishing also helps protect the material from wear and tear. Taking time with these details ensures your project looks professional and polished.
Sanding For Smoothness
Start by sanding the hardware with fine-grit sandpaper. This removes rough spots and imperfections. Sand in gentle, even strokes to avoid scratches. Smooth surfaces allow paint or stain to stick better. Wipe off dust with a clean cloth before moving to the next step.
Painting And Staining
Choose paint or stain that suits your cabinet style. Paint gives a solid, colorful finish. Stain highlights the wood’s natural grain and color. Apply thin, even coats to avoid drips. Let each coat dry completely for best results. Multiple coats may be needed for full coverage.
Sealing And Protecting
Seal the hardware to protect it from moisture and damage. Use a clear varnish, polyurethane, or wax. This layer adds shine and strength. Apply with a brush or cloth in smooth strokes. Allow the sealant to dry fully before handling the hardware. Proper sealing extends the life of your work.

Credit: decorcabinets.com
Installation Tips
Installing cabinet hardware correctly makes a big difference in both look and use. Follow these tips to place and attach your hardware with care. Small steps can help you avoid mistakes and keep your cabinets working smoothly.
Proper Placement
Measure carefully before drilling any holes. Mark spots with a pencil to keep them even. Use a template or ruler for consistent placement across all doors and drawers. Placing handles too high or low can feel awkward.
Most cabinet handles go near the edge, about two to three inches from the corner. This position makes opening easy and looks balanced. Check that your marks line up on every piece.
Attaching Hardware Securely
Use the right screws for your cabinet material. Wood screws work best for solid wood, while machine screws suit metal or glass fronts. Tighten screws firmly but avoid overtightening.
Loose hardware can wobble or fall off over time. Use a drill with a clutch setting to control screw depth. Add a washer if needed to protect the surface from damage.
Adjusting For Functionality
Test each handle or knob after installation. Make sure it feels comfortable and opens the door smoothly. Adjust screws slightly if the hardware sits too loose or too tight.
Check that doors and drawers close fully without catching on the hardware. Sometimes a small shift in position improves ease of use. Take your time to get the fit just right.
Troubleshooting Common Issues
Troubles with cabinet hardware can slow down your project. Small problems often cause big headaches. Fixing these issues early saves time and effort.
Here are common problems and easy ways to solve them. Focus on alignment, loose fixtures, and durability. These tips keep your hardware working well.
Fixing Alignment Problems
Misaligned handles and knobs look uneven and feel wrong. Check screw holes before attaching hardware. Use a ruler or level to measure spacing. Adjust screws slowly until pieces line up straight. Mark holes with a pencil for accuracy. Tighten screws just enough to hold parts firm.
Handling Loose Fixtures
Loose knobs or pulls can wobble or fall off. Tighten screws with a proper screwdriver. Avoid over-tightening to prevent damage. Use thread locker or small washers if screws slip. Replace stripped screws with slightly larger ones. Test fixtures by gently pulling to check stability.
Maintaining Durability
Good hardware lasts long and looks fresh. Clean regularly with mild soap and water. Avoid harsh chemicals that can damage finishes. Dry hardware after cleaning to stop rust. Check screws and tighten them every few months. Replace worn parts quickly to keep cabinets safe.
Frequently Asked Questions
What Materials Are Best For Making Cabinet Hardware?
Metal, wood, and acrylic are popular materials. Metal offers durability, wood provides a classic look, and acrylic allows modern designs. Choose based on style, budget, and function.
How Do I Install Homemade Cabinet Hardware?
Measure and mark screw holes accurately. Drill pilot holes to prevent splitting. Secure hardware with screws and ensure it aligns properly for smooth use.
Can I Customize Cabinet Hardware Designs At Home?
Yes, you can personalize hardware using paints, stains, or unique shapes. Customizing adds a personal touch and can match your décor perfectly.
What Tools Are Needed To Make Cabinet Hardware?
Basic tools include a drill, screwdriver, measuring tape, and saw. For intricate designs, consider a Dremel tool or sander for smooth finishes.
Conclusion
Making cabinet hardware can be simple and fun. You only need a few tools and materials. Follow the steps carefully and take your time. Personalize your cabinets with unique handles or knobs. This small change can refresh any room’s look.
Enjoy the satisfaction of creating something useful. Try different styles to match your home’s design. Keep practicing to improve your skills. Handmade hardware adds charm and character to furniture. Now, you have the know-how to start your own project.