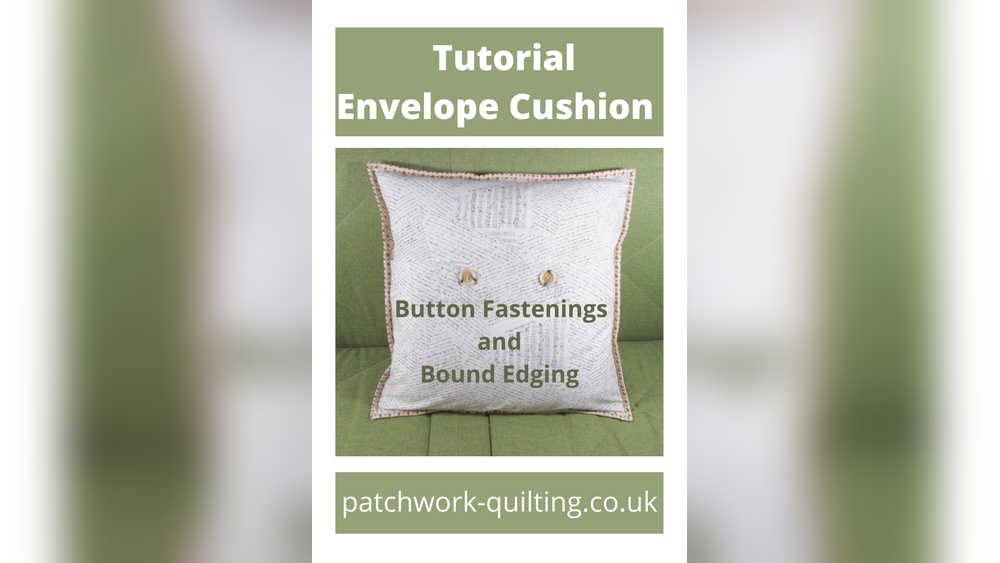
Are you looking to add a personal touch to your home decor? Making your own cushion cover with button fastenings is easier than you think.
Not only will you save money, but you’ll also create something unique that reflects your style. Imagine the satisfaction of seeing your handmade cushion brighten up your space. In this guide, you’ll discover simple steps and handy tips to make a beautiful, durable cushion cover with buttons that anyone can follow.
Ready to transform your cushions and impress your guests? Let’s get started!

Credit: www.instructables.com
Materials Needed
Gathering the right materials makes sewing a cushion cover easier. Each item helps create a neat, durable cover with button fastenings.
Use quality tools and fabric for the best results. Below is a list of essentials for this project.
Fabric
Choose cotton or linen for comfort and strength. Pick a pattern or color that fits your room style.
Buttons
Select buttons that match your fabric in size and color. Four to six buttons usually work well for a cushion cover.
Thread
Use strong thread that matches your fabric color. Polyester thread is durable and easy to sew with.
Sewing Needle
Pick a needle suitable for your fabric weight. A sharp needle helps stitch cleanly through thick layers.
Measuring Tape
Measure fabric and cushion size accurately. This tool ensures your cover fits perfectly.
Scissors
Use sharp fabric scissors for clean cuts. Avoid dull scissors to prevent frayed edges.
Pins
Hold fabric pieces together with pins before sewing. This keeps the fabric from shifting.
Sewing Machine (optional)
A machine speeds up sewing and gives strong seams. Hand sewing works well if a machine is not available.
Choosing Fabric And Buttons
Choosing the right fabric and buttons is key to making a great cushion cover with button fastenings. The fabric sets the look and feel. Buttons add style and function. Both should work well together to create a durable and attractive cover.
Choosing The Right Fabric
Select fabric that suits the room’s style and cushion use. Cotton is soft and easy to sew. Linen feels natural and looks fresh. Denim or canvas works for a rugged look. Pick a fabric that is strong enough for regular use.
Check fabric thickness. Thick fabrics may need bigger needles and stronger thread. Thin fabrics may need interfacing for strength. Choose colors and patterns that match your decor. Solid colors work well with patterned buttons.
Selecting Buttons For Fastenings
Pick buttons that fit the buttonholes easily. Too small buttons can fall off. Too large buttons can be hard to close. Look for buttons with smooth edges to avoid fabric damage.
Choose button materials that match the fabric style. Wooden buttons add warmth. Metal buttons give a modern touch. Plastic buttons come in many shapes and colors for variety. Make sure buttons are strong and easy to sew.
Measuring And Cutting Fabric
Measuring and cutting fabric is the first step to making a cushion cover with button fastenings. This step ensures the cover fits the cushion perfectly. Accurate measurements help avoid fabric waste and make sewing easier.
Take your time to measure carefully. Use a ruler or measuring tape for precision. Mark the fabric before cutting to keep lines straight. Cutting fabric correctly saves effort in later steps.
Measure The Cushion Size
Start by measuring the width and height of your cushion. Note these numbers down. Add extra space for seam allowance, usually about one inch on each side. This space allows the fabric to be sewn together without shrinking the cover size.
Mark The Fabric
Lay the fabric flat on a clean surface. Use tailor’s chalk or a pencil to mark the measurements. Draw straight lines for cutting. Double-check your marks to avoid mistakes. This step guides you for a neat and accurate cut.
Cut The Fabric
Use sharp fabric scissors for clean edges. Cut along the marked lines carefully. Avoid lifting the fabric too much to prevent shifting. Cut two pieces: one for the front and one for the back of the cushion cover. The back piece will have extra length to hold the buttons.

Credit: www.instructables.com
Sewing The Main Cover
Sewing the main cover is the key step in making your cushion cover with button fastenings. This part shapes the cushion and holds everything together. Follow each step carefully to get neat and strong seams. Take your time to measure and cut the fabric correctly. Accurate sewing makes the cover look professional and last longer.
Creating The Front Panel
Start by cutting one piece of fabric for the front panel. Use the size of your cushion plus extra for seam allowance. Iron the fabric to remove wrinkles. Pin the edges to keep the fabric flat. Sew around the edges with a straight stitch. Leave a small seam allowance for neatness. Make sure the stitches are even and straight. This panel will be the visible side of your cushion cover.
Making The Back Panels With Buttonholes
Cut two pieces of fabric for the back panels. These panels will overlap to close the cushion cover. Mark where the buttonholes will go on one panel. Use a buttonhole foot on your sewing machine for precise holes. Sew the buttonholes carefully, making sure they fit the buttons well. Attach buttons to the other back panel matching the buttonholes. Sew the two back panels to the front panel along the edges. This creates a neat opening with button fastenings for easy removal.
Attaching Buttons
Attaching buttons to a cushion cover is a simple step that adds both style and function. Buttons hold the cover securely and make it easy to remove for washing. This section explains how to sew buttons properly on your cushion cover.
Choosing The Right Buttons
Select buttons that match your fabric and size of the cushion. Large buttons work well for thick fabrics. Small buttons suit thin or delicate materials. Make sure buttons have strong shanks or holes for sewing.
Marking Button Placement
Lay the cushion cover flat. Use a fabric marker or chalk to mark button spots. Space buttons evenly along the opening edge. Check alignment by folding the cover closed before sewing.
Sewing Buttons Securely
Thread a needle with strong thread matching your fabric color. Knot the thread end tightly. Push the needle through the fabric from the back at the marked spot. Pass the needle through the button holes several times. Keep stitches tight but avoid puckering the fabric. Finish by tying a strong knot on the inside.
Testing Button Fastenings
Close the cushion cover using the buttons. Check that the buttons hold the fabric firmly. Make sure the cover opens and closes easily without strain. Adjust stitches if buttons feel loose or fabric puckers.
Finishing Touches
Finishing touches give your cushion cover a neat, professional look. They make sure your work lasts longer and looks great on your sofa or chair. Focus on small details to improve the overall quality of your cover.
Pressing Seams
Pressing seams flattens the fabric and makes stitching less visible. Use a warm iron, not too hot for your fabric type. Press seams open or to one side, depending on your pattern. This step helps your cushion cover keep its shape over time.
Inserting The Cushion
Carefully insert the cushion into the cover through the button opening. Smooth out corners and edges to avoid lumps. Make sure the cushion fits snugly for a clean look. Button up the cover to finish your project neatly.
Tips For Customization
Customizing your cushion cover with button fastenings makes it unique. It lets you match your room style and personal taste. Small changes can create big effects on the look and feel of your cushion. These tips help you add personality and charm to your project.
Using Different Button Styles
Buttons come in many shapes, sizes, and colors. Choose buttons that match your fabric and room decor. Wooden buttons add a natural, warm touch. Metal buttons give a modern or vintage look. Bright buttons create a fun, playful feel. Mix button styles for an interesting design. Make sure buttons fit well through the buttonholes. Strong buttons last longer and hold the cover better.
Adding Embellishments
Embellishments make cushion covers stand out. Sew on lace or ribbon along the edges for softness. Add small fabric flowers or patches for extra detail. Use fabric paint or markers for custom designs. Attach beads or sequins carefully for sparkle. Keep embellishments secure to avoid damage during washing. These small touches turn simple covers into art pieces.
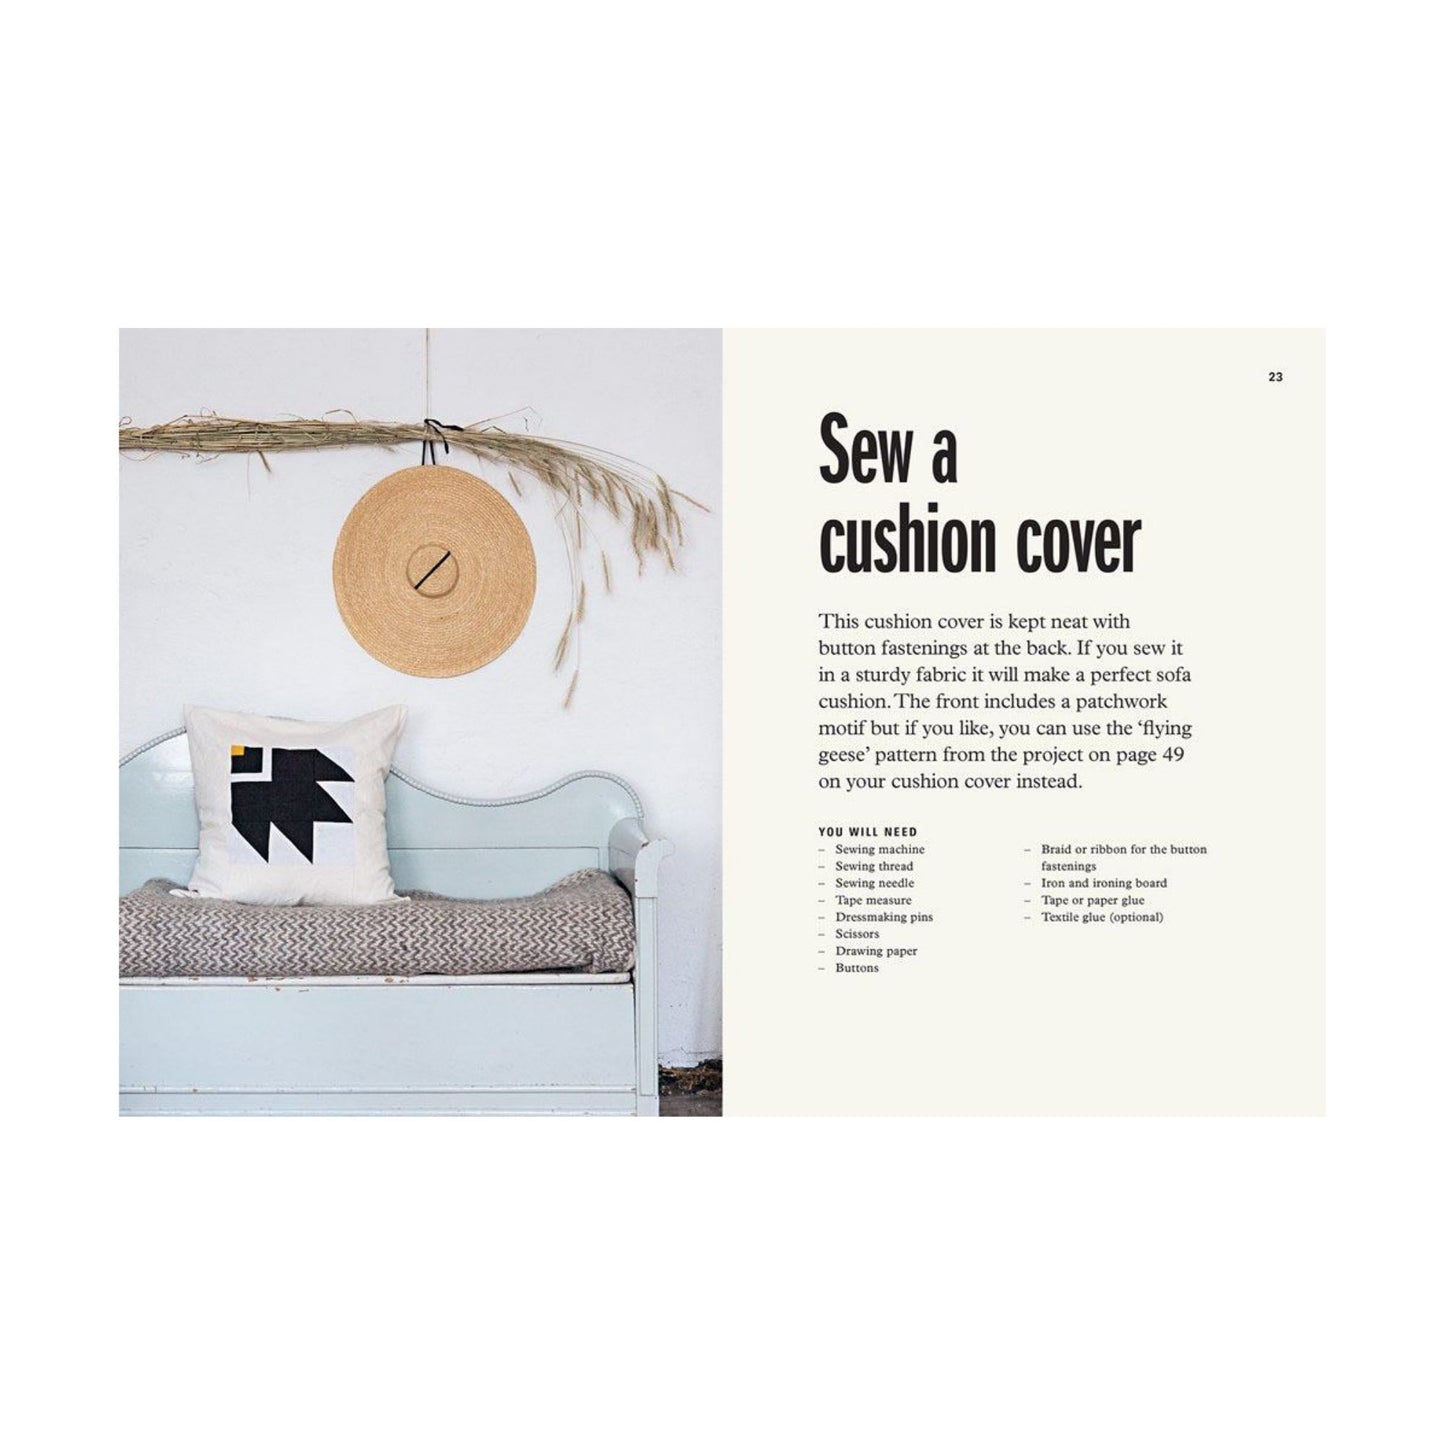
Credit: www.harbourlane.com
Frequently Asked Questions
How Do I Sew Button Fastenings On A Cushion Cover?
To sew button fastenings, mark button andhole positions accurately. Use strong thread and reinforce stitching for durability. Attach buttons securely and test closure before finishing.
What Fabric Is Best For Cushion Covers With Buttons?
Choose medium-weight fabrics like cotton, linen, or canvas. These materials hold buttons well and resist wear. Avoid very thin or stretchy fabrics for better durability.
How Many Buttons Are Needed For A Cushion Cover?
Typically, 2 to 4 buttons work well. Space them evenly along the opening for a neat look. Adjust quantity based on cushion size and style.
Can I Use Decorative Buttons For Cushion Covers?
Yes, decorative buttons add style and personality. Ensure they are sturdy and the right size. Avoid overly large or sharp buttons for safety.
Conclusion
Making a cushion cover with button fastenings is simple and fun. You only need a few materials and basic sewing skills. Button fastenings add a neat, easy way to open and close the cover. This method lets you change cushion covers often, keeping your space fresh.
Try different fabrics and buttons to match your style. Enjoy creating cozy, personalized cushions for your home. Keep practicing, and your sewing will improve quickly. Small projects like this bring joy and creativity to everyday life. Give it a go and see the results yourself!