Are your cabinet doors looking a bit outdated or hard to open? Replacing the hardware can give your cabinets a fresh, new look without spending a fortune.
You might think it’s complicated, but changing cabinet door hardware is easier than you expect. With just a few simple steps, you can upgrade your space and add a personal touch. Keep reading, and you’ll discover how to replace your cabinet door hardware quickly and confidently—no special tools or skills needed.
Your cabinets will thank you!
Tools And Materials Needed
Replacing cabinet door hardware is a simple task with the right tools and materials. Knowing what you need helps the job go smoothly and fast. This section covers the essential items for your project. Prepare well to avoid delays and extra trips to the store.
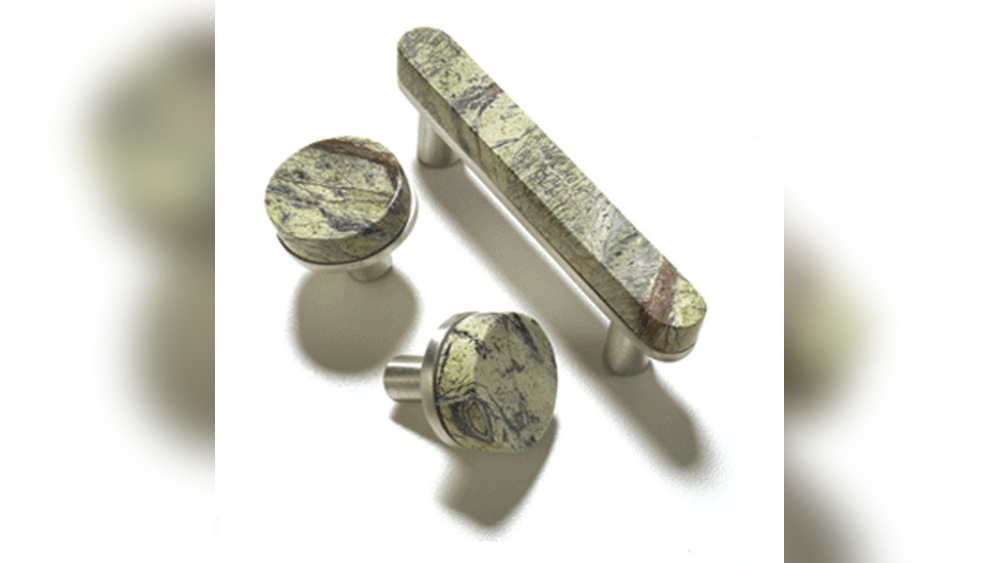
Selecting Replacement Hardware
Choose hardware that matches your cabinet style and size. Measure the old knobs or handles carefully. Pick screws that fit the hardware and cabinet thickness. Look for durable materials like metal or strong plastic. Match the finish to your kitchen or bathroom décor. Small details make a big difference in appearance.
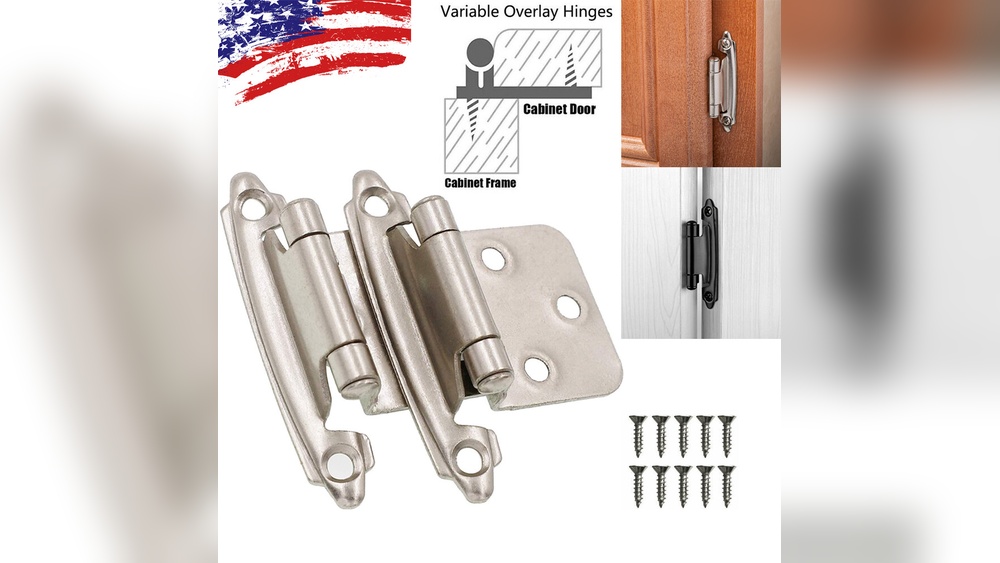
Gathering Essential Tools
Collect basic tools before starting the replacement. A screwdriver set with both flat and Phillips heads is vital. Have a drill handy for removing stuck screws or making new holes. Use a tape measure to confirm hardware size and placement. A pencil helps mark new drill points. Keep a level nearby to align handles straight. A small container for screws prevents loss during the work.
Credit: www.ebay.com
Removing Old Hardware
Removing old cabinet door hardware is the first step in updating your kitchen or bathroom. It helps prepare the surface for new handles and knobs. Taking off the old hardware carefully prevents damage to your cabinets. This makes the next steps easier and ensures a clean look.
Follow these simple steps to remove the old hardware efficiently. Have the right tools ready and work patiently for best results.
Unscrewing Handles And Knobs
Start by opening the cabinet door or drawer. Find the screws holding the handle or knob from the inside. Use a screwdriver that fits the screw head well. Turn the screwdriver counterclockwise to loosen the screws. Keep a firm grip on the hardware to stop it from falling.
Once the screws are loose, pull the handle or knob away gently. Place the screws and hardware in a small container. This keeps them safe if you want to reuse or recycle them.
Dealing With Stubborn Screws
Sometimes screws are stuck due to rust or paint. Spray a little WD-40 or a similar lubricant on the screw. Wait a few minutes to let it soak in. Try unscrewing again with steady pressure.
If the screw still won’t budge, use a rubber band. Place the band between the screwdriver and screw head. This adds extra grip and prevents slipping. For very tight screws, try a manual impact driver or pliers carefully.
Preparing The Cabinet Door
Preparing the cabinet door is a key step before changing the hardware. It helps the new handles fit well and look neat. Taking time to clean and fix the door makes the new hardware last longer and work better.
Cleaning The Surface
Start by wiping the cabinet door with a soft cloth. Use warm water mixed with mild soap. This removes dust, grease, and old dirt. Avoid soaking the wood; a damp cloth is enough.
Dry the surface with a clean towel. This step ensures paint or finish will not peel. A clean door helps the new hardware stick and look fresh.
Filling Old Screw Holes
Old screw holes can make the new hardware loose or uneven. Fill these holes with wood filler or putty. Use a small putty knife to press the filler inside.
Let the filler dry fully, usually about 30 minutes. Then, sand the area smooth with fine sandpaper. This creates a flat surface for the new screws.

Credit: www.g-locbrakes.com
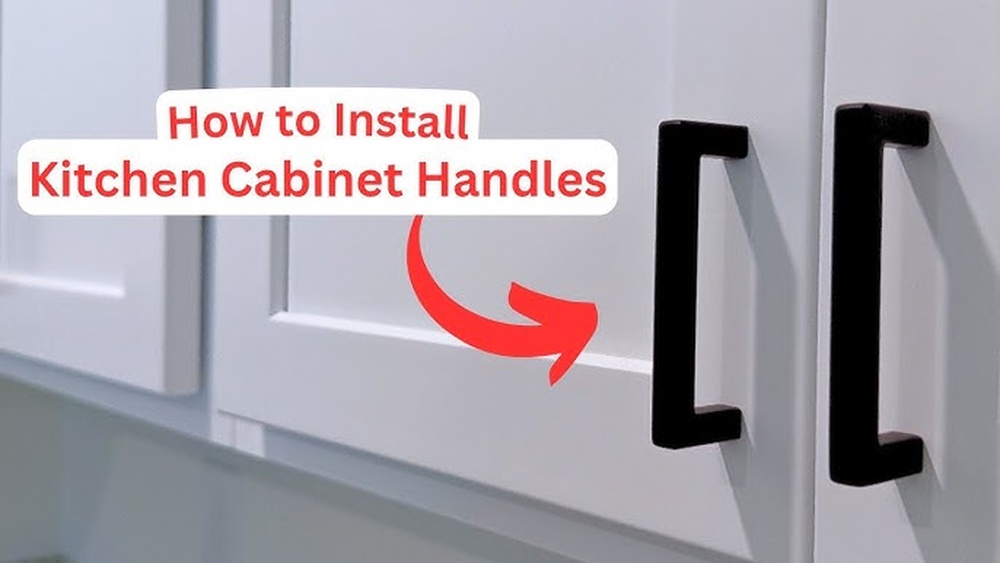
Installing New Hardware
Installing new hardware on cabinet doors can refresh your kitchen’s look quickly. It also improves how your cabinets feel and function. The process takes only a few steps. Careful alignment and secure attachment make all the difference. Follow these tips to get a neat, lasting result.
Aligning New Handles And Knobs
Start by holding the new handle or knob in place. Check that it lines up with the existing holes. Use a pencil to mark any new holes if needed. Measure twice to avoid mistakes. Keep the hardware straight and even for a professional look. Consistent spacing helps maintain balance across all doors.
Securing Hardware Properly
Use the correct screws supplied with your hardware. Insert screws through the door from inside out. Tighten them by hand first to avoid stripping. Then, use a screwdriver to secure firmly. Do not overtighten; this can damage the door or hardware. Check that the handle or knob does not wiggle. A tight fit ensures long-lasting use and comfort.
Tips For Choosing Hardware Styles
Choosing the right hardware style for your cabinet doors can change the entire look of your kitchen or bathroom. Hardware styles set the tone and match your room’s decor. Picking the best style requires thinking about more than just color. It involves matching finishes and checking comfort and function. These tips help you choose hardware that fits your cabinets perfectly.
Matching With Cabinet Finish
Hardware should blend well with your cabinet finish. Light wood cabinets look great with brushed nickel or chrome. Dark wood pairs well with oil-rubbed bronze or black hardware. Painted cabinets offer more flexibility. Choose hardware that contrasts to make it stand out. Or pick a similar tone for a subtle look. Matching metal tones in your kitchen helps create a balanced feel.
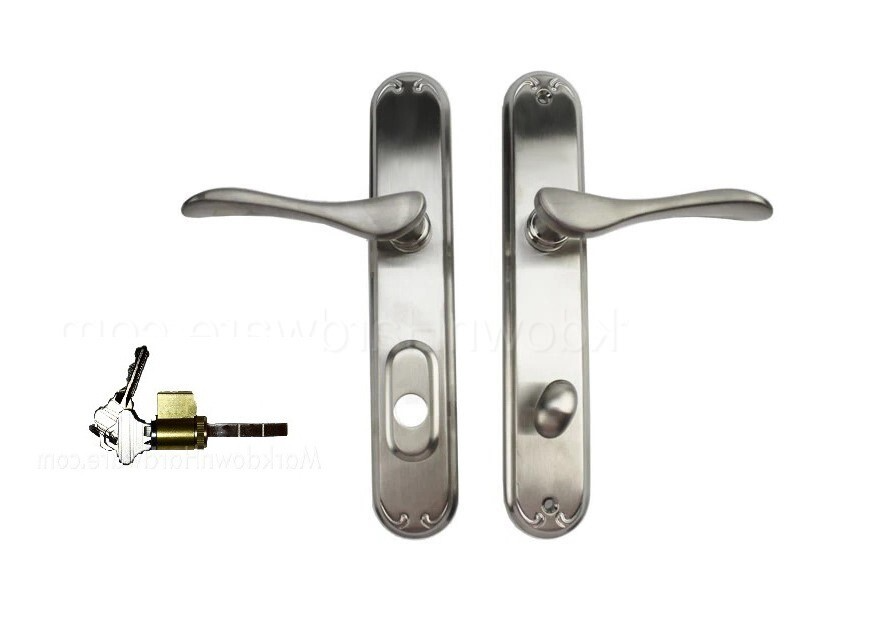
Considering Functionality And Comfort
Hardware must be easy to use every day. Handles should fit your hand comfortably. Avoid sharp edges or small knobs that are hard to grip. Larger pulls work well on heavy cabinet doors. Think about how often you open each cabinet. Frequent use needs durable hardware that stays secure. Comfort and ease make your kitchen work better and feel nicer.

Credit: www.gilgharda.com
Maintaining Your New Hardware
Maintaining your new cabinet door hardware keeps it looking fresh and working well. Proper care helps avoid damage and wear over time. Simple steps protect your investment and extend its life.
Regular Cleaning Tips
Wipe hardware with a soft, damp cloth often. Avoid harsh chemicals that can damage finishes. Use mild soap and water for sticky spots. Dry hardware completely to stop water marks.
Preventing Wear And Tear
Do not force cabinet doors open or closed. Tighten screws regularly to keep hardware secure. Avoid hanging heavy items on handles. Use gentle motion to prevent scratches and dents.
Frequently Asked Questions
How Do I Remove Old Cabinet Door Hardware?
To remove old hardware, unscrew the existing knobs or handles using a screwdriver. Keep screws safely for reuse or replacement. Gently pull the hardware off the door. Clean the area before installing new hardware for better adhesion and appearance.
What Tools Are Needed To Replace Cabinet Hardware?
You need a screwdriver, measuring tape, pencil, and drill (if new holes are required). A level helps ensure even placement. Having a hardware template can speed up alignment and hole marking. These tools make the replacement process smooth and accurate.
How To Measure For New Cabinet Door Hardware?
Measure the distance between existing screw holes (center to center). This is the “back-to-back” measurement. If holes don’t match new hardware, you may need to drill new ones. Accurate measuring ensures your new hardware fits perfectly without extra modifications.
Can I Reuse Old Screws When Replacing Hardware?
Yes, if the screws are in good condition and fit the new hardware. Otherwise, use new screws provided with the hardware for better stability. Using the correct length screws prevents damage to cabinet doors and ensures secure attachment.
Conclusion
Replacing cabinet door hardware can refresh your space quickly. Choose hardware that fits your style and cabinet size. Measure carefully to avoid mistakes. Use basic tools and follow simple steps for best results. Take your time to ensure all pieces fit well.
Small changes make a big difference in your kitchen or bathroom. Enjoy the new look and improved function of your cabinets. This project saves money and adds personal touch. Give it a try and see the change yourself!