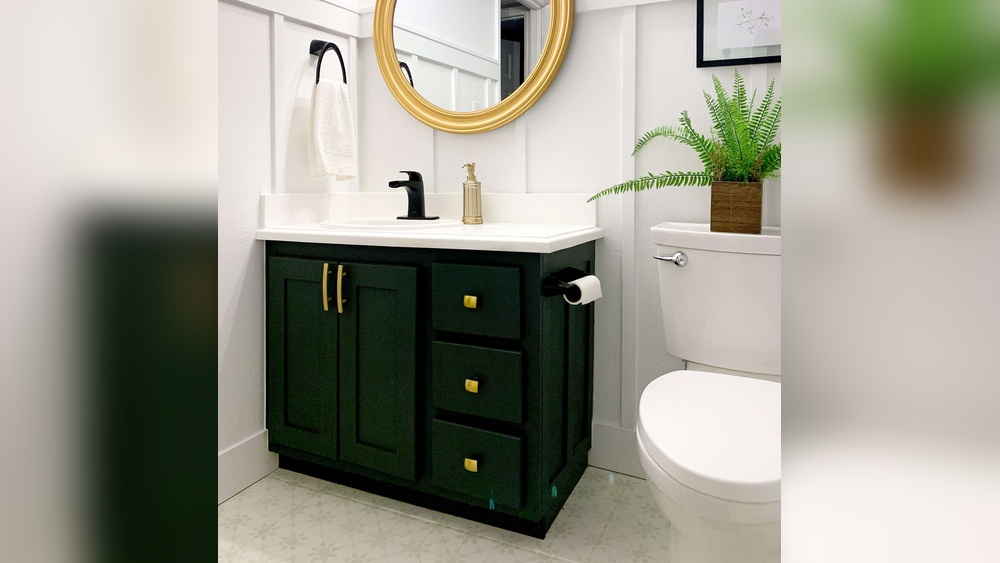
Are your bathroom cabinets looking dull or outdated? Adding new hardware is one of the easiest and most effective ways to refresh their appearance.
You don’t need to be a DIY expert or spend a lot of money to give your bathroom a stylish upgrade. In this guide, you’ll discover simple steps to choose and install the perfect hardware that fits your style and needs.
Keep reading, and you’ll have the confidence to transform your bathroom cabinets in no time.
Credit: 405cs.com
Choosing The Right Hardware
Choosing the right hardware is key to updating your bathroom cabinets. It can change the look and feel of the entire space. The right handles and knobs make cabinets easier to use and look better. This guide helps you select hardware that fits your style and needs.
Types Of Bathroom Cabinet Hardware
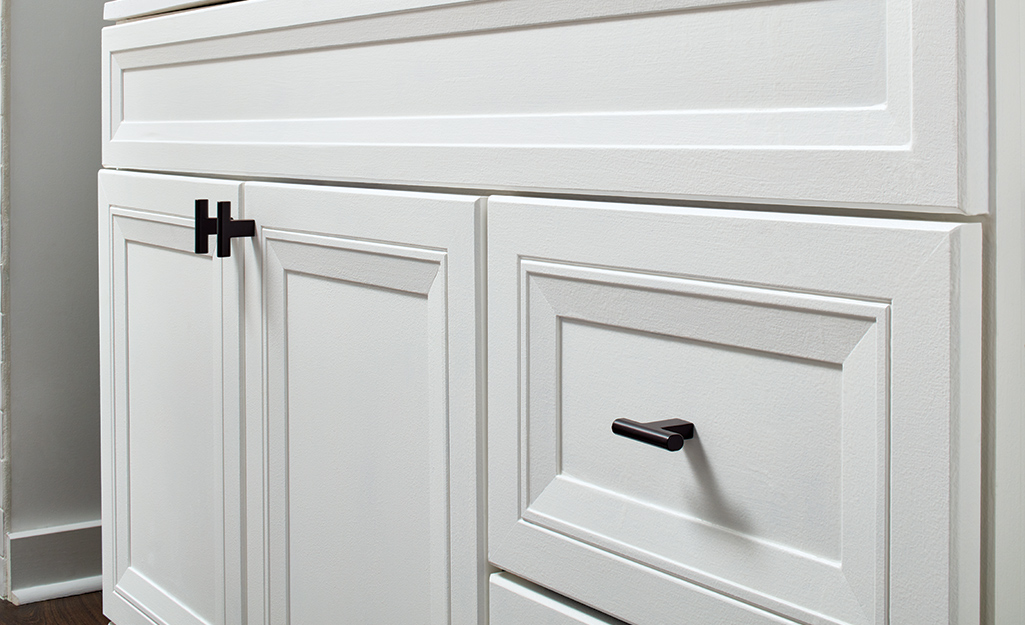
Bathroom cabinets use mainly two hardware types: knobs and pulls. Knobs are small and round or square. They fit well on smaller cabinet doors. Pulls are longer and easier to grip. They work great on drawers and bigger doors. Some designs combine both for style and function. Choose what feels good to touch and suits your cabinet size.
Materials And Finishes
Hardware comes in many materials like metal, plastic, and wood. Metal is the most common. It lasts longer and looks stylish. Popular metals include brass, chrome, and nickel. Finishes add color and texture. Matte, shiny, and brushed are popular finishes. Pick a finish that hides fingerprints and water spots. This keeps your bathroom looking clean.
Matching Hardware To Bathroom Style
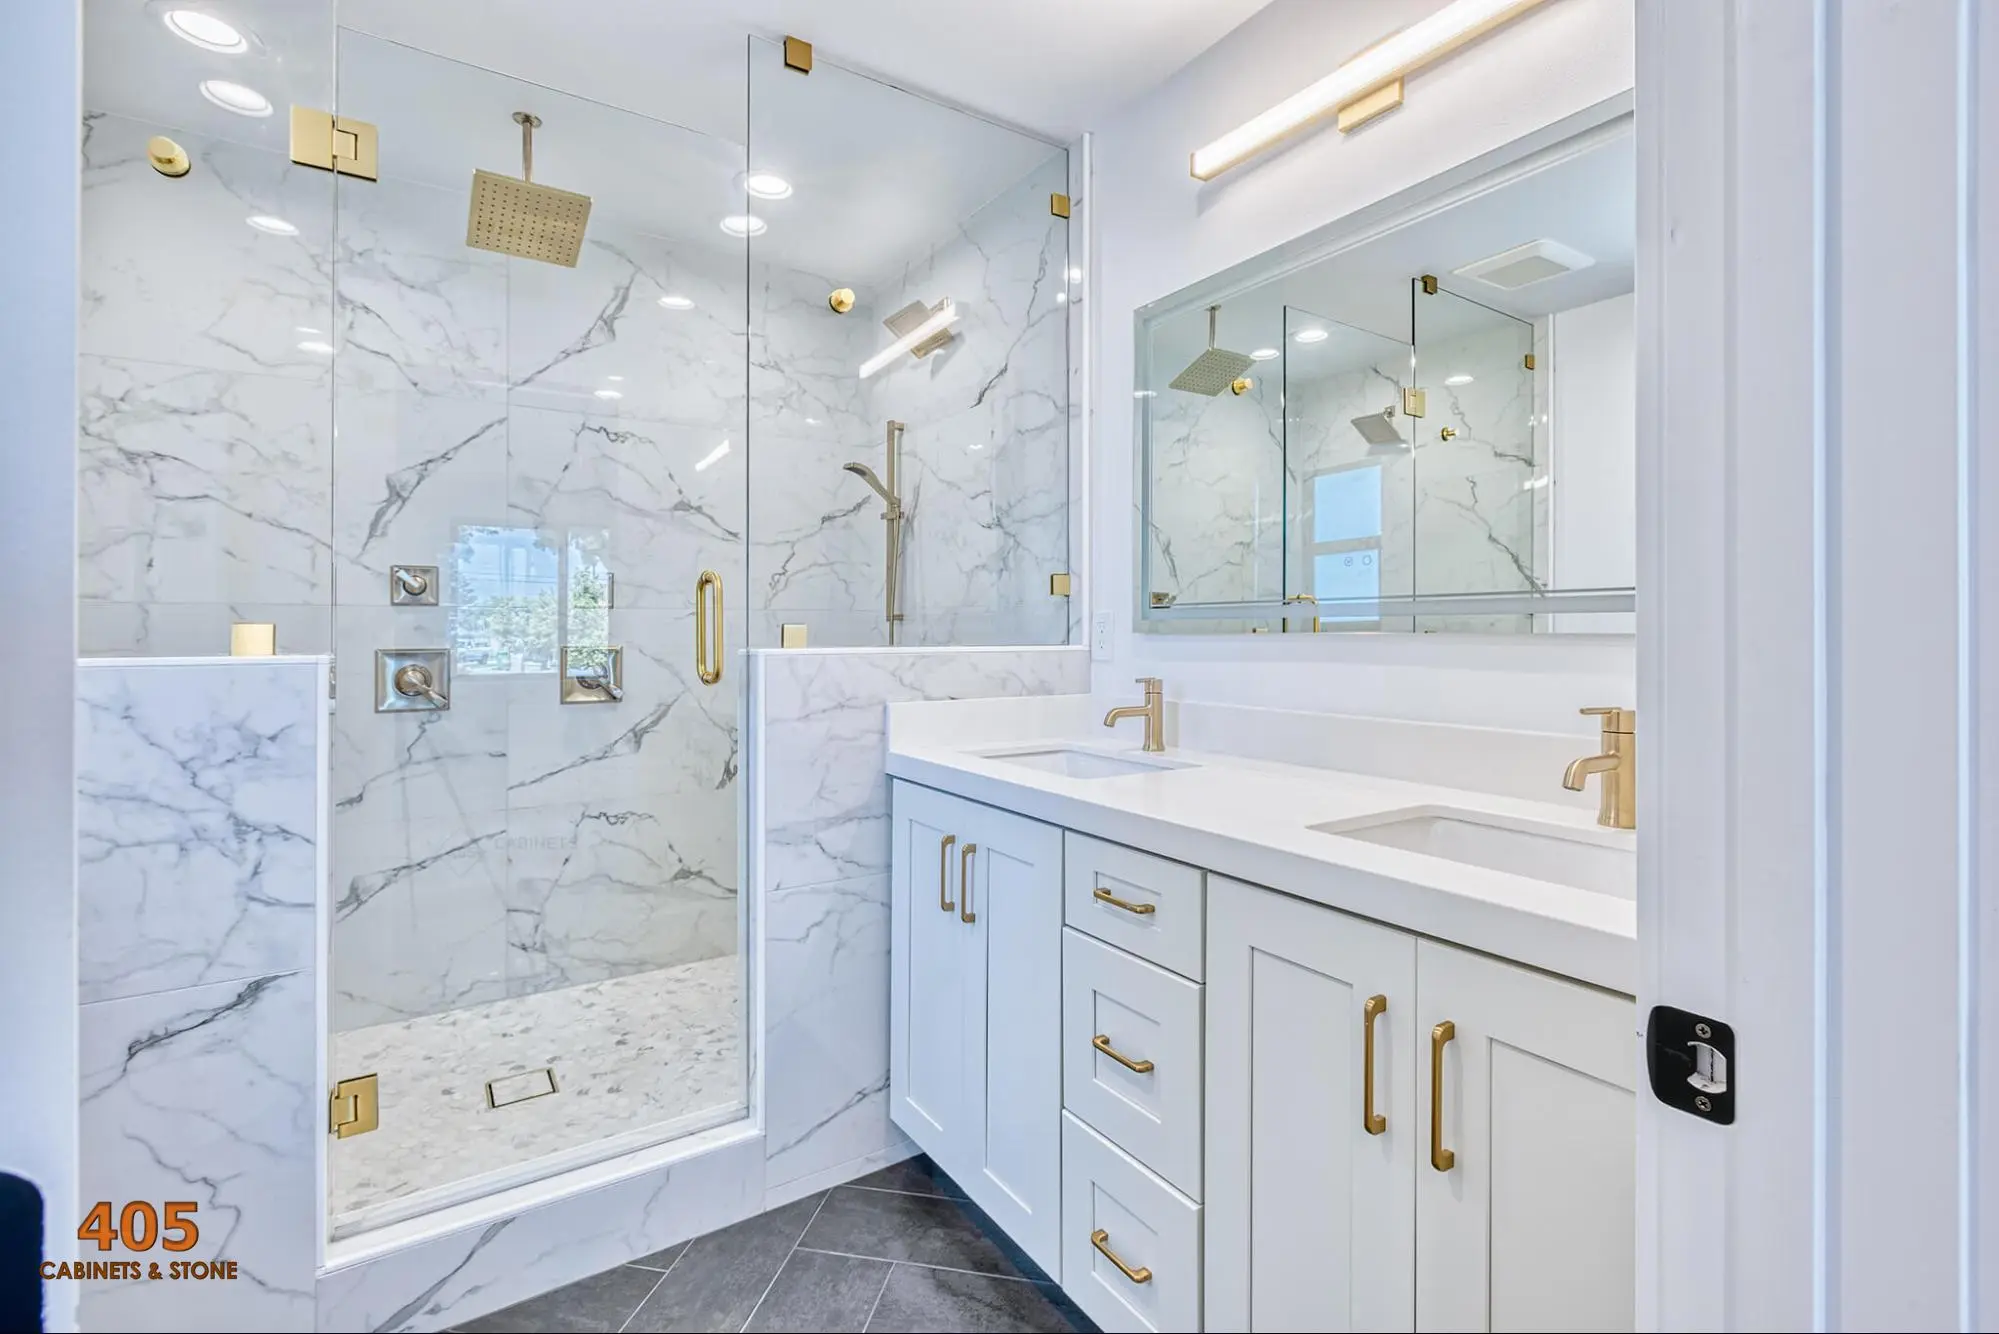
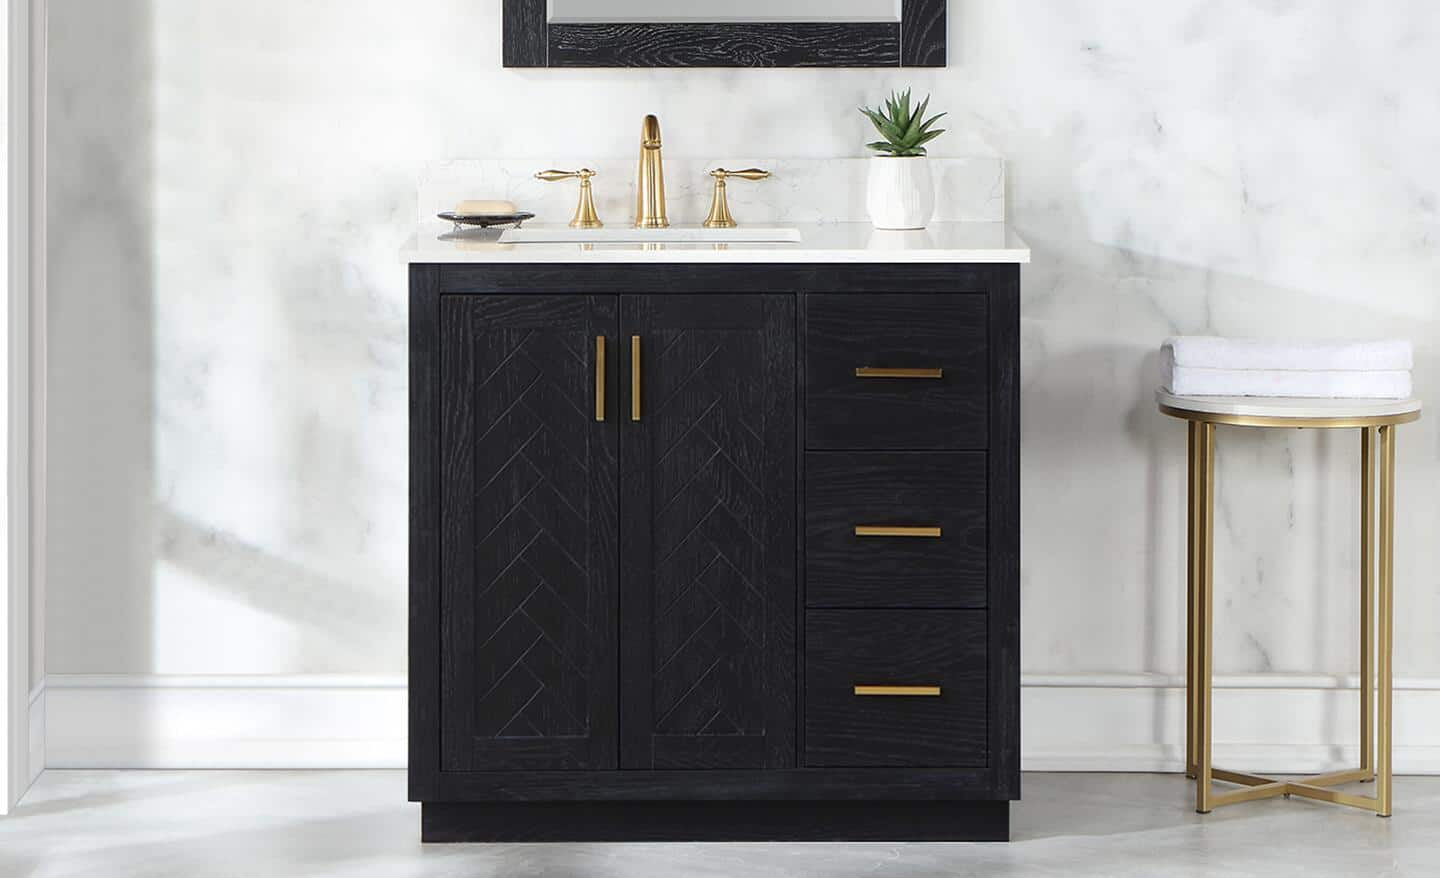
Hardware should fit your bathroom’s style. For modern bathrooms, choose sleek and simple designs. Classic bathrooms suit ornate and detailed hardware. Rustic styles pair well with aged or bronze finishes. Coastal bathrooms look nice with light and natural metals. Match hardware style with your cabinet design for a balanced look.
Tools And Materials Needed
Before adding hardware to bathroom cabinets, gather the right tools and materials. Having everything ready makes the task easier and faster. The tools help you work precisely, while the materials ensure a strong, lasting fit.
Essential Tools For Installation
- Screwdriver (Phillips and flathead) for screws
- Power drill with drill bits for pilot holes
- Measuring tape to mark exact positions
- Level to keep hardware straight
- Pencil for marking drill points
- Masking tape to prevent wood splitting
- Safety glasses to protect your eyes
Hardware Components Checklist
- Cabinet handles or knobs of your choice
- Matching screws, usually included with hardware
- Mounting plates if required by the hardware design
- Anchors for cabinets without solid backing
Safety Precautions
- Wear safety glasses to protect your eyes
- Check for wiring or plumbing inside cabinet walls
- Use a stable surface to work on cabinets
- Keep tools away from children
- Work slowly to avoid slipping or mistakes
Preparing Cabinets For Installation
Preparing cabinets for hardware installation is the first step for a smooth update. This process ensures your new handles or knobs fit perfectly and last long. Taking time to prepare avoids mistakes and damage. Follow these steps carefully to get your bathroom cabinets ready.
Removing Old Hardware
Start by removing the old knobs or handles. Use a screwdriver to unscrew them gently. Keep screws in a safe place if you want to reuse them. Removing hardware cleanly helps avoid scratches or dents on the cabinet surface.
Cleaning And Measuring
Clean the cabinet surface thoroughly with a mild cleaner. Remove any dirt, grease, or old glue. Let the area dry completely before proceeding. Measure the space for new hardware carefully. Use a tape measure or ruler to note exact positions for holes.
Marking Drill Points
Mark the drill points clearly with a pencil. Use a template if your hardware came with one. Check the marks twice to avoid mistakes. Keep marks centered and level for a neat look. Proper marking saves time and ensures easy installation.
Credit: www.homedepot.com
Installing Handles And Knobs
Installing handles and knobs on bathroom cabinets can change the room’s look fast. These small details improve both style and function. A good handle makes opening doors easier and adds a fresh touch. The process is simple but needs care to get right. Follow clear steps for best results.
Drilling Holes Correctly
Measure twice before drilling any holes. Mark the exact spots with a pencil. Use a tape measure or a template for even spacing. Pick the right drill bit size for your hardware screws. Drill slowly to avoid splitting the cabinet wood. Keep the drill steady for straight holes. Clean any dust from the holes before moving on.
Attaching Hardware Securely
Line up the handle or knob with the drilled holes. Insert screws from inside the cabinet. Tighten screws by hand at first to avoid cross-threading. Use a screwdriver to finish tightening. Ensure the hardware feels firm but do not overtighten. Check the handle or knob for smooth movement. Adjust screws if the hardware wobbles or feels loose.
Troubleshooting Common Issues
Loose hardware often means screws need more tightening. If screws strip, try using a larger size or a wood filler. Misaligned holes cause uneven handles. Fill old holes with wood putty before drilling new ones. Cracked wood around holes needs gentle repair or reinforcement. If drilling is hard, check for obstructions inside the cabinet. Patience and small fixes solve most problems.
Upgrading Hinges And Drawer Slides
Upgrading hinges and drawer slides can improve your bathroom cabinets’ look and function. New hardware helps doors open smoothly and drawers glide quietly. These small changes make daily use easier and extend cabinet life. This guide explains how to select and install hinges and improve drawer slides.
Selecting Replacement Hinges
Choose hinges that fit your cabinet style and door type. Measure the old hinges to match size and shape. Soft-close hinges reduce noise and protect doors from slamming. Look for rust-resistant materials like stainless steel for bathroom use. Pick hinges with easy installation features for a faster update.
Step-by-step Hinge Installation
Remove the cabinet door by unscrewing old hinges. Align new hinges with existing holes or mark new spots. Attach hinges to the door first using screws. Hold the door in place and screw the hinges to the cabinet frame. Test the door’s movement and adjust screws for perfect alignment.
Improving Drawer Functionality
Check current drawer slides for smooth movement and wear. Replace worn or noisy slides with ball-bearing or soft-close types. Remove the drawer and unscrew old slides carefully. Attach new slides inside the cabinet and on the drawer sides. Slide the drawer back in and test for smooth opening and closing.
Credit: www.homedepot.com
Finishing Touches
Finishing touches bring your bathroom cabinet hardware to life. They ensure the hardware looks good and works well. These final steps help your cabinet feel complete and polished. Taking time on finishing touches improves the overall look and function.
Checking Alignment And Tightness
Check each handle or knob for proper alignment. Misaligned hardware can look sloppy and feel awkward. Tighten screws carefully to avoid stripping them. Loose hardware can fall off or cause damage. Use a screwdriver to make sure everything is snug. Test the doors and drawers to confirm smooth operation.
Cleaning And Polishing Hardware
Clean hardware after installation to remove fingerprints and dust. Use a soft cloth and mild cleaner for best results. Avoid abrasive materials that can scratch surfaces. Polishing hardware makes it shine and look new. Regular cleaning keeps the hardware attractive and fresh. This simple step enhances your bathroom’s style instantly.
Maintaining Hardware Longevity
Maintain your hardware to keep it working well for years. Avoid harsh chemicals that can damage finishes. Check screws and fittings regularly to ensure they stay tight. Lubricate moving parts lightly if needed to prevent squeaks. Handle cabinets gently to prevent wear and tear. Small care steps extend the life of your hardware.
Frequently Asked Questions
How Do I Choose The Right Hardware For Bathroom Cabinets?
Select hardware that matches your bathroom’s style and cabinet design. Consider durability, moisture resistance, and finish. Measure existing holes to ensure compatibility. Opt for rust-proof materials like stainless steel or brass for longevity in humid environments.
What Tools Are Needed To Add Hardware To Cabinets?
You need a drill, screwdriver, measuring tape, pencil, and level. These tools help ensure accurate placement and secure installation. Using the right tools prevents damage and ensures hardware fits perfectly on your bathroom cabinets.
How To Properly Align Handles On Bathroom Cabinet Doors?
Measure and mark the exact spot before drilling holes. Use a level to keep handles straight. Consistent placement on all doors creates a uniform look. Double-check measurements to avoid misalignment and ensure professional results.
Can I Install Hardware On Painted Bathroom Cabinets?
Yes, hardware can be installed on painted cabinets. Use gentle drilling to avoid paint chipping. Pre-drill holes slightly smaller than screws for a secure fit. Clean surfaces before installation to ensure hardware adheres well and looks neat.
Conclusion
Adding hardware to bathroom cabinets can refresh your space quickly. Choose handles or knobs that match your style and needs. Measure carefully to ensure a perfect fit every time. Use the right tools to avoid damage and save effort. Small changes can make your bathroom look neat and modern.
Enjoy your updated cabinets and the new feel they bring. Simple steps lead to great results. Try it yourself and see the difference today.


