Are your cabinets looking tired or outdated? Changing the hardware is one of the easiest and most affordable ways to give your space a fresh new look.
You don’t need to be a professional or spend hours on this project. With just a few simple steps, you can transform your cabinets and instantly boost the style of your room. Ready to learn how to change hardware on cabinets quickly and easily?
Keep reading, and you’ll discover tips that make the process smooth and even enjoyable. Your cabinets are about to get a makeover you’ll love!
Tools And Materials Needed
Changing the hardware on cabinets is a simple project. Having the right tools and materials makes the job easier and faster. Preparing these items before you start helps avoid interruptions and mistakes. Let’s explore what you need for this task.
Essential Tools
You need a screwdriver set with both flathead and Phillips heads. A drill with drill bits can speed up removing and installing screws. A tape measure helps check hardware size and placement. A pencil marks the drill spots on the cabinet doors. A small level ensures handles and knobs are straight. Having a pair of pliers can help with tight screws or old hardware.
Choosing New Hardware
Select hardware that fits your cabinet style and size. Measure the existing screw holes to match new handles or knobs. Consider the finish, such as brushed nickel, bronze, or chrome, to match your kitchen decor. Buy hardware that feels sturdy and comfortable to use. Choose designs that improve both look and function.
Safety Gear
Wear safety glasses to protect your eyes from dust and debris. Use gloves to avoid splinters and sharp edges on old hardware. If drilling, ear protection can reduce noise impact. Work in a well-lit area to see clearly. Clear the workspace to prevent trips or falls. Safety keeps the project smooth and injury-free.
Credit: semistories.semihandmade.com
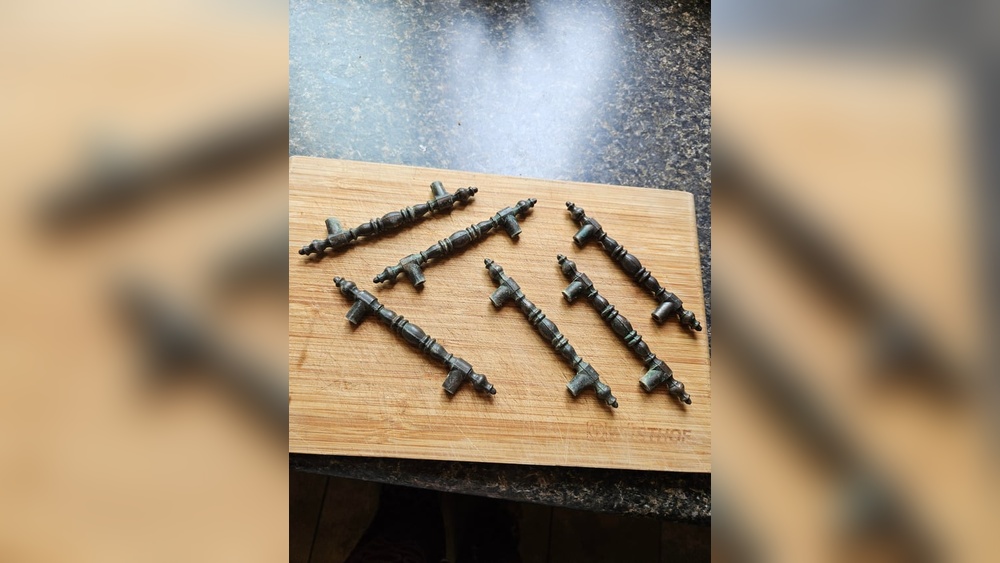
Removing Old Hardware
Removing old hardware is the first step to update your cabinets. It clears the surface and prepares the area for new handles or knobs. This process requires care to avoid damage to the cabinet doors or drawers.
Take your time and work carefully. The right tools make this task easier and faster. Below are some simple steps to follow for a smooth removal.
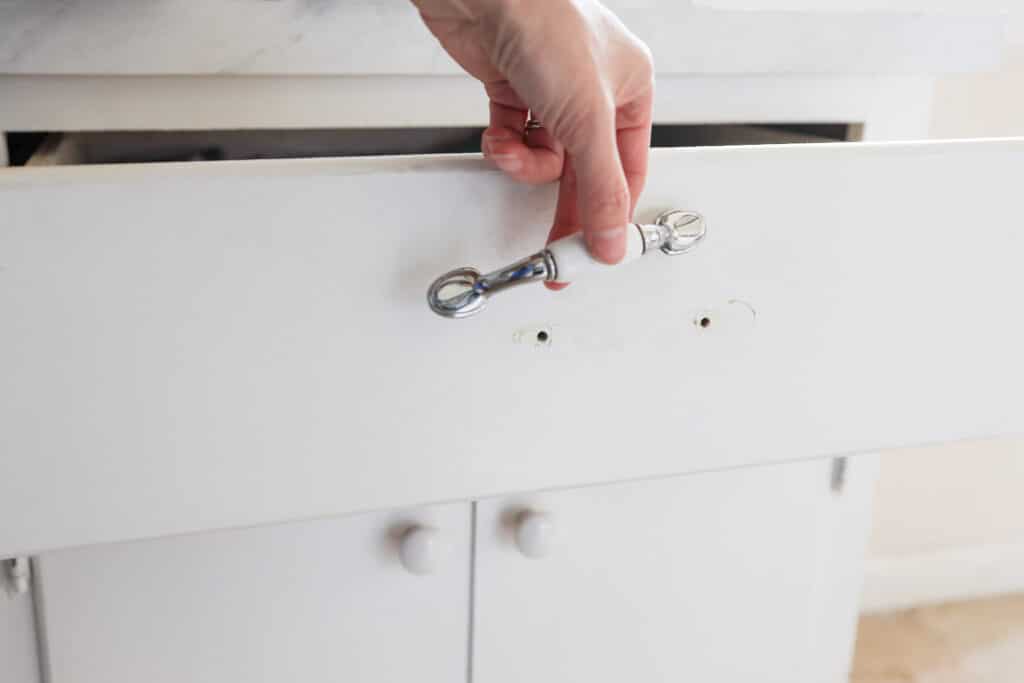
Unscrewing Handles And Knobs
Start by opening the cabinet door or drawer. Look for screws holding the handle or knob in place. Usually, these screws are on the inside of the door or drawer.
Use a screwdriver that fits the screw head well. Turn the screwdriver counterclockwise to loosen the screws. Keep your hand steady to avoid slipping.
Remove the screws completely and gently pull the handle or knob away from the cabinet. Place the screws and hardware somewhere safe in case you need them later.
Dealing With Stubborn Fixtures
Sometimes screws are hard to turn or stuck. Rust or paint can cause this problem. Try spraying a small amount of lubricant on the screw and wait a few minutes.
Use a screwdriver with a good grip for extra force. Tap the screwdriver handle gently with a hammer if needed. Avoid using too much force to prevent damage.
If screws still won’t budge, consider using a screw extractor tool. This tool helps remove broken or stuck screws safely.
Cleaning Cabinet Surfaces
After removing hardware, clean the cabinet surface well. Dust and dirt often build up around handles and knobs. Use a soft cloth with mild soap and water.
Wipe the area gently to remove grease and grime. Dry the surface completely before adding new hardware. Clean surfaces help new handles stick better and look nice.
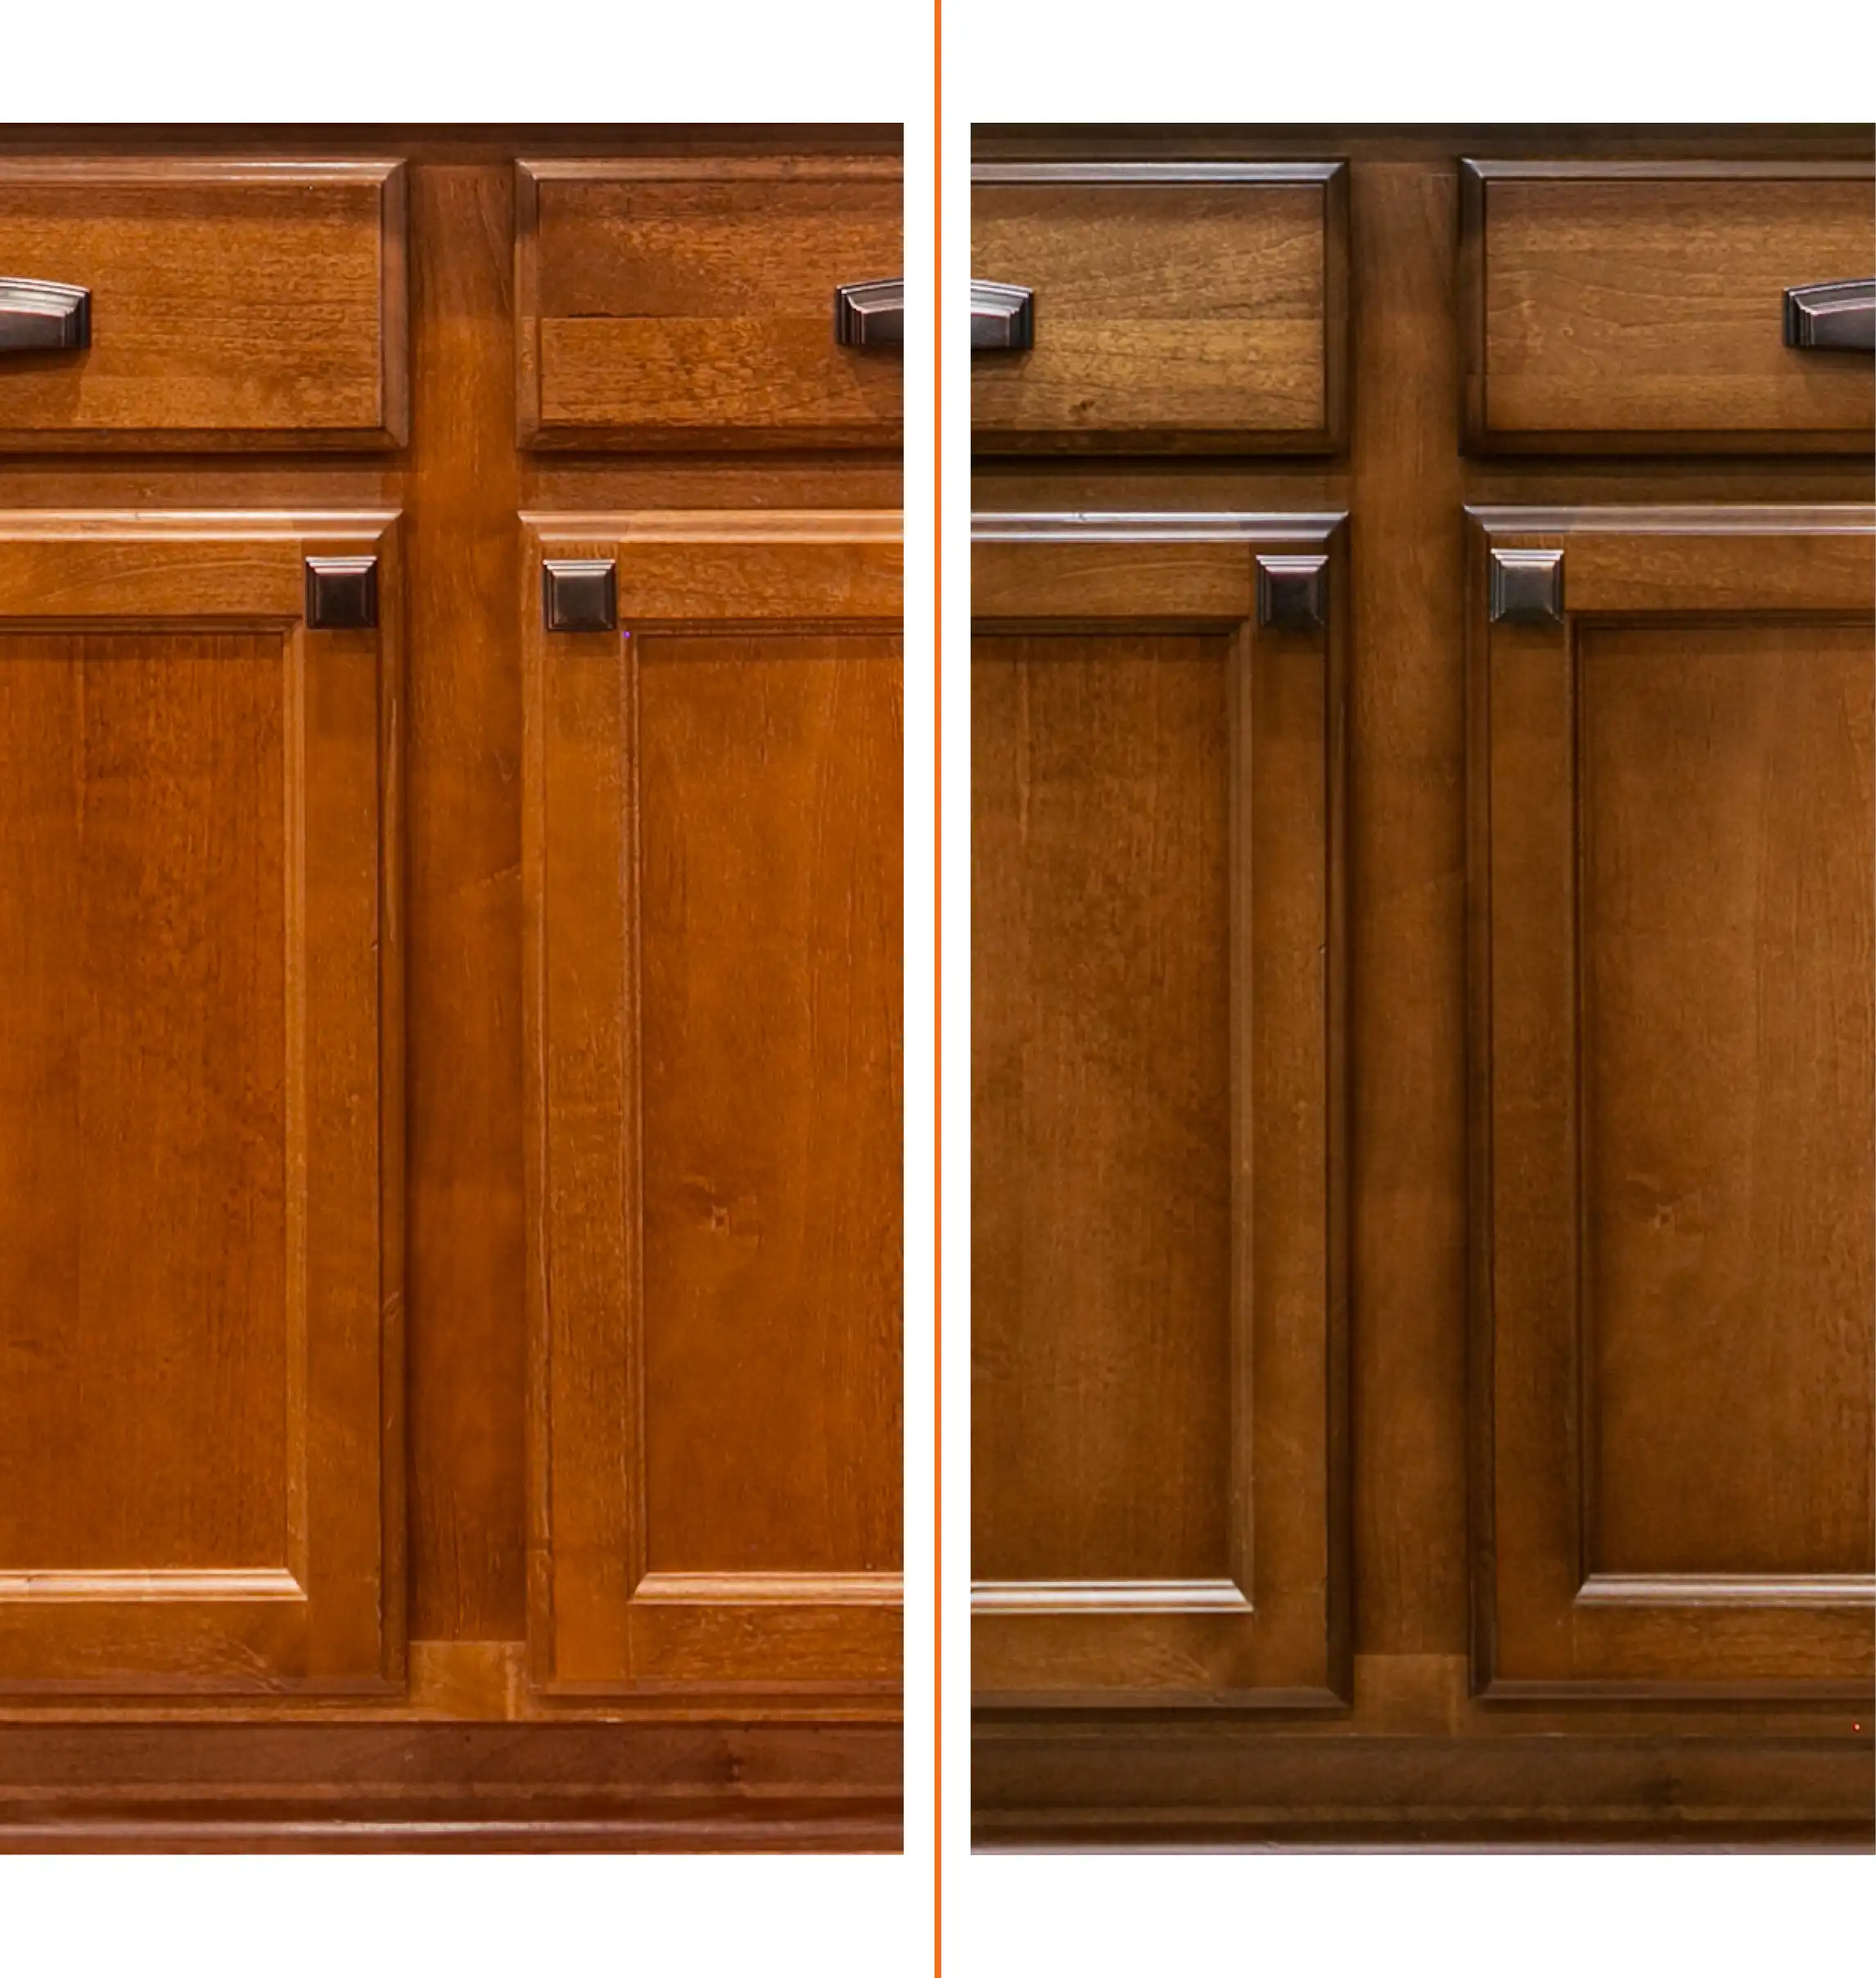
Preparing Cabinets For New Hardware
Preparing cabinets for new hardware is an important step. It makes sure your new handles or knobs fit well and look great. You must get rid of old holes and fix the surface. This helps the new hardware stick properly and last longer.
Filling Old Holes
Start by filling old holes with wood filler. Use a small putty knife to push filler inside the holes. Make sure you fill them fully. Let the filler dry completely before moving on. This step hides old holes for a smooth finish.
Sanding And Smoothing
After the filler dries, sand the area gently. Use fine-grit sandpaper for a smooth surface. Sand until the filled spots blend with the cabinet surface. Wipe away dust with a clean cloth. This prepares the wood for painting or staining if needed.
Measuring For New Placement
Measure carefully for your new hardware placement. Use a ruler or tape measure for accuracy. Mark the spots lightly with a pencil. Check measurements twice to avoid mistakes. Proper placement keeps your cabinets looking balanced and neat.
Credit: www.nhance.com
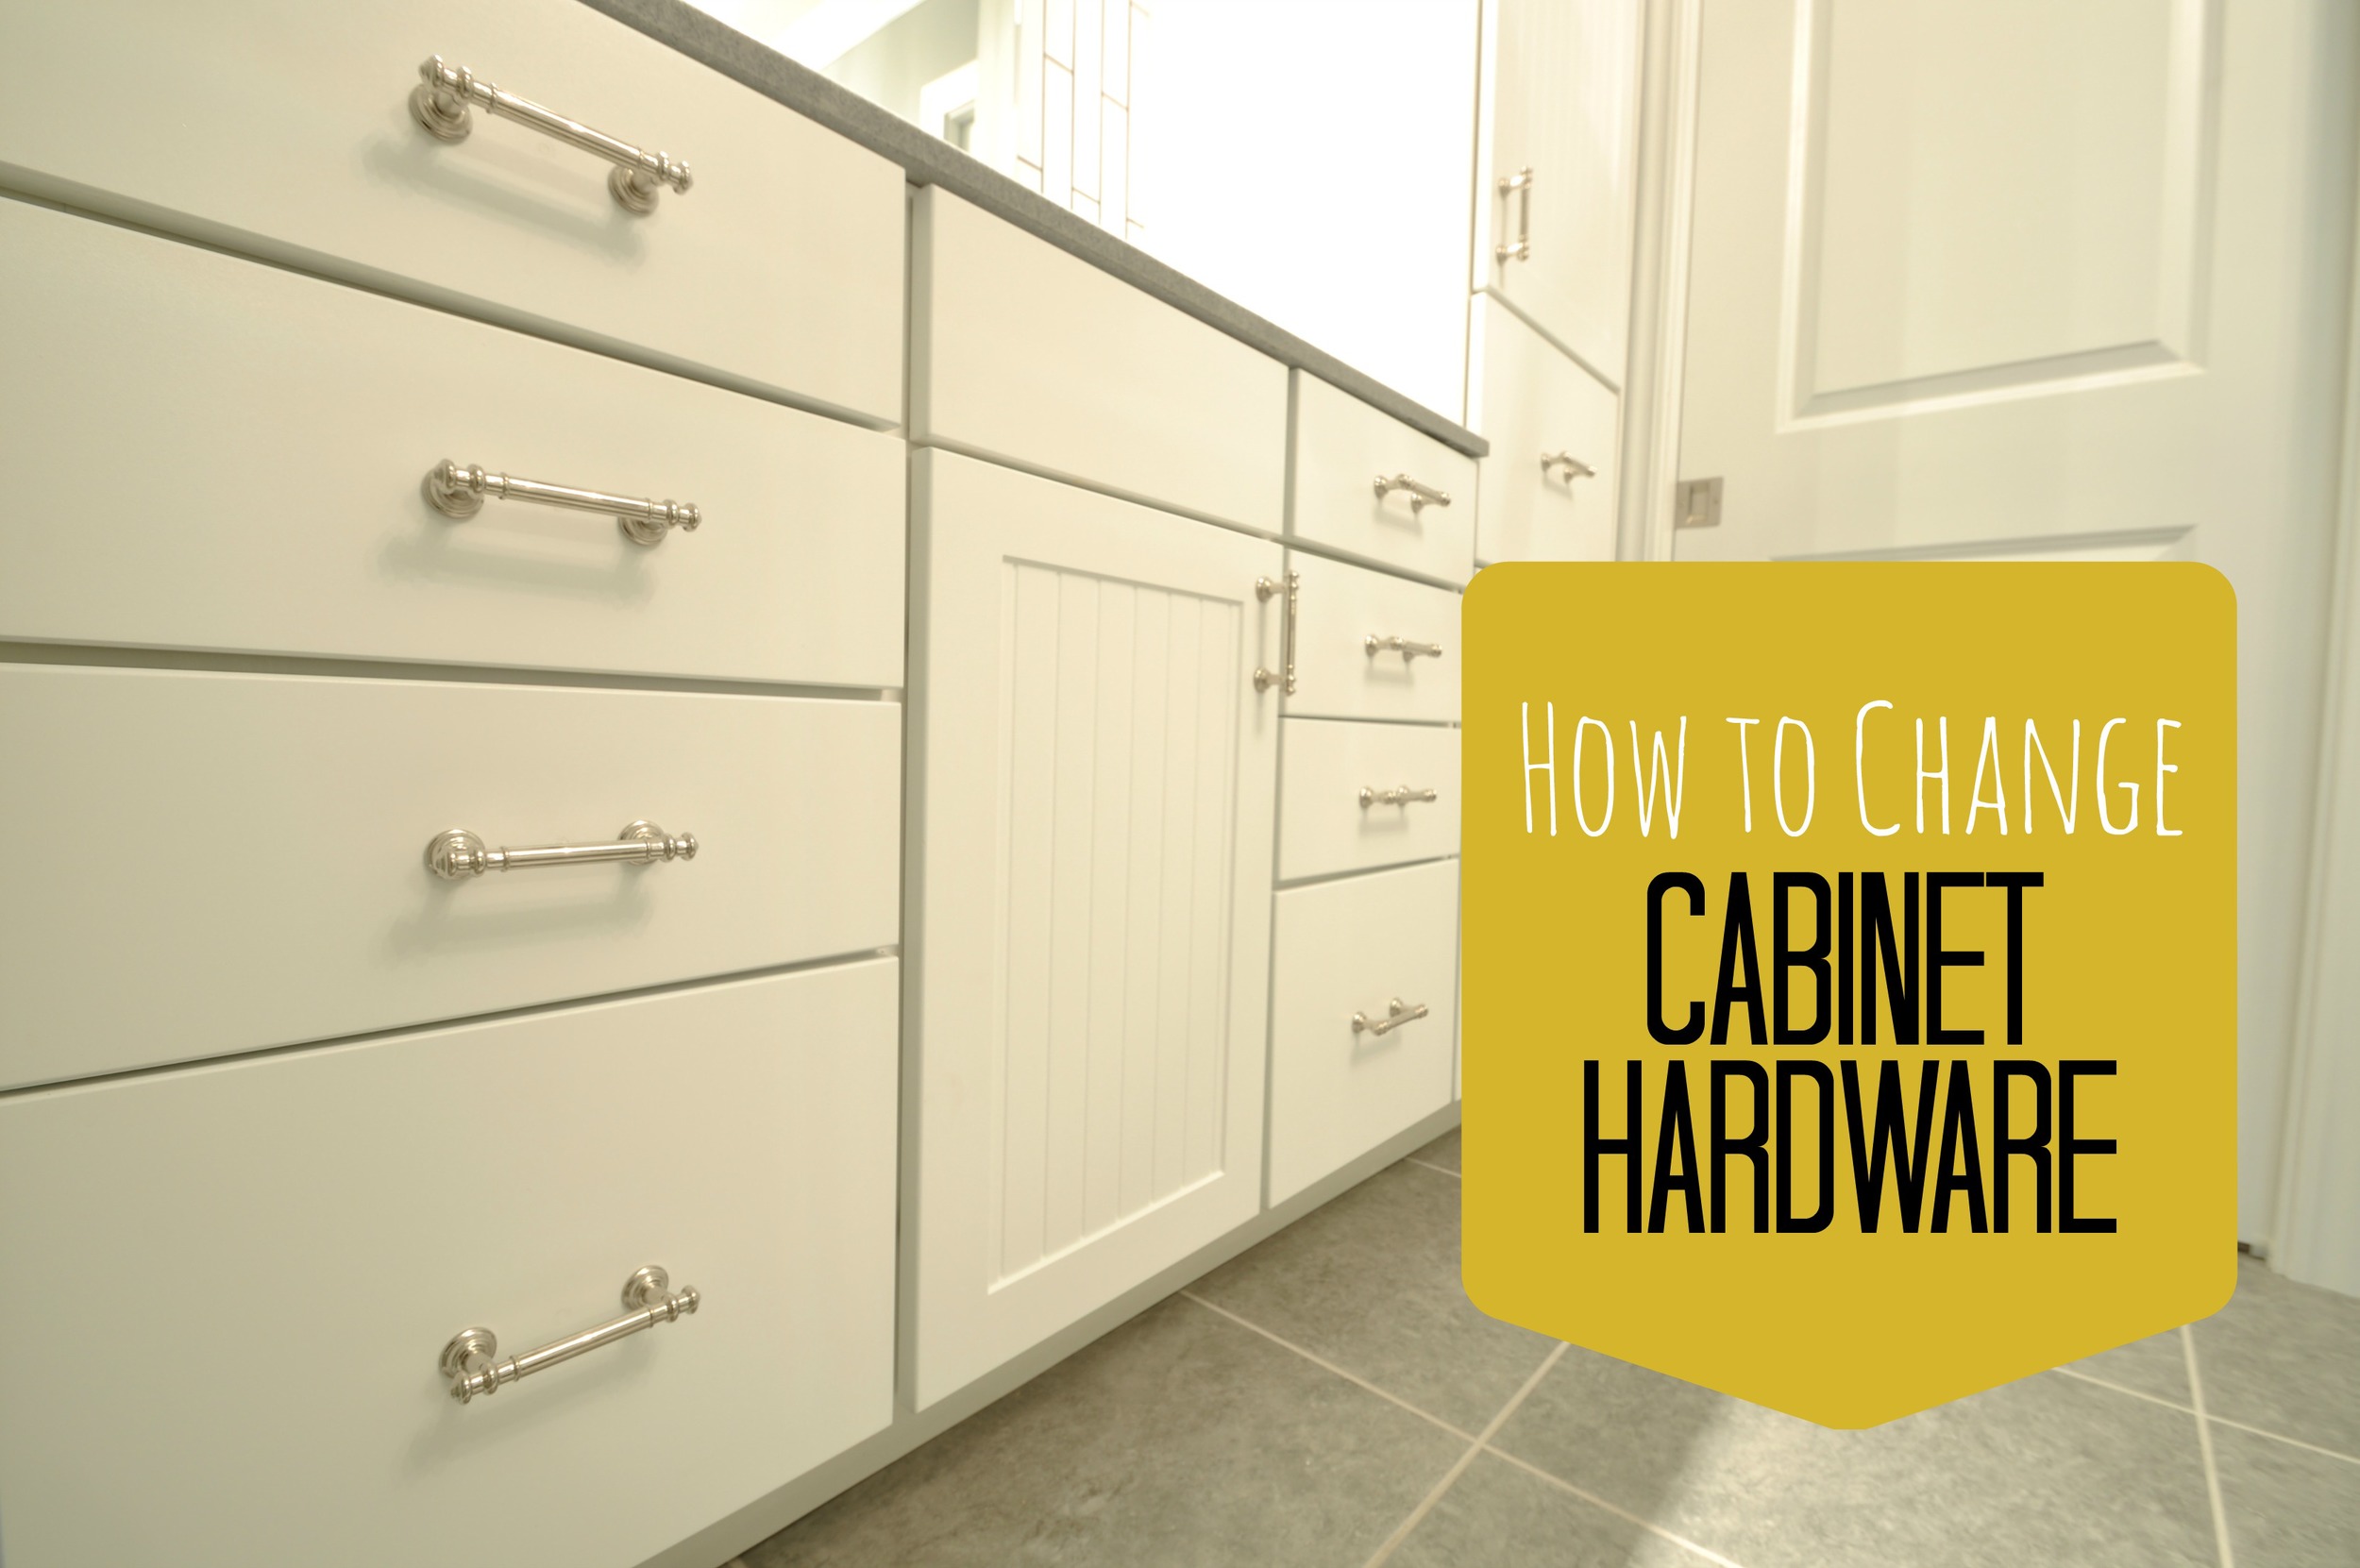
Installing New Hardware
Installing new hardware on cabinets gives them a fresh look. It also improves usability. This process is simple but requires care. Proper installation ensures handles and knobs work well and look neat.
Aligning Handles And Knobs
Start by marking the holes carefully on the cabinet. Use a ruler or measuring tape for accuracy. Keep the handles and knobs straight and even. Check the alignment by holding the hardware in place before drilling or screwing.
Use existing holes if possible. This saves time and keeps the cabinet intact. If you need new holes, measure twice to avoid mistakes. Proper alignment helps the hardware look balanced and professional.
Securing Screws Properly
Choose screws that fit the hardware and cabinet thickness. Insert screws slowly to avoid stripping the hole. Tighten screws until the hardware is snug but not too tight. Over-tightening can damage the cabinet or hardware.
Use a screwdriver or drill with a clutch setting for control. Hold the hardware steady while tightening screws. This step ensures the handle or knob stays firmly attached and lasts longer.
Double-checking Fit And Function
After installation, test each handle and knob. Open and close the cabinet doors or drawers. Make sure the hardware feels secure and easy to use. Check that handles do not wobble or catch on anything.
Look for gaps between hardware and cabinet surface. Adjust screws if needed for a perfect fit. This final check guarantees a neat appearance and smooth function.
Tips For A Professional Finish
Changing cabinet hardware can refresh your kitchen or bathroom look. Small details make a big difference. Follow these tips for a clean, professional finish that lasts.
Matching Hardware Styles
Choose hardware that fits your cabinet style. Modern cabinets suit sleek handles. Traditional cabinets pair well with classic knobs. Keep the finish consistent. Mixing metals can look messy. Pick one style and stick to it for a balanced look.
Maintaining Cabinet Integrity
Handle hardware carefully to avoid damage. Use the right screwdriver size to prevent stripping screws. Tighten screws just enough—too tight can crack wood. Remove old hardware gently to protect the cabinet surface. Clean the area before installing new pieces to ensure smooth fitting.
Quick Touch-ups
Fill any holes left by old hardware with wood filler. Sand the area lightly for a smooth finish. Paint or stain touch-ups help hide marks. Use a small brush for accuracy. Clean fingerprints and dust off the cabinets for a polished look.
Credit: decorandthedog.net
Frequently Asked Questions
How Do I Remove Old Cabinet Hardware Safely?
Use a screwdriver to unscrew handles or knobs carefully. Avoid damaging the cabinet surface by applying gentle pressure. Keep screws in a container for reuse or disposal. Clean the area before installing new hardware for better adhesion and appearance.
What Tools Are Needed To Change Cabinet Hardware?
You will need a screwdriver, measuring tape, drill, and new hardware. A level can help align handles evenly. Having a pencil is useful for marking drill points. These tools ensure a smooth and accurate hardware replacement process.
How To Measure For New Cabinet Hardware?
Measure the distance between existing screw holes accurately. This ensures new hardware fits perfectly without extra drilling. Use a ruler or tape measure for precise measurements. Correct sizing saves time and prevents cabinet damage during installation.
Can I Change Cabinet Hardware Without Drilling New Holes?
Yes, if the new hardware matches existing hole placement. Otherwise, use hole fillers to cover old holes before drilling new ones. This maintains cabinet integrity and provides a clean look. Always check hardware specifications before purchasing.
Conclusion
Changing cabinet hardware can update your space fast and easy. Choose handles or knobs that fit your style and needs. Measure carefully before drilling new holes. Use basic tools and take your time. Small changes make a big difference in your room’s look.
Enjoy the fresh, new feel of your cabinets. This simple task saves money and adds charm. Try it yourself and see the improvement today.