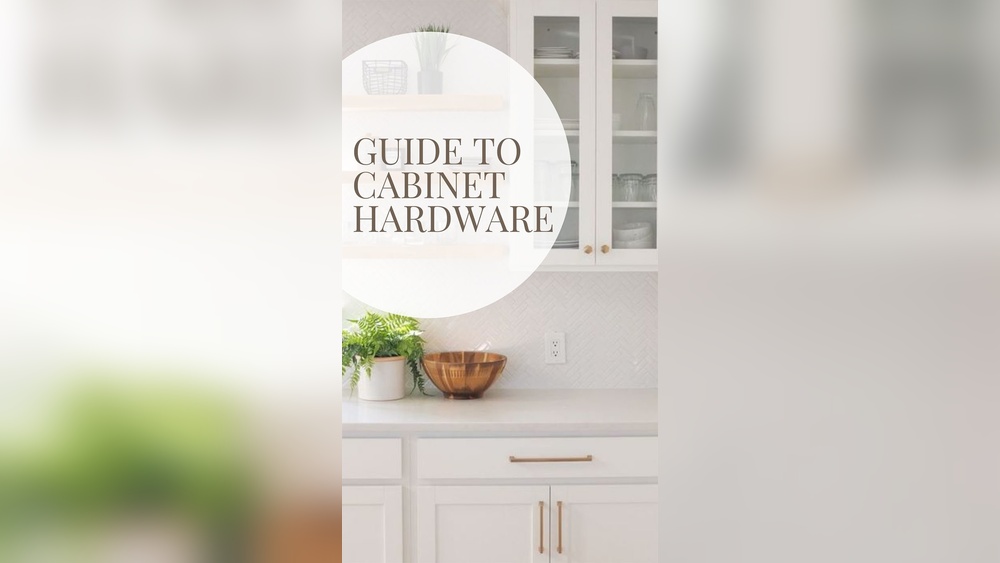
Are your cabinets looking tired and outdated? Changing your old cabinet hardware can instantly refresh the entire look of your space without a full renovation.
Imagine opening your cabinets and feeling excited by the sleek, modern handles or charming vintage knobs you just installed. You don’t need to be a DIY expert or spend a fortune to achieve this. You’ll discover simple, step-by-step ways to update your cabinet hardware quickly and easily.
By the end, you’ll have the confidence to transform your cabinets and give your room a fresh, stylish vibe that reflects your taste perfectly. Keep reading—you’re closer than you think to a whole new look!
Choosing New Hardware
Choosing new hardware for old cabinets can change the whole look of your kitchen or bathroom. It is a simple way to refresh the space without spending too much money. The right hardware makes a big difference in style and function. Think about what fits your needs and matches your home’s design.
Matching Your Style
Pick hardware that fits the style of your room. For a modern look, choose sleek and simple handles. For a classic or vintage feel, go for detailed or ornate designs. Match the hardware style with your cabinets and other fixtures. This keeps the room looking balanced and neat.
Considering Size And Fit
Measure your old hardware before buying new ones. The new pieces should fit the existing holes or you will need to drill new ones. Choose sizes that feel comfortable to grab and use daily. Small knobs can be hard to hold, while very large handles might look too bold.
Selecting Materials And Finishes
Hardware comes in many materials like metal, wood, or plastic. Metal is strong and lasts long. Finishes can be shiny, matte, or brushed. Choose finishes that do not show fingerprints or water spots easily. Match the finish with your room’s colors for a unified look.
Gathering Tools And Supplies
Updating old cabinet hardware is a simple project that can refresh your kitchen or bathroom. Before starting, gather all necessary tools and supplies. This step saves time and reduces frustration during the process. Proper preparation helps the update go smoothly.
Essential Tools
Collect basic tools like a screwdriver set with both flathead and Phillips heads. A drill may speed up removing and installing screws. Use a tape measure to check hardware size and placement. A pencil helps mark drill spots. Keep a small container for screws to avoid losing them. A level ensures the hardware installs straight. Gloves protect your hands from sharp edges.
Preparing Your Workspace
Clear the area around your cabinets. Remove items from countertops and inside drawers near work zones. Lay down a cloth or newspaper to catch dust and debris. Ensure good lighting to see details clearly. Have a trash bag ready for old hardware and packaging. Keep tools close for easy access during the job. A tidy space helps maintain focus and safety.
Removing Old Hardware
Removing old cabinet hardware is the first step in refreshing your kitchen or bathroom. It clears the way for new handles and knobs that can change the look instantly. Taking off old hardware carefully helps avoid damage to cabinets. This process is simple with the right tools and methods.
Safely Taking Off Handles And Knobs
Start by opening the cabinet door or drawer. Use a screwdriver to unscrew the fasteners behind the handle or knob. Hold the hardware firmly to stop it from spinning. Keep screws and hardware in a small container to avoid losing them. Gently pull the handle or knob away from the surface once screws are removed.
Dealing With Stubborn Screws
Sometimes screws are tight or stuck due to rust or paint. Apply a small drop of oil to loosen the screw. Let the oil sit for a few minutes before trying again. Use a screwdriver that fits perfectly to avoid stripping the screw head. If the screw is still stuck, try a rubber band between the screwdriver and screw for extra grip.
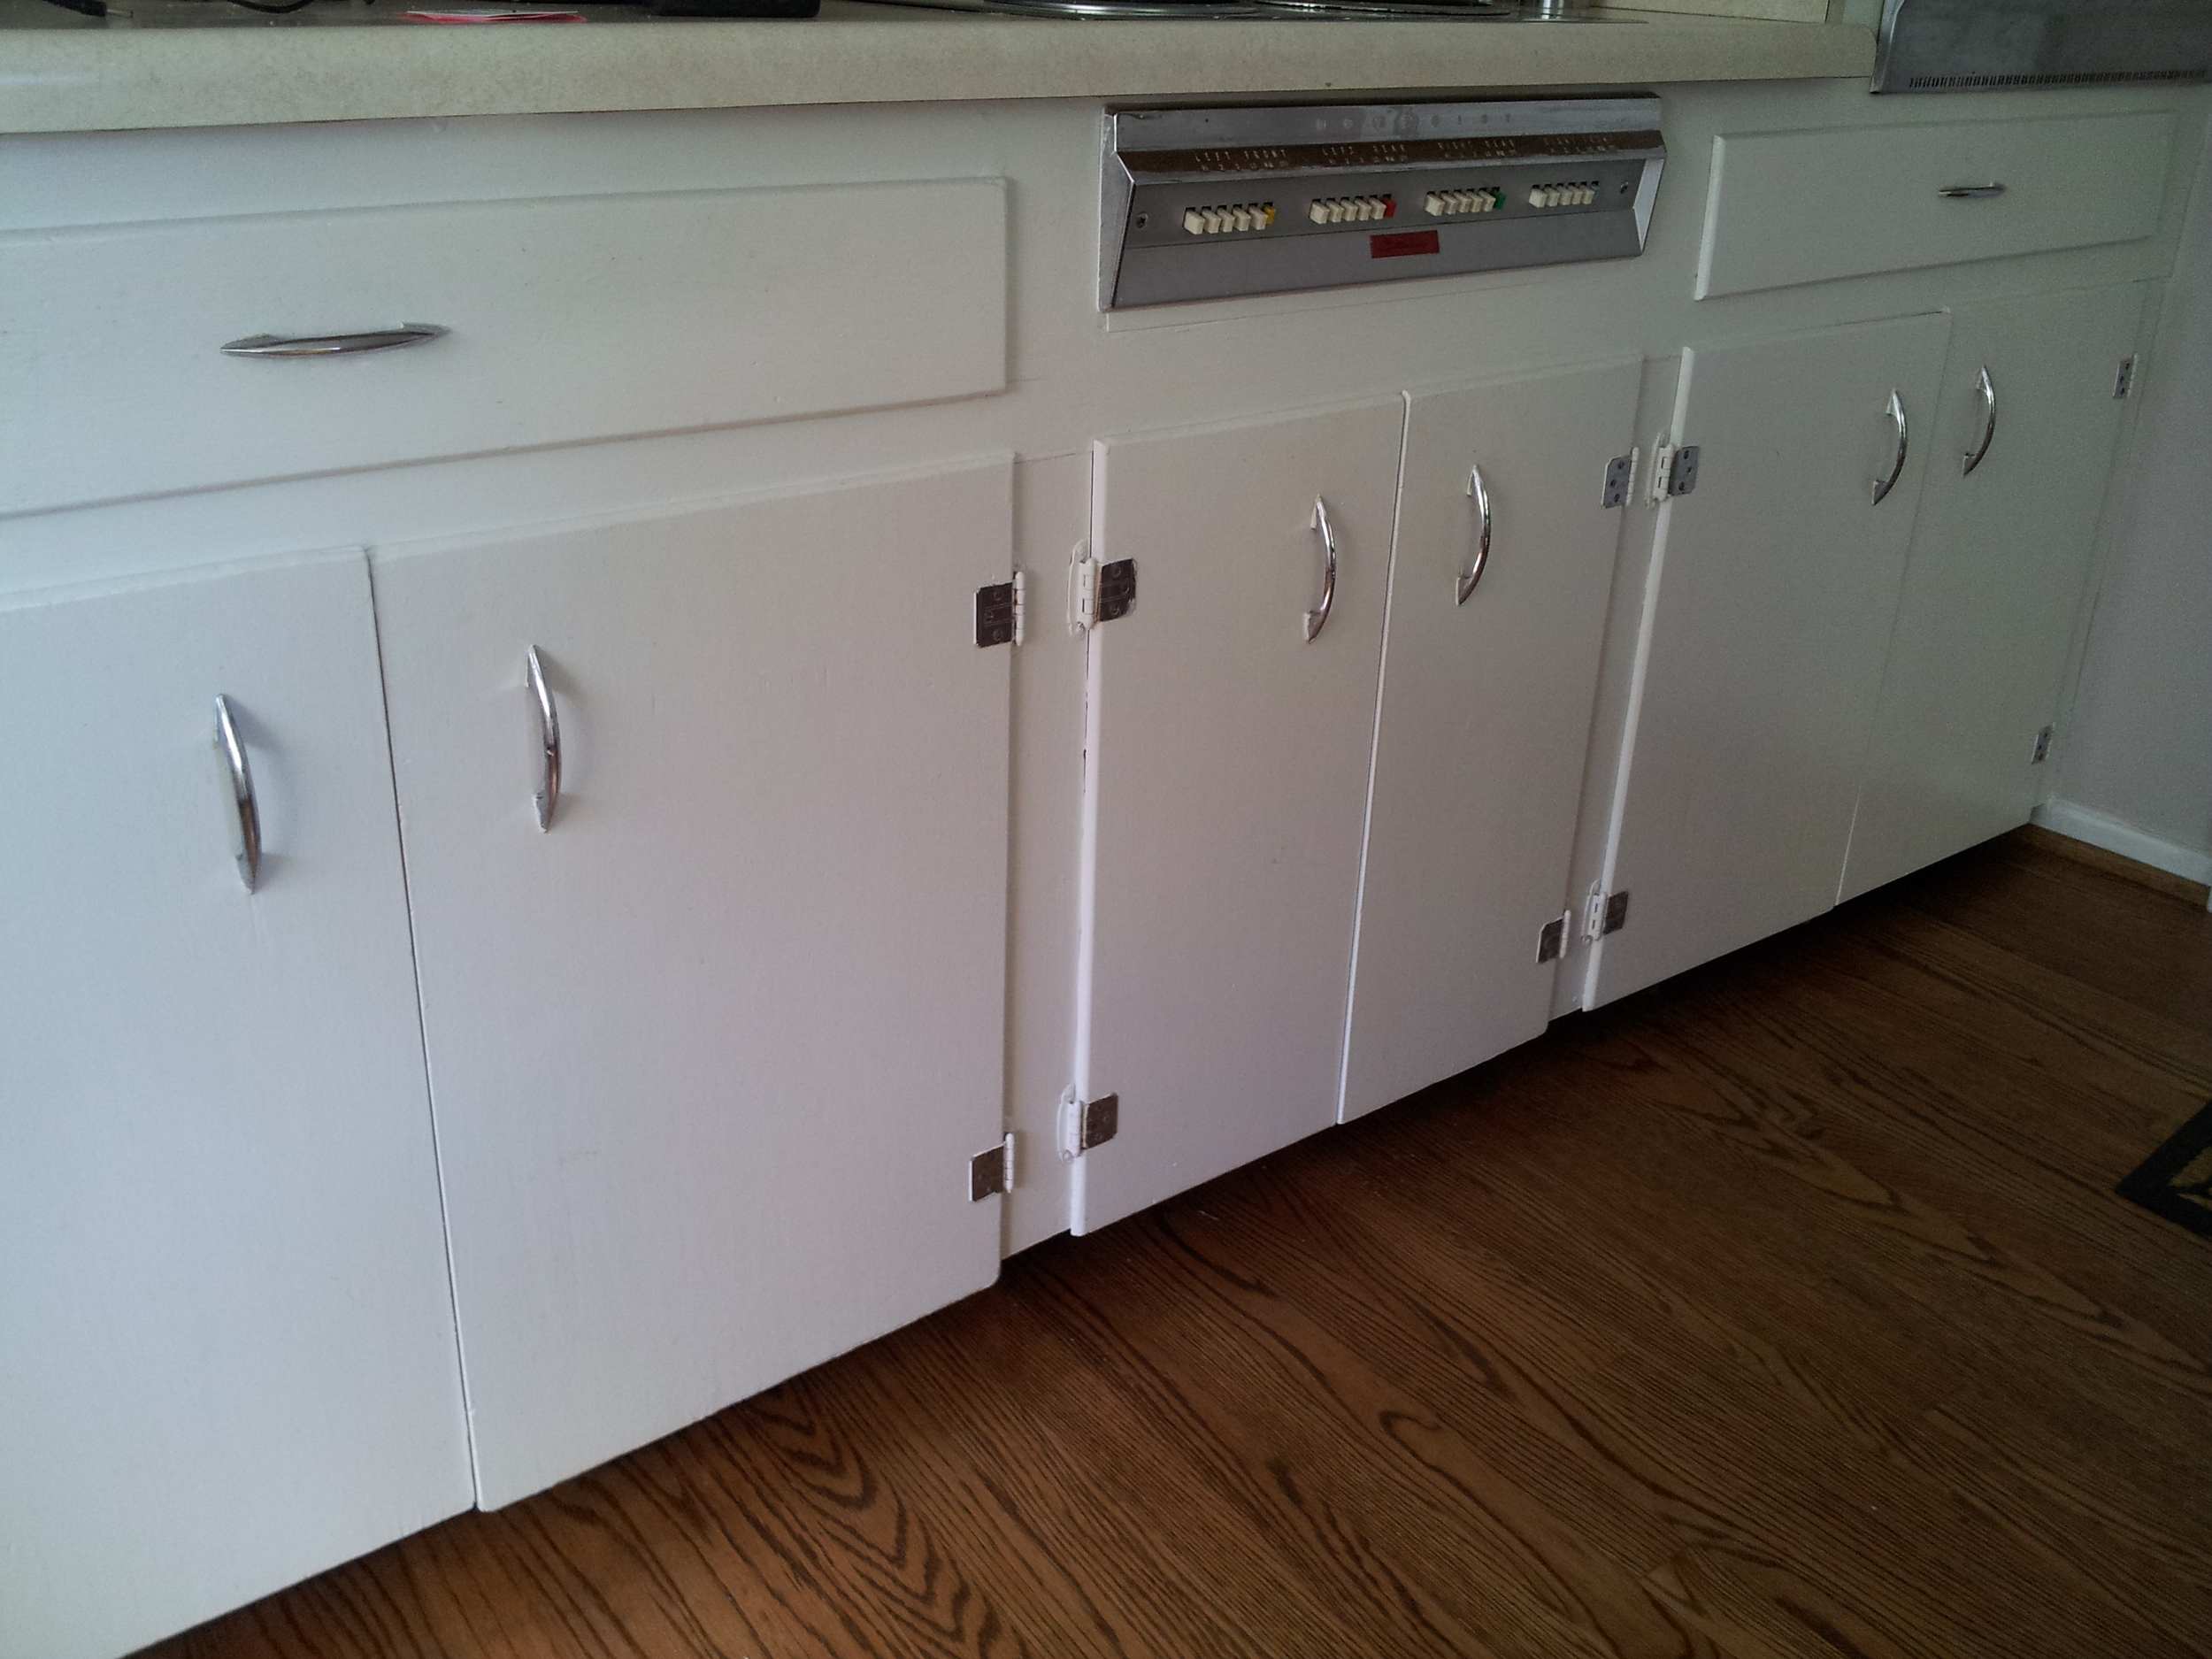
Credit: www.elizabethburnsdesign.com
Preparing Cabinets For Installation
Preparing cabinets for new hardware is an important step. It helps the hardware fit well and last longer. Taking time to clean and fix the cabinet surface makes a big difference. It also helps to fill old holes for a smooth look. This process sets the stage for easy installation and a fresh, updated appearance.
Cleaning And Repairing Surfaces
Start by wiping down the cabinet doors and drawers. Use a mild cleaner and a soft cloth. Remove all dust, grease, and dirt. Clean surfaces help paint or finish stick better. Check for scratches, dents, or peeling paint. Sand rough spots lightly to smooth them out. Fill any small cracks with wood filler. Let the filler dry fully, then sand it smooth. Clean again to remove dust before installing new hardware.
Filling Old Holes
Remove old hardware and look for extra holes. These holes can make new handles loose or uneven. Use wood filler or putty to fill old holes. Press the filler firmly into the hole. Smooth the surface with a putty knife. Let the filler dry completely. Sand the area flat and even with the cabinet surface. Clean dust off before drilling new holes. Filling old holes gives a clean, neat look to your cabinets.
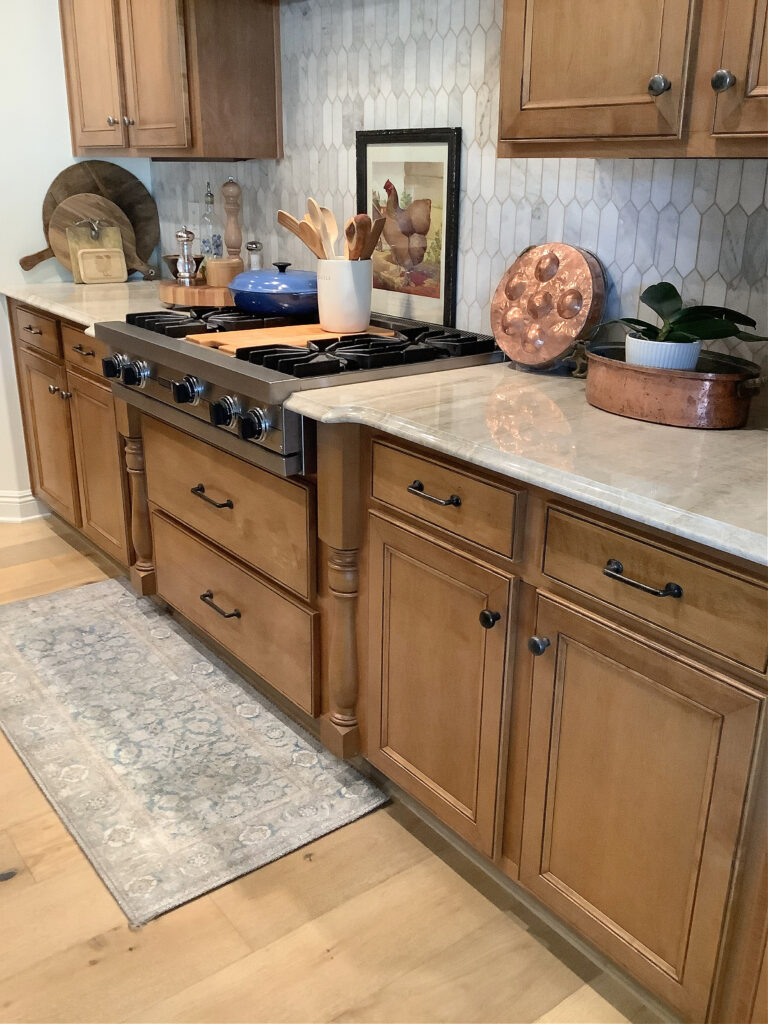
Installing New Hardware
Installing new hardware on your cabinets is a simple way to refresh your kitchen or bathroom. It changes the look without major work. New handles and knobs give old cabinets a fresh style. This process needs care to ensure the hardware fits well and looks good.
Aligning And Measuring
Start by measuring the distance between existing holes. Use a ruler or tape measure for accuracy. Mark new spots if your hardware size differs. Align the marks straight using a level. Proper alignment keeps handles and knobs even. This step helps avoid drilling mistakes and uneven placement.
Securing Handles And Knobs
Place the handle or knob over the hole. Insert screws from inside the cabinet. Tighten screws with a screwdriver, but not too tight. Over-tightening can damage the hardware or cabinet. Check that each piece is secure and straight. Test the hardware by opening and closing the door or drawer.

Credit: hardwarehut.com
Finishing Touches
Finishing touches bring your cabinet hardware update to life. They ensure everything works smoothly and looks great. Small steps here make a big difference in the final result. Focus on checking function and care to keep hardware fresh and useful.
Testing Functionality
Try every knob and handle after installation. Make sure they turn or pull without sticking. Check for loose screws or gaps around hardware. Fix any issues right away to avoid damage later. Smooth operation means your cabinets feel new and easy to use.
Maintaining Hardware For Longevity
Clean hardware regularly with a soft cloth. Avoid harsh chemicals that can wear finishes. Tighten screws every few months to keep hardware secure. Use a little oil on moving parts to prevent squeaks. Good care helps your hardware look good and last longer.
Budget-friendly Tips
Updating old cabinet hardware does not have to be expensive. Small changes can give your kitchen a fresh look without spending much money. There are smart ways to find good deals and even customize hardware yourself. These budget-friendly tips make the process easy and affordable.
Where To Find Deals
Discount stores often have quality cabinet knobs and pulls at low prices. Check clearance sections in home improvement stores for marked-down hardware. Online marketplaces also offer competitive prices and frequent sales. Buying in sets can lower the cost per piece. Local thrift shops and flea markets sometimes hide unique hardware finds.
Diy Customization Ideas
Simple painting or spray painting can change the look of old hardware. Use metal spray paint to give knobs a modern finish. Adding small decorations like adhesive gems or stencils creates a custom design. Replacing only a few pieces can mix old and new styles. A little creativity turns basic hardware into something special.
Credit: www.kylieminteriors.ca
Frequently Asked Questions
How Do I Remove Old Cabinet Hardware Safely?
Use a screwdriver to unscrew knobs or pulls gently. Protect the cabinet surface with painter’s tape. Keep screws and hardware in a safe place for reuse or disposal.
What Tools Are Needed To Update Cabinet Hardware?
You need a screwdriver, drill, measuring tape, and new hardware. Optional tools include a level and wood filler for adjustments. These tools ensure precise and secure installation.
Can I Reuse Old Cabinet Hardware After Updating?
Yes, if the hardware is in good condition and fits your design. Clean and polish it before reinstalling. Reusing hardware saves money and maintains a consistent look.
How Do I Choose New Cabinet Hardware Styles?
Consider your kitchen’s style, color scheme, and cabinet material. Match hardware finishes with existing fixtures for harmony. Choose functional designs that complement your overall decor.
Conclusion
Updating old cabinet hardware gives your space a fresh look fast. Small changes can make a big difference in your kitchen or bathroom. Choose handles and knobs that fit your style and budget. Take your time to install each piece carefully for best results.
Enjoy the renewed feel of your cabinets without a full remodel. This simple update adds charm and value to your home. Try it yourself and see how easy and rewarding the process can be.