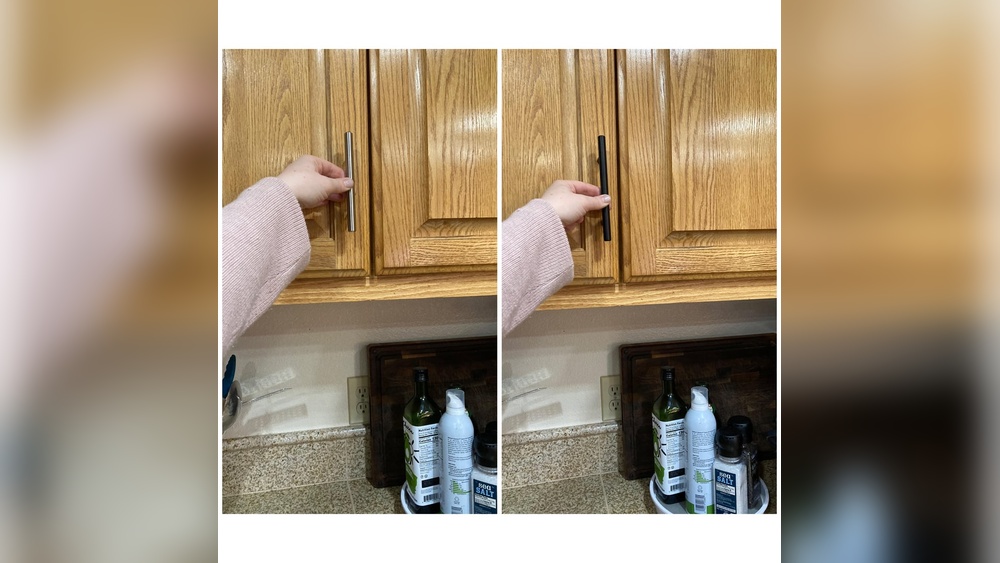
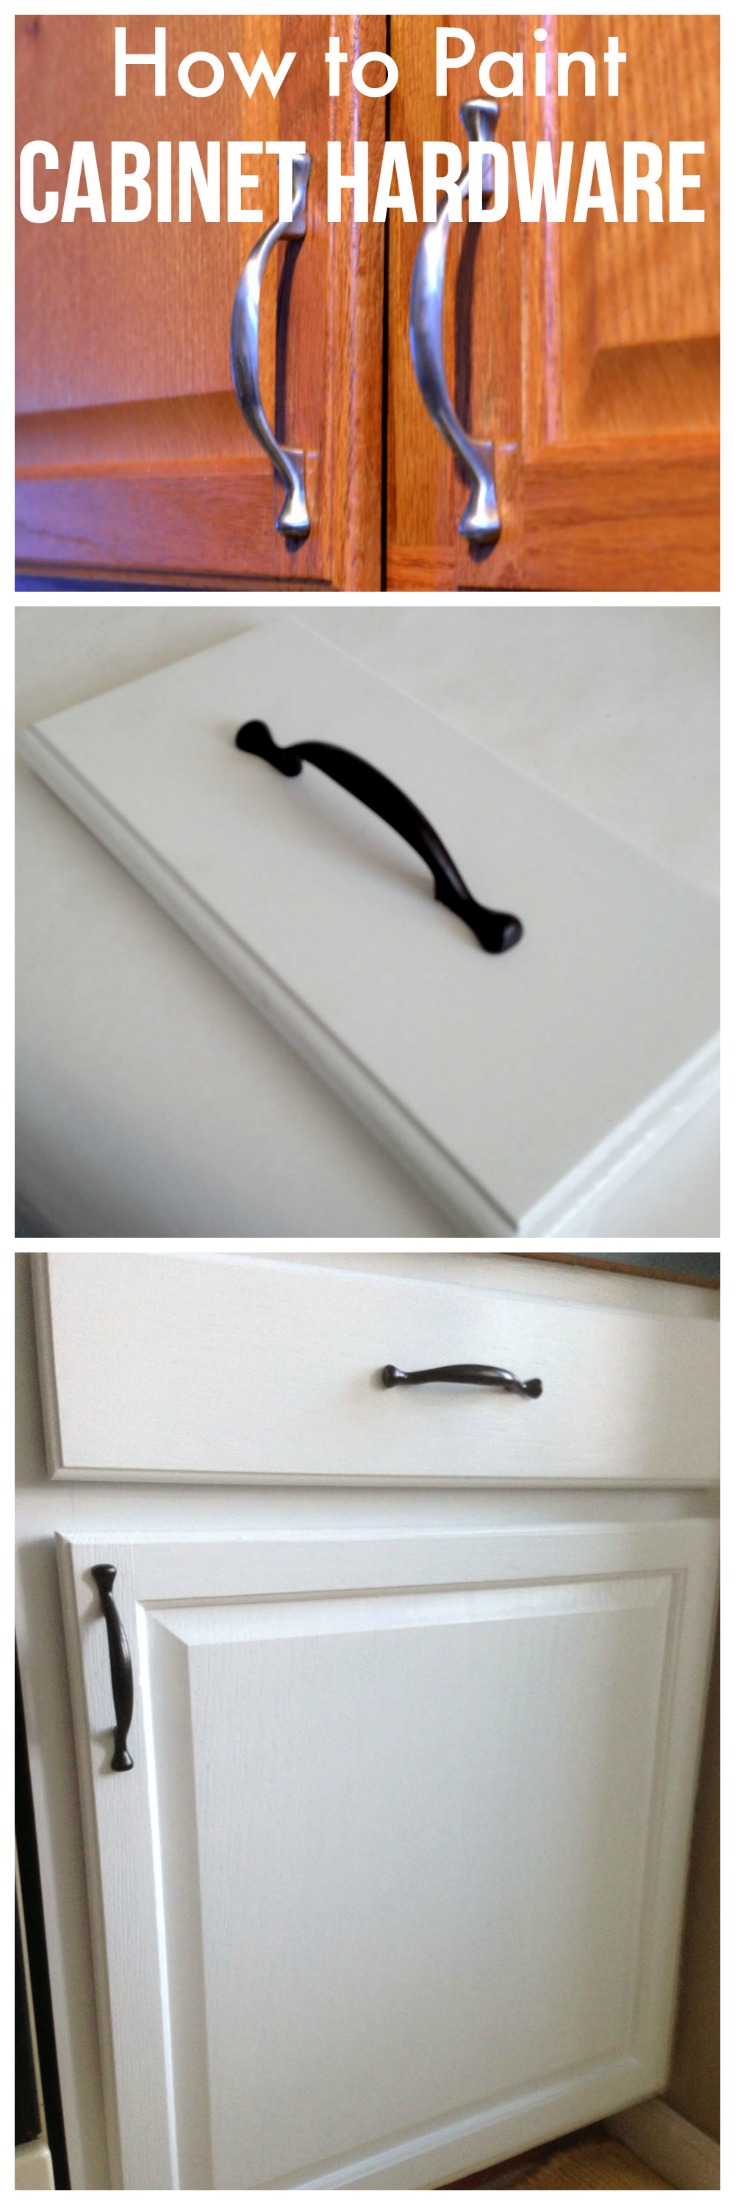
Are you ready to give your kitchen or bathroom a fresh, stylish update without breaking the bank? Spraying paint on your cabinet hardware is one of the quickest and most affordable ways to transform your space.
Imagine turning tired, outdated knobs and pulls into sleek, modern accents that catch the eye every time you open a drawer. But to get that smooth, long-lasting finish you want, there’s a right way to do it. In this guide, you’ll discover simple, step-by-step tips to clean, prep, and spray paint your cabinet hardware like a pro—no experience needed.
Stick with me, and you’ll have beautifully refreshed hardware that looks like new in no time!

Credit: www.thriftydecorchick.com
Preparing Hardware
Preparing your cabinet hardware is a crucial step before spray painting. Proper preparation ensures the paint sticks well and lasts longer. It also helps achieve a smooth and even finish. Follow these simple steps to get your hardware ready for painting.
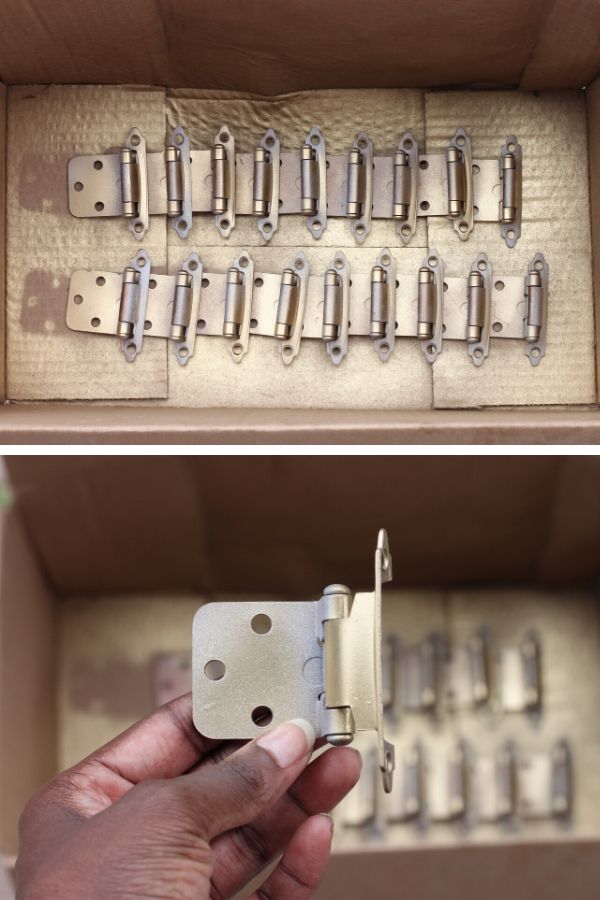
Removing Handles And Knobs
Start by carefully removing all handles and knobs from your cabinets. Use a screwdriver to unscrew each piece. Keep the screws in a safe place to avoid losing them. Removing hardware makes it easier to paint every side evenly. It also prevents paint from getting on your cabinets.
Cleaning And Degreasing
Clean all hardware thoroughly to remove dirt, grease, and oils. Use warm water mixed with a mild detergent or a degreasing cleaner. Scrub gently with a soft brush or cloth. Rinse well and let the pieces dry completely. Clean surfaces help paint adhere better and prevent peeling.
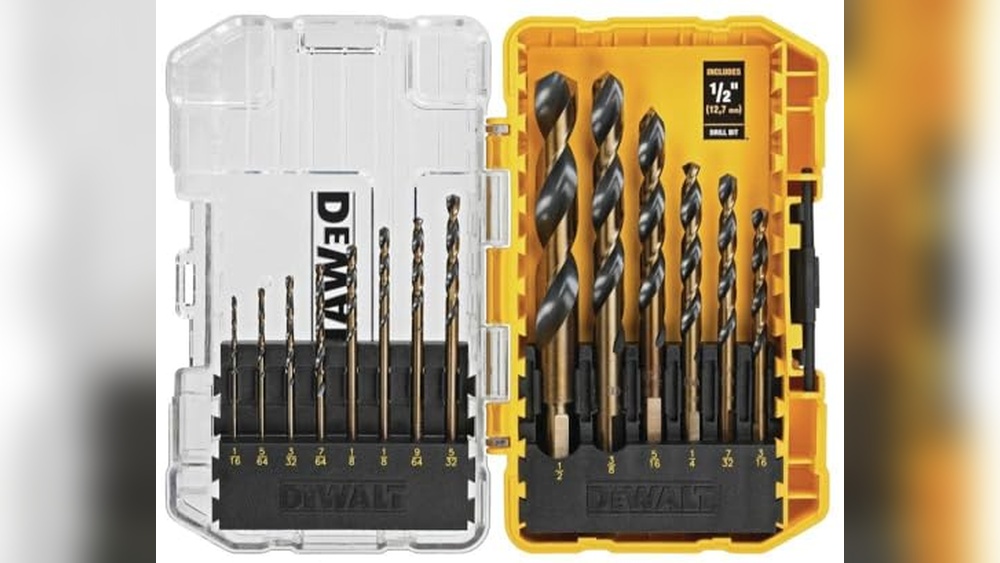
Sanding For Adhesion
Lightly sand the hardware using fine-grit sandpaper, such as 220 grit. Sanding creates a rough surface for the paint to grip. Focus on areas where paint will be applied. After sanding, wipe off dust with a clean cloth. Proper sanding improves the durability of your paint job.
Credit: createandbabble.com
Choosing Materials
Choosing the right materials is essential for a smooth spray paint job on cabinet hardware. The materials affect how well the paint sticks and how long the finish lasts. Select quality products designed for metal surfaces to ensure durability. Prepare each item carefully and choose paint products that work well together.
Focus on primer, spray paint, and top coat. Each plays a key role in the final look and protection of your hardware.
Selecting Primer
Use a primer made for metal to help paint stick better. A shellac-based primer offers strong adhesion and covers well. It also prevents rust and stains from showing through the paint. Apply a thin, even coat. Let it dry fully before painting. This step improves paint durability and finish smoothness.
Picking The Right Spray Paint
Choose spray paint designed for metal surfaces. Look for paint with a smooth finish and good coverage. Satin or semi-gloss paints work well for hardware. They give a nice shine without being too glossy. Shake the can well before use. Use thin, even coats to avoid drips and runs. Allow each coat to dry before applying the next.
Top Coat Options
A top coat protects the paint and adds durability. Clear polyurethane or acrylic spray finishes work great. They guard against scratches and wear. Use a matte, satin, or gloss finish to match your style. Apply the top coat in light, even layers. Let it dry completely for the best protection.
Spray Painting Process
Spray painting cabinet hardware transforms old fixtures into fresh, stylish accents. This process needs a clean workspace, proper primer, careful paint application, and patience between coats. Following these steps ensures a smooth, lasting finish. Let’s break down the spray painting process into simple parts.
Setting Up A Workspace
Choose a well-ventilated area with good light. Lay down a drop cloth or newspaper to catch overspray. Use a table or bench to work at a comfortable height. Wear a mask to protect your lungs from fumes. Keep spray paint cans at room temperature for best results.
Applying Primer Coat
Shake the primer can well before use. Hold the can 8 to 12 inches from the hardware surface. Spray in steady, light passes to avoid drips. Cover all sides evenly for full protection. Let the primer dry completely before the next step.
Spraying Paint In Layers
Shake the paint can thoroughly to mix the color. Spray light coats, holding the can 8 to 12 inches away. Move your hand smoothly to avoid heavy spots. Apply multiple thin layers instead of one thick coat. This method prevents runs and creates a smooth finish.
Drying Time Between Coats
Allow each coat to dry for at least 30 minutes. Check the paint can for specific drying times. Avoid touching the surface until it feels dry. Patience here helps prevent smudges and uneven texture. Repeat the process for all layers needed for full coverage.
Finishing Touches
The finishing touches make your spray-painted cabinet hardware look polished and last longer. This final stage protects your work and ensures a smooth, durable surface. Follow these steps carefully to get the best results.
Applying Protective Top Coat
Use a clear top coat to shield the paint from scratches and wear. Choose a spray clear coat made for metal surfaces. Hold the can about 10-12 inches away and spray in light, even layers. Let each layer dry before applying the next. This creates a strong, protective finish.
Allowing Proper Curing Time
Let the hardware cure fully before use. Curing means the paint hardens and bonds completely. Place the pieces in a dry, dust-free area. Avoid touching or handling the hardware for at least 24 hours. Longer curing times improve durability and prevent damage.
Reattaching Hardware
Once cured, carefully reattach the hardware to your cabinets. Use the original screws and tools. Tighten screws gently to avoid scratching the new paint. Check that each piece sits flush and secure. Your cabinets now have a fresh, updated look that lasts.
Tips For Best Results
Achieving a smooth, durable finish when spray painting cabinet hardware requires attention to detail. Follow key tips to ensure the paint adheres well and lasts long. Proper preparation, careful application, and good maintenance all play vital roles. Keep these tips in mind for the best results every time.
Safety Precautions
Always spray paint in a well-ventilated area. Open windows or use a fan to keep air moving. Wear a mask to avoid inhaling fumes. Use gloves to protect your skin from paint and chemicals. Cover nearby surfaces with newspaper or plastic to prevent overspray. Keep spray paint cans away from heat or open flames. Store paint properly after use.
Avoiding Common Mistakes
Clean hardware thoroughly before painting. Remove grease, dirt, and old paint flakes. Sand surfaces lightly to help paint stick. Do not spray too close; keep the can 8-12 inches away. Use thin, even coats instead of thick layers. Let each coat dry fully before applying the next. Avoid painting in humid or very cold weather. Handle hardware carefully to avoid scratches after painting.
Maintaining Painted Hardware
Let painted hardware cure for at least 24 hours before use. Clean gently with a soft cloth and mild soap. Avoid harsh chemicals or abrasive cleaners that can damage paint. Tighten screws carefully to avoid chipping. Touch up any chips or scratches promptly. Reapply a clear topcoat every few years to keep hardware looking new. Store extra hardware in a dry place to prevent rust.
Credit: www.lifesahmazing.com
Frequently Asked Questions
Can I Spray Paint Cabinet Hardware?
Yes, you can spray paint cabinet hardware. Clean, sand, and prime the hardware first. Use suitable spray paint and apply a protective top coat for durability.
What Kind Of Paint To Use On Cabinet Hardware?
Use spray paint or enamel paint designed for metal cabinet hardware. Clean, sand, and prime first for best adhesion and durability.
Will Spray Paint Stick To Metal Without Primer?
Spray paint can stick to metal without primer but may peel or chip easily. Primer improves adhesion and durability significantly.
What Is The Best Spray Paint For Hardware?
The best spray paint for hardware is a durable, metal-specific option like Rust-Oleum Universal or Krylon Fusion. These offer strong adhesion and a smooth finish. Use a primer for better results and a clear top coat for extra protection.
Conclusion
Spray painting cabinet hardware can refresh your space affordably. Clean and sand each piece well before painting. Use primer for better paint adhesion and durability. Apply light coats of spray paint, letting each dry fully. Consider a clear top coat to protect the finish.
Take your time and work in a ventilated area. This simple project adds a fresh, updated look to your cabinets. Enjoy the new style without the cost of replacement.