Are you ready to give your table a sturdy, professional finish? Installing table top fasteners is the key to keeping your tabletop secure while allowing the natural wood to expand and contract with changes in temperature and humidity.
If you’ve ever struggled with a wobbly table or cracked wood, learning how to install these fasteners correctly will save you time, money, and frustration. In this guide, you’ll discover simple, step-by-step instructions that anyone can follow—even if you’re new to woodworking.
By the end, you’ll have the confidence to attach your tabletop like a pro, ensuring it stays strong and beautiful for years to come. Let’s dive in and get your project nailed down the right way!
Types Of Table Top Fasteners
Table top fasteners keep your tabletop secure yet allow wood movement. Choosing the right fastener depends on your table design and materials. Different fasteners offer various strengths and installation methods. Here are four common types of table top fasteners to consider.
Z-clips
Z-clips provide strong, hidden support for tabletops. They allow the wood to expand and contract naturally. Installation involves screwing the clips to the apron and tabletop edges. Z-clips are ideal for solid wood tables. They hold the top firmly without visible hardware.
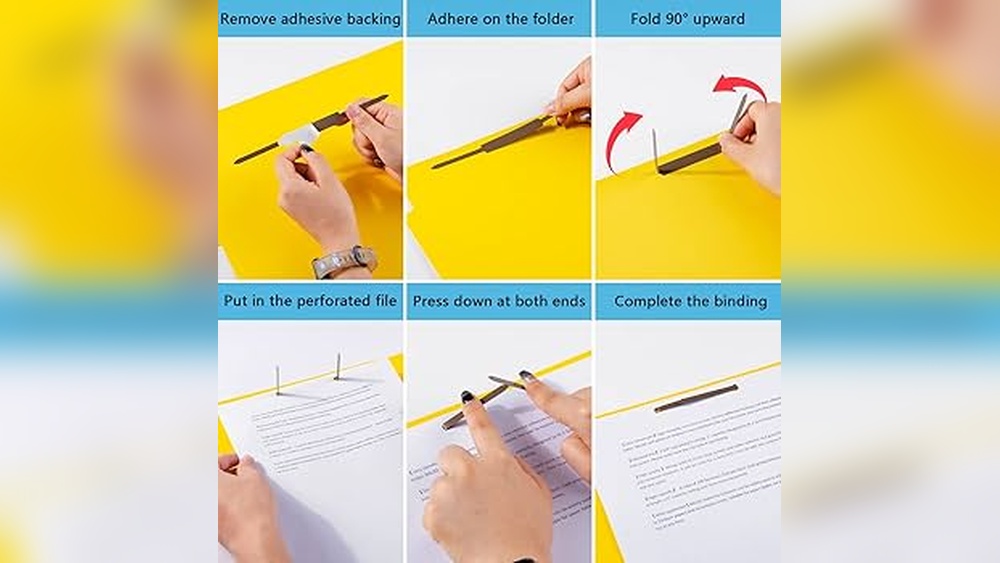
Figure Eight Fasteners
Figure eight fasteners are simple and flexible connectors. Shaped like the number eight, they attach with screws on both sides. These fasteners allow slight movement to prevent wood cracks. They work well for small to medium tables. Figure eights are easy to install and remove.
Angle Brackets
Angle brackets offer strong corner support for tabletops. They mount under the table and apron corners. These fasteners provide stability but restrict wood movement. Angle brackets suit tables with engineered wood or plywood tops. They are visible but add a sturdy frame.
Wooden Buttons
Wooden buttons are traditional fasteners made from wood discs. They fit into routed grooves on the tabletop edge and apron. Wooden buttons allow natural wood movement and blend with the table. Installation requires precise routing and glue. These fasteners add a handcrafted look.

Credit: www.youtube.com
Tools And Materials Needed
Gathering the right tools and materials is essential before installing table top fasteners. Each item ensures the process goes smoothly and the fasteners hold securely. Prepare everything to avoid interruptions during installation.
Drill And Bits
A drill is necessary for making precise holes in the wood. Use drill bits that match the screw size to prevent wood splitting. A cordless drill offers better mobility around the workspace.
Screws And Washers
Select screws that fit the fasteners and the thickness of your tabletop. Washers help distribute pressure evenly and protect the wood from damage. Use flat washers for a secure and neat finish.
Chisel And Hammer
A chisel allows you to create clean notches for the fasteners to sit flush. Use a hammer to tap the chisel carefully. This step ensures the fasteners do not raise above the surface.
Measuring Tape And Pencil
Accurate measurements keep the fasteners aligned and evenly spaced. Mark drill points clearly with a pencil before drilling. This prevents mistakes and ensures a professional look.
Preparing The Table Top
Preparing the table top is a key step before installing fasteners. It ensures a secure fit and long-lasting strength. Take your time to prepare the surface carefully. This step helps avoid mistakes during the installation process.
Measuring And Marking
Start by measuring the exact spots for the fasteners. Use a tape measure and a pencil for marking. Mark the edges where the fasteners will sit. Keep the marks clear and visible. Precise measuring prevents misalignment later. Double-check your measurements for accuracy.
Cutting Notches And Slots
Next, cut notches or slots to fit the fasteners. Use a chisel or a router for clean cuts. The notches should match the fastener size. Cut carefully to avoid damaging the table top. Smooth out the edges for a perfect fit. Proper notches keep the fasteners secure and flush.
Drilling Pilot Holes
Drill pilot holes where screws will go. Use a drill bit slightly smaller than the screw size. Pilot holes guide screws and prevent wood splitting. Drill straight and to the right depth. Mark the drill bit with tape to control depth. This step makes screw installation easier and safer.
:max_bytes(150000):strip_icc()/1164-0c242eeb354d4cca978884b48afcbdc3.jpg)
Credit: www.woodmagazine.com
Attaching Fasteners To The Table Top
Attaching fasteners to the table top is a crucial step in securing the surface properly. It ensures stability while allowing the wood to move naturally. This process requires careful attention to positioning and fastening techniques.
Proper attachment prevents damage and keeps the table durable over time. Follow these steps to install fasteners effectively.
Positioning Clips And Brackets
Start by placing the table top upside down on a soft surface. Position the clips or brackets along the edges where the table meets the base. Keep them evenly spaced for balanced support.
Leave some space between the clips and the apron to allow wood expansion. Mark the locations with a pencil to guide screw placement later.
Securing With Screws
Pre-drill holes at the marked spots to prevent wood splitting. Use screws that fit the fasteners and wood thickness. Drive screws firmly but avoid over-tightening.
Check that clips or brackets sit flush with the table top. This ensures a strong hold without bending or warping the fasteners.
Allowing Wood Movement
Wood expands and contracts with changes in humidity. Leave a small gap between fasteners and the apron to accommodate this movement.
Use fasteners that allow slight sliding or flexibility. This helps prevent cracks or warping over time. Proper allowance extends the life of your table.
Fixing The Table Top To The Base
Fixing the table top to the base is a key step in table assembly. It ensures stability and allows wood to expand or contract. Proper installation prevents damage and keeps the table strong. Follow these steps to secure your table top firmly to the base.
Aligning The Table Top
Place the table top upside down on a soft surface. This prevents scratches and dents. Position the base in the center of the table top. Use clamps or weights to hold the base in place. Check that all edges of the table top are even. Mark the spots where fasteners will attach. Proper alignment avoids gaps and wobbling.
Attaching To Wooden Bases
Use wood screws or Z-clips to connect the table top to the wooden base. Drill pilot holes first to avoid splitting the wood. Attach fasteners evenly along the frame. Leave space for wood to expand and contract naturally. Tighten screws firmly but not too tight. This keeps the table stable without causing cracks.
Attaching To Metal Bases
Metal bases need different fasteners like bolts or brackets. Align the base holes with the table top marks. Use washers to protect the wood surface. Tighten bolts securely using a wrench. Avoid over-tightening to prevent damage. Check that the table top sits flat on the metal base.
Tips For Secure And Durable Fixing
Ensuring a secure and durable fixing of table top fasteners is essential for a strong and lasting table. Proper installation prevents wobbling and damage over time. Follow these tips to make the fixing stable and reliable.
Spacing Fasteners Correctly
Place fasteners evenly along the tabletop edges. Keep them at regular intervals to spread the load. Avoid placing fasteners too close to corners or edges. This prevents wood splitting and ensures firm attachment. For longer tabletops, increase the number of fasteners to maintain stability.
Using Washers For Stability
Use washers under screw heads to increase surface area. Washers help distribute pressure evenly on the wood. This reduces the risk of fasteners pulling through. Choose washers that fit well with your screws. They add strength and keep the fasteners from loosening over time.
Checking For Expansion Gaps
Wood expands and contracts with temperature and humidity changes. Leave small gaps between the fastener and tabletop edge. This allows natural wood movement without stress. Avoid tightening fasteners too much. Tight fasteners can cause wood to crack or warp.
Alternative Methods Without Screws
Installing tabletop fasteners without screws offers clean, damage-free solutions. These alternatives keep your table sturdy and easy to disassemble. Different methods work best depending on your project and tools available.
Adhesive Solutions
Strong wood glue or construction adhesive can join tabletops securely. Apply adhesive evenly on contact surfaces for best hold. This method avoids holes and keeps wood intact. Allow the adhesive to cure fully before use. Ideal for light to medium weight tabletops.
Sliding Dovetail Joints
Sliding dovetail joints create a tight fit without screws. Cut matching dovetail grooves in both tabletop and apron. Slide pieces together for a strong mechanical lock. This technique provides stability and allows easy disassembly. Requires precise cutting tools and careful measurements.
Clamp And Bracket Systems
Clamps and brackets hold tabletops firmly without screws. Use metal corner brackets or specialized clamps under the table. These fasteners secure the tabletop to the base while allowing movement. Easy to install and remove for repairs or transport. Suitable for temporary or adjustable setups.

Credit: www.woodcraft.com
Frequently Asked Questions
What Is The Spacing For Table Top Fasteners?
Space table top fasteners about 12 to 16 inches apart to allow wood movement and secure attachment. Adjust spacing for longer tabletops.
How To Install Figure 8 Tabletop Fasteners?
Place the tabletop upside down on a flat surface. Mark fastener positions on the apron. Drill pilot holes. Insert figure 8 fasteners into holes. Secure with screws, allowing wood movement. Attach the tabletop to the base using the fasteners. Ensure clips are spaced evenly for stability.
How To Use Table Top Z Clips?
To use table top Z clips, first cut matching grooves in the tabletop and base apron. Insert and secure clips with screws. Align clips to allow wood movement. Attach the base to the tabletop by sliding clips together, ensuring a tight, flexible fit.
What Are Tabletop Fasteners?
Tabletop fasteners are hardware pieces that secure tabletops to bases. They allow wood to expand and contract naturally. Common types include figure-eight fasteners, Z-clips, and buttons. These fasteners prevent splitting and maintain stability while enabling easy tabletop removal or adjustment.
Conclusion
Installing table top fasteners is simple with the right steps. Measure and mark carefully before drilling any holes. Use the correct fasteners to allow wood movement. Tighten screws just enough to hold the tabletop firmly. Check your work to ensure a secure fit.
Following these tips helps your table stay sturdy longer. Enjoy your project with confidence and ease.