If you’ve ever struggled with loose shelves, wobbly fixtures, or heavy items that just won’t stay put, mastering how to install fasteners is your game-changer. Whether you’re fixing something small or tackling a bigger project, knowing the right way to install fasteners ensures your work stays strong and secure.
This guide will walk you through simple, clear steps so you can confidently handle fasteners like a pro. Ready to make your projects last longer and hold tighter? Keep reading, and you’ll soon have the skills to do it right every time.
Types Of Fasteners
Fasteners join materials together securely. Choosing the right type helps a project last longer. Fasteners vary by design, size, and use. Understanding common types makes installation easier and safer.
Screws And Nails
Screws hold materials tightly with threads. They provide strong grip and resist pulling out. Nails are smooth and quick to install. They work well for wood and light materials. Both need the right size for the job.
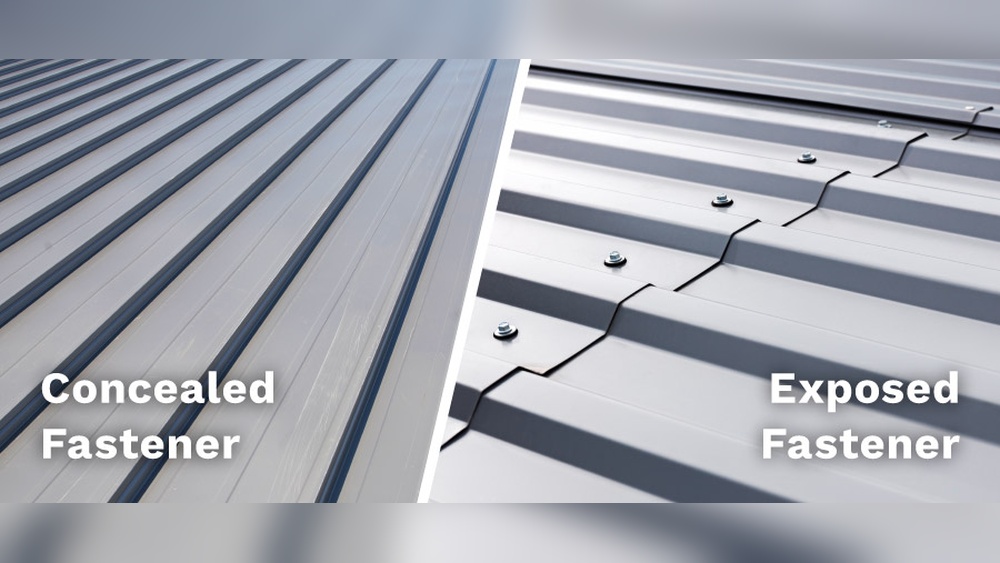
Anchors And Bolts
Anchors support heavy loads in walls or concrete. They expand to grip the base material. Bolts pair with nuts for very strong joints. They suit metal, wood, and concrete use. Proper drilling and fitting are key for anchors and bolts.
Prong Fasteners
Prong fasteners bind papers or thin materials. They have metal prongs that fold to hold items. Use them for documents, reports, or booklets. They need pre-punched holes for easy insertion. Prong fasteners keep stacks neat and secure.
Tools Needed
Installing fasteners requires the right tools for a smooth and safe job. Choosing proper tools ensures the fasteners hold firmly and last long. Having these tools ready before starting saves time and effort. Here are the main tools needed for installing fasteners.
Drills And Drivers
Drills and drivers help make holes and drive screws into surfaces. A cordless drill is best for easy movement and control. Use drill bits that match the size of the fasteners. Drivers fit different screw heads like Phillips or flat. These tools speed up work and reduce manual effort.
Hammers And Mallets
Hammers and mallets help insert nails and other fasteners by force. A claw hammer is ideal for nails and removing them if needed. Rubber mallets avoid damage to softer materials when tapping fasteners. Picking the right hammer depends on the fastener type and material.
Measuring And Marking Tools
Accurate measuring and marking guide the fastener placement. Tape measures measure distance and ensure correct spacing. Pencils or markers mark spots for drilling or hammering. A square or level helps keep lines straight and level. These tools improve precision and final results.
Preparing The Surface
Preparing the surface is the first key step in installing fasteners correctly. A clean, well-marked, and properly drilled surface ensures the fastener holds firmly and lasts longer.
Take your time to prepare. It avoids mistakes and weak fittings. Follow simple steps for best results.
Marking Fastener Positions
Start by marking exact points where fasteners will go. Use a pencil or marker for clear spots. Measure twice to avoid errors.
Marking ensures fasteners line up and stay straight. It saves time and prevents damage to materials.
Drilling Pilot Holes
Drill small pilot holes at the marked points. Use a drill bit slightly smaller than the fastener. This helps guide the fastener and reduces splitting.
Pilot holes make insertion easier and improve grip. Drill straight holes to keep fasteners secure and aligned.
Cleaning The Area
Clear dust, debris, and loose material from drilled holes and surrounding surfaces. Use a brush or air blower for best cleaning.
A clean surface helps fasteners hold better. It prevents slipping and ensures a tight fit.

Credit: www.youtube.com
Installing Drywall Anchors
Installing drywall anchors helps secure objects to walls safely. Anchors hold screws tightly in drywall, preventing damage. Using the right technique ensures strong support for shelves, pictures, or mirrors. Follow these steps for a reliable installation.
Choosing The Right Anchor
Select anchors based on the item’s weight and wall type. Plastic anchors work well for light loads. For heavier items, use metal or toggle anchors. Match anchor size to screw thickness for a firm hold.
Hammering The Anchor
Mark the spot on the wall where the anchor goes. Gently tap the anchor into the drywall with a hammer. Drive it until the anchor is flush with the wall surface. Avoid hitting too hard to prevent wall damage.
Inserting The Screw
Place the screw into the anchor’s center hole. Turn the screw clockwise using a screwdriver. Tighten until the screw feels secure and the anchor expands inside. Do not overtighten to avoid stripping the anchor.
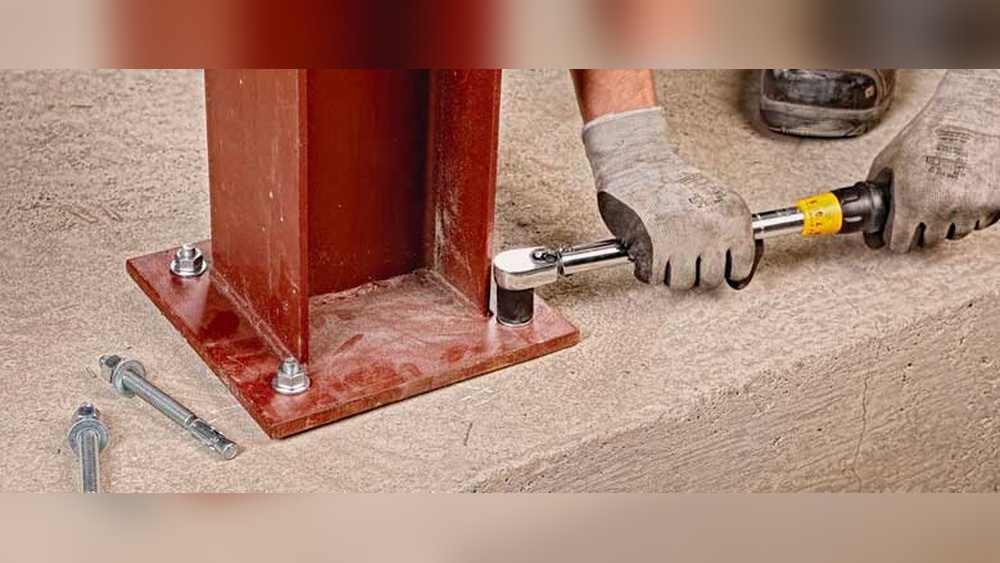
Installing Concrete Anchors
Installing concrete anchors is essential for securing items to concrete surfaces. These anchors provide strong support for shelves, fixtures, and heavy equipment. Proper installation ensures durability and safety.
Concrete anchors work by expanding inside the drilled hole. This expansion grips the concrete firmly. Follow these simple steps to install them correctly.
Drilling Into Concrete
Select a drill bit that matches the anchor size. Use a hammer drill for best results. Drill a hole deep enough for the anchor length. Keep the drill steady and straight. Clean out dust from the hole with a brush or compressed air. A clean hole allows better anchor grip.
Inserting The Anchor
Push the anchor into the drilled hole. Tap it gently with a hammer until flush with the surface. Make sure the anchor fits tightly. Avoid forcing the anchor, which may damage it. The anchor must sit firmly inside the hole.
Securing With Screws
Choose screws that match the anchor size. Insert the screw into the anchor slowly. Tighten the screw until secure but avoid over-tightening. Over-tightening can weaken the anchor grip. The screw should hold firmly, ready to support weight.
Credit: www.youtube.com
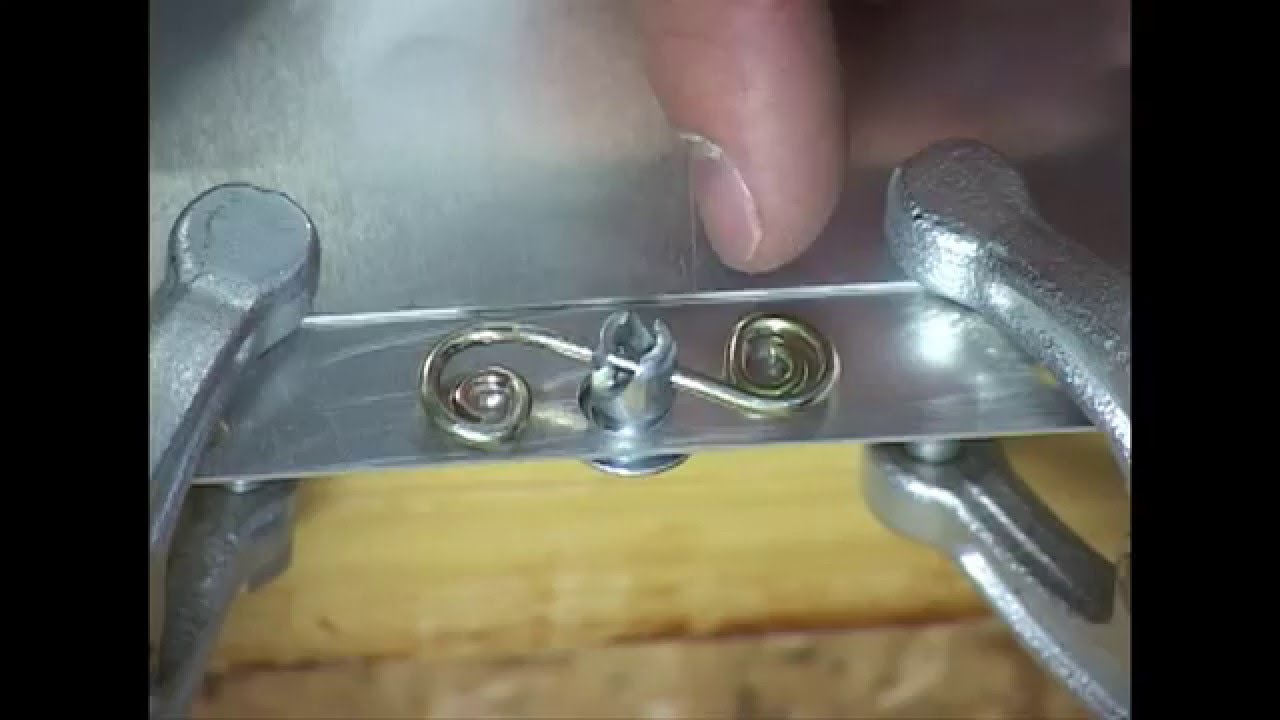
Using Prong Fasteners
Prong fasteners provide a simple and effective way to hold papers or materials together. They are common in offices, schools, and craft projects. Using prong fasteners helps keep your documents neat and secure without damaging them. This method works well for thick stacks or when you want easy access for adding or removing pages.
Aligning Pages Or Materials
Start by organizing your pages or materials. Make sure all edges line up evenly. Use a three-hole punch to create holes that match the fastener prongs. Check that the holes on the pages align well with the prongs. Proper alignment ensures the fastener will hold tightly and the materials will stay in place.
Inserting Prongs
Take your prong fastener and position it over the holes. Insert the prongs straight down through each hole. Push the prongs all the way through until the base sits flat against the back of the stack. The prongs should pass easily without bending or forcing. This step connects all pages securely in one place.
Folding Prongs To Secure
Once the prongs are inserted, fold them outward. Press the prongs flat against the back of the pages. This action locks the papers in place and prevents them from slipping out. Use your fingers or a flat tool to press the prongs firmly. The folded prongs create a strong hold but allow easy removal later if needed.
Tips For Durable Results
Achieving durable results when installing fasteners requires careful attention and proper technique. Small mistakes can cause fasteners to loosen or fail quickly. Follow these tips to ensure your fasteners stay secure and strong for a long time.
Applying Even Pressure
Press the fastener evenly while installing. Uneven pressure can damage the material or cause the fastener to sit crooked. Use a steady hand and keep the force consistent. This helps the fastener grip tightly without bending or breaking.
Avoiding Over-tightening
Do not tighten the fastener too much. Over-tightening can strip threads or crack the material. Turn the fastener until it is snug, then stop. This balance keeps the fastener secure and prevents damage to both the fastener and the surface.
Checking Fastener Stability
After installation, test the fastener’s hold by gently wiggling it. If it moves, tighten slightly but avoid forcing it. A stable fastener will not shift or loosen easily. Regularly check fasteners in high-use areas to maintain safety and strength.
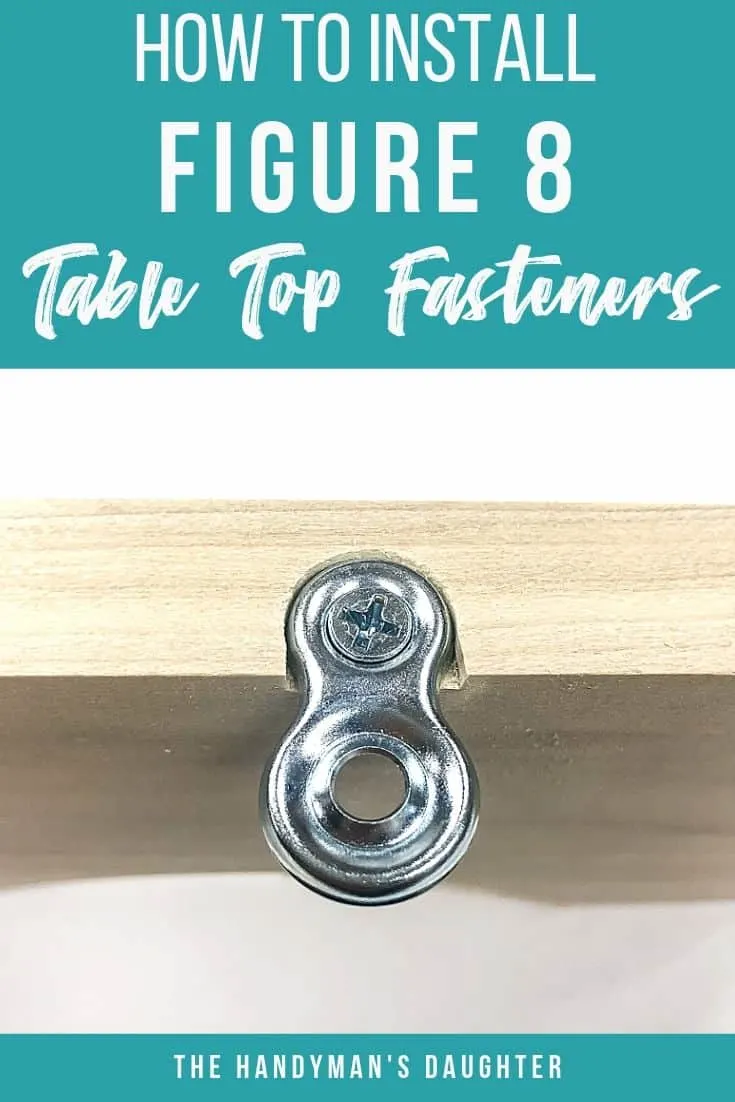
Credit: www.thehandymansdaughter.com
Common Mistakes To Avoid
Installing fasteners seems simple but many make mistakes that cause problems later. These errors reduce strength and can damage materials. Avoid these common pitfalls to ensure a secure and lasting hold.
Wrong Fastener Type
Choosing the wrong fastener weakens your project. Different materials need specific fasteners. Wood fasteners won’t hold well in metal and vice versa. Always match the fastener type to the material and load.
Incorrect Hole Size
Drilling holes too large or too small causes issues. A hole too big leaves the fastener loose. Too small, and the fastener may not fit or split the material. Measure carefully and follow fastener instructions.
Skipping Surface Preparation
Surface cleaning is often skipped but very important. Dirt, rust, or paint stops fasteners from gripping firmly. Clean and dry the surface before installation. This step improves adhesion and prevents slipping.
Frequently Asked Questions
How To Install A Screw Anchor?
Drill a hole matching the anchor size. Insert the anchor into the hole. Turn it clockwise until flush. Screw into the anchor firmly. Hang your item securely.
How To Install Prong Fasteners?
Align your hole-punched pages and stack them neatly. Insert prong fastener prongs downward through the holes. Fold prongs outward to secure pages firmly.
Do You Hammer Anchors In Before You Screw?
Yes, hammer the anchor gently into the drilled hole before screwing. This ensures a secure fit and proper support.
How To Install A Snap Screw Anchor?
Drill a hole matching the anchor size. Insert the snap screw anchor. Turn clockwise until flush with the wall. Insert the screw and tighten securely.
Conclusion
Installing fasteners is simple when you follow clear steps. Start with the right tools and materials. Drill or prepare the surface carefully. Insert the fastener firmly but gently. Tighten screws evenly to secure the hold. Double-check that everything fits and feels strong.
Practice makes the process easier and faster. Use these tips to complete your project with confidence. Small details make a big difference in fastener strength. Keep safety in mind during every step. Now, you are ready to install fasteners correctly and safely.