Are you ready to give your kitchen or bathroom a fresh new look without spending a fortune? Changing out cabinet hardware is one of the easiest and most effective ways to do just that.
Whether your current knobs and pulls are outdated, worn, or just not your style anymore, swapping them out can completely transform the feel of your space. Best of all, you don’t need to be a DIY expert to make this change happen.
In this guide, you’ll discover simple, step-by-step instructions to help you update your cabinet hardware quickly and confidently. Keep reading, and you’ll be amazed at how a small change can make a big impact!
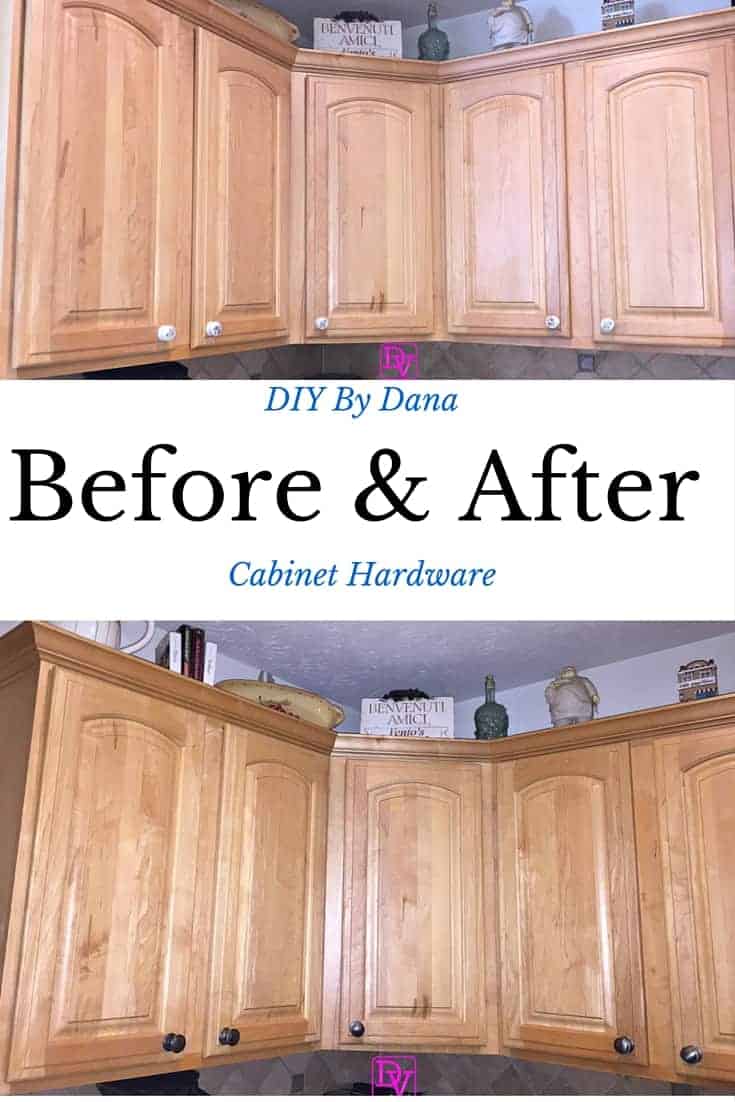
Credit: danavento.com
Tools And Materials Needed
Changing out cabinet hardware is a simple way to update your kitchen or bathroom. Having the right tools and materials makes the job easier and faster. Preparing everything before you start saves time and avoids frustration.
Selecting New Hardware
Choose hardware that fits your cabinet style and size. Measure the current handles or knobs to find matching replacements. Pick materials that resist rust and wear, such as stainless steel or brass. Consider the finish, like matte, shiny, or brushed, to match your decor.
Basic Tools Checklist
Gather these tools before starting:
- Screwdriver (usually a Phillips head)
- Drill with drill bits (for new holes)
- Measuring tape or ruler
- Masking tape (to mark hole locations)
- Level (to keep handles straight)
- Pen or pencil (for marking)
- Small container (to hold screws)
- Cleaning cloth (to wipe surfaces)
Having these tools ready ensures a smooth hardware change process.
Credit: semistories.semihandmade.com
Preparing Your Cabinets
Preparing your cabinets is the first step in changing out cabinet hardware. This step ensures the new hardware fits well and looks great. Taking time to prepare cabinets helps avoid problems later.
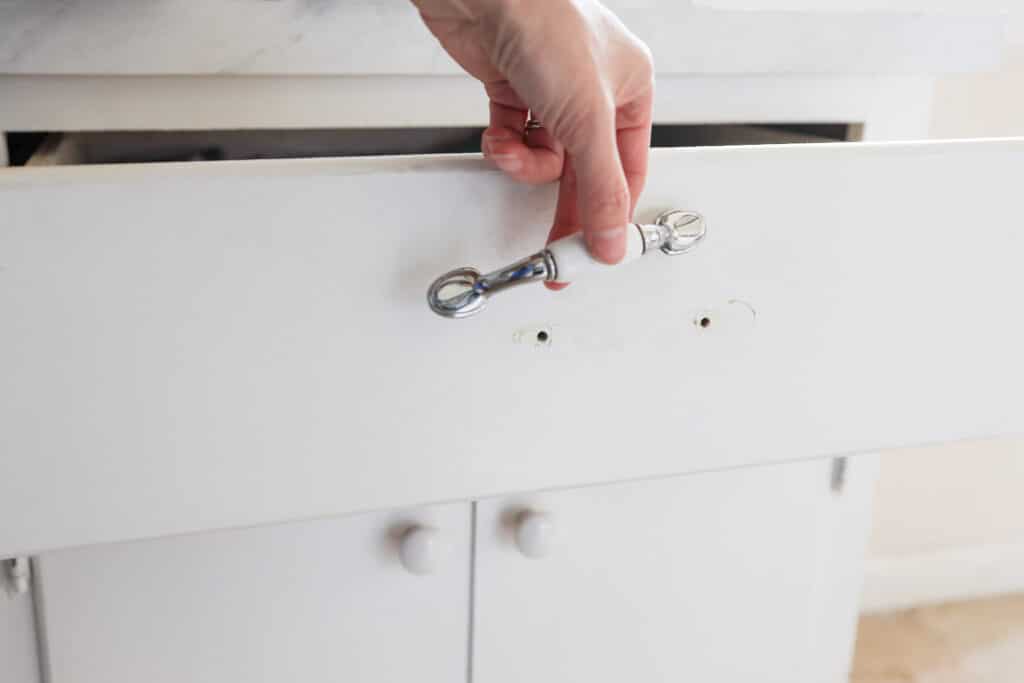
Removing Old Hardware
Start by opening the cabinet doors and drawers. Use a screwdriver to remove screws holding the old knobs or pulls. Keep the screws in a safe place in case you need them later. Pull the hardware gently to avoid damaging the cabinet surface.
If the hardware is stuck, try applying a little pressure or use a small tool to loosen it. Make sure all old hardware is completely removed before moving on.
Cleaning The Surface
After removing the old hardware, clean the cabinet surface. Use a soft cloth and mild soap with water to wipe away dirt and grease. Dry the surface completely with a clean towel.
Cleaning helps the new hardware stick better and look shiny. Avoid harsh chemicals that can damage the cabinet finish. A clean surface makes the new installation easier and neater.
Measuring And Marking
Measuring and marking are key steps in changing cabinet hardware. These steps make sure your new handles or knobs fit perfectly. Taking time here saves effort later. Accuracy helps avoid extra holes or uneven placement. Use a tape measure and pencil for best results.
Aligning New Hardware
Start by comparing the new hardware with old pieces. Check if the size and hole spacing match. Use the old holes as a guide if possible. For new holes, decide where the hardware looks balanced. Measure from the edges of the cabinet door or drawer. Mark the center points carefully. Double-check measurements before marking permanently.
Marking Drill Points
Mark drill points lightly with a pencil. Use a small piece of tape to prevent slipping. Make sure marks are visible but not too thick. Check the marks against the hardware holes. Adjust if needed to keep everything aligned. Drill slowly and carefully to avoid damage. Clean pencil marks after installing the hardware.
Installing New Hardware
Installing new cabinet hardware can refresh your kitchen or bathroom look. It adds style and improves function. This step is simple and rewarding. Follow clear steps for the best results.
Drilling Holes
Measure carefully before drilling holes. Use the old holes if they match the new hardware. Mark spots with a pencil for new holes. Use a drill bit that fits the screw size. Drill slowly to avoid wood damage. Check hole depth to prevent going through the cabinet.
Attaching Handles And Knobs
Align the hardware with the holes. Insert screws from inside the cabinet. Tighten screws gently to avoid stripping. Use a screwdriver for control, not a drill. Check that handles and knobs sit straight. Test for firmness and adjust if loose.
Finishing Touches
After installing your new cabinet hardware, the final steps make a big difference. These finishing touches ensure your cabinets look great and work well for a long time. Small actions now prevent problems later.
Tightening And Adjusting
Check all screws once hardware is in place. Tighten them carefully but do not over-tighten. Over-tightening can damage the cabinet or hardware.
Make sure handles and knobs sit straight and feel secure. Adjust if they wobble or look uneven. A level tool helps keep everything aligned.
Open and close cabinet doors to test the new hardware. Smooth movement means proper installation. If hardware sticks, loosen screws slightly and realign.
Maintaining Your New Hardware
Clean your hardware regularly with a soft cloth. Avoid harsh cleaners that can damage the finish. Mild soap and water work best.
Check screws every few months to keep hardware tight. Loose parts can cause damage or fall off.
Polish metal hardware with a gentle polish made for its material. This keeps it shiny and protects against rust or tarnish.
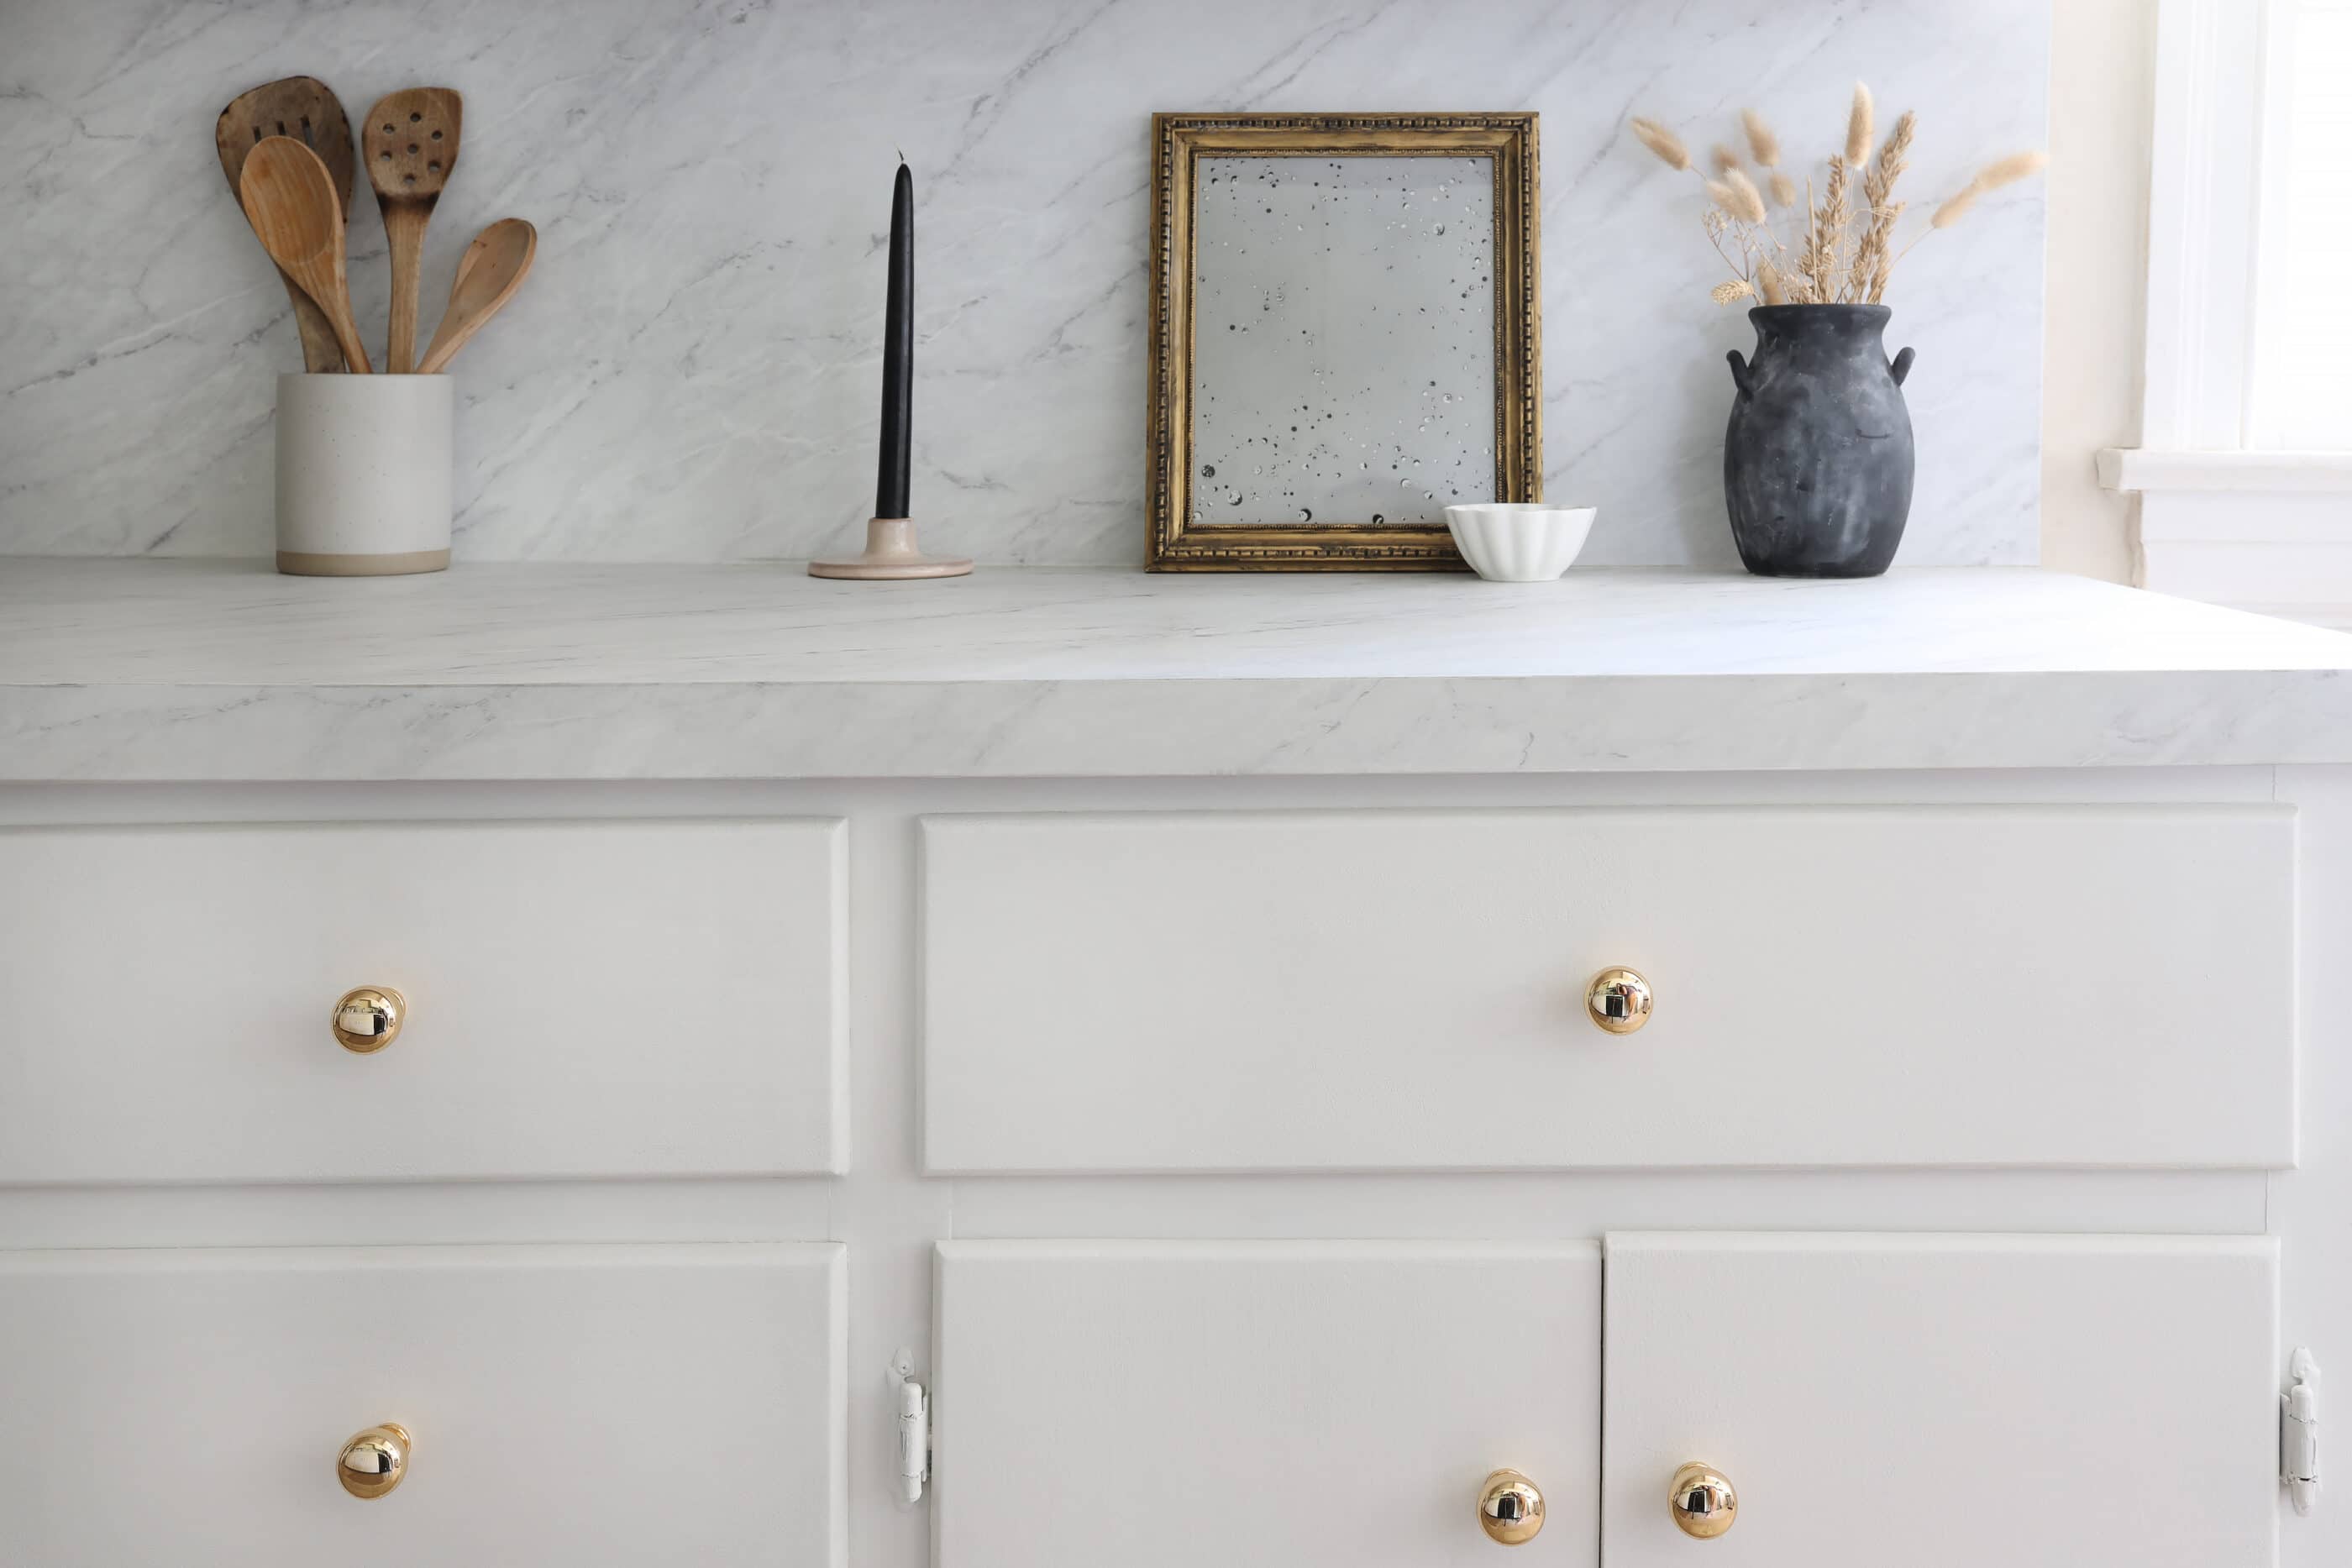
Credit: semistories.semihandmade.com
Design Tips For A Fresh Look
Changing your cabinet hardware can quickly update the whole kitchen or bathroom. Small details make a big difference in style. Choose the right hardware to create a fresh and modern look. Consider your room’s colors and theme before picking new handles or knobs. Design tips help you find the perfect style and finish for a new vibe.
Choosing Styles And Finishes
Pick hardware that fits your room’s style. For a classic look, choose simple, round knobs. Modern spaces suit sleek, straight handles. Think about the finish too. Chrome or brushed nickel works well in bright kitchens. Oil-rubbed bronze or matte black adds warmth to traditional rooms. Match hardware finish with other fixtures, like faucets or light switches.
Mixing And Matching Hardware
Use different hardware styles to add interest. Try pairing knobs with pulls on drawers and doors. Keep finishes similar for balance. For example, mix round knobs with long handles in brushed nickel. Mixing sizes also works. Use larger pulls on big drawers and small knobs on cabinet doors. This breaks the monotony but keeps a unified look.
Frequently Asked Questions
How Do I Remove Old Cabinet Hardware Safely?
Use a screwdriver to unscrew the hardware gently. Avoid forcing to prevent wood damage. Keep screws for reuse or replacement.
What Tools Are Needed To Change Cabinet Hardware?
You need a screwdriver, drill, measuring tape, and new hardware. Optional tools include a level and pencil for accuracy.
How To Measure For New Cabinet Hardware Placement?
Measure the distance between existing holes. Mark new hole locations evenly with a pencil and level before drilling.
Can I Reuse Old Screws For New Hardware?
Reusing screws is possible if they fit the new hardware. Otherwise, use screws that come with the new hardware set.
Conclusion
Changing out cabinet hardware can refresh your kitchen’s look quickly. It takes just a few steps to remove old handles and add new ones. No special skills are needed, so anyone can do it. Choose hardware that matches your style and fits well.
Small changes like these make a big difference in your space. Try it yourself and enjoy a fresh, updated kitchen without much effort. Simple projects often bring the best results. Give your cabinets a new touch today!