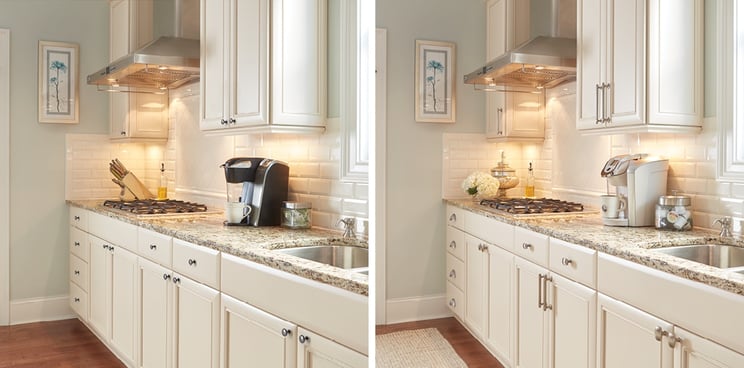
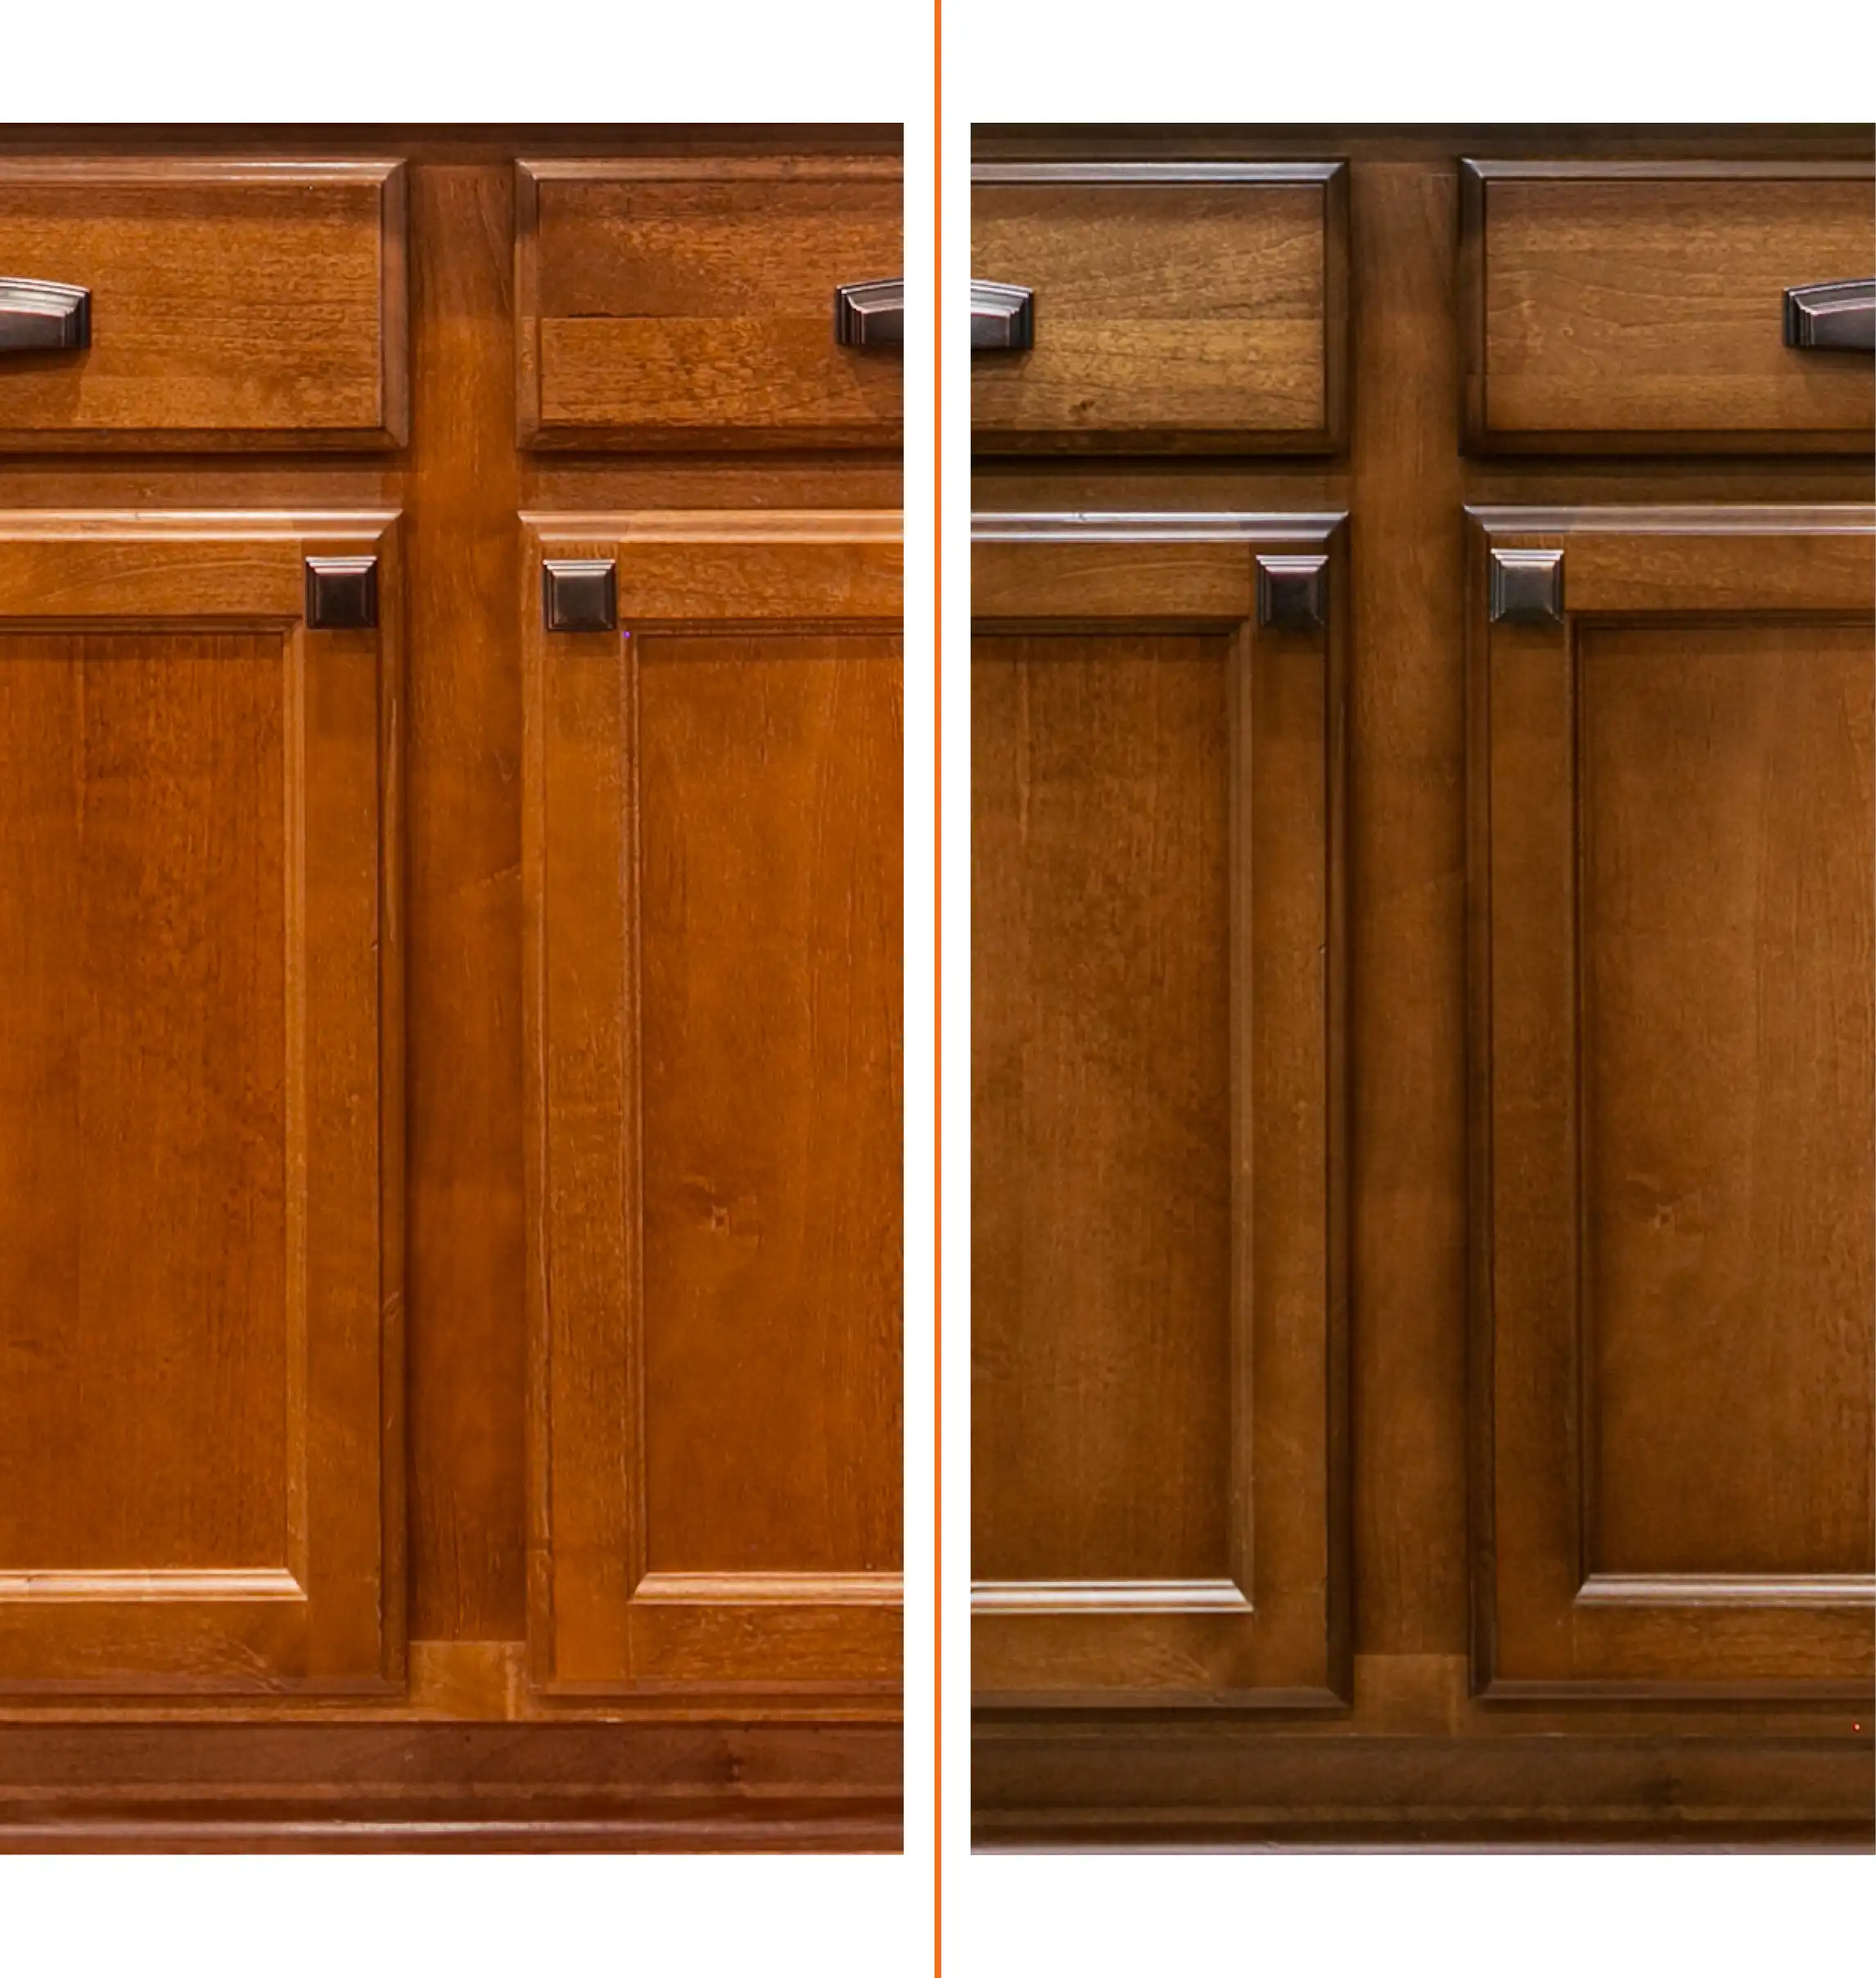
Are your cabinets looking a bit tired or outdated? Changing your cabinet hardware is one of the easiest and most affordable ways to give your space an instant makeover.
Imagine opening your cabinets and feeling a fresh sense of style every time. You don’t need to be a pro or spend hours on this project—just a few simple steps can transform your kitchen or bathroom. Keep reading, and you’ll discover how to swap out your old hardware quickly, easily, and without any hassle.
Your cabinets—and your home—will thank you!
Credit: news.amerock.com
Gathering Your Tools
Changing cabinet hardware can refresh your kitchen or bathroom quickly. Before starting, gather all needed tools and materials. This step saves time and helps avoid frustration during the project. Being prepared makes the job smoother and more enjoyable.
Essential Tools For The Job
Start with a screwdriver that fits your screws perfectly. Most cabinets use Phillips head screws, but check yours first. A power drill with screwdriver bits speeds up the process.
A tape measure ensures new hardware fits correctly. A level helps keep handles straight and even. A pencil marks screw hole positions on the cabinet doors or drawers.
Have a pair of pliers ready to remove old hardware if screws are stuck. A small wrench can help with nuts or bolts. Lastly, keep a cloth handy to wipe dust or debris.
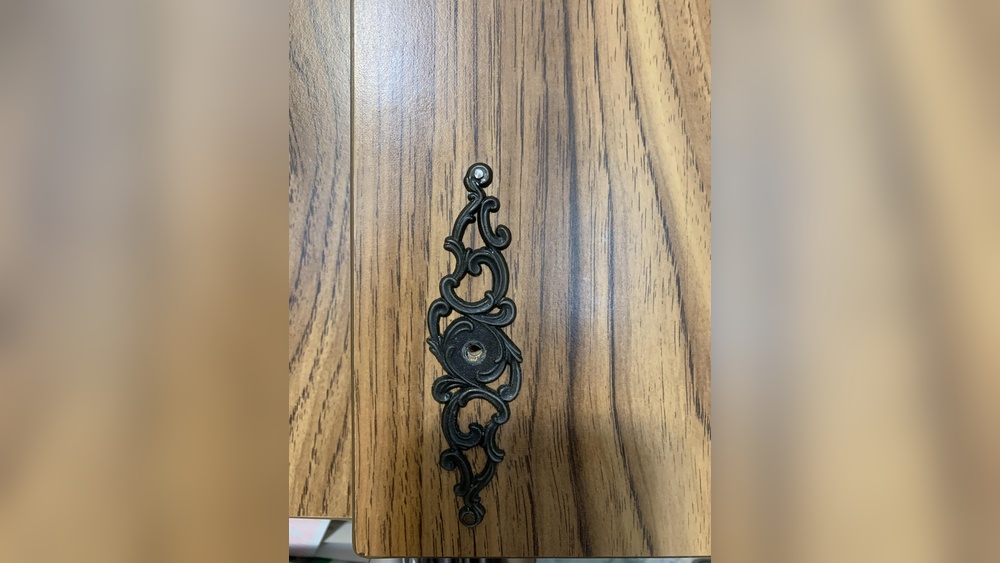
Choosing The Right Hardware
Pick hardware that matches your cabinet style and room decor. Consider the size and shape for comfort and ease of use. Measure old hardware to find similar sizes or try new looks.
Check the finish of the hardware. Brushed nickel, bronze, or chrome are popular choices. Choose a finish that complements your fixtures and appliances.
Think about the number of screws needed for installation. Some handles use two screws; others use one. Confirm this before buying to avoid extra drilling or hardware changes.
Credit: www.nhance.com
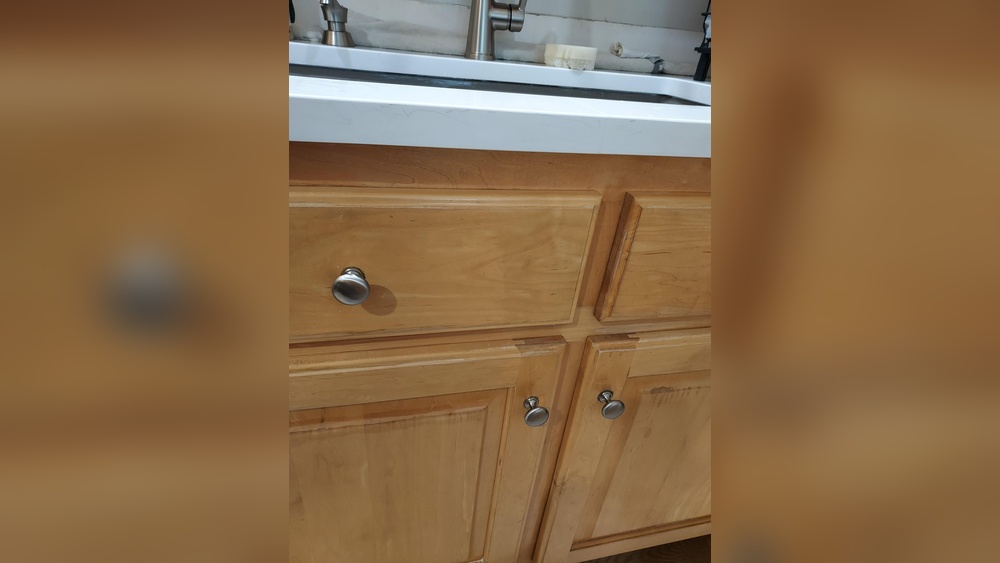
Preparing Your Cabinets
Preparing your cabinets is a key step before installing new hardware. This stage sets the foundation for a smooth and neat update. Proper preparation helps your new handles or knobs fit well and look great.
Start by removing the old hardware carefully. Then clean and inspect the cabinet surfaces. These actions protect the wood and prevent damage.
Removing Old Hardware
Use a screwdriver that fits the screws properly. Turn slowly to avoid stripping the screw heads. Keep screws safe if you plan to reuse them. Gently pull off handles or knobs after screws are removed. Avoid forcing parts off to prevent damage to the cabinet doors or drawers.
Cleaning And Inspecting Surfaces
Wipe the cabinet surface with a soft cloth and mild cleaner. Remove dirt, dust, and grease around screw holes. Check for cracks or dents near hardware areas. Fill small holes or scratches with wood filler. Let the surface dry completely before adding new hardware.
Measuring And Marking
Measuring and marking are key steps before changing cabinet hardware. Precise measurements ensure the new knobs or handles fit perfectly. Incorrect marks can lead to misaligned hardware and extra holes. Take your time to measure carefully. Use the right tools to mark spots clearly and accurately.
Aligning New Hardware
Start by checking where the old hardware sits. Use a ruler to measure the distance from edges to holes. Mark the new spot with a pencil. Make sure the marks are straight and even. Proper alignment keeps the cabinet looking neat. Measure twice to avoid mistakes. This step helps the new hardware fit right without extra drilling.
Using Templates For Accuracy
Templates simplify marking new hardware spots. Many hardware sets include a paper or plastic template. Place the template on the cabinet door or drawer front. Secure it so it does not move. Mark the holes through the template’s guides. Templates save time and improve accuracy. They ensure all hardware pieces line up perfectly across cabinets.
Installing New Hardware
Installing new cabinet hardware can refresh your kitchen or bathroom easily. The process is simple and does not need special skills. With the right tools and steps, you can change handles and knobs quickly. This section explains how to attach and secure new hardware correctly.
Attaching Handles And Knobs
Start by aligning the new handle or knob with the existing holes on the cabinet door or drawer. Hold it steady to make sure it fits well. Check the position before moving to the next step. Proper alignment avoids damage and ensures a good look.
Securing With Screws
Use the screws that come with your new hardware. Insert the screws through the inside of the cabinet door or drawer into the handle or knob. Tighten them gently with a screwdriver. Avoid over-tightening to prevent cracking the wood or hardware.
Finishing Touches
After installing new cabinet hardware, the final steps are very important. These finishing touches make sure your cabinets look neat and work well. Small details can change the whole look and feel of your kitchen or bathroom.
Checking Alignment
Check if all handles and knobs are straight and even. Use a ruler or level to see if they line up properly. Misaligned hardware can make cabinets look sloppy. Adjust screws or reposition hardware if needed. Take your time to get everything perfect.
Cleaning Up
Remove fingerprints, dust, and any debris from the installation. Use a soft cloth and mild cleaner safe for your hardware material. Clean surfaces make your new hardware shine and look fresh. Also, clear away tools and leftover parts for a tidy space.
Credit: www.nhance.com
Tips For Maintaining Hardware
Maintaining your new cabinet hardware keeps it looking fresh and working well. Simple care routines help protect the finish and prevent damage. Follow easy tips to extend the life of your hardware.
Regular Cleaning
Clean hardware often with a soft cloth to remove dust and dirt. Use mild soap and warm water for tougher spots. Avoid harsh cleaners that can damage the finish. Dry hardware completely to stop rust or water spots.
Avoiding Damage
Handle cabinet hardware gently to prevent scratches and dents. Do not use sharp or abrasive tools on the surface. Tighten screws carefully to avoid stripping or breaking them. Keep hardware away from moisture and extreme heat to maintain its quality.
Frequently Asked Questions
What Tools Are Needed To Change Cabinet Hardware?
You will need a screwdriver, drill, measuring tape, and new hardware. A drill helps remove old screws easily. Measuring tape ensures correct alignment of new handles or knobs.
How Do I Measure For New Cabinet Hardware?
Measure the distance between existing screw holes. This is called the “center-to-center” measurement. Use this to buy hardware that fits perfectly without drilling new holes.
Can I Reuse Old Screws For New Hardware?
Reusing old screws is possible if they fit new hardware holes. Otherwise, use screws that come with new hardware for better stability and security.
How Do I Avoid Damaging Cabinets When Changing Hardware?
Use gentle pressure when unscrewing old hardware. Protect cabinet surfaces with painter’s tape during installation. Avoid overtightening screws to prevent cracks or dents.
Conclusion
Changing cabinet hardware is simple and can refresh your space fast. Choose handles that match your style and tools you have. Remove old hardware carefully, then align and attach new pieces. Take your time to avoid mistakes. Small changes like these make a big difference in your home.
Enjoy your updated cabinets and the new look they bring. Try this easy project for a fresh, neat kitchen or bathroom.