Are your oil rubbed brass cabinet hardware looking dull or worn out? You don’t have to replace them to bring back their rich, warm glow.
With the right steps, you can easily redo your hardware and make your cabinets look brand new. In this guide, you’ll discover simple, effective ways to restore that beautiful finish—saving you time and money. Ready to transform your space and impress everyone with your DIY skills?
Keep reading, and let’s get started!
Tools And Materials Needed
Redoing oil rubbed brass cabinet hardware needs the right tools and materials. These help remove old finishes and protect the brass. Proper supplies make the job easier and safer. Preparing everything before starting saves time and effort.
Essential Tools
- Screwdriver set to remove hardware from cabinets
- Fine grit sandpaper for smoothing surfaces
- Soft cloths for cleaning and polishing
- Small brush for detailed cleaning
- Plastic container to soak hardware
Recommended Cleaning Supplies
- Mild dish soap to remove dirt and grease
- White vinegar or lemon juice for natural cleaning
- Baking soda as a gentle abrasive
- Brass polish to restore shine
- Warm water for rinsing
Safety Gear
- Rubber gloves to protect your hands
- Safety goggles to shield your eyes
- Face mask to avoid breathing dust or fumes
- Old clothes to prevent stains
Credit: oakandgrainrefinishing.com
Removing The Hardware
Removing the cabinet hardware is the first step in redoing oil rubbed brass pieces. This process needs care to avoid damage to the cabinets or the hardware. Taking your time here sets a good foundation for the rest of the project.
Unscrewing Cabinet Hardware
Start by opening the cabinet door or drawer. Use a screwdriver that fits the screws well. Turn the screws counterclockwise to loosen them. Keep a steady hand to prevent stripping the screw heads. If screws are tight, apply gentle pressure and try again. Remove each screw completely before pulling off the hardware. Place the screws and hardware in a safe spot.
Labeling For Reinstallation
Label each piece of hardware to remember its position. Use small sticky notes or masking tape. Write the cabinet or drawer name on the label. Attach the label to the hardware or keep it nearby. This step helps during reinstallation. It ensures every piece goes back to the right place. Organizing hardware saves time and avoids confusion later.
Cleaning The Brass Pieces
Cleaning the brass pieces is the first step to refresh your oil rubbed brass cabinet hardware. Dirt and grease build up over time, making the brass look dull. Proper cleaning restores the shine and prepares the surface for further refinishing steps.
Take your time to clean carefully. This prevents damage and helps the new finish last longer.
Removing Dirt And Grime
Start by wiping the brass pieces with a soft cloth. Use warm water to loosen dirt. For stubborn grime, a soft brush works well. Avoid hard scrubbing as it may scratch the surface. Repeat until the pieces look cleaner.
Using Mild Cleaners
Choose gentle cleaners like dish soap mixed with water. Harsh chemicals can harm the brass finish. Apply the cleaner with a soft cloth or sponge. Rinse thoroughly with clean water. Dry completely with a soft towel to avoid water spots.
Avoiding Damage
Never use abrasive pads or steel wool. They scratch and ruin the brass surface. Avoid acidic cleaners such as vinegar or lemon juice. These can eat away the finish. Handle each piece gently to keep it in good shape.

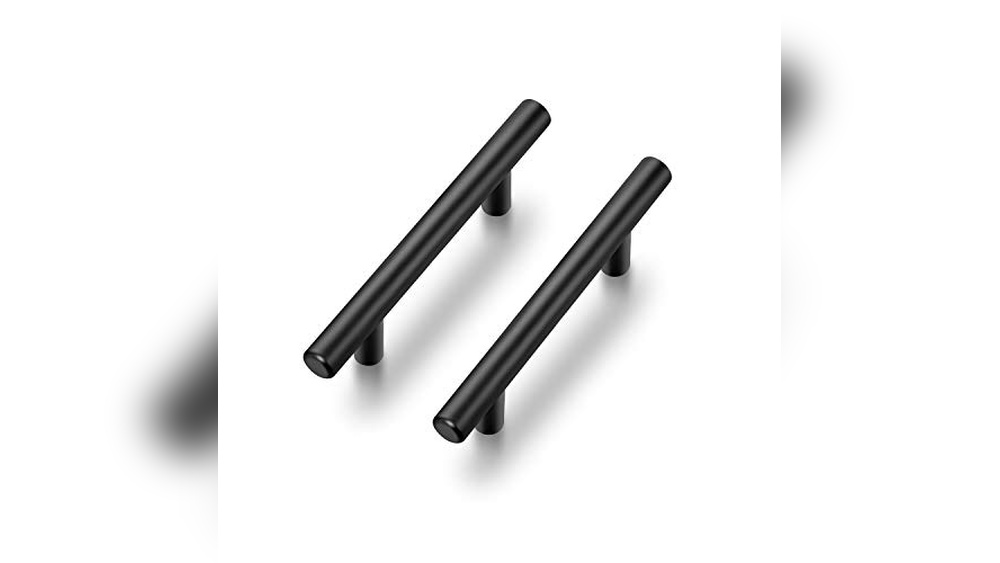
Credit: www.amazon.com
Stripping The Old Finish
Stripping the old finish from oil rubbed brass cabinet hardware is the first step in giving your cabinets a fresh new look. Removing the worn finish helps prepare the surface for a smooth and even new coat. This process requires patience and the right tools to avoid damaging the brass underneath.
Choosing A Suitable Stripper
Select a stripper made for metal surfaces. Avoid harsh chemicals that can harm brass. Look for a gentle, effective product designed for brass or mixed metals. Check product labels for safety and suitability. Using the right stripper prevents damage and saves effort.
Application Techniques
Apply the stripper with a small brush or cloth. Cover the hardware evenly but avoid thick layers. Let the stripper sit for the time recommended on the label. Use gloves and work in a well-ventilated area. Gently wipe away the old finish with a soft cloth after waiting.
Handling Stubborn Areas
Some spots may hold on to the old finish tightly. Use a soft toothbrush or nylon brush to scrub these areas carefully. Avoid metal brushes that can scratch the brass. Reapply stripper if needed, but do not soak hardware for too long. Patience helps avoid damage.
Preparing Brass For Refinishing
Preparing brass for refinishing is the first step to achieve a smooth, shiny surface. Proper preparation removes old finishes and dirt. It helps new coatings stick better and last longer. Take your time during this stage to get the best results.
Sanding And Smoothing
Start by sanding the brass with fine-grit sandpaper. This removes scratches and old finishes. Use even, gentle strokes to avoid damaging the metal. Change to a finer grit for a smoother finish. Sand until the surface feels smooth to touch.
Polishing Tips
Polishing brings out the natural shine of the brass. Use a soft cloth and a small amount of metal polish. Rub in circular motions to make the surface bright. Avoid too much polish to prevent build-up. Clean the cloth often for better results.
Removing Residues
Remove all dust and polish residues before refinishing. Wipe the brass with a damp cloth and mild soap. Rinse well with clean water to avoid streaks. Dry the hardware completely with a soft towel. Clean surfaces help new finishes stick properly.

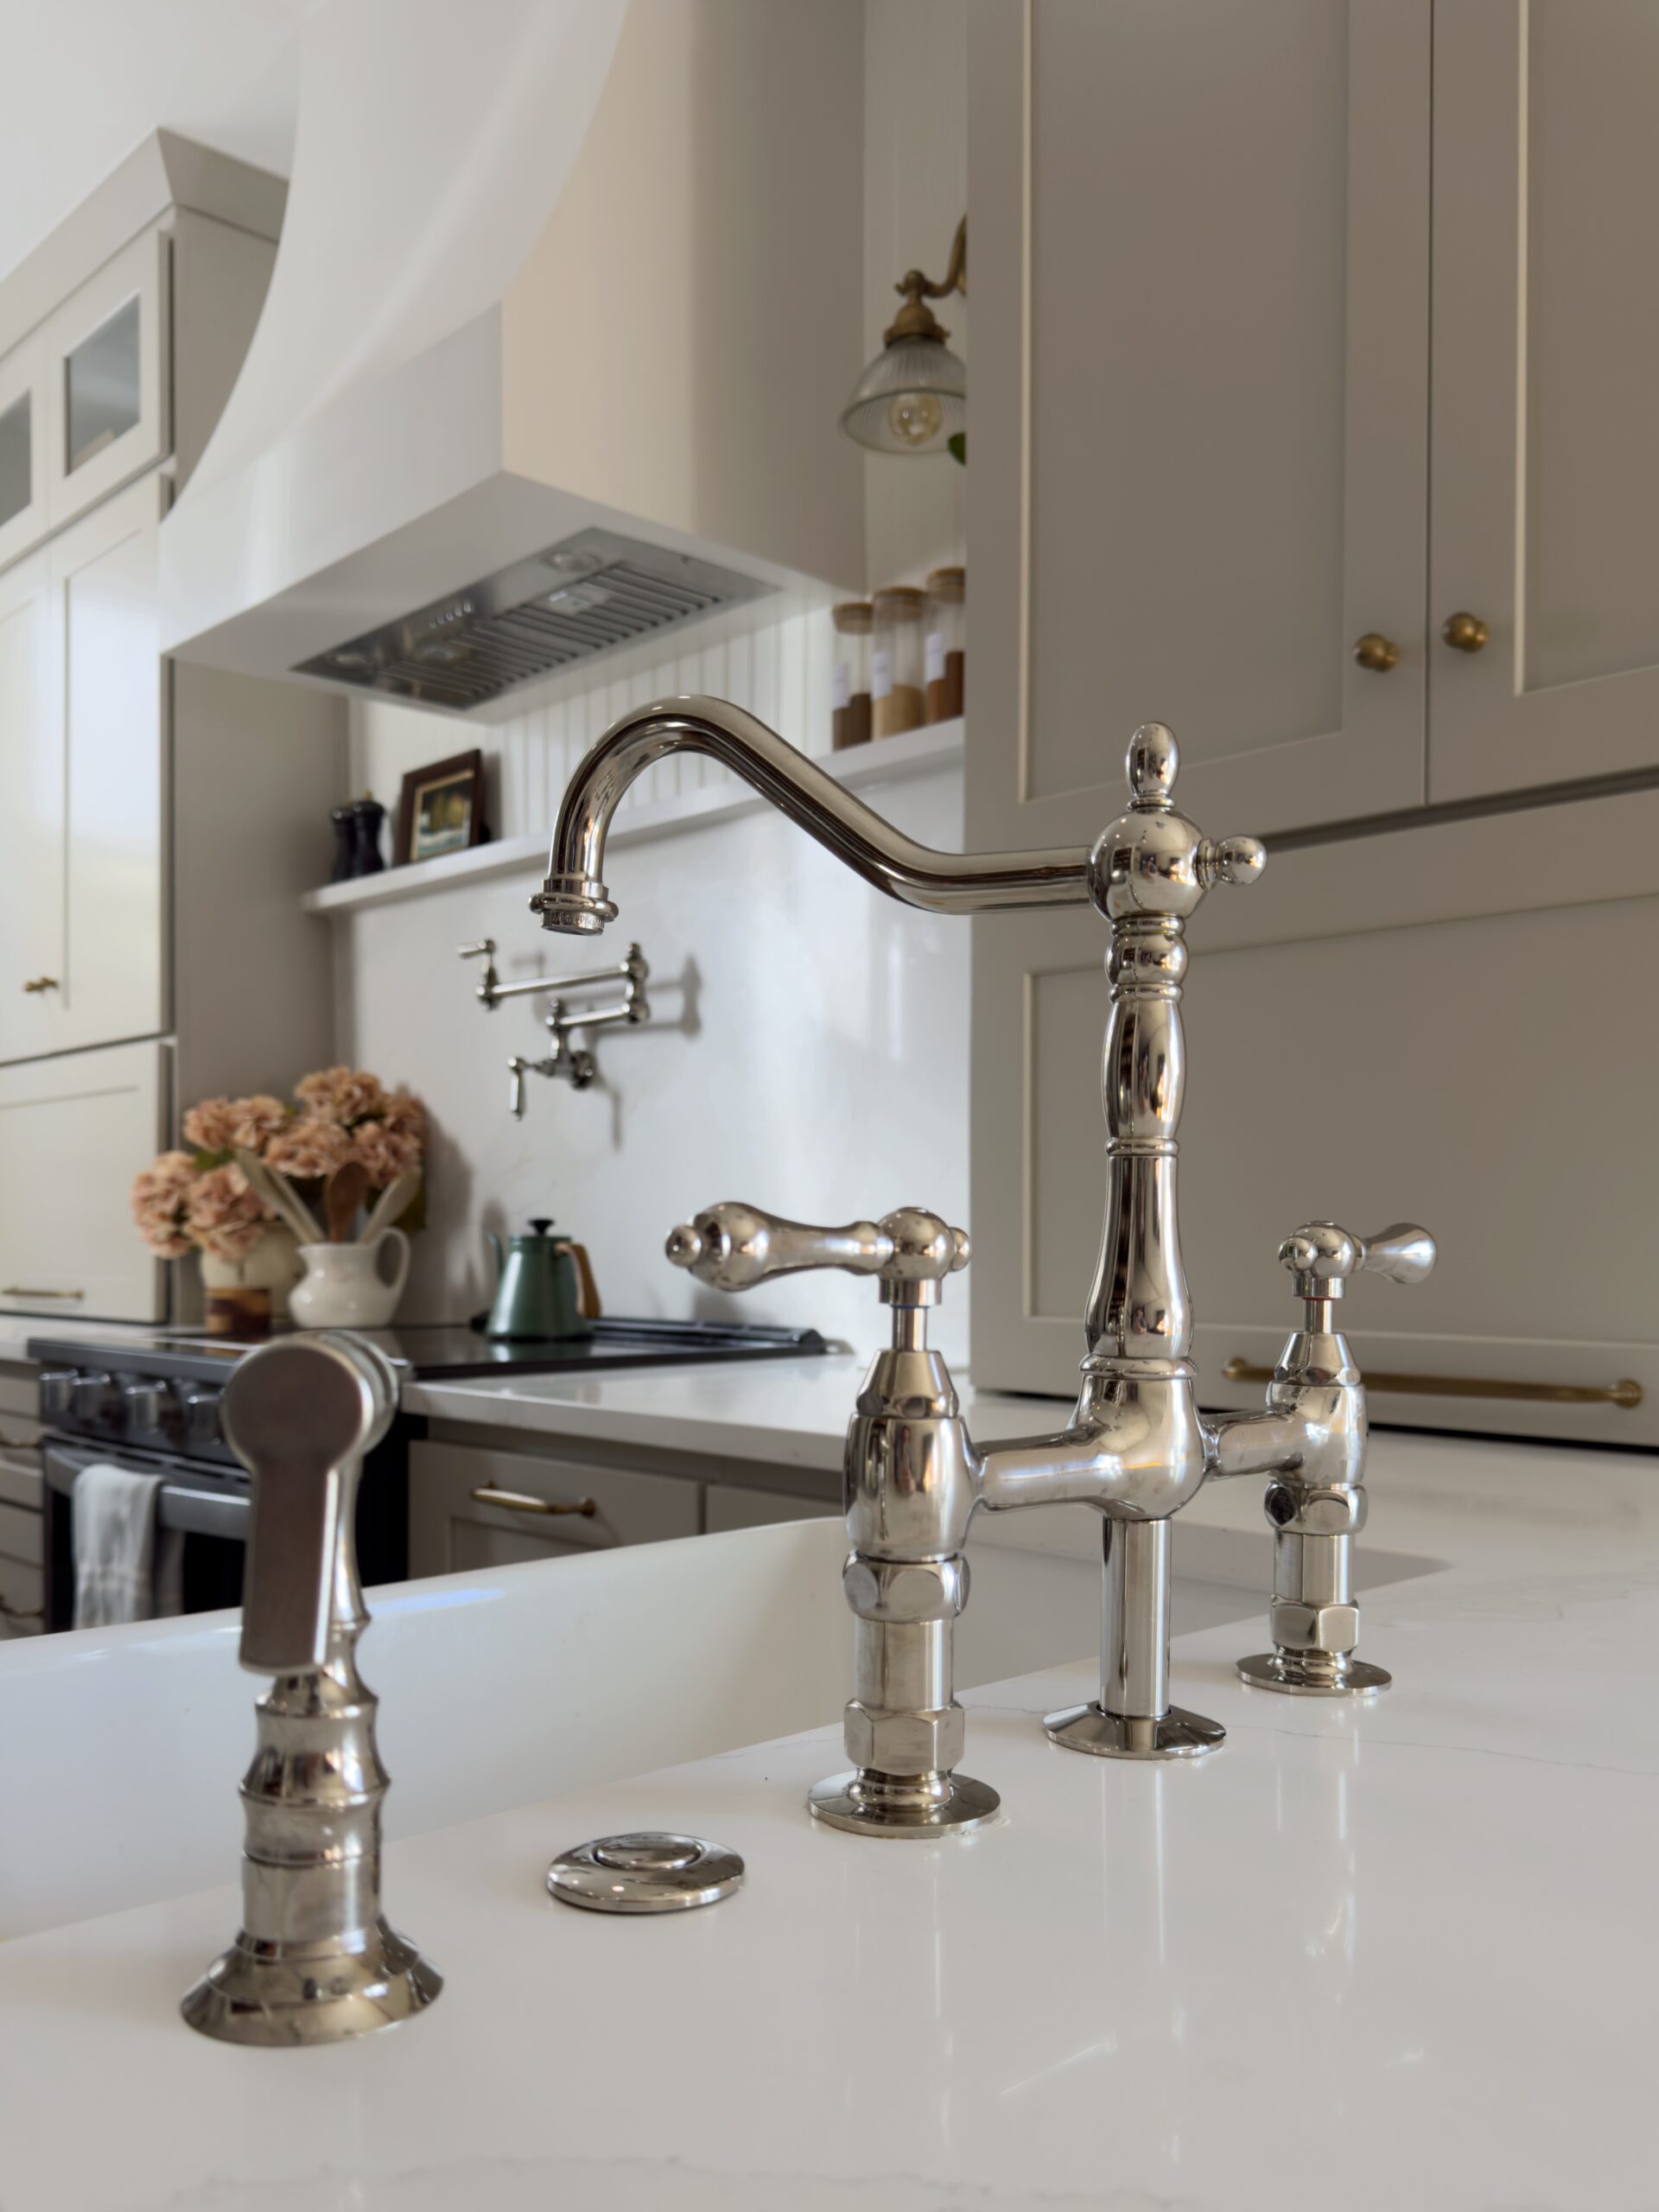
Credit: blog.sherwin-williams.com
Applying New Oil Rubbed Finish
Applying a new oil rubbed finish gives your cabinet hardware a fresh, rich look. This process brings out the deep, dark tones that define oil rubbed brass. It also protects the metal from wear and tear. You can restore old or worn pieces with a few easy steps.
Selecting The Right Finish
Choose a finish that matches your hardware style. Oil rubbed finishes come in different shades, from dark bronze to black with copper highlights. Pick one that fits your room’s color scheme. Check if the finish is safe for indoor use. Also, see if it requires a clear topcoat for extra protection.
Step-by-step Application
Start with clean, dry hardware. Remove dirt and oils using mild soap and water. Lightly sand the surface with fine-grit sandpaper for better adhesion. Apply the oil rubbed finish with a soft cloth or brush. Use thin, even coats to avoid drips. Let the first coat dry before adding more. Repeat until you get the desired color and coverage.
Drying And Curing Times
Allow each coat to dry for 1 to 2 hours. Avoid touching the hardware during this time. After the last coat, let the finish cure for 24 to 48 hours. This ensures durability and a smooth surface. Follow the product instructions for the best results. Proper drying keeps your hardware looking great longer.
Reinstalling The Hardware
Reinstalling the hardware is the final step in refreshing your oil rubbed brass cabinet pieces. This part needs care to keep the new finish safe and looking great. Taking time here ensures the hardware fits well and stays secure.
Aligning And Securing
Start by placing the hardware back on the cabinet doors or drawers. Check the holes carefully to match screws with the right spots. Hold the piece steady and use a screwdriver to fasten screws gently. Avoid tight force to protect the finish and wood. Make sure the hardware sits flat and straight. Misaligned pieces can cause damage or look uneven.
Final Touches
After securing, wipe the hardware with a soft cloth. This removes fingerprints and dust from handling. Check for any loose screws and tighten them slightly. Avoid over-tightening as it can strip the holes. Test each handle or knob by pulling lightly. They should feel firm and steady. Now, your cabinet hardware looks fresh and works well.
Maintenance Tips
Keeping your oil rubbed brass cabinet hardware looking fresh requires simple care. Regular maintenance stops dirt and grime buildup. This helps keep the original finish bright and clean. Follow these tips to protect your hardware and extend its life.
Cleaning Regularly
Wipe the hardware with a soft cloth often. Use warm water and mild soap for dirt. Avoid soaking the hardware. Dry it fully with a dry cloth. This stops water spots and rust. Clean hardware looks new longer and feels smooth to touch.
Avoiding Harsh Chemicals
Do not use bleach or ammonia on your brass hardware. These chemicals damage the finish and cause discoloration. Stay away from abrasive cleaners and scrub brushes. They scratch the surface and dull the shine. Stick with gentle cleaning products to keep hardware safe.
Preserving The Finish
Apply a thin layer of clear wax or oil every few months. This shields the finish from moisture and air. It also helps keep the dark, rich color of oil rubbed brass. Use a soft cloth to rub the wax gently. Let it dry before touching the hardware again.
Frequently Asked Questions
How Do I Remove Old Oil Rubbed Brass Finish?
Use a mild abrasive cleaner or fine steel wool to gently scrub the surface. Avoid harsh chemicals to prevent damage. Wipe clean with a soft cloth and warm water. This prepares the hardware for refinishing.
What Materials Are Needed To Redo Brass Hardware?
You will need fine steel wool, brass cleaner, spray lacquer, gloves, and a soft cloth. These items help clean, restore, and protect the brass finish effectively.
Can I Refinish Oil Rubbed Brass At Home?
Yes, refinishing oil rubbed brass is a simple DIY project. With the right tools and care, you can restore its shine and protect it from wear.
How Long Does The Refinishing Process Take?
Refinishing typically takes 1 to 2 hours, including cleaning, polishing, and drying time. Drying time may vary depending on the lacquer used.
Conclusion
Redoing oil rubbed brass cabinet hardware can refresh your space easily. Clean the pieces gently, then apply the right finish with care. Take your time to avoid damage and achieve a smooth look. Small steps make a big difference in restoring the hardware’s charm.
Enjoy the renewed beauty and feel proud of your handiwork. This simple project saves money and adds style to your home. Give your cabinets a fresh, elegant touch today.