Are your cabinet handles looking dull or discolored? Tarnish can make even the nicest hardware appear old and worn out.
But don’t worry—you don’t need to replace everything to bring back that shiny, fresh look. In this guide, you’ll discover simple and effective ways to remove tarnish from your cabinet hardware. By the end, your cabinets will look like new, and you’ll save time and money.
Ready to restore that sparkle? Let’s get started!
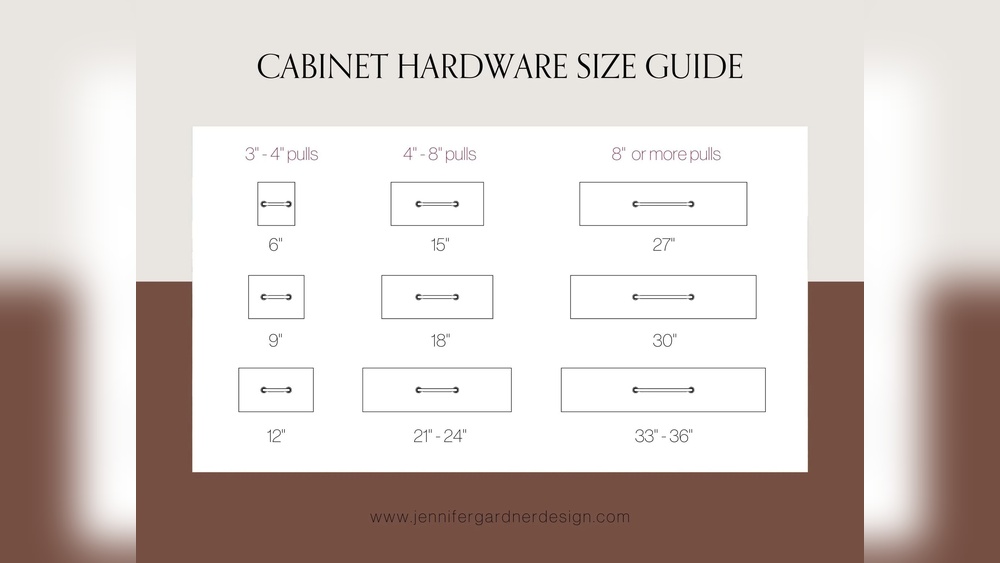
Credit: eleganthardware.in
Causes Of Tarnish On Hardware
Tarnish on cabinet hardware happens over time. It is a common problem that affects many homes. Knowing what causes tarnish helps in preventing and cleaning it. Understanding the reasons behind tarnish makes it easier to care for your hardware.
Common Metals Prone To Tarnish
Many cabinet hardware pieces are made from metals that tarnish easily. Brass, copper, and silver are the most common. These metals react with air and moisture. This reaction causes a dull or dark layer to form on the surface.
Steel and nickel can also tarnish but less often. They usually resist rust better than brass or copper. Still, they can lose their shine over time.
Environmental Factors
Air quality plays a big role in tarnish formation. High humidity and moisture speed up the process. Kitchens and bathrooms often have more moisture in the air.
Pollutants and chemicals in the air also affect hardware. Smoke from cooking or candles can leave residues. These residues cause metals to tarnish faster.
Temperature changes can cause condensation on metal surfaces. This moisture leads to quicker tarnish buildup.
Effects Of Tarnish On Appearance
Tarnish makes cabinet hardware look old and dirty. It dulls the shine and changes the color. Hardware may look spotted or stained.
Over time, tarnish can cause metal to corrode. This damage weakens the hardware and reduces its lifespan. Clean, shiny hardware always improves the look of a room.
Preparation Before Cleaning
Preparing before cleaning cabinet hardware is key for good results. Proper preparation saves time and prevents damage. It sets the stage for effective tarnish removal. Follow simple steps to get ready.
Gathering Necessary Supplies
Collect all cleaning materials before starting. You will need a soft cloth, mild soap, and a small bowl. Include a toothbrush or soft brush for detailed cleaning. Have gloves to protect your hands. Choose a gentle metal polish if needed. Ready supplies make the process smooth and fast.
Removing Hardware Safely
Take off cabinet handles and knobs carefully. Use a screwdriver that fits well to avoid stripping screws. Keep screws and hardware parts in a small container. This prevents loss and keeps pieces organized. Removing hardware allows you to clean every spot thoroughly. It also protects cabinets from water damage during cleaning.
Protecting Surrounding Surfaces
Cover countertops and cabinet surfaces near the hardware. Use old towels or plastic sheets as protection. This stops cleaning solutions from staining or damaging surfaces. Protecting these areas keeps your kitchen or bathroom tidy. It makes cleanup easier after polishing the hardware.
Home Remedies For Tarnish Removal
Tarnish on cabinet hardware can make your kitchen or bathroom look old and dull. Cleaning with harsh chemicals is not always safe or needed. Home remedies offer simple, gentle ways to remove tarnish using items found in most kitchens. These natural methods are cost-effective and easy to try.
Each remedy works by breaking down the tarnish and restoring the metal’s shine. Use soft cloths or brushes to avoid scratching your hardware. Test a small area first to be sure the method suits your hardware finish.
Using Baking Soda And Vinegar
Make a paste by mixing baking soda with a small amount of vinegar. The mixture will bubble slightly, helping to lift tarnish. Apply the paste to the tarnished hardware with a soft cloth.
Let it sit for 5-10 minutes. Gently rub the area to remove the tarnish. Rinse with warm water and dry thoroughly to prevent water spots.
Lemon And Salt Method
Cut a lemon in half and sprinkle salt on the cut side. The salt acts as a gentle abrasive. Rub the lemon on the tarnished hardware in circular motions.
The lemon’s acidity helps break down the tarnish. After rubbing, rinse the hardware with water and dry it well. This method works well for brass and copper finishes.
Toothpaste Application
Use plain white toothpaste without gel or whitening agents. Apply a small amount to a soft cloth or toothbrush. Rub the toothpaste onto the tarnished hardware gently.
Allow it to sit for a few minutes. Then rinse with warm water and dry with a soft cloth. Toothpaste cleans and polishes metal surfaces effectively.
Commercial Products To Try
Commercial products offer a quick way to remove tarnish from cabinet hardware. These products are made to clean and restore shine. They work well on various metals like brass, copper, and nickel. Choosing the right product ensures the best results and protects your hardware.
Choosing The Right Metal Polish
Pick a polish made for the metal type on your hardware. Some polishes work best on brass, while others suit chrome or stainless steel. Check the label for metal compatibility. Avoid harsh chemicals that can damage the finish. A gentle, effective polish will clean without scratching.
Applying And Buffing Techniques
Apply a small amount of polish on a soft cloth. Rub the polish gently over the tarnished areas. Use circular motions to cover all spots evenly. Let the polish sit for a few minutes. Then, buff the hardware with a clean cloth until it shines. Repeat if needed for heavy tarnish.
Safety Precautions
Wear gloves to protect your skin from chemicals. Work in a well-ventilated area to avoid fumes. Keep polish away from children and pets. Read and follow the product’s safety instructions carefully. Clean your tools after use to prevent buildup and damage.
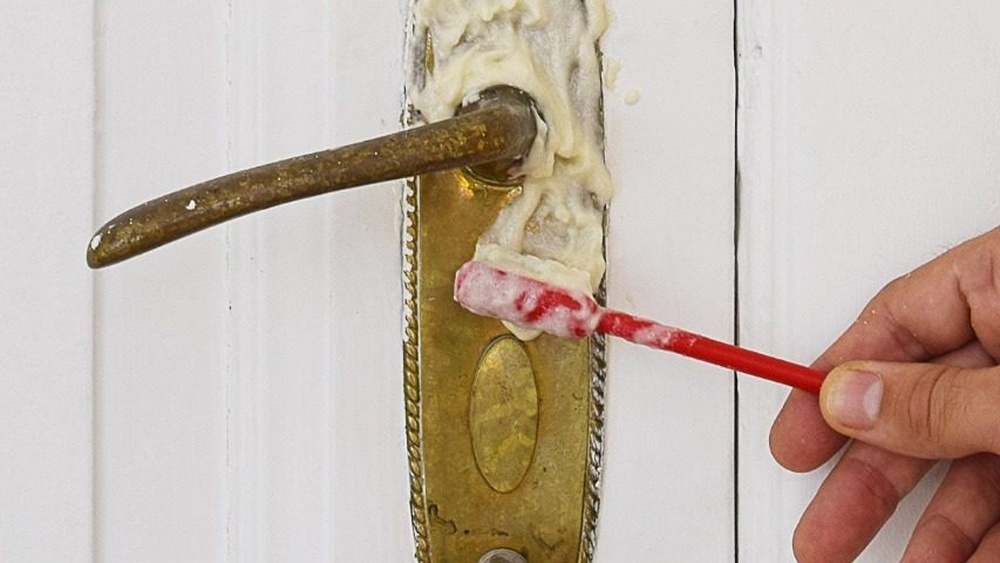
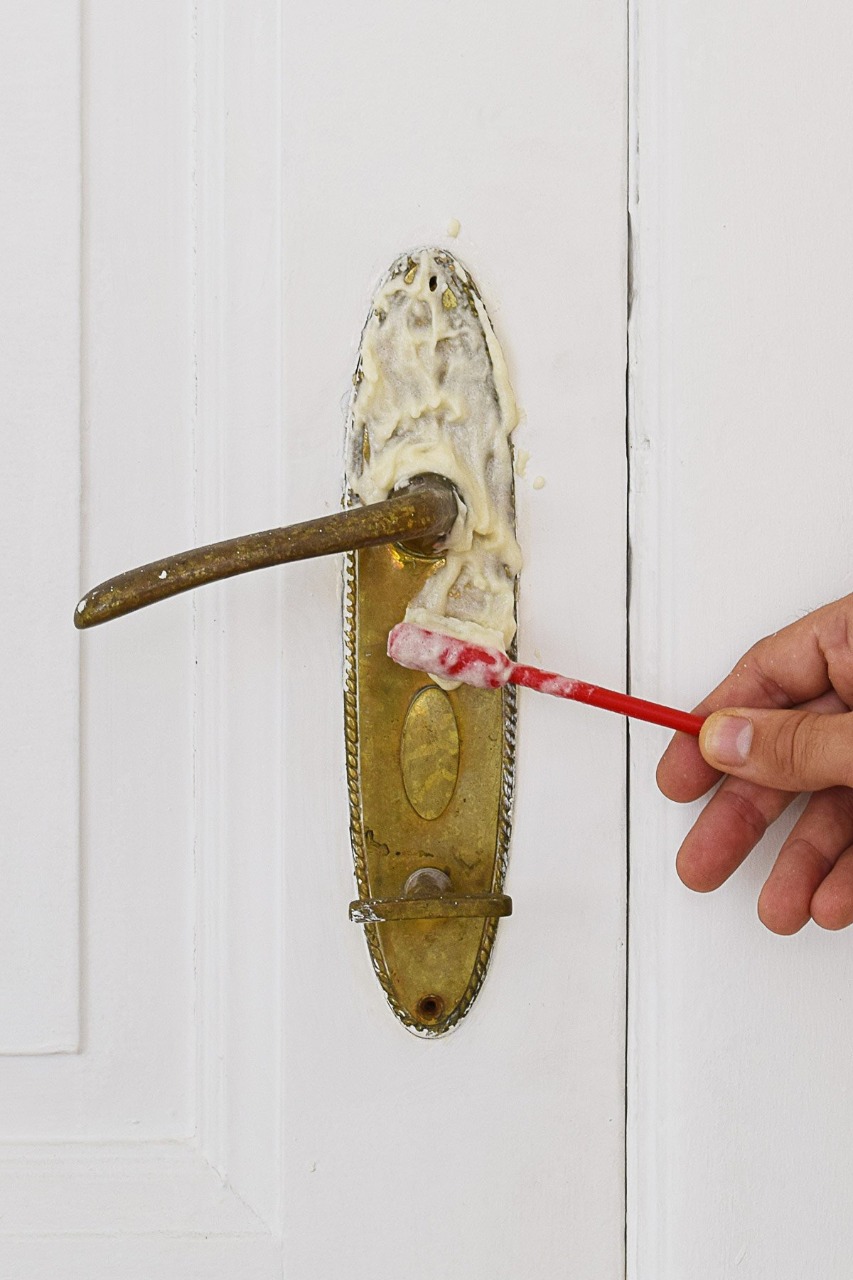
Cleaning Delicate Or Antique Hardware
Cleaning delicate or antique cabinet hardware requires special care. These pieces often have fine details and finishes that can be damaged easily. Tarnish can make them look dull, but harsh cleaning can ruin their beauty. Use gentle methods to keep their charm and value intact.
Gentle Cleaning Methods
Start with a soft cloth and warm soapy water. Avoid strong chemicals or abrasive tools. Use a soft toothbrush for small crevices. Dab gently to remove dirt and tarnish. Dry the hardware fully with a clean cloth. Repeat if needed, but do not scrub hard.
Avoiding Damage To Patina
Patina adds character to antique hardware. Do not remove it by polishing too much. Avoid harsh cleaners that strip the surface. Test cleaning solutions on a small area first. Preserve the natural look while removing only loose tarnish. Let the hardware age gracefully.
When To Consult A Professional
Some antiques need expert care. If the hardware is very old or valuable, seek help. Professionals use safe methods for restoration. They can clean without harming the finish or patina. Ask for advice before trying strong treatments yourself. Protect your treasured pieces carefully.
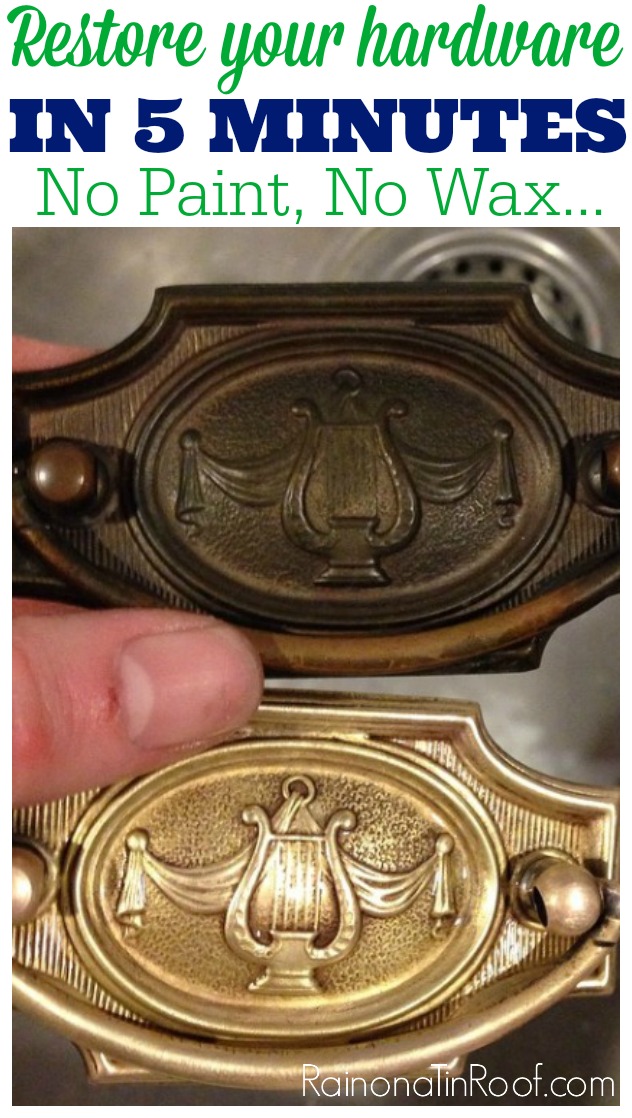
Credit: rainonatinroof.com
Preventing Future Tarnish
Preventing tarnish on cabinet hardware keeps your home looking fresh and clean. Tarnish forms from moisture and air reacting with metal. Taking steps to stop this helps your hardware shine longer. Small efforts save time and money on frequent cleaning or replacement.
Protective Coatings And Sealants
Apply a clear protective coating to your hardware. This layer blocks air and moisture from touching the metal. Use products made for metal surfaces, like clear lacquer or wax. These coatings create a barrier that slows down tarnish. Reapply the coating after cleaning or every few months for best results.
Regular Maintenance Tips
Wipe hardware with a soft cloth regularly. This removes dust and oils that speed up tarnish. Use mild soap and water for deeper cleaning. Avoid harsh chemicals that can damage the metal. Dry hardware well after cleaning to prevent moisture buildup.
Controlling Humidity And Exposure
Keep room humidity low to reduce tarnish. Use a dehumidifier or air conditioner in damp areas. Avoid placing hardware where water splashes often. Open windows for fresh air to reduce moisture inside. Proper ventilation helps keep metals dry and shiny longer.

Credit: www.youtube.com
Frequently Asked Questions
How Do You Safely Remove Tarnish From Cabinet Hardware?
Use a mild cleaning solution like vinegar and water or baking soda paste. Gently scrub with a soft cloth or toothbrush. Avoid harsh chemicals that can damage the finish. Rinse thoroughly and dry completely to prevent further tarnishing.
What Household Items Remove Cabinet Hardware Tarnish Effectively?
Common items like white vinegar, baking soda, lemon juice, and toothpaste work well. These natural cleaners break down tarnish without harming metal surfaces. Apply, scrub gently, rinse, and dry for best results.
Can Tarnish Removal Damage Cabinet Hardware Finishes?
Yes, using abrasive cleaners or harsh chemicals can harm finishes. Always test a small area first. Opt for gentle, natural cleaning methods to protect your hardware’s look and durability.
How Often Should Cabinet Hardware Be Cleaned To Prevent Tarnish?
Clean cabinet hardware every few months to prevent tarnish buildup. Regular wiping with a soft cloth removes dirt and moisture. This simple routine helps maintain shine and extends hardware life.
Conclusion
Removing tarnish from cabinet hardware is easier than you think. Use gentle cleaners and soft cloths for best results. Regular cleaning keeps hardware shiny and new-looking. Avoid harsh chemicals that can damage the finish. Small steps save you time and money later.
Clean hardware brightens your whole kitchen or bathroom. Give your cabinets a fresh, clean look today. Simple care makes a big difference in the long run. Keep your home looking its best with easy hardware cleaning.