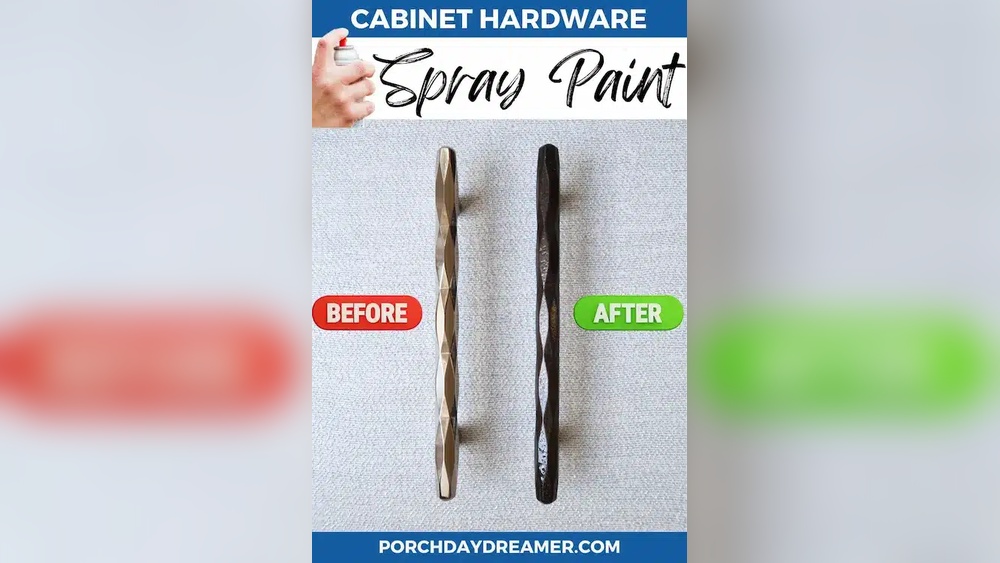
Is your kitchen or bathroom feeling outdated? Old cabinet hardware can make even the nicest cabinets look tired and worn.
But here’s the good news: you don’t need to replace the entire cabinet to give your space a fresh, modern feel. Updating your cabinet hardware is an easy, affordable way to transform your room instantly. You’ll discover simple steps to choose and install new hardware that matches your style and boosts your home’s appeal.
Ready to see how a small change can make a big difference? Let’s get started!
Tools And Materials Needed
Updating old cabinet hardware is a simple way to refresh your kitchen or bathroom. To do this job well, gather the right tools and materials. Having these ready will make the process smooth and fast. Here’s what you will need to get started.
Essential Tools
First, you need a screwdriver set. Most cabinet hardware uses either Phillips or flathead screws. A drill with screwdriver bits speeds up the job, but a manual screwdriver works too.
Next, a tape measure helps check the size and placement of hardware. A pencil is useful to mark new positions if needed. Keep a level handy to ensure handles and knobs line up straight.
A small wrench or pliers may be necessary for removing nuts on some hardware. Finally, have a clean cloth to wipe off dust and fingerprints after installation.
Choosing New Hardware
Select new hardware that fits your cabinet style and size. Measure the distance between existing screw holes to find compatible replacements. This avoids extra drilling or filling old holes.
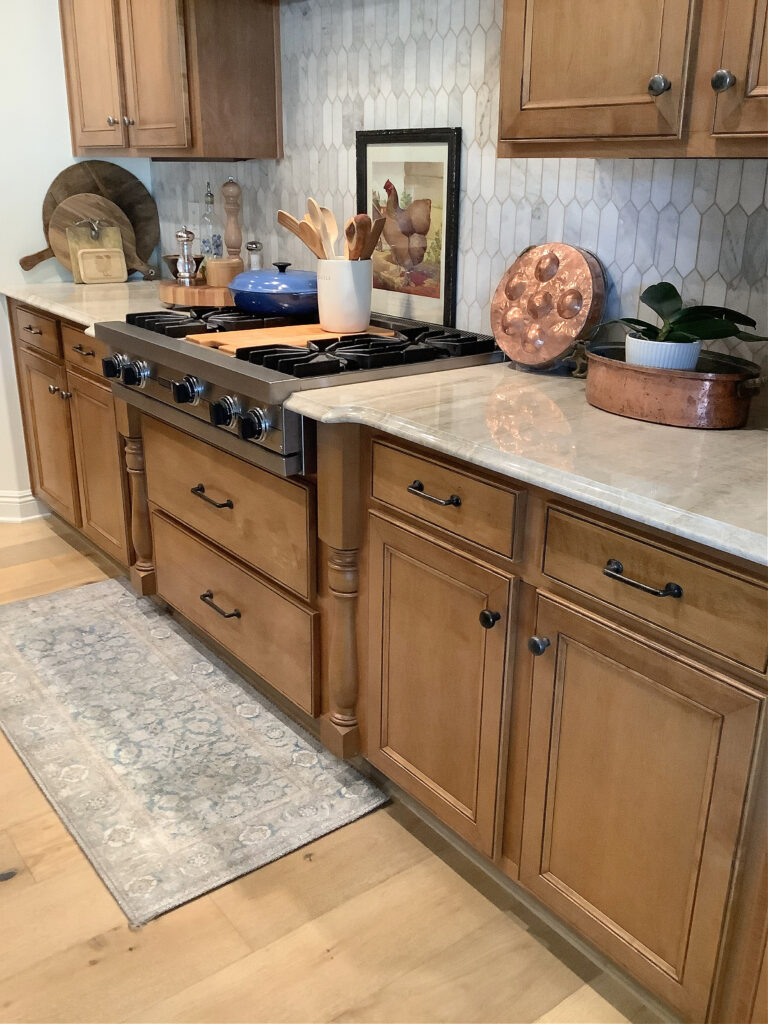
Consider the finish and color of the hardware. Matching or complementing your cabinet color enhances the overall look. Popular finishes include brushed nickel, oil-rubbed bronze, and matte black.
Think about the shape and size. Larger handles offer a modern look. Smaller knobs suit traditional cabinets. Choose pieces that feel comfortable to grip and use daily.
Credit: www.elizabethburnsdesign.com
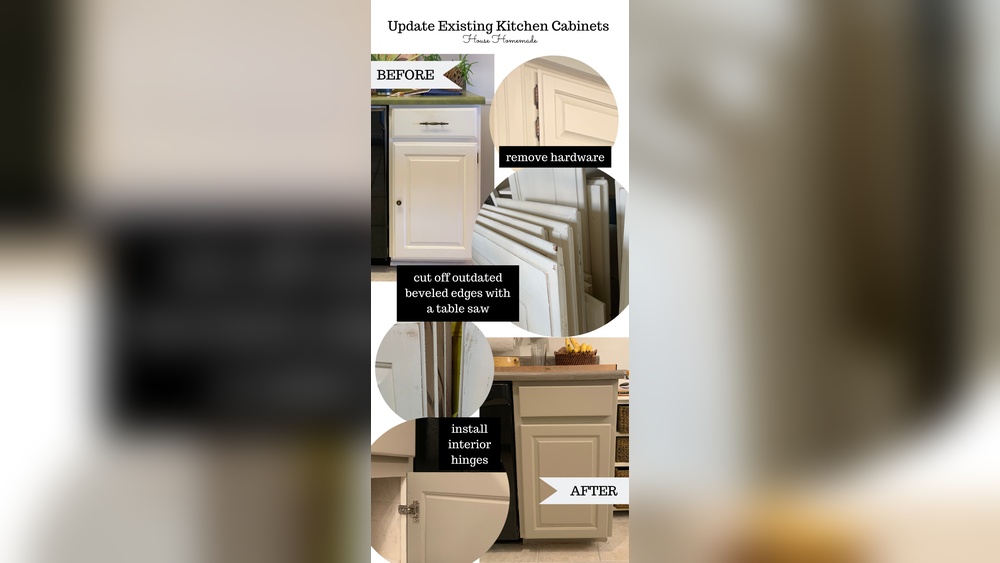
Preparing Your Cabinets
Preparing your cabinets is the first step in updating old hardware. It sets the stage for a smooth and successful upgrade. Taking time to clean and inspect cabinets helps avoid problems later. A clean surface lets new hardware fit well and look good. Checking for damage ensures your cabinets stay strong and last longer.
Start by removing old hardware carefully. Then, clean the cabinet surfaces thoroughly. After cleaning, look closely for any signs of wear or damage. Fixing small issues now saves time and money later. Proper preparation makes the whole process easier and more rewarding.
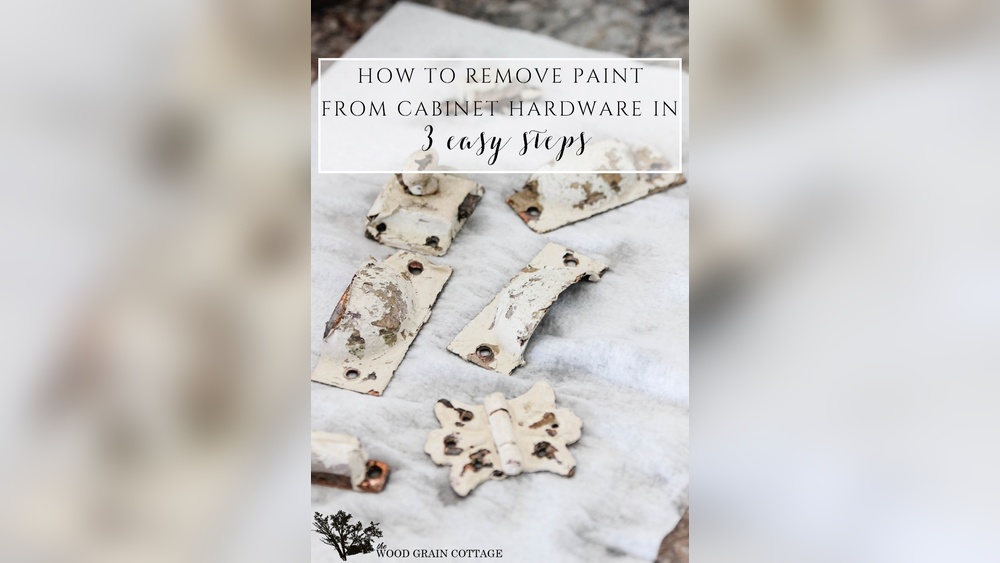
Cleaning And Removing Old Hardware
Begin by taking off all knobs, pulls, and handles. Use a screwdriver to unscrew each piece gently. Place screws and hardware in a safe spot to avoid losing them. Clean the cabinet surface with a mild soap and water solution. Wipe away dirt, grease, and old polish. Let the cabinets dry completely before moving to the next step.
Checking For Damage
Inspect cabinet doors and drawers for cracks or chips. Look at hinges and joints to see if they are loose or broken. Check for water damage or warping, especially near sinks. Small cracks can be filled with wood filler. Tighten screws or replace broken parts as needed. Ensuring your cabinets are sound will help new hardware fit properly.
Removing Old Hardware
Removing old cabinet hardware is the first step in giving your cabinets a fresh look. It clears the way for new handles and knobs. This process is simple but requires care to avoid damage. Use the right tools and a gentle touch. Take your time and work steadily for best results.
Unscrewing Handles And Knobs
Start by opening the cabinet doors or drawers. Look for screws holding the handles or knobs in place. Use a screwdriver that fits the screw head exactly. Turn the screwdriver counterclockwise to loosen the screws. Keep the screws safely for reuse or disposal. Gently pull the handle or knob away from the surface once the screws are out.
Handling Stubborn Pieces
Some hardware may be stuck due to paint or rust. Use a flat tool like a putty knife to gently pry it loose. Apply a small amount of penetrating oil to rusted screws and wait a few minutes. Try unscrewing again with steady pressure. Avoid forcing the hardware to prevent cabinet damage. If a screw breaks, use pliers to grip and remove it carefully.

Credit: hardwarehut.com
Measuring And Aligning
Measuring and aligning cabinet hardware is a crucial step to get a neat, professional look. Precise measurement helps avoid mistakes and uneven placement. Careful alignment ensures all handles and knobs look balanced and straight. Take your time with this step to make your update successful.
Marking New Hardware Placement
Start by removing the old hardware carefully. Clean the surface to see old holes clearly. Use a tape measure to find the center of each cabinet door or drawer. Mark the spot lightly with a pencil where the new hardware will go.
Check the size of the new hardware and the distance between screw holes. Transfer these measurements to the cabinet surface. Use a ruler or a template to draw precise marks. This prevents drilling in the wrong place.
Ensuring Symmetry
Symmetry is key for a clean, stylish look. Measure the distance from the cabinet edge to the hardware mark on all doors and drawers. Confirm these marks match on both sides of your kitchen or furniture piece.
Use a level tool to check if the marks line up horizontally and vertically. Adjust any marks that seem off. Perfect symmetry makes your cabinets look well-crafted and polished.
Installing New Hardware
Installing new hardware on your cabinets can refresh the entire look quickly. It changes the style without much effort or cost. This step is simple but needs care. Proper installation keeps handles and knobs secure and easy to use.
Follow clear steps to attach new hardware correctly. This will help avoid damage and ensure durability. Let’s break down the process into easy parts.
Attaching Handles And Knobs
Start by aligning the handle or knob with the hole. Hold it steady and insert the screw from inside the cabinet door. Make sure the hardware sits flat against the surface. Check that it looks straight and fits well. Tighten gently to avoid scratching or bending the piece.
Securing Screws Properly
Use a screwdriver that fits the screw head perfectly. Turn slowly to avoid stripping the screw. Tighten until firm but not too tight to damage the wood. Test the hardware by pulling gently. If loose, tighten a bit more. Secure screws keep handles and knobs safe for daily use.
Credit: www.kylieminteriors.ca
Finishing Touches
Finishing touches bring your cabinet hardware update to life. They make sure everything looks clean and works well. Small details here can change the whole look of your kitchen or bathroom. Pay close attention to these final steps to enjoy your refreshed cabinets fully.
Cleaning Up
After installing new hardware, clean the area carefully. Remove dust and fingerprints from knobs and handles. Use a soft cloth and mild cleaner to avoid damage. Clean surrounding cabinet surfaces to keep the focus on the new hardware. A neat appearance makes your cabinets look fresh and inviting.
Testing Functionality
Check each handle and knob for smooth operation. Open and close cabinet doors and drawers several times. Make sure nothing sticks or feels loose. Tighten screws if needed to secure hardware firmly. Proper function ensures your cabinets stay easy to use every day.
Tips For Choosing Hardware Styles
Choosing the right hardware style can change the whole look of your cabinets. It is important to pick pieces that fit your room’s style. The right hardware adds charm and makes your cabinets easy to use. Here are some tips for picking hardware styles that work well for your space.
Matching Your Decor
Think about the style of your room. Traditional spaces look great with classic knobs and pulls. Modern rooms suit sleek, simple hardware. Rustic decor pairs well with distressed or wrought iron pieces. Coastal styles fit with light, airy handles. The hardware should blend with your overall design. This keeps your room looking balanced and neat.
Material And Finish Options
Hardware comes in many materials like brass, stainless steel, and bronze. Brass offers a warm, golden look. Stainless steel feels cool and modern. Bronze gives a rich, dark tone. Finishes can be shiny, matte, or brushed. Choose a finish that matches other fixtures in your room. This creates a smooth and unified look. Durable materials last longer and resist wear.
Frequently Asked Questions
How Do I Remove Old Cabinet Hardware Safely?
Use a screwdriver to unscrew handles or knobs gently. Protect the cabinet surface with tape. Avoid force to prevent damage. Keep screws and hardware for reinstallation or disposal.
What Tools Are Needed To Update Cabinet Hardware?
You need a screwdriver, drill, tape measure, and level. These help remove old hardware and install new pieces accurately. A pencil helps mark new hole positions.
How Do I Choose The Right Cabinet Hardware Size?
Measure existing holes or cabinet thickness. Match new hardware size to old holes to avoid drilling. Consider handle length and knob diameter for style and comfort.
Can I Update Cabinet Hardware Without Drilling New Holes?
Yes, if the new hardware matches old hole spacing. Use existing holes to save time and avoid damage. Otherwise, you must drill new holes carefully.
Conclusion
Updating old cabinet hardware brings new life to your space. Small changes make a big difference in appearance. Choose handles and knobs that fit your style well. Take your time to measure and install carefully. Enjoy the fresh look and improved function every day.
A simple update can refresh your kitchen or bathroom easily. Try it yourself and see the change happen fast.