When tightening a fastener, you might think it’s a simple task—just turn until it feels tight. But there’s more to it than that.
Doing it the right way can save you time, prevent damage, and keep your projects safe and secure. If you want to avoid common mistakes that could lead to costly repairs or accidents, this guide is exactly what you need.
Keep reading, and you’ll learn the key tips and tricks to tighten fasteners like a pro every single time.
Credit: abmf.org
Choose The Right Tool
Choosing the right tool is key when tightening a fastener. The tool affects how tight the fastener will be and how safe the connection remains. Using the wrong tool can damage the fastener or the parts it holds together. It can also cause injury or reduce the life of the fastener. Picking the correct tool helps get the job done right and saves time.
Manual Vs. Power Tools
Manual tools give more control. They let you feel how tight the fastener is. This helps avoid over-tightening. Manual tools include wrenches, screwdrivers, and pliers. They are best for small jobs or delicate parts.
Power tools work faster and need less effort. They are good for many fasteners or big jobs. Power tools include electric drills and impact drivers. These tools can tighten fasteners quickly but may over-tighten without care.
Choosing between manual and power tools depends on the task size and precision needed.
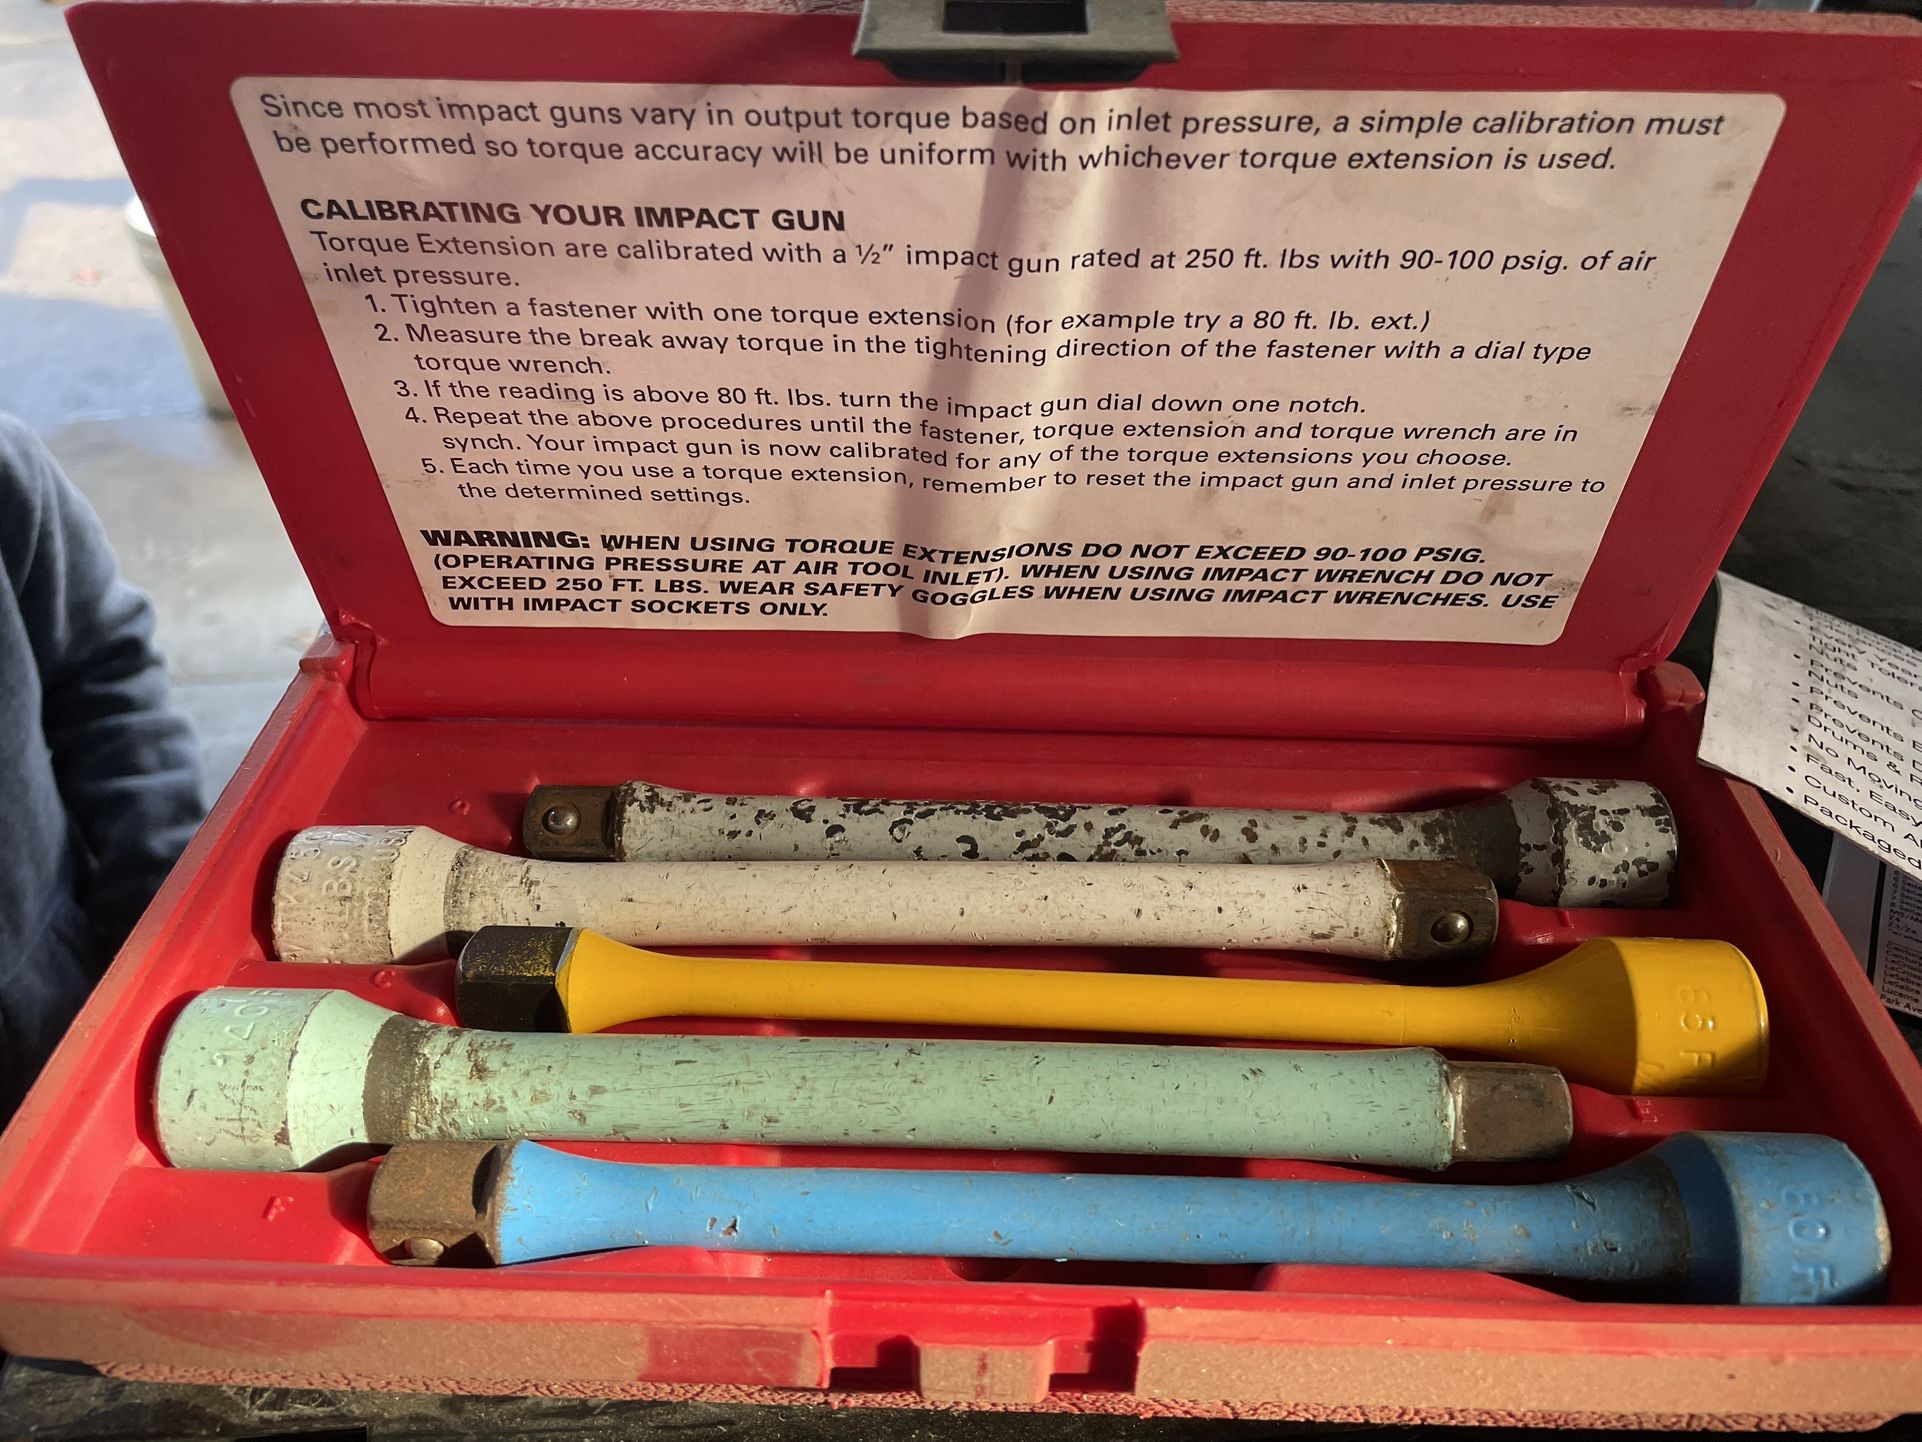
Calibrated Torque Wrenches
Torque wrenches measure the exact force used to tighten. They prevent over-tightening and under-tightening. Calibrated torque wrenches give accuracy by showing the exact torque.
Using these wrenches protects fasteners and parts from damage. They are essential for critical jobs like automotive or machinery work. Regularly calibrate the wrench for best results.
This tool ensures safety and reliability by applying the right force every time.

Credit: store.fixitsticks.com
Know The Correct Torque
Knowing the correct torque is key to tightening a fastener properly. Too little torque can cause the fastener to loosen over time. Too much torque can damage the fastener or the parts it holds together.
Using the right torque ensures safety and durability. It also helps avoid costly repairs and downtime. Follow guidelines carefully to get the best results every time.
Manufacturer Specifications
Always check the manufacturer’s specifications first. These provide the exact torque values needed for each fastener. The specs are based on testing and safety standards. They help prevent damage and ensure proper hold.
Specs may be in the product manual or on the packaging. Never guess or use the same torque for different fasteners. Each fastener type and size needs its own torque value.
Using Torque Charts
Torque charts offer quick reference for common fasteners. They list torque values based on size, thread pitch, and material. Use them when manufacturer specs are unavailable.
Keep a chart handy in your workspace. Charts save time and improve accuracy. Match the fastener details to the chart to find the correct torque. Always double-check to avoid errors.
Prepare The Fastener
Preparing the fastener is a key step before tightening it. Proper preparation helps the fastener hold better and last longer. It also prevents damage to the parts being joined. Taking time to prepare saves effort and avoids problems later.
Two important tasks are cleaning the threads and understanding lubrication effects. Both affect how the fastener behaves under pressure.
Clean Threads
Threads must be clean before tightening a fastener. Dirt, grease, or rust can reduce grip and cause slippage. Use a wire brush or compressed air to remove debris. Clean threads allow smooth turning and proper tightening.
Check both the fastener and the hole threads. Even small particles can affect the fit. Clean threads ensure accurate torque and prevent damage.
Lubrication Effects
Lubrication changes the friction between threads. It can make tightening easier and reduce wear. But too much oil or grease can cause over-tightening. This may lead to breaking or stripping the threads.
Use the right type of lubricant for the fastener. Some require dry lubrication, others wet. Follow manufacturer guidelines. Proper lubrication helps reach the correct tightness safely.
Avoid Over-tightening
Avoiding over-tightening is key when fastening bolts and screws. Tighten just enough to hold parts securely. Too much force can cause problems that affect safety and durability.
Knowing the signs of over-tightening helps prevent damage. It also saves time and money on repairs. Careful tightening keeps materials strong and reliable.
Signs Of Over-tightening
Look for stripped threads or damaged screw heads. Cracks in the fastener or the material show excess force. Difficulty turning the fastener can mean it is too tight. Warped or bent parts also indicate over-tightening.
Consequences On Materials
Over-tightening weakens metal and plastic parts. It can cause cracks or breaks that reduce strength. Stretched bolts lose their ability to hold tightly. This can lead to fastener failure and unsafe conditions.
Prevent Under-tightening
Preventing under-tightening is key when working with fasteners. Too little force can cause problems over time. Ensuring the right tightness keeps parts secure and safe. It helps avoid damage to equipment and reduces the chance of accidents.
Risks Of Loose Fasteners
Loose fasteners can lead to serious issues. Parts may move or separate unexpectedly. This movement causes wear and damage to surfaces. Machines can break down, costing time and money. Loose fasteners also create safety hazards. They can cause accidents or injuries if parts fall off or fail.
Checking Tightness Accurately
Use the correct tools to check tightness. A torque wrench helps apply the right force. Measure the torque to avoid guesswork. Follow manufacturer instructions for the proper torque value. Check fasteners regularly to maintain safety and function. Proper checks prevent problems before they start.

Credit: www.ebay.com
Use Proper Tightening Sequence
Using the right tightening sequence is key to secure fasteners properly. It ensures even pressure and prevents damage. Tightening fasteners in a random order can cause parts to warp or break. A proper sequence helps parts fit together tightly and last longer.
Cross Pattern Method
The cross pattern method spreads the force evenly. Tighten bolts opposite each other in a crisscross way. This method balances the pressure across the surface. It stops one side from being too tight or loose. The cross pattern is common for wheels and flanges.
Incremental Tightening Steps
Tighten fasteners in small steps. Start with a low torque setting and increase gradually. This approach lets the parts settle evenly. Tighten bolts a little at a time in rounds. Avoid tightening one bolt fully before others. Incremental tightening reduces stress and improves safety.
Maintain Tools Regularly
Maintaining your tools regularly is key to tightening fasteners correctly. Clean, well-kept tools work better and last longer. They help you apply the right force and avoid damage. Regular maintenance keeps your tools accurate and safe to use.
Calibration Importance
Calibration ensures your tools give the correct measurements. A torque wrench, for example, must be calibrated to apply the right tightness. Without calibration, you risk over-tightening or under-tightening fasteners. This can cause parts to fail or become loose. Regular calibration keeps your work precise and reliable.
Tool Inspection Tips
Check your tools before each use. Look for cracks, rust, or worn parts. Test moving parts to ensure they work smoothly. Replace any damaged or worn tools immediately. Store tools in a dry, clean place. Clean tools after use to remove dirt and grease. These steps keep tools in good shape and ready for use.
Account For Environmental Factors
Account for environmental factors when tightening fasteners. These factors affect the fastener’s strength and lifespan. Ignoring them can cause failure or damage. Understanding the environment helps you choose the right torque and materials. This ensures safety and durability in your projects.
Temperature Effects
Temperature changes cause materials to expand or contract. This affects how tight a fastener stays. High heat can soften metals, making them weaker. Cold can make metals brittle and prone to cracking. Always check the temperature range where the fastener will be used. Adjust the tightening force to avoid loosening or breaking.
Corrosion Considerations
Moist or salty environments cause corrosion over time. Corrosion weakens fasteners and lowers their holding power. Choose fasteners with corrosion-resistant coatings or materials. Stainless steel or galvanized fasteners resist rust better. Regular inspections help spot corrosion early. Replace or retighten fasteners to keep connections safe.
Frequently Asked Questions
What Tools Should I Use When Tightening A Fastener?
Use the correct torque wrench or screwdriver designed for the fastener type. This ensures proper tightening without damage or over-tightening.
How Tight Should A Fastener Be Tightened?
Tighten to the manufacturer’s recommended torque specification. Over-tightening can cause damage, while under-tightening may lead to loosening and failure.
Why Is Proper Tightening Important For Fasteners?
Proper tightening ensures joint strength and safety. It prevents loosening, leaks, and mechanical failures, maintaining equipment reliability and lifespan.
Can I Reuse Fasteners After Loosening Them?
Some fasteners can be reused if undamaged, but many require replacement to maintain proper clamping force and safety.
Conclusion
Tightening a fastener takes care and attention. Use the right tools for the job. Tighten slowly and check the fit often. Avoid over-tightening to prevent damage. Remember, proper tightening keeps parts secure and safe. Follow these steps every time you work.
This helps your projects last longer and work better. Safety matters most, so do not rush. Simple habits lead to strong, reliable results.