Are you looking to give your cabinets a timeless, vintage charm without spending a fortune? Learning how to antique cabinet hardware is easier than you think—and it can completely transform the look of your space.
Imagine your kitchen or bathroom with handles and knobs that tell a story, adding character and warmth to every drawer and door. In this guide, you’ll discover simple, step-by-step techniques to age your hardware beautifully. By the end, you’ll have the confidence to create stunning antique finishes that make your cabinets stand out.
Ready to unlock the secret to classic style? Let’s dive in!

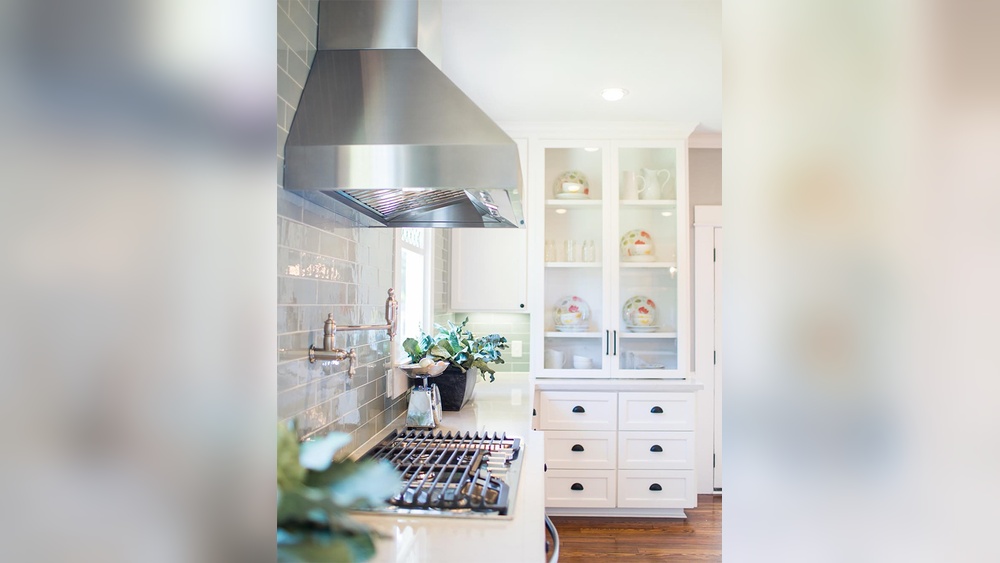
Credit: www.ballarddesigns.com
Choosing The Right Hardware
Choosing the right hardware is key for antique cabinet projects. It shapes the cabinet’s look and feel. The right hardware can add charm and character. It also affects the cabinet’s function and durability.
Consider style, material, and age of the hardware. These factors help match the cabinet’s design. Pick hardware that fits the cabinet’s era and your taste. This ensures a natural, authentic appearance.
Types Of Cabinet Hardware
Cabinet hardware includes knobs, pulls, and handles. Knobs are small and round, easy to use. Pulls are longer, giving a better grip. Handles may have a classic or ornate design. Choose a type that fits the cabinet style. Simple knobs suit a rustic look. Detailed pulls fit vintage or Victorian cabinets.
Materials That Age Well
Metal is the top choice for antique hardware. Brass, bronze, and iron develop a nice patina over time. This natural aging adds beauty and depth. Avoid plastic or cheap metals that look fake. Solid materials last longer and look better. Wood hardware also works but can wear down faster.
Finding Vintage Pieces
Vintage hardware brings true antique charm. Check flea markets, antique shops, and online stores. Look for pieces with real wear, not just fake aging. Match the size and screw placement to your cabinet. Mixing old and new hardware can look odd. Keep an eye out for unique designs and quality craftsmanship.
Preparing Your Hardware
Preparing your cabinet hardware is an important step before giving it an antique look. It ensures the best finish and long-lasting results. Take your time to clean, remove rust, and smooth the surface. These steps help the hardware look beautiful and authentic.
Cleaning Old Hardware
Start by removing dirt and grease from the hardware. Use warm soapy water and a soft brush. Gently scrub all surfaces to clear away grime. Rinse with clean water and dry well. Clean hardware allows paint or finish to stick better.
Removing Rust And Tarnish
Rust and tarnish spoil the look of metal hardware. Use a rust remover or white vinegar to treat these spots. Soak the hardware for 15 to 30 minutes. Then scrub with a wire brush or steel wool. Rinse and dry completely to stop rust from returning.
Sanding And Smoothing
Lightly sand the hardware to smooth rough spots and old paint. Use fine-grit sandpaper for gentle sanding. Focus on edges and crevices to create an even surface. Wipe away dust with a clean cloth. Smooth hardware helps finishes look neat and last longer.
Antiquing Techniques
Antiquing cabinet hardware gives it a unique, vintage look. It adds character and charm to your furniture. Several simple techniques create this aged effect. Each method changes the hardware’s surface in a special way. Choose the right one for your style and skill level.
Applying Patina Solutions
Patina solutions change the metal’s color and texture. They create natural-looking aging on brass, copper, and bronze. Apply the solution with a brush or cloth. Watch carefully as the color changes. Rinse or neutralize the surface to stop the reaction. Let it dry fully before handling. This method gives hardware a soft, antique glow.
Using Paint And Glaze
Paint and glaze add depth and tone to hardware. Start with a base coat in a dark color. After drying, apply glaze over the paint. Wipe off excess glaze to highlight details. This technique creates shadows and highlights. It mimics the worn look of old hardware. Use a soft cloth or brush for best results.
Distressing For Authenticity
Distressing makes hardware look naturally worn. Use sandpaper or steel wool to rub edges and raised areas. Focus on spots that would get the most use. This wears away the finish and reveals metal underneath. Small dents or scratches add to the effect. Distressing gives hardware a genuine, timeworn appearance.

Credit: www.vandykes.com
Sealing And Protecting
Sealing and protecting antique cabinet hardware is essential to keep its look and feel. This step stops rust, dirt, and fingerprints from damaging the metal. It also helps maintain the hardware’s shine and color over time. Proper sealing creates a lasting finish that looks beautiful and holds up well with use.
Choosing The Right Sealant
Select a sealant made for metal surfaces. Clear lacquers and waxes work well for most antique hardware. Avoid thick coatings that hide the details. A thin, transparent layer protects without changing the look. Pick a sealant that dries fast and resists yellowing. Check product labels to match your hardware’s metal type.
Application Tips
Clean the hardware thoroughly before sealing. Remove all dust, dirt, and oils using a soft cloth. Apply sealant in a well-ventilated area. Use a small brush or cloth for an even coat. Let each layer dry fully before adding another. Avoid over-applying; thin coats dry better and last longer. Handle hardware gently to prevent scratches.
Maintaining The Finish
Wipe hardware regularly with a dry, soft cloth. Avoid harsh chemicals or abrasive cleaners. Use mild soap and water for deeper cleaning. Reapply sealant every few years to refresh protection. Keep hardware dry to stop rust from forming. Careful cleaning and resealing preserve the antique charm.
Installing Antique Hardware
Installing antique hardware can give your cabinets a unique and classic look. It requires care and attention to keep the charm of the old pieces. Follow simple steps to fit the hardware correctly. This helps your cabinet look great and work well.
Measuring And Marking
Start by measuring the space on your cabinet where the hardware will go. Use a ruler or tape measure. Mark the spots lightly with a pencil. Check the marks twice. This prevents mistakes and keeps hardware even. Accurate marks make installation easier and faster.
Tools You’ll Need
Gather a drill, screwdriver, tape measure, pencil, and level. A drill helps make holes for screws. The screwdriver tightens screws securely. A level keeps the hardware straight. These tools ensure smooth installation without damage. Having the right tools saves time and effort.
Securing Hardware Properly
Place the hardware on the marked spots. Hold it steady and insert screws by hand first. Then tighten screws with a screwdriver. Avoid over-tightening to protect the wood and hardware. Check if the hardware fits firmly and does not move. Secure hardware looks better and lasts longer.
Tips For Vintage Charm
Adding vintage charm to your cabinet hardware brings warmth and character to any room. Antique pieces tell stories and add unique details. Use these tips to blend old and new styles with care. Keep your look balanced and protect your hardware for lasting beauty.
Mixing Old And New Styles
Combine antique hardware with modern cabinets for a fresh look. Use vintage knobs on sleek drawers to add contrast. Mix metals like brass and chrome for interest. Avoid too many styles to keep harmony. Small touches of old hardware can brighten new furniture.
Creating A Cohesive Look
Choose hardware that fits the room’s style. Match colors or finishes to unify the space. Repeat shapes or patterns for flow. Use similar tones in other decor elements. Keep the size of hardware proportional to cabinets. Consistency makes the vintage style feel natural.
Caring For Antique Hardware
Clean hardware gently with mild soap and water. Avoid harsh chemicals that can damage finishes. Dry thoroughly to stop rust and tarnish. Use a soft cloth for polishing. Tighten screws carefully to prevent damage. Regular care keeps antiques looking their best.
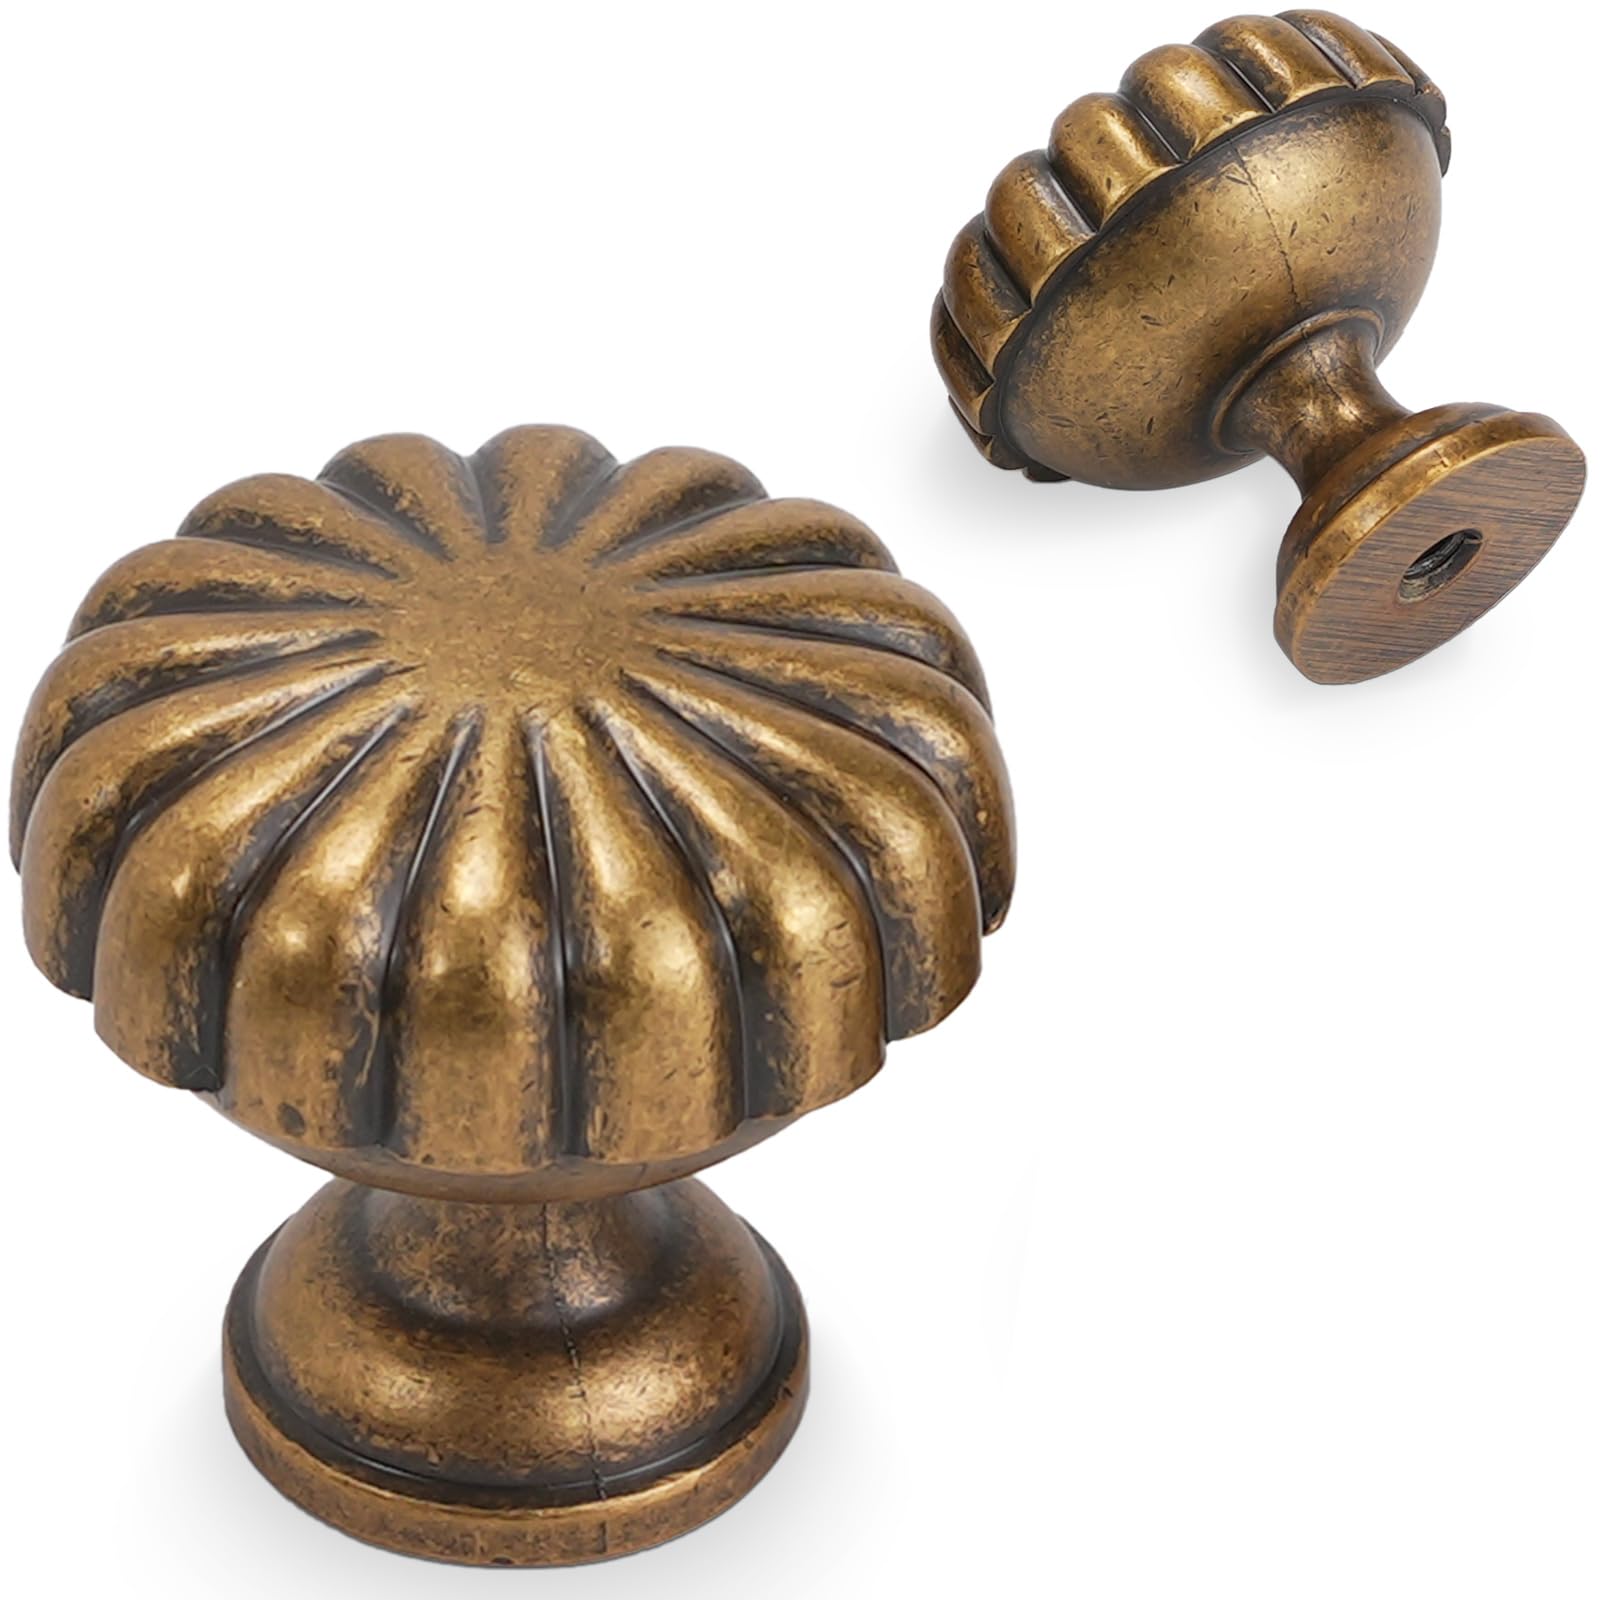
Credit: www.amazon.com
Frequently Asked Questions
What Materials Work Best For Antique Cabinet Hardware?
Brass, bronze, and iron are ideal for antique cabinet hardware. These metals age well, developing a natural patina. They offer durability and authentic vintage aesthetics, enhancing the cabinet’s antique charm.
How Do I Safely Remove Old Cabinet Hardware?
Use a screwdriver to gently unscrew hardware. Avoid forcing or prying to prevent damage. Clean screws and hardware with mild soap before refinishing or replacing for best results.
What Techniques Create An Antique Look On Hardware?
Apply patina solutions or use paint distressing techniques. Light sanding and dark wax can add aged effects. These methods replicate years of natural wear and enhance vintage appeal.
Can I Antique Hardware Without Professional Tools?
Yes, simple household items like vinegar, salt, and steel wool can antique hardware. These DIY methods are effective and budget-friendly for achieving an aged look at home.
Conclusion
Antique cabinet hardware adds charm and character to any furniture. Clean and polish the pieces gently for the best look. Use the right tools to avoid damage during restoration. Replacing old hardware can change the whole style of a cabinet.
Small details make a big difference in home décor. Enjoy the process and take your time with each step. Your cabinet will look unique and full of history. Antique hardware brings warmth and personality to your space. Keep practicing to improve your skills with each project.