Are your cabinet handles and knobs looking dull or outdated? You don’t need to replace your entire cabinets to give your space a fresh, new look.
Refurbishing your cabinet hardware is a simple and affordable way to transform your kitchen or bathroom instantly. In this guide, you’ll discover easy steps to bring back the shine and style of your hardware, saving you time and money. Ready to make your cabinets look brand new without the hassle?
Keep reading, and let’s get started!

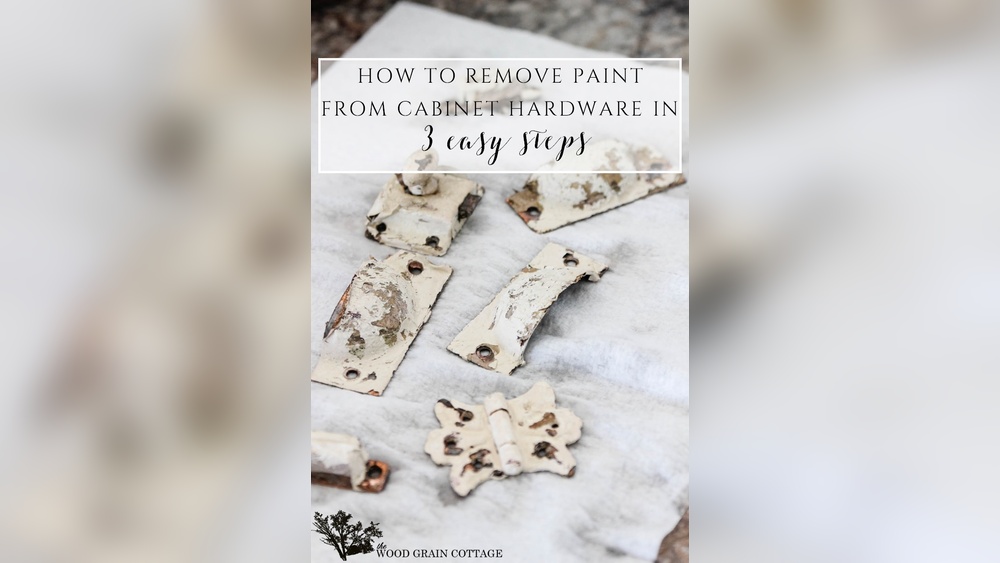
Credit: www.youtube.com
Gathering Materials
Gathering the right materials is the first step to refurbish cabinet hardware. Having all tools and parts ready saves time and makes the project smoother. This section covers what you need to collect before starting.
Tools You’ll Need
Basic tools make hardware refurbishment easier. A screwdriver set is essential for removing old knobs and handles. A drill may help if you install new hardware with different screw sizes. Sandpaper smooths rough spots on the hardware. A cleaning brush or cloth removes dust and dirt. If you plan to paint or spray the hardware, use painter’s tape to protect surfaces. Gloves protect your hands during cleaning and painting. Prepare a small container to keep screws safe during the work.
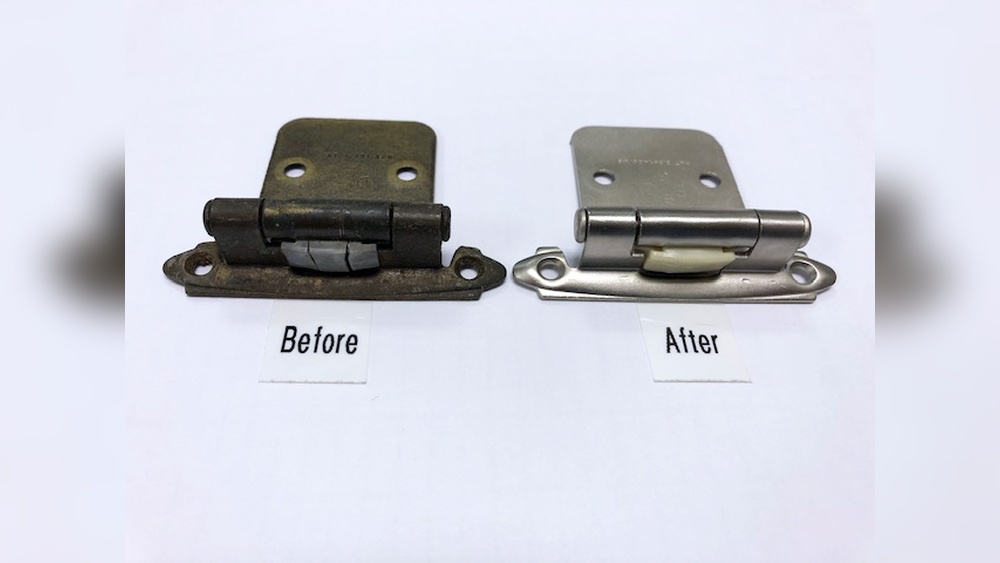
Choosing Replacement Hardware
Pick hardware that fits your cabinet style and size. Measure the existing knobs and handles to get the right fit. Match screw hole distances to avoid drilling new holes. Consider the finish—brass, chrome, or matte black—to match your kitchen or bathroom look. Choose simple designs for a clean, modern feel. Or pick ornate pieces for a classic, vintage style. Think about durability; metal hardware lasts longer than plastic. Buy a few extra pieces in case of mistakes or future repairs.
Credit: rainonatinroof.com
Removing Old Hardware
Removing old cabinet hardware is the first step in a successful refurbishment project. It helps prepare the surface for new finishes or hardware. Proper removal avoids damage to the cabinet doors and drawers. Taking your time during this process ensures better results. Follow these tips for safe and organized removal.
Safe Removal Techniques
Start by using the right tools. A screwdriver is often enough for most hardware. Turn screws slowly to avoid stripping them. If screws are tight, use a lubricant like WD-40. Gently pry handles or knobs away from the surface. Avoid using too much force to prevent scratches or dents. Work on one piece at a time for better control.
Organizing Screws And Parts
Keep track of all screws and small parts. Use a small container or ziplock bag for storage. Label each container with the hardware location. This step saves time during reassembly or replacement. Organizing parts prevents loss and confusion. A tidy workspace helps you stay focused and efficient.
Cleaning And Prepping
Cleaning and prepping cabinet hardware is the first step to a fresh look. Proper cleaning removes dirt and rust, making surfaces ready for refinishing. Prepping smooths out any rough spots for a neat finish. This process ensures paint or polish sticks well. It also helps the hardware last longer and look better.
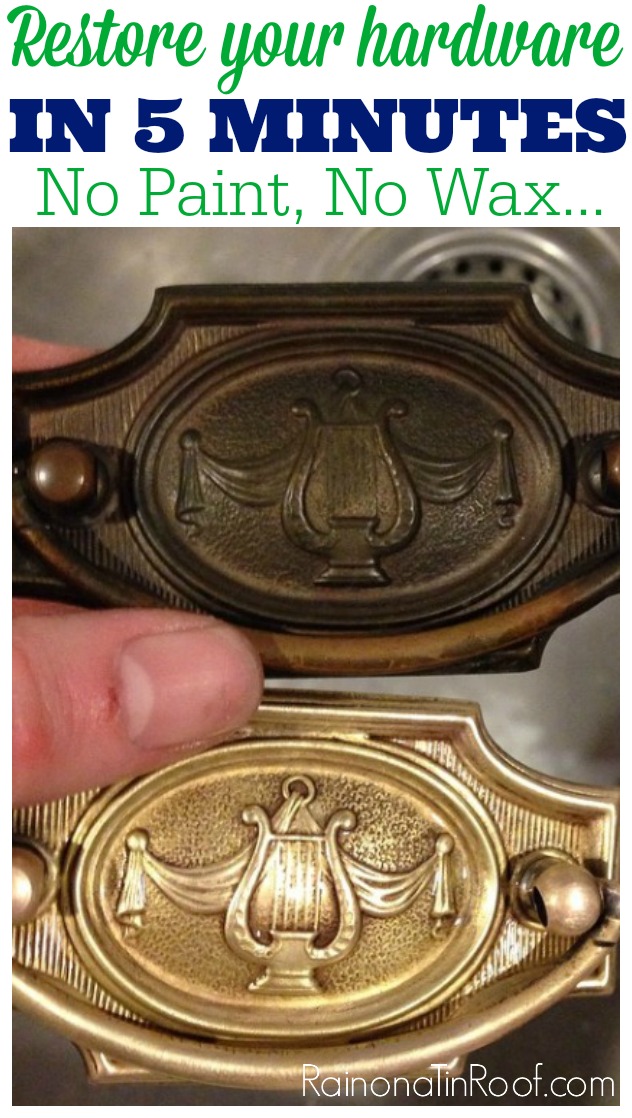
Removing Dirt And Rust
Start by soaking hardware in warm, soapy water. Use a soft brush to scrub away dirt. For rust, apply a rust remover or use white vinegar. Let the hardware sit in vinegar for a few hours. Then scrub rust spots gently with a brush or steel wool. Rinse and dry completely to prevent new rust.
Sanding And Smoothing Surfaces
Use fine-grit sandpaper to smooth rough spots and old finishes. Sand gently to avoid scratches. Focus on corners and edges where paint peels. Wipe dust off with a clean cloth. Smooth surfaces help paint or polish hold better. This step is key for a professional look.
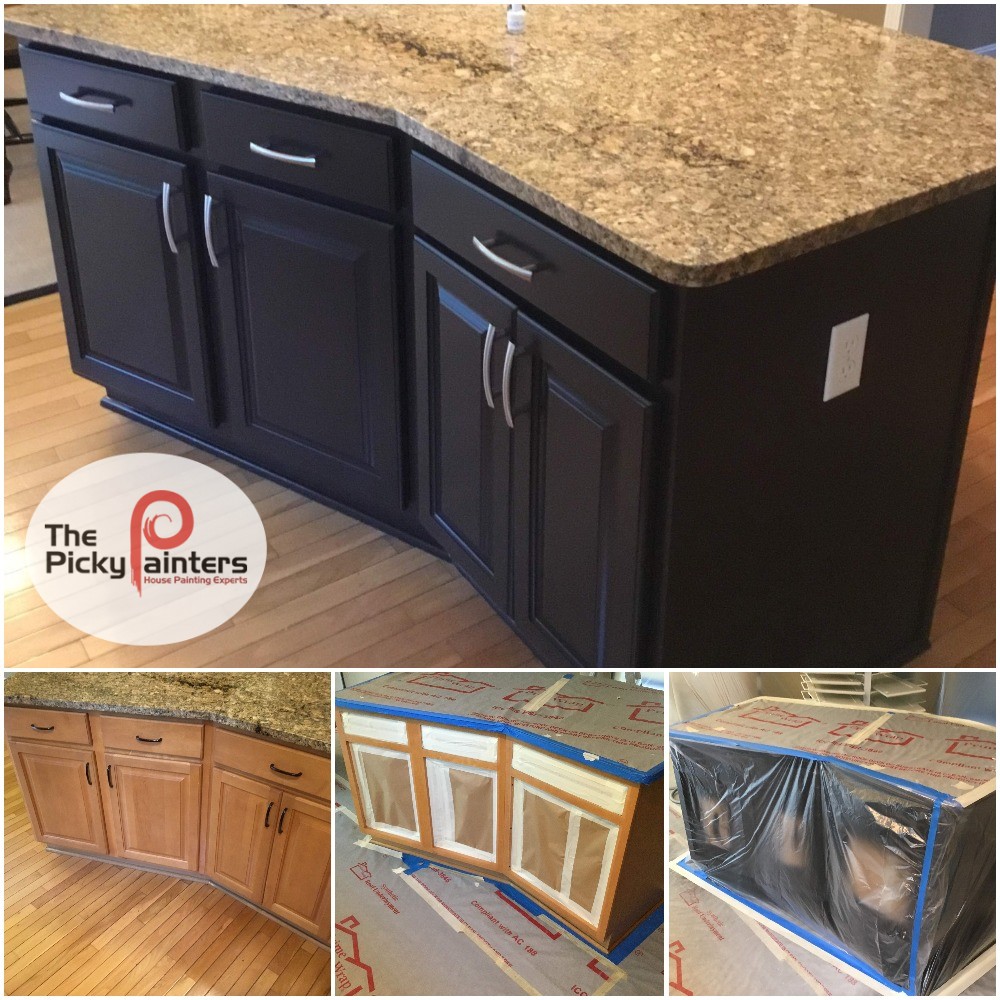
Credit: thepickypainters.com
Painting And Finishing
Painting and finishing cabinet hardware is a simple way to refresh your kitchen or bathroom. A fresh coat of paint can give old handles and knobs a new look. Proper painting and finishing protect the hardware from wear and tear. It also helps the new color last longer and stay bright.
Selecting Paint Types
Choose paint made for metal surfaces. Spray paint works well for smooth, even coverage. Acrylic paint is good for brush application and dries fast. Avoid regular wall paint; it may chip easily. Pick a paint with a finish you like: matte, satin, or glossy.
Applying Primer And Paint
Start by cleaning the hardware to remove dirt and grease. Use a primer to help paint stick better. Spray primer for thin, even coats. Let the primer dry fully before painting. Apply the paint in light, even layers. Allow each layer to dry before adding the next. Thin coats prevent drips and bumps.
Adding Protective Coats
After painting, apply a clear protective coat. This seals the paint and adds shine. Use a spray clear coat for smooth results. Let the protective coat dry completely. This step helps hardware resist scratches and moisture. It keeps your hardware looking new for longer.
Reinstalling Hardware
Reinstalling cabinet hardware is the final step in your refurbishing project. It brings new life to your cabinets and completes the fresh look. This part requires care and attention to ensure everything fits well and works smoothly.
Aligning And Attaching
Start by placing the hardware in the right position on the cabinet. Check that the holes match the screws and the hardware sits flat. Use a pencil to mark the screw spots if needed. Hold the hardware firmly and insert the screws gently. Avoid forcing the screws to prevent damage.
Tightening Tips
Use a screwdriver that fits the screw head perfectly. Tighten screws slowly and evenly to avoid stripping. Stop tightening once the hardware feels secure. Over-tightening can crack the cabinet or damage the hardware. Check for any wobble and adjust screws as needed for a firm hold.
Creative Customization
Creative customization lets you turn plain cabinet hardware into unique decor. It adds charm and personality to any room. Small changes can make a big impact without spending much.
Try different looks and styles to match your space. Customizing hardware is a fun way to refresh cabinets and express your style.
Using Decorative Techniques
Paint is a simple tool to change hardware style. Use spray paint for a smooth finish. Try metallic colors like gold or bronze for a classic look.
Apply stencils or patterns to add detail. Use a small brush for neat lines. Seal the paint with clear coat for long-lasting results.
Wrap hardware with thin rope or twine for a rustic feel. Glue small gems or beads for a touch of sparkle.
Mixing Materials And Styles
Combine different materials to create contrast. Pair metal knobs with wooden pulls for a natural look. Mix shiny and matte finishes for interest.
Use vintage pieces alongside modern hardware. This blend creates a unique and stylish effect. Try mismatched knobs for a playful, eclectic design.
Mix shapes and sizes to add depth. Round and square knobs together bring balance and charm.
Maintenance Tips
Maintaining cabinet hardware keeps it looking fresh and working well. Small care steps extend its life and keep your cabinets stylish. Follow simple routines to protect your hardware from damage and dirt.
Regular Cleaning
Clean cabinet hardware often to remove dust and grime. Use a soft cloth dampened with mild soap and water. Avoid harsh chemicals that can damage the finish. Dry hardware completely after cleaning to stop rust and water spots. Regular cleaning keeps handles and knobs shiny and smooth.
Preventing Wear And Tear
Handle cabinet hardware gently to avoid scratches and dents. Tighten loose screws to stop wobbling and damage. Use protective pads behind handles if they hit walls or surfaces. Avoid hanging heavy items on knobs or pulls. These steps help hardware stay strong and look new longer.
Frequently Asked Questions
How Do I Remove Old Cabinet Hardware Safely?
Use a screwdriver to carefully unscrew hardware. Protect the cabinet surface with painter’s tape. Work slowly to avoid damage or stripping screws.
What Materials Are Best For Refurbishing Cabinet Hardware?
Metal hardware like brass, nickel, or bronze work well. They can be cleaned, polished, or painted for a fresh look.
Can I Paint Cabinet Hardware Instead Of Replacing It?
Yes, painting is a cost-effective option. Use spray paint designed for metal to ensure durability and smooth finish.
How Do I Clean Tarnished Cabinet Hardware Effectively?
Soak hardware in warm soapy water. Use a soft brush to remove dirt. For tarnish, apply a metal polish or vinegar solution.
Conclusion
Refurbishing cabinet hardware can change your space quickly. Small updates make a big difference in style. Choose the right tools and take your time. Clean, sand, and paint or polish for best results. Enjoy the fresh look without spending much money.
A little effort brings new life to old cabinets. Try it yourself and see how simple it is. Your cabinets will look brand new again. Why wait? Start your project today and feel proud.