If you’re tackling a project that needs strong, reliable fastening into concrete, brick, or block, Tapcon fasteners are your best friend. But how do you use them correctly to make sure your work holds firm?
In this guide, you’ll discover simple, step-by-step instructions that will help you get the job done right the first time. Whether you’re a DIY enthusiast or a professional, mastering Tapcon fasteners can save you time, money, and frustration. Keep reading to unlock the secrets that will make your next project a solid success.
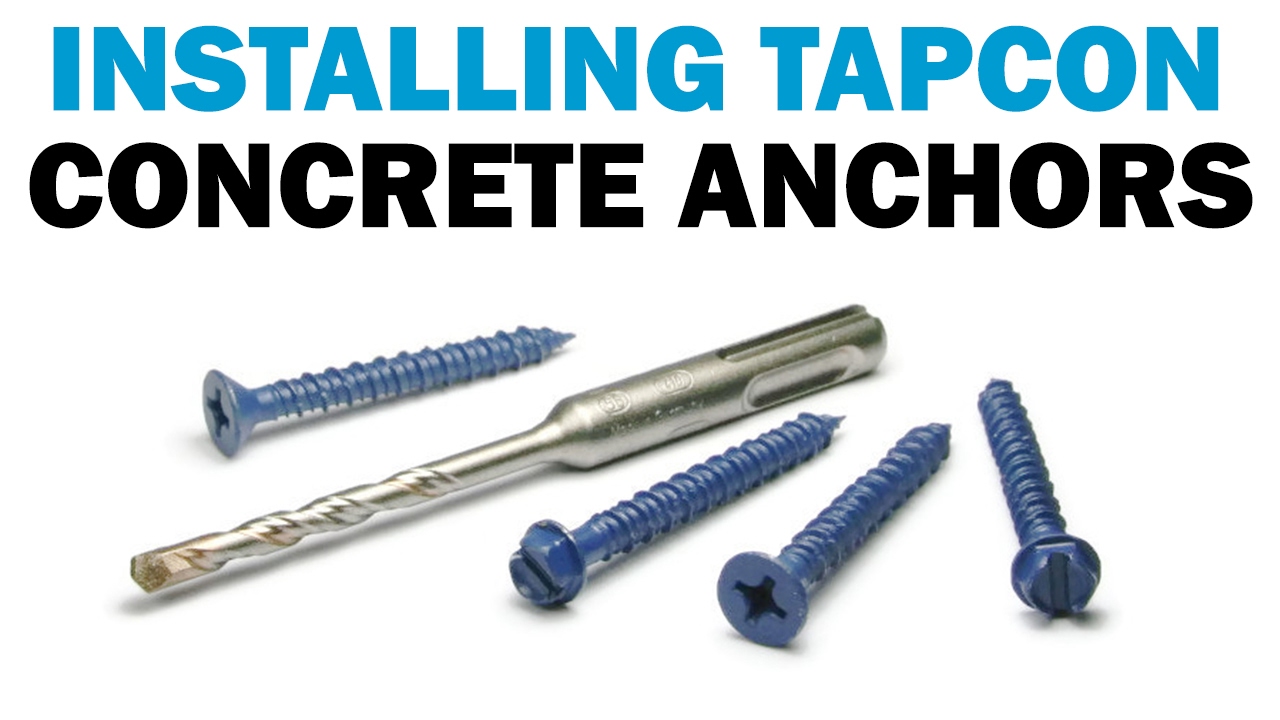
Choosing The Right Tapcon
Choosing the right Tapcon fastener is important for a strong and lasting hold. The right fastener fits the material and the job perfectly. This choice affects how well your project will stay together over time. Understanding the types, sizes, and materials helps you pick the best fastener. This guide explains these key points clearly.
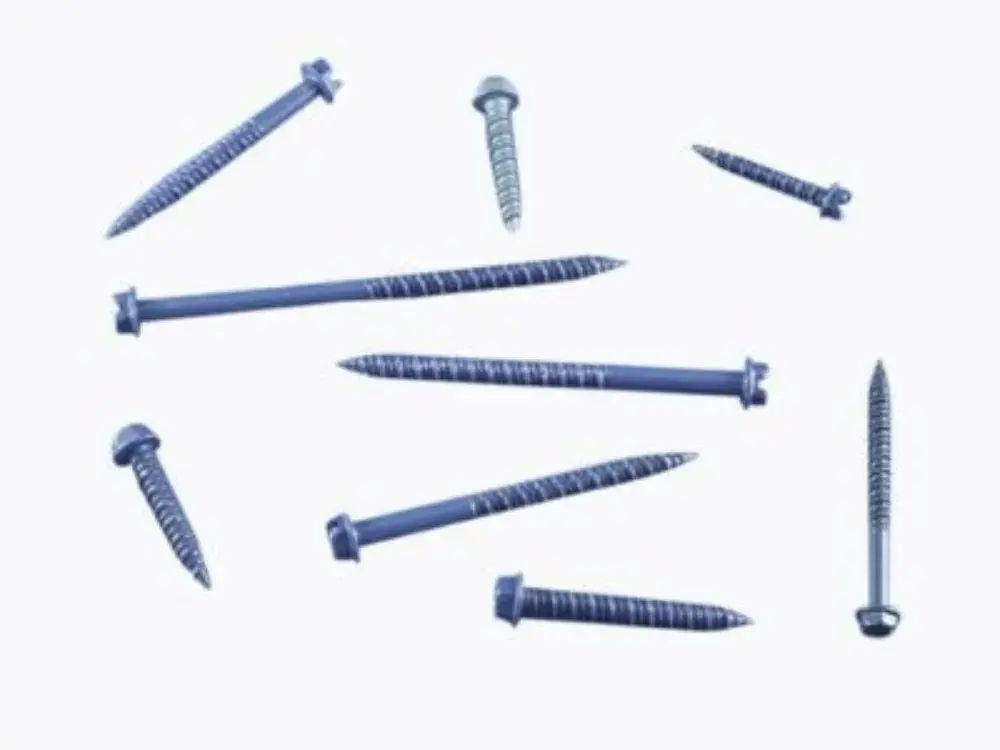
Types Of Tapcon Fasteners
Tapcon fasteners come in different types. Some have a flat head, others have a hex or pan head. Flat head Tapcons sit flush with the surface. Hex head Tapcons offer more grip for tools. Pan head Tapcons are good for surface mounting. Choose the type based on the finish you want and the tool you use.
Selecting The Correct Length And Diameter
Length and diameter matter a lot. The fastener must be long enough to go through the material and into the concrete. Usually, it should go at least 1 inch into the concrete for a strong hold. Diameter affects the grip strength too. Thicker fasteners hold more weight but need bigger holes. Match these sizes to your project needs.
Material Compatibility
Tapcon fasteners work best with concrete, brick, and block. They do not work well with soft wood or drywall. Use the right fastener for the material type. Some Tapcons come with special coatings for outdoor use. These resist rust and weather damage. Choose coated fasteners for damp or outdoor projects.
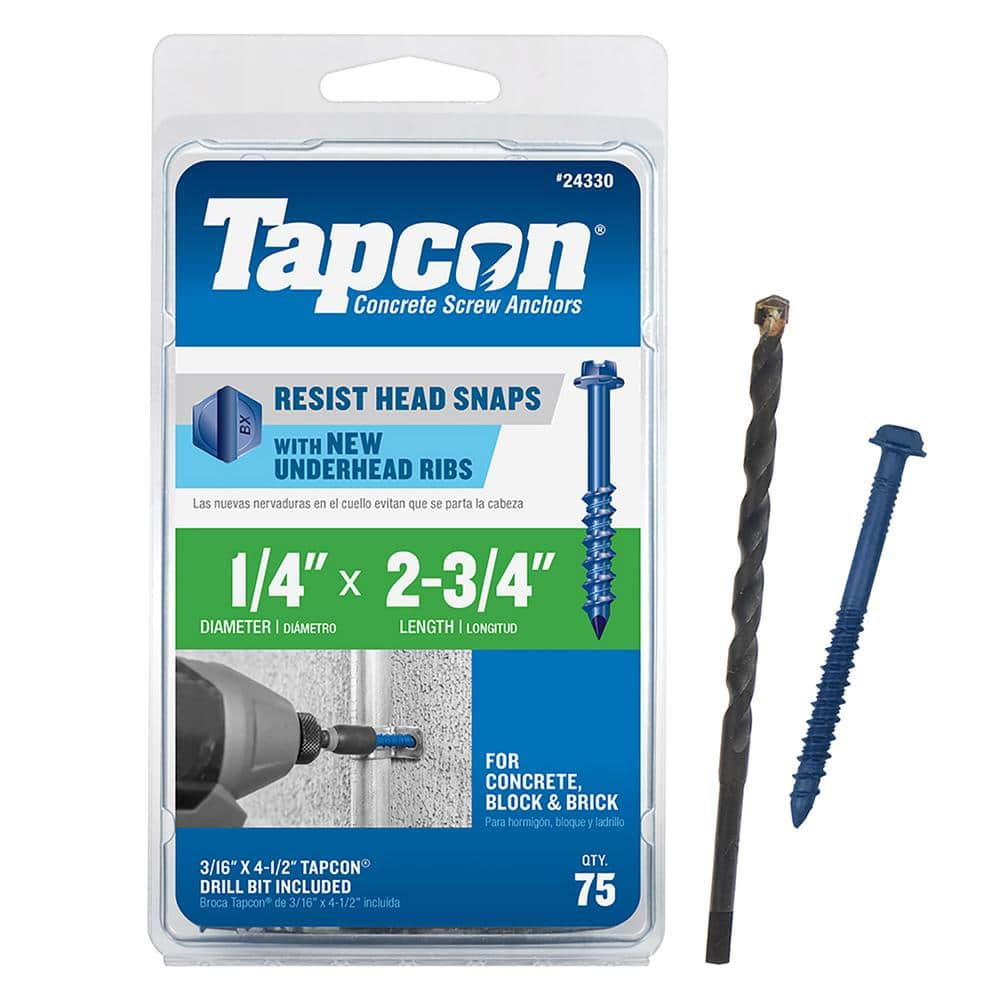
Credit: www.homedepot.com
Preparing The Surface
Preparing the surface is the first step to using Tapcon fasteners properly. A clean, well-marked, and aligned area helps the fastener hold strong. Taking time now saves problems later. Follow these simple steps to get the surface ready.
Cleaning The Installation Area
Clear dust, dirt, and debris from the spot. Use a brush or cloth to wipe the area. A clean surface helps the fastener grip better. Avoid oily or wet spots. Dry the surface completely before drilling.
Marking Drill Points
Use a pencil or marker to mark where you will drill. Measure carefully to ensure accuracy. Mark each hole clearly. These points guide the drill and keep fasteners in place. Double-check measurements before starting.
Ensuring Proper Alignment
Line up the material with the marked points. Check that everything is straight and even. Misalignment can weaken the fastener hold. Use a level or square tool if needed. Hold materials steady during drilling for best results.
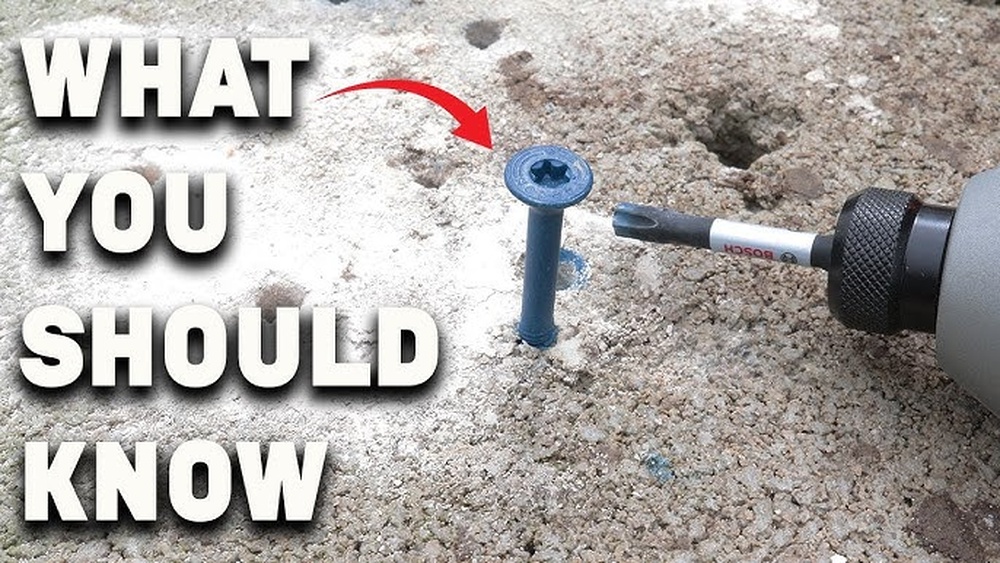
Drilling The Pilot Hole
Drilling the pilot hole is a key step in using Tapcon fasteners. It prepares the surface and ensures the fastener holds tightly. A well-drilled hole makes installation easier and prevents damage to the material. Careful attention during this step saves time and effort later.
Choosing The Correct Drill Bit
Select a drill bit that matches the size of the Tapcon fastener. The bit must be carbide-tipped for concrete or masonry. Using the wrong bit can cause the hole to be too wide or too narrow. Always check the Tapcon packaging for the recommended drill bit size.
Drilling Techniques
Use a hammer drill for best results. Start drilling at a slow speed to create a guide hole. Then increase speed and apply steady pressure. Keep the drill straight to avoid angled holes. Remove dust from the hole often to improve grip.
Avoiding Common Mistakes
Do not drill too deep or too shallow. A shallow hole makes it hard to insert the fastener. A hole too deep weakens the hold. Avoid overheating the drill bit by pausing often. Clean debris from the hole before inserting the fastener.
Credit: www.fastenersystems.com
Installing The Tapcon Fastener
Installing Tapcon fasteners is simple with the right steps. These fasteners work well for attaching objects to concrete, brick, or block walls. Proper installation ensures a strong, lasting hold. Follow clear steps for a smooth process and secure results.
Using The Right Tools
Start with the correct drill and drill bit. Use a hammer drill with a carbide-tipped masonry bit. The bit size must match the Tapcon fastener diameter. Wear safety glasses to protect your eyes. A screwdriver or impact driver will help drive the fastener in place.
Driving The Fastener Correctly
Drill a hole at the marked spot. The hole depth should be slightly deeper than the fastener length. Clean out dust from the hole using a brush or compressed air. Place the Tapcon fastener into the hole. Use a screwdriver or impact driver to drive it straight in. Do not over-tighten, or the fastener may break.
Checking For Secure Fit
Check the fastener by gently pulling on the attached object. The fastener should hold firmly without movement. If loose, remove and try a new fastener or hole. A secure fit ensures safety and durability of your installation.
Tips For Stronger Fixings
Strong fixings make your projects safe and durable. Using Tapcon fasteners correctly helps you achieve this. Follow these tips to get the best hold and avoid common mistakes.
Avoiding Over-tightening
Over-tightening can damage both the fastener and the base material. Stop tightening as soon as the fastener feels secure. Use a torque wrench if possible. This tool helps control the force applied. Too much pressure can crack concrete or strip threads inside the fastener.
Using Anchors In Different Materials
Tapcon fasteners work well in concrete, brick, and block. Drill the correct hole size for each material. Harder materials need a smaller drill bit to ensure a tight fit. Softer materials require a slightly larger hole to avoid cracking. Clean out dust and debris from the hole before inserting the fastener.
Maintenance And Inspection
Check your fixings regularly for looseness or rust. Tighten any loose fasteners carefully. Replace any that show signs of damage or corrosion. Keeping fixings in good shape extends the life of your work. Regular inspection prevents accidents and costly repairs later.
Credit: www.youtube.com
Troubleshooting Common Issues
Using Tapcon fasteners can sometimes bring challenges. Common problems may slow your work or affect the hold strength. Knowing how to fix these issues helps you save time and avoid frustration. Below are simple solutions for common Tapcon fastener problems.
Dealing With Stripped Threads
Stripped threads happen when the fastener spins without gripping. This usually occurs in worn or damaged holes. To fix stripped threads, use a larger diameter Tapcon fastener. Drill a new hole if needed, making it bigger and deeper. Clean debris from the hole before inserting the new fastener. This creates a tight grip and strong hold.
Fixing Loose Fasteners
Loose fasteners reduce stability and safety. Tighten the screw with a power drill or screwdriver. If it stays loose, remove the fastener and clear the hole. Check for dust or broken material inside. Use a plastic anchor or epoxy to fill the hole. Insert the fastener once the filler dries. This ensures a firm, lasting hold.
Handling Cracked Materials
Cracks around the fastener weaken the surface. Avoid driving Tapcons too close to edges. If cracks appear, stop and remove the fastener. Use a filler or patch to repair the crack. Let the material dry completely before reinstalling the fastener. Reinforce the area with a backing plate for extra strength. This prevents further damage and improves support.
Frequently Asked Questions
What Are Tapcon Fasteners Used For?
Tapcon fasteners are designed for anchoring into concrete, brick, or block. They provide strong, reliable fastening for fixtures and construction materials.
How Do You Install Tapcon Fasteners Correctly?
First, drill a pilot hole using a hammer drill. Then, insert the Tapcon and tighten it with a screwdriver or drill until secure.
Can Tapcon Fasteners Be Removed And Reused?
Tapcon fasteners can be removed but are not recommended for reuse. Removal may damage threads or reduce holding strength.
What Tools Are Needed For Tapcon Fasteners?
You need a hammer drill with a carbide bit and a screwdriver or drill with a Phillips or hex bit to install Tapcons.
Conclusion
Tapcon fasteners offer strong and reliable holding power. Use the right drill bit size to make clean holes. Always wear safety glasses while drilling. Secure the fastener firmly but avoid overtightening. These simple steps help you achieve a lasting hold.
With practice, installation becomes quick and easy. Tapcon fasteners work well on concrete and masonry surfaces. Follow these tips to complete your projects with confidence. Keep your tools ready for smooth work. Enjoy sturdy results that last long and hold tight.