If you’ve ever struggled to install cabinet hardware evenly and quickly, you’re not alone. Getting those handles and knobs perfectly aligned can be frustrating and time-consuming.
But what if you had a simple tool that makes the job easy and foolproof? That’s where a cabinet hardware jig comes in. You’ll learn exactly how to install a cabinet hardware jig step-by-step, so your cabinets look professional every time.
Keep reading, and you’ll save time, avoid mistakes, and gain confidence in your DIY skills.
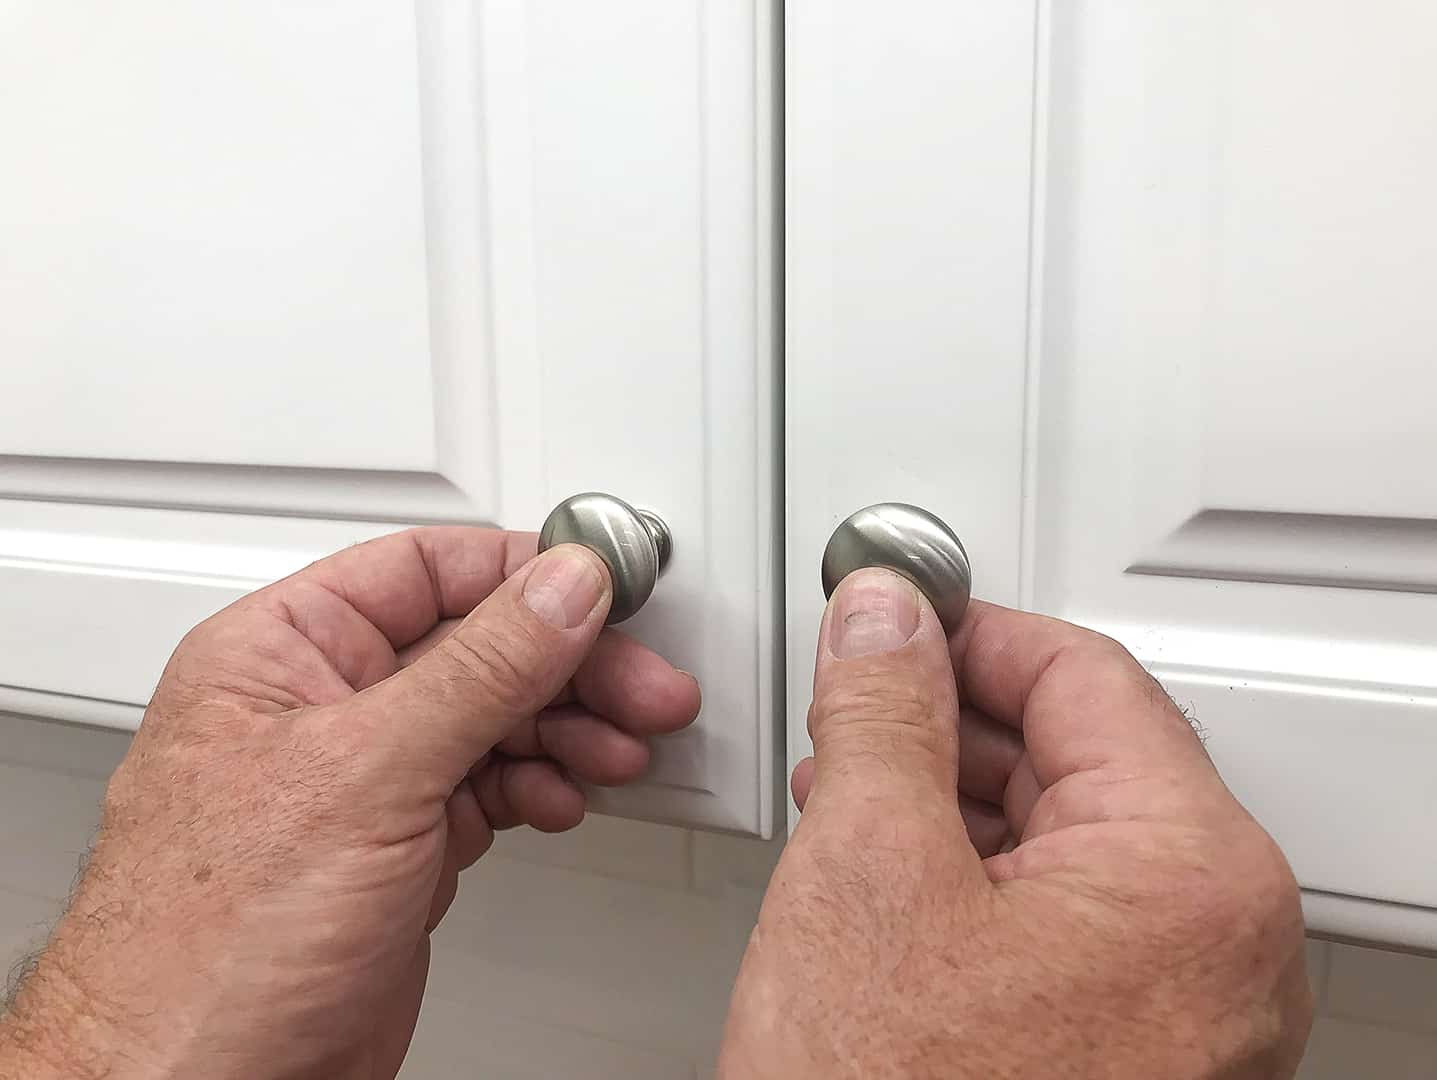
Credit: www.homedepot.com
Choosing The Right Jig
Choosing the right cabinet hardware jig is key for an easy and accurate installation. The right jig helps you drill holes in the correct spot every time. It saves time and reduces mistakes. This guide explains the main types of jigs and what to think about before buying.
Types Of Cabinet Hardware Jigs
There are several types of jigs for cabinet hardware. Some are simple templates with holes to guide your drill. Others have adjustable parts to fit different sizes of handles and knobs. Some jigs come with rulers or measuring guides built in. Choose one that fits your project and hardware type.
Basic jigs work well for standard knob and handle sizes. Adjustable jigs offer more flexibility for various hardware designs. Some jigs are made for specific hardware brands or styles. Knowing the type helps you pick a jig that fits your needs.
Factors To Consider
Think about the hardware style and size before choosing a jig. Check if the jig fits your cabinet door thickness and drawer fronts. The material of the jig matters. Plastic jigs are lightweight but may wear out faster. Metal jigs are durable and often more precise.
Ease of use is important. Look for jigs with clear markings and simple adjustments. Consider your budget but avoid very cheap jigs that may not last. A good jig can save effort and give better results in your cabinet project.
Credit: truepositiontools.com
Gathering Tools And Materials
Gathering the right tools and materials is the first step to install a cabinet hardware jig properly. Preparing everything in advance saves time and avoids frustration. It ensures a smooth and accurate installation process. Below are the key items you need to collect before starting your project.
Essential Tools
Start with a power drill or screwdriver. These help drive screws easily and quickly. A tape measure is important to mark exact locations for hardware. Use a pencil to make small marks on the cabinet surface. A level ensures your hardware lines are straight and even. Safety glasses protect your eyes from dust and debris. Clamps help hold the jig steady during drilling. Lastly, have a ruler or square for precise alignment.
Hardware Selection
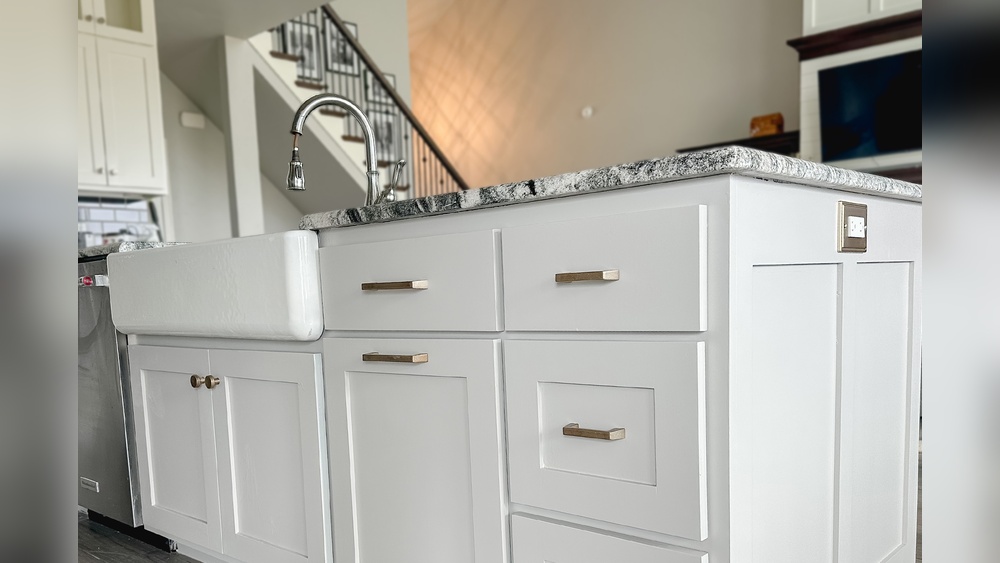
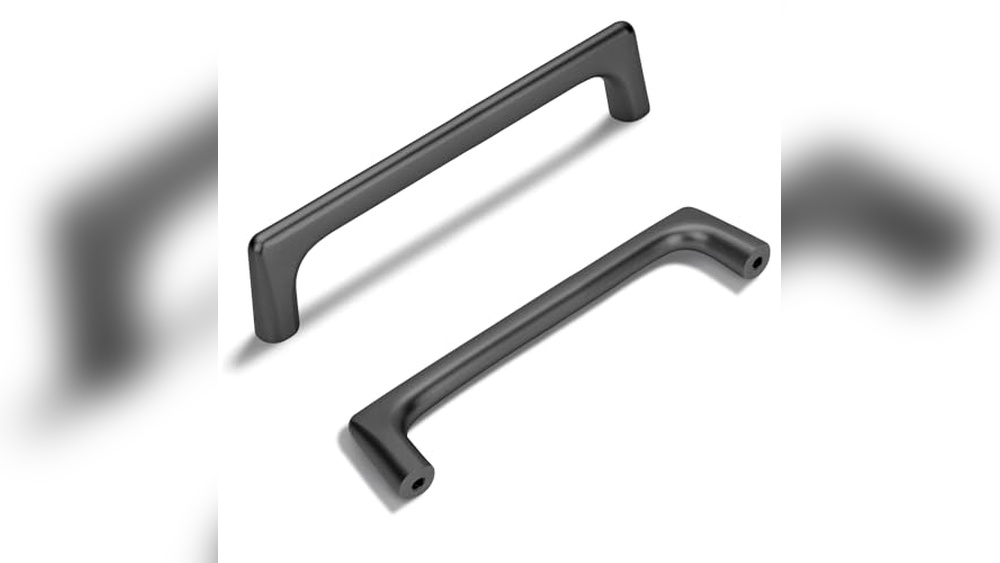
Choose the hardware that fits your cabinet style and use. Pulls and knobs come in various shapes, sizes, and finishes. Match the hardware to your room décor for a cohesive look. Check the length of screws that come with the hardware. Some cabinets need longer screws for a secure fit. Buy extra screws and hardware pieces to replace any damaged ones. Quality hardware lasts longer and looks better on your cabinets.
Preparing The Cabinet Surface
Preparing the cabinet surface is an important step before installing cabinet hardware jig. It ensures accurate placement and a clean finish. Take your time during this stage to avoid mistakes later.
Cleaning And Marking
Start by cleaning the cabinet surface thoroughly. Remove dust, grease, and dirt with a damp cloth. A clean surface helps the jig sit flat and prevents slipping.
After cleaning, mark the spots where you want to install the hardware. Use a pencil for light, easy-to-remove marks. These marks guide the jig and make drilling precise.
Measuring For Placement
Measure carefully to place the hardware evenly. Use a tape measure or ruler to check distances from edges and between holes.
Double-check your measurements before drilling. Accurate measuring avoids crooked handles and uneven spacing. Take your time. Accuracy matters here.
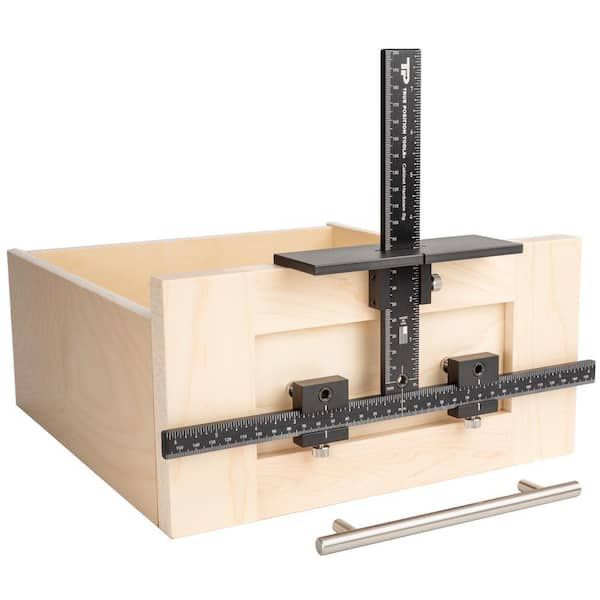
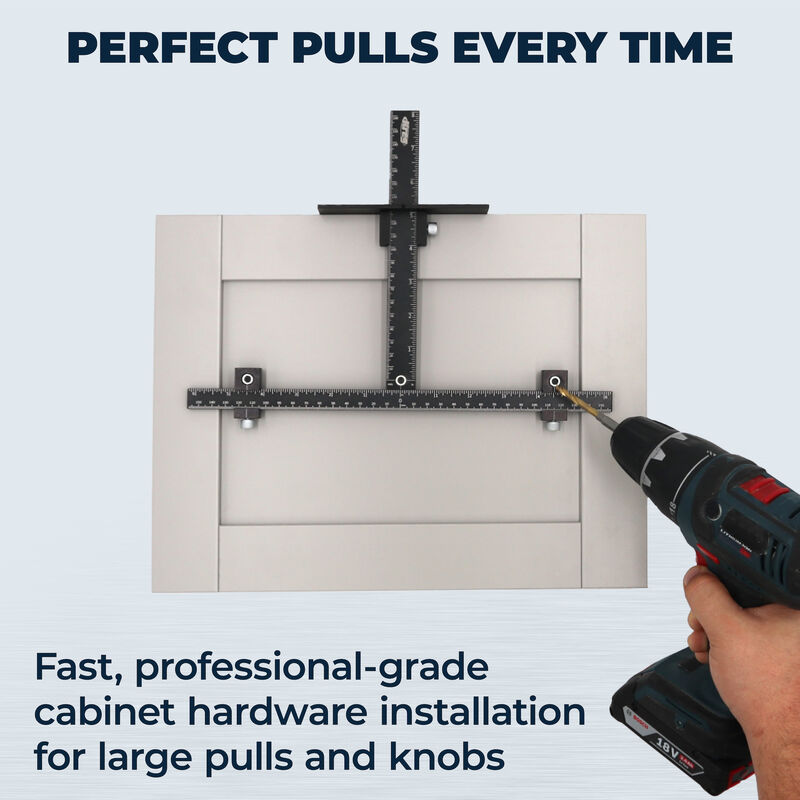
Setting Up The Jig
Setting up the cabinet hardware jig is the first step to a smooth installation. This tool helps place holes accurately for handles or knobs. Proper setup saves time and avoids mistakes. Take time to adjust and secure the jig before drilling. This ensures consistent and neat results on every cabinet door or drawer.
Adjusting For Handle Size
Start by measuring your handle or knob size. The jig has adjustable slots for different handle lengths. Slide the jig arms to match the exact distance between holes on your hardware. Double-check the measurement to avoid errors. This step ensures the holes line up perfectly with your handles.
Securing The Jig
Place the jig on the cabinet surface where you want the hardware. Use clamps or built-in screws to hold it firmly in place. A loose jig can cause misaligned holes. Press the jig flat against the surface. Tighten the clamps or screws so the jig does not move while drilling.
Drilling Guide Holes
Drilling guide holes is a key step in installing cabinet hardware jig. These holes keep the screws straight and the hardware secure. Properly drilled holes prevent damage to the cabinet surface. They also make the installation quicker and cleaner.
Careful preparation helps avoid mistakes. The right tools and steady hands are essential. Follow simple steps to get perfect holes every time.
Drill Bit Selection
Choose a drill bit that matches the screw size. Too big a bit makes holes loose. Too small may split the wood. Use a brad point bit for clean, precise holes. These bits reduce tearing around the hole edges. Check your hardware instructions for recommended drill size.
Maintaining Alignment
Keep the drill straight to avoid angled holes. Use the jig as a guide to hold the drill steady. Clamp the jig firmly to prevent movement. Mark the hole spots clearly before drilling. Drill slowly and with light pressure. This keeps the drill bit from slipping. Double-check alignment after each hole.
Installing Cabinet Hardware
Installing cabinet hardware is a simple way to improve your cabinets’ look and function. Using a cabinet hardware jig helps place screws and handles in the right spot. It saves time and keeps everything even.
This step-by-step guide covers attaching handles and knobs and checking for level and fit. Follow these steps for a neat, professional finish.
Attaching Handles And Knobs
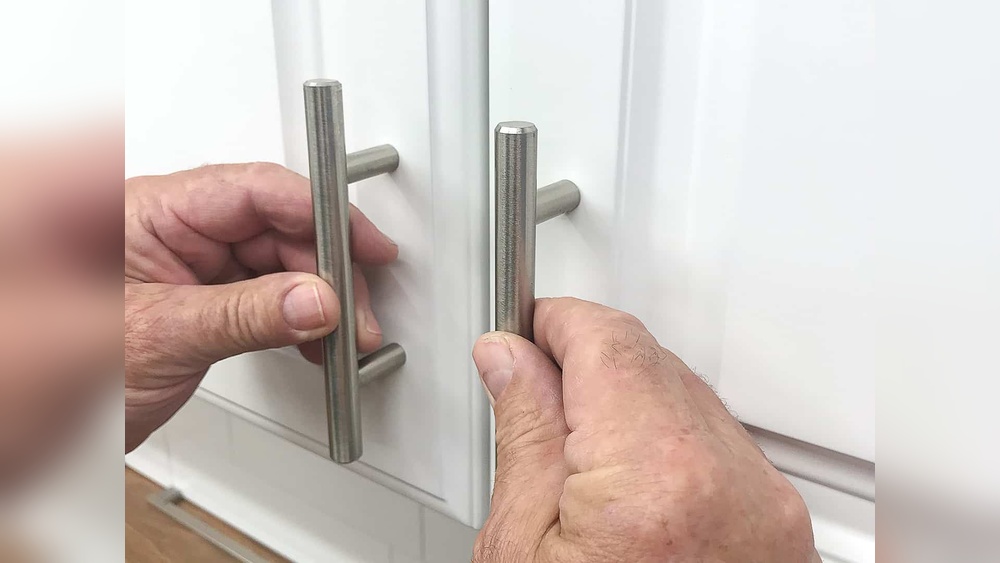
Start by placing the jig on the cabinet door or drawer front. Align it with the edges according to your hardware size. Use a pencil to mark the drill holes through the jig’s holes. Remove the jig and drill the holes carefully. Next, position the handle or knob over the drilled holes. Insert screws from inside the cabinet and tighten them by hand. Use a screwdriver to secure the hardware firmly but avoid over-tightening.
Checking For Level And Fit
After attaching, check if the handles or knobs sit straight. Hold a level or ruler along the hardware to confirm alignment. Open and close the door or drawer to test the fit. The hardware should not wobble or feel loose. Adjust screws if needed for a perfect fit. Proper alignment ensures a clean look and easy use every day.
Tips For Consistency
Consistency is key when installing cabinet hardware jig. It ensures every handle or knob looks even and professional. Small errors can make your cabinets look uneven or poorly finished. Follow simple tips to keep every hole in the right place. This saves time and avoids frustration during installation.
Working With Multiple Cabinets
Use the jig on one cabinet first to set the hole pattern. Mark the jig carefully so you can place it in the same spot on other cabinets. Clamp the jig tightly to avoid movement. Check measurements on each cabinet before drilling. This helps keep hardware aligned across all doors and drawers.
Avoiding Common Mistakes
Measure twice, drill once. Avoid rushing to prevent crooked holes. Use a pencil to mark holes through the jig before drilling. Keep the jig clean and free from debris. Wipe it down after each use to maintain accuracy. Do not force the drill; apply steady pressure for clean holes.
Credit: www.kregtool.com
Maintaining Your Jig
Maintaining your cabinet hardware jig is key for accurate and smooth installations. A well-kept jig lasts longer and works better. Regular care keeps it precise and ready for any project. Follow these tips to keep your jig in top shape.
Cleaning And Storage
Clean your jig after each use. Remove dust and debris with a soft cloth. Avoid water to stop rust. Use a dry brush for tight spaces. Store the jig in a dry place. Keep it away from moisture and dirt. Use a protective case if possible. Proper storage prevents damage and wear.
Periodic Calibration
Check your jig’s measurements often. Use a ruler or caliper to test accuracy. Tighten any loose screws or parts. Adjust settings to keep holes aligned. Calibration ensures your hardware fits perfectly. Do this before starting new projects. Regular checks save time and reduce errors.
Frequently Asked Questions
What Is A Cabinet Hardware Jig?
A cabinet hardware jig is a tool that helps you drill holes accurately. It ensures consistent placement for handles and knobs. Using a jig saves time and improves the look of your cabinets. It’s essential for DIY cabinet hardware installation.
How Do I Use A Cabinet Hardware Jig?
First, align the jig on the cabinet door or drawer front. Secure it firmly to avoid movement. Then, drill holes through the jig’s guide holes. This ensures even spacing and perfect alignment for your hardware. Always measure twice before drilling.
Can I Install Cabinet Hardware Without A Jig?
Yes, but it’s harder to get precise hole placement. Without a jig, you risk uneven or misaligned handles. A jig simplifies the process and improves accuracy. For professional-looking results, using a cabinet hardware jig is recommended.
What Tools Do I Need With A Cabinet Hardware Jig?
You’ll need a drill, drill bits matching your hardware screws, a pencil, and a measuring tape. Some jigs come with built-in rulers for easy marking. Having clamps can help secure the jig firmly during drilling. Proper tools ensure smooth installation.
Conclusion
Installing a cabinet hardware jig makes your work faster and neater. It helps place handles and knobs in the right spots every time. You save time and avoid mistakes. Using the jig is simple and fits many cabinet styles. Try it on your next project for better results.
Small tools like this bring big help. Keep practicing, and your cabinets will look great. Enjoy the ease and neatness a jig can bring.