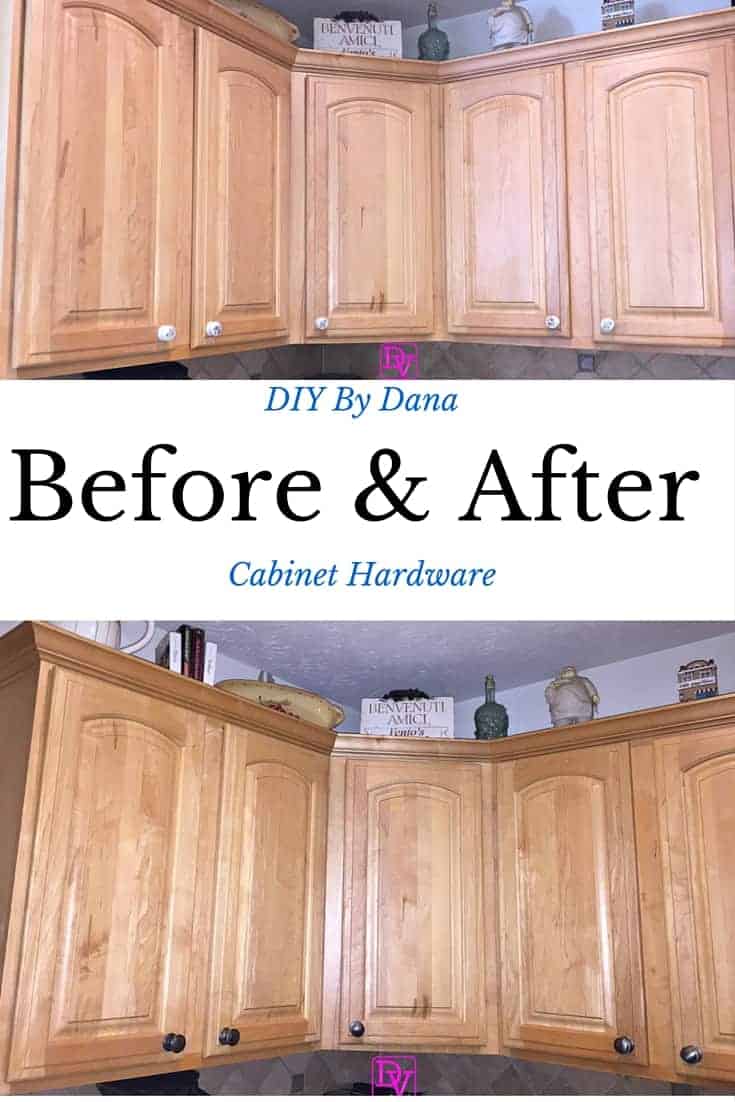
Are your cabinet handles worn out or outdated? Changing your cabinet hardware is one of the simplest ways to refresh the look of your kitchen or bathroom without spending a lot of time or money.
But if you’re not sure where to start, it can feel overwhelming. Don’t worry—you’re about to learn easy, step-by-step tips that will help you replace your cabinet hardware quickly and confidently. By the end of this article, you’ll have the skills to give your cabinets a brand-new look that matches your style perfectly.
Keep reading to transform your space with just a few simple tools!
Tools And Materials Needed
Replacing cabinet hardware is a simple way to refresh your space. Having the right tools and materials makes the job easier. Prepare well to avoid mistakes and save time.
Essential Tools
Gather basic tools before starting. A screwdriver is a must, either flathead or Phillips depending on your hardware screws. A drill helps to remove or install screws faster. A tape measure ensures new hardware fits perfectly. Use a pencil to mark spots for drilling. A level keeps handles straight. A small wrench or pliers may help with nuts or bolts. Keep a soft cloth handy to protect cabinet surfaces.
Choosing New Hardware
Select hardware that matches your cabinet style. Measure old hardware to buy the right size. Pick handles or knobs with good grip and comfort. Choose finishes that blend with your room colors. Brass, chrome, or matte black are popular choices. Buy a few extras to replace any damaged pieces. Check that the screws fit your cabinet thickness.
Preparing The Workspace
Clear the area around your cabinets. Lay down a drop cloth to catch dust or small screws. Good lighting helps you see clearly. Organize tools within reach to avoid interruptions. Remove cabinet doors if needed for easier access. Keep children and pets away from the workspace. Have a container ready for old hardware to recycle or discard.
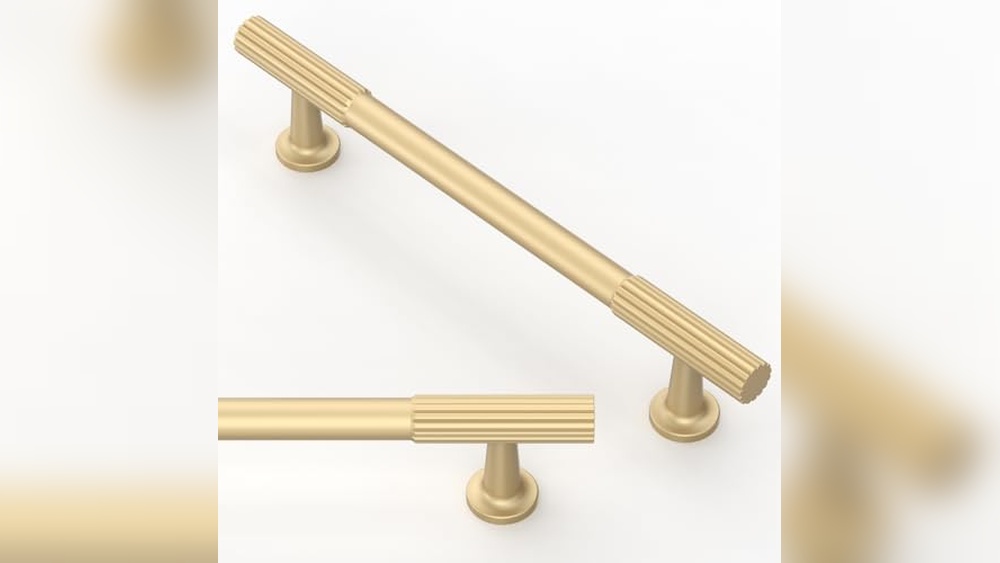
Credit: www.homedepot.com
Removing Old Hardware
Removing old hardware from cabinets is the first step in giving them a fresh look. It clears the way for new handles and knobs. This step needs care to avoid damage to the cabinet surface. Take your time and work gently.
Unscrewing Handles And Knobs
Start by opening the cabinet door or drawer. Use a screwdriver that fits the screws well. Turn the screwdriver counterclockwise to loosen the screws. Hold the handle or knob firmly while unscrewing. This prevents it from spinning and scratching the wood. Keep the screws safe if you want to reuse them. Remove all handles and knobs from each cabinet piece.
Cleaning The Surface
After removing the hardware, the surface may have dirt and residue. Use a soft cloth with mild soap and water. Wipe the area gently to remove dust and grime. Dry the surface with a clean cloth. Check for any leftover glue or marks. Use a gentle cleaner or rubbing alcohol on a cloth to remove stubborn spots. Clean surfaces help new hardware stick better and look neat.
Measuring And Marking
Measuring and marking are the first steps to replace cabinet hardware properly. Accurate measurements prevent mistakes and ensure the new hardware fits perfectly. Taking time to measure carefully saves effort later and keeps the cabinet looking neat.
Marking drill points clearly guides where to place screws. Clear marks help avoid drilling errors. Using the right tools makes the process easier and more precise.
Aligning New Hardware
Place the new hardware on the cabinet door or drawer front. Check that it lines up with existing holes or matches your desired position. Use a ruler or tape measure to ensure it sits straight. Hold the hardware firmly while checking alignment to avoid shifting. Aligning carefully keeps handles and knobs uniform across all cabinets.
Marking Drill Points
Use a pencil to mark the drill points through the hardware holes. Mark lightly so you can adjust if needed. Double-check the marks with a measuring tool. Confirm marks are level and spaced correctly for screw holes. Accurate marks prevent hardware from becoming loose or crooked. After marking, remove the hardware before drilling.
Installing New Hardware
Installing new hardware on cabinets is a key step in updating your kitchen or bathroom look. It gives old cabinets a fresh and modern feel. This process involves careful measuring and precise drilling to ensure handles and knobs fit perfectly. Proper installation helps your new hardware last longer and look better.
Drilling Holes
Start by measuring where the holes will go. Use a ruler or tape measure for accuracy. Mark the spot with a pencil. Double-check the marks to avoid mistakes. Use a drill with the correct drill bit size for your hardware screws. Drill slowly to avoid splitting the wood. Keep the drill straight for clean holes. Clean any dust or debris from the holes before attaching hardware.
Attaching Handles And Knobs
Place the handle or knob over the drilled holes. Align it carefully with the holes. Insert screws through the back of the cabinet door or drawer. Tighten screws by hand first to avoid cross-threading. Use a screwdriver to secure screws firmly. Do not overtighten to prevent damaging the cabinet or hardware. Check that the handle or knob is stable and straight. Repeat for all cabinets for a uniform look.
Finishing Touches
After replacing hardware on your cabinets, the final steps ensure everything looks great and works well. Finishing touches make a big difference in your project’s success. These small actions help your cabinets last longer and look polished. Let’s focus on checking stability and cleaning and polishing.
Checking Stability
Test each handle and knob by gently pulling and turning. Make sure they do not wobble or feel loose. Tighten screws if you notice any movement. Check hinges and drawer slides for smooth operation. Confirm doors and drawers open and close easily. Stability keeps your cabinets safe and functional every day.
Cleaning And Polishing
Remove dust and fingerprints from new hardware with a soft cloth. Use mild soap and water to clean cabinet surfaces if needed. Avoid harsh chemicals that can damage finishes. Dry all parts thoroughly to prevent water spots. Apply a gentle polish to wood cabinets for a fresh shine. Clean cabinets look neat and enhance your room’s style.
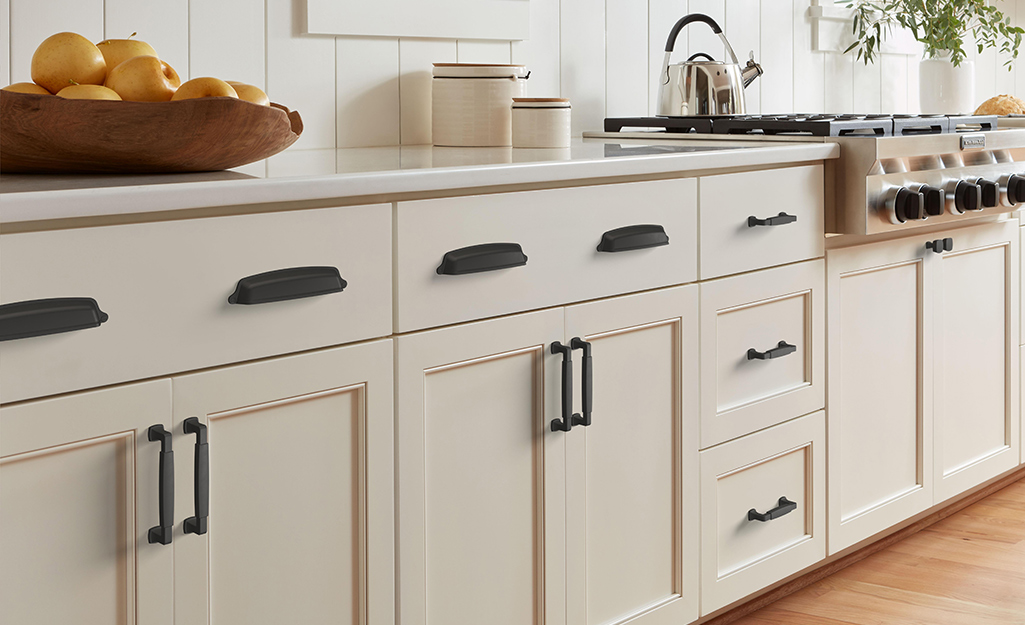
Credit: danavento.com
Tips For Choosing Hardware Styles
Choosing the right hardware for cabinets can change the entire look of a room. It is important to pick styles that fit the cabinet design and your personal taste. Good hardware should be both functional and stylish. Below are helpful tips to guide you in selecting hardware that enhances your cabinets.
Matching Cabinet Design
Hardware should match the style of your cabinets. For traditional cabinets, choose classic knobs or handles with simple shapes. Modern cabinets look best with sleek, minimal hardware. Rustic cabinets pair well with metal or wooden pulls that have a rough finish. Always consider the cabinet color and material to find hardware that blends well. Matching hardware style creates a balanced and complete look.
Trends And Timeless Options
Some hardware styles follow design trends, while others never go out of style. Trendy hardware can add a fresh, updated feel. Look for popular shapes or finishes like matte black or brushed gold. Timeless hardware includes simple round knobs and polished chrome pulls. These choices work well for many years without looking outdated. Pick hardware that fits your style but also lasts over time.
Common Mistakes To Avoid
Replacing hardware on cabinets seems simple but has common pitfalls. Avoiding these mistakes saves time and prevents damage. Pay close attention to details for a smooth process.
Misaligned Hardware
Misaligned handles or knobs look bad and make doors hard to open. Mark screw holes carefully before drilling. Use a level or ruler to check alignment. Measure twice to ensure accuracy. Misalignment causes uneven gaps and weak attachment.
Using Wrong Tools
Wrong tools can strip screws or damage cabinet surfaces. Use the correct screwdriver size and type. Avoid power tools that are too strong for small screws. A manual screwdriver gives better control. Proper tools make installation faster and neater.
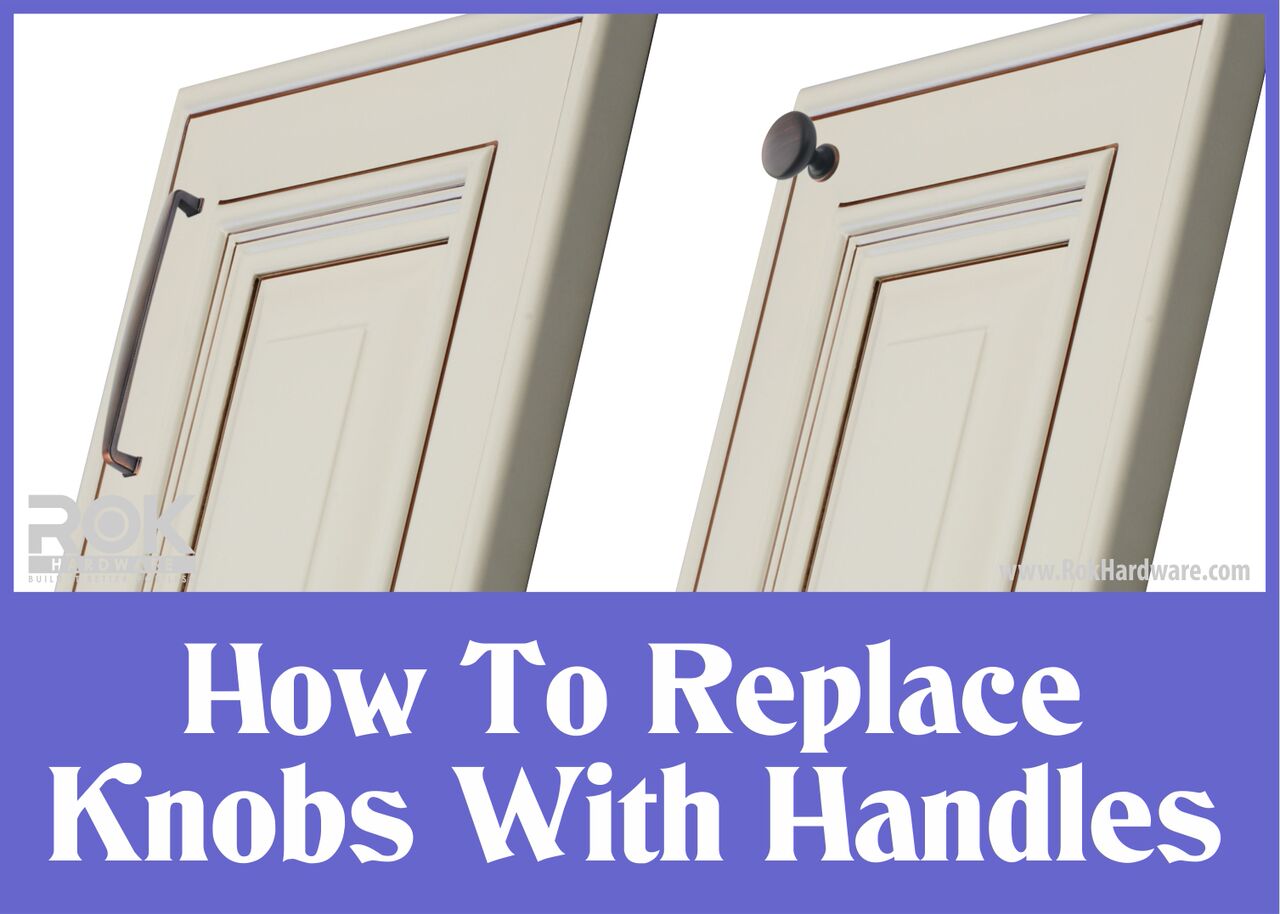
Credit: www.rokhardware.com
Frequently Asked Questions
How Do I Remove Old Cabinet Hardware Safely?
Start by loosening screws with a screwdriver. Use gentle force to avoid damaging the wood. If screws are stuck, apply a lubricant. Carefully pull off the hardware once screws are removed. Clean the surface before installing new hardware for a smooth finish.
What Tools Are Needed To Replace Cabinet Hardware?
You’ll need a screwdriver, drill, measuring tape, and new hardware. A level helps ensure proper alignment. Optional tools include a pencil for marking and a lubricant for stuck screws. Having these tools ready speeds up the replacement process efficiently.
How Do I Measure For New Cabinet Hardware?
Measure the distance between existing screw holes, called the “center-to-center” measurement. Use a ruler or tape measure for accuracy. Match this measurement when buying new hardware to avoid drilling new holes. Proper measurement ensures easy installation and a professional look.
Can I Reuse Old Screws For New Hardware?
Reusing screws is possible if they fit the new hardware properly. Inspect screws for damage or rust before reuse. Using old screws saves time and money. However, new hardware often comes with screws that fit perfectly, which is recommended for durability.
Conclusion
Replacing cabinet hardware can refresh your space quickly. Follow the steps carefully for best results. Choose hardware that fits your style and cabinet type. Use the right tools to avoid damage or mistakes. Take your time and work patiently. Small changes make a big difference in your room.
Enjoy the new look and feel of your cabinets. This simple task saves money and adds value. Try it yourself and see how easy it can be.