Are your cabinets looking tired because of outdated hardware? Changing old cabinet handles and knobs can instantly refresh the look of your kitchen or bathroom.
But if you’re not sure how to remove old cabinet hardware without damaging your cabinets, you’re in the right place. This guide will walk you through simple, step-by-step tips that make the process quick and easy. Keep reading, and you’ll be ready to upgrade your cabinets with confidence and avoid common mistakes that could cost you time and money.
Tools Needed
Removing old cabinet hardware is easier with the right tools. Having these tools ready saves time and prevents damage. Each tool has a specific job to help you work smoothly.
Phillips And Flathead Screwdrivers
Screwdrivers remove screws holding hardware in place. Use a Phillips screwdriver for cross-shaped screws. Use a flathead screwdriver for straight, single-slot screws. Having both types helps handle any screw type.
Putty Knife Or Paint Scraper
A putty knife lifts hardware gently. It helps pry off stubborn pieces without scratching wood. A paint scraper works well for this task too.
Pliers
Pliers grip and twist hardware parts. Use them to pull out old nails or pins. Needle-nose pliers work best in tight spots.
Drill With Screwdriver Bits
A drill speeds up screw removal. Use a drill with matching screwdriver bits. It saves effort, especially for many screws.
Masking Tape
Masking tape protects cabinet surfaces. Place tape around hardware before prying. It prevents scratches and paint damage.
Cleaning Cloth
A clean cloth wipes dust and dirt. Clean surfaces after hardware removal. It keeps cabinets ready for new hardware.

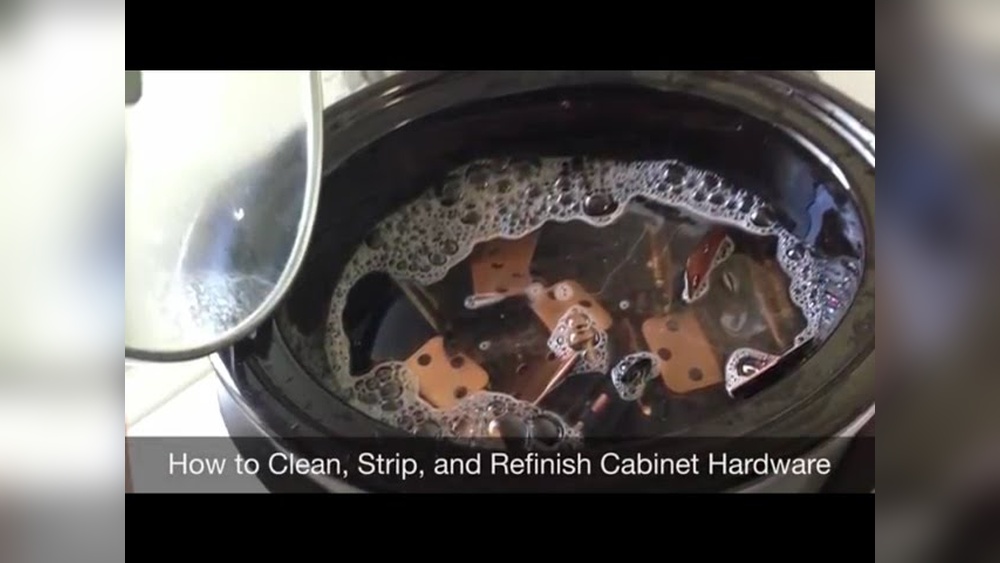
Credit: www.youtube.com
Preparing The Workspace
Preparing the workspace is an important first step before removing old cabinet hardware. A clean and organized area helps the task go smoothly. It also keeps your tools and parts safe. Taking time to get ready saves frustration later.
Clear the area around the cabinets. Remove items from countertops and inside cabinets near the hardware. This gives you space to work without distractions or obstacles. It also protects your belongings from damage.
Gather Necessary Tools
Collect all tools needed for removing hardware. Common tools include screwdrivers, a drill, and a putty knife. Having everything at hand avoids interruptions. Check tool condition for safety and efficiency.
Protect Surfaces
Cover countertops and cabinet faces with a soft cloth or painter’s tape. This prevents scratches from tools or hardware. Protecting surfaces keeps your kitchen looking good during the project.
Ensure Good Lighting
Set up bright lights in the workspace. Good lighting helps you see screws and small parts clearly. It reduces mistakes and speeds up the process. Natural light or lamps work well.
Create A Parts Storage System
Use small containers or magnetic trays for screws and hardware pieces. This keeps parts organized and prevents loss. Label containers if needed to remember which hardware goes where.
Removing Screws
Removing screws is the first step to take off old cabinet hardware. It requires care and the right tools. Doing this right keeps your cabinets safe from damage.
Start by checking the type of screw used in your hardware. Most cabinet screws are either Phillips or flathead. Knowing this helps you pick the correct screwdriver for the task.
Gather The Right Tools
Use a screwdriver that fits the screw head well. This prevents slipping and stripping the screw. A magnetic screwdriver helps hold screws firmly.
Turn Screws Slowly
Turn screws counterclockwise to loosen them. Apply steady, gentle pressure to avoid damage. If a screw is stuck, try wiggling it slightly while turning.
Remove Screws Completely
Pull out screws carefully after loosening. Keep screws in a small container for reuse or disposal. Avoid dropping screws inside cabinets or on the floor.
Handle Stubborn Screws
Use a lubricant like WD-40 to loosen rusty screws. Let it sit for a few minutes before turning. A rubber band placed over the screw head can improve grip.

Credit: www.youtube.com
Handling Stubborn Hardware
Removing old cabinet hardware can be tricky when the pieces are stuck. Rust, paint, or old glue often hold them tight. Patience and the right tools help avoid damage to your cabinets. This section guides you through handling stubborn hardware with simple, clear steps.
Prepare The Area
Clear the cabinet doors and drawers. Use a cloth to wipe off dust and dirt. This makes hardware easier to see and handle. Lay down a towel to catch screws and tools. Keep everything organized to avoid losing small parts.
Use The Right Tools
Select a screwdriver that fits the screw head well. A loose tool can strip the screw. For stuck screws, try a rubber band between the screwdriver and screw. This adds grip and helps turn tight screws. A pair of pliers can also help twist old knobs.
Apply Heat Or Lubricant
Heat softens paint and glue. Use a hairdryer to warm the hardware for a few minutes. Be careful not to burn the wood. Apply a small amount of lubricant like WD-40 to rusty screws. Let it sit for 10 minutes to loosen the grip.
Gently Pry Stuck Hardware
Use a flat tool like a putty knife to pry knobs or handles. Slide it under the hardware edge slowly. Work it back and forth to loosen the grip. Avoid forcing it to prevent cabinet damage. Slow, gentle pressure works best.
Cleaning The Surface
Cleaning the surface after removing old cabinet hardware is a key step. It helps prepare the cabinets for new handles or knobs. Dirt, grease, and old paint can stay behind. These can stop new hardware from fitting well or sticking properly. Taking time to clean makes the finish look smooth and fresh.
Use simple tools and mild cleaners. Avoid harsh chemicals that can damage wood or paint. Soft cloths and gentle scrubbing work best. Focus on areas around screw holes and edges where grime builds up. A clean surface helps new hardware last longer and look better.
Gathering Cleaning Supplies
Start by gathering needed supplies. You will need a soft cloth, a mild soap, warm water, and a small brush. An old toothbrush works well for tight spots. Prepare a bucket or bowl for the soapy water. This simple setup makes cleaning easier and quicker.
Removing Dirt And Grease
Dip the cloth in soapy water and wring it out. Wipe all cabinet surfaces carefully. Use the brush to scrub stubborn grime near holes and corners. Avoid soaking the wood. Too much water can cause damage. Dry the area with a clean cloth after cleaning.
Dealing With Paint Residue
Old paint or finish can stick around after hardware removal. Lightly rub the area with fine steel wool or a sanding sponge. Be gentle to avoid scratching the surface. This step smooths the surface and removes flakes of paint or finish. Wipe away dust with a damp cloth afterward.
Inspecting For Damage
Inspecting for damage is an important step before removing old cabinet hardware. It helps you see if the cabinets need repairs. Careful inspection saves time and effort later.
Look closely at the area around the screws and handles. Check for cracks, dents, or worn spots. These signs show if the cabinet surface is weak or broken.
Check For Loose Or Missing Screws
Loose screws can cause hardware to wobble or fall off. Missing screws leave holes that may damage the cabinet. Tighten or replace screws before removal.
Look For Surface Cracks And Chips
Cracks or chips near hardware mean the cabinet finish is fragile. Removing hardware without care can make damage worse. Note these spots for gentle handling.
Inspect Wood Around Hardware
Wood can become soft or rotted from moisture or age. Soft spots may crumble when you remove hardware. Test the wood gently to find weak areas.
Identify Paint Or Finish Damage
Old hardware may peel or scratch paint and finish. Check if paint bubbles or flakes near screws. Plan to touch up the finish after hardware removal.
Choosing New Hardware
Choosing new cabinet hardware is an important step after removing the old pieces. The new hardware can change the look and feel of your cabinets. It can make your kitchen or bathroom look fresh and updated. Pick hardware that fits your style and the room’s design.
Think about the size and shape of the hardware. Make sure the new pieces fit the holes left by the old ones. This helps avoid extra drilling or filling holes later. Measure carefully before buying new hardware.
Material And Finish
Choose hardware made from strong materials like metal or brass. These last longer and look better over time. The finish should match or complement your cabinet color. Popular finishes include brushed nickel, bronze, and chrome. Each finish gives a different style to the room.
Style And Design
Hardware styles range from modern to classic. Simple knobs suit modern kitchens. More detailed handles fit traditional designs. Pick a style that matches your cabinet doors and room decor. Consistency helps create a clean, polished look.
Comfort And Function
Hardware should be easy to use. Handles with a good grip work best. Avoid pieces that are too small or sharp. Consider how often you use the cabinets. Choose hardware that feels comfortable for daily use.
Installing Replacement Hardware
Installing replacement hardware on cabinets is an easy way to refresh your kitchen or bathroom. New handles and knobs give your cabinets a fresh look. Follow simple steps to ensure your new hardware fits perfectly and works well.
Measure Old Hardware And Choose Matching Sizes
Start by measuring the distance between screw holes on old hardware. This is called the “center-to-center” measurement. Buy replacement hardware with the same size. This avoids extra drilling and keeps the cabinet surface smooth.
Align New Hardware And Mark Screw Holes
Hold the new hardware in place. Use a pencil to mark where screws will go. Double-check the marks to keep handles straight and even. Proper alignment makes cabinets look neat and professional.
Drill Holes Carefully
Use a drill with the right size bit for screws. Drill slowly to avoid damaging the cabinet wood. Keep the drill straight to make clean holes. This helps screws fit tightly and hold hardware firmly.
Attach New Hardware Securely
Place the hardware on the cabinet door or drawer. Insert screws through the back side. Tighten screws with a screwdriver until hardware is snug. Avoid over-tightening to prevent cracking the wood.
Test Hardware Functionality
Open and close cabinets to check if hardware works smoothly. Make small adjustments if handles feel loose or uneven. Proper installation ensures long-lasting use and better cabinet function.
Tips For Maintaining Cabinets
Maintaining cabinets keeps them looking fresh and working well for years. Simple care can prevent damage and wear. Clean, dry, and gentle handling are key steps. Small efforts protect your cabinets from scratches, stains, and warping.
Regular checks help spot problems early. Tightening loose screws and hinges avoids bigger repairs. Proper maintenance saves money and keeps your kitchen or bathroom neat and tidy.
Clean Cabinets Gently And Regularly
Use a soft cloth and mild soap for cleaning. Avoid harsh chemicals that can damage the finish. Wipe spills quickly to stop stains. Clean cabinets at least once a week to remove dust and grease.
Keep Cabinets Dry
Water harms wood and causes swelling or warping. Always dry cabinets after cleaning. Fix leaks or drips near cabinets fast. Use a fan or open windows to reduce moisture in the room.
Tighten Hardware Often
Loose handles and hinges cause wear and noise. Check screws every few months and tighten if needed. This keeps doors and drawers working smoothly. Proper hardware care improves cabinet lifespan.
Protect Cabinet Surfaces
Use pads or mats under heavy items to avoid scratches. Avoid placing hot pots or pans directly on cabinets. Handle doors gently to prevent dents and cracks. These habits keep cabinets looking new longer.

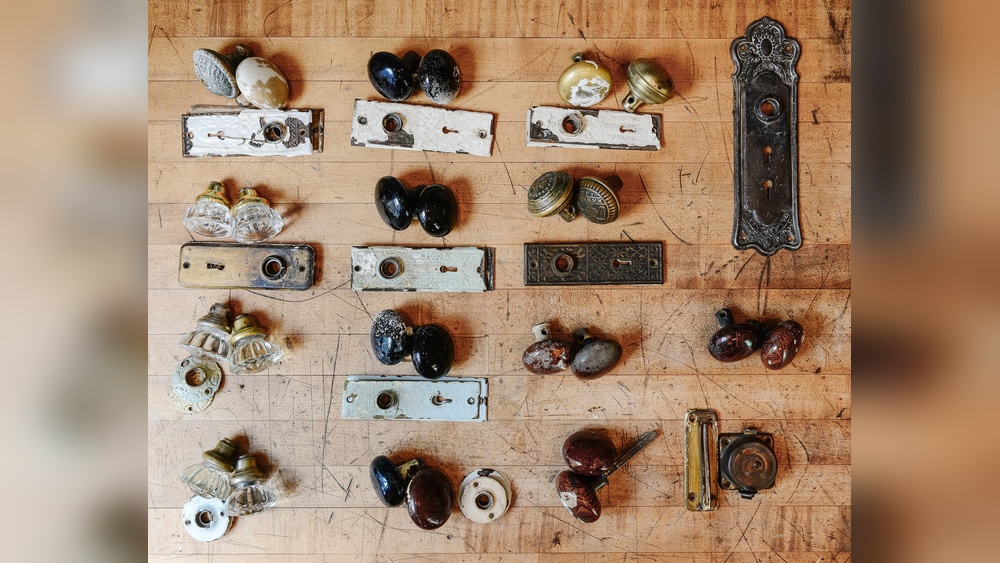
Credit: www.reddit.com
Frequently Asked Questions
How Do I Safely Remove Old Cabinet Hardware?
Use a screwdriver to unscrew each piece gently. Avoid applying too much force to prevent damage. Keep screws and hardware organized for reuse or disposal. Work slowly to protect the cabinet surface and underlying wood.
What Tools Are Needed To Remove Cabinet Hardware?
You need a screwdriver, possibly a drill, and a putty knife. A magnetic tray helps keep screws from getting lost. Gloves protect your hands during removal. A flashlight can improve visibility in tight spaces.
Can I Reuse Old Cabinet Hardware After Removal?
Yes, if the hardware is in good condition, clean and functional. Inspect for rust or damage before reuse. Polishing can restore the finish. Reusing saves money and maintains a consistent cabinet look.
How Do I Handle Stripped Screws In Cabinet Hardware?
Apply a rubber band over the screw head for better grip. Use a screw extractor if necessary. Drill carefully to avoid damaging the cabinet. Replace stripped screws with new ones to ensure secure hardware.
Conclusion
Removing old cabinet hardware is simple with the right tools and steps. Take your time to avoid damaging the cabinets. Use a screwdriver to loosen screws carefully. Keep all parts organized for easy installation later. Clean the area after removal to prepare for new hardware.
This small project can refresh your kitchen’s look quickly. Enjoy the satisfaction of a neat, updated space. Ready for your next home improvement task?