
If you’ve ever worked on a craft project and needed a strong, simple way to hold pieces together, Tim Holtz Hitch Fasteners might be just what you need. These small but powerful tools can add both style and function to your creations.
You’ll discover exactly how to use Tim Holtz Hitch Fasteners step-by-step. By the end, you’ll feel confident adding a professional touch to your projects that will impress everyone who sees them. Ready to unlock a new level of craft mastery?
Let’s dive in.

Credit: www.ebay.com
What Are Tim Holtz Hitch Fasteners
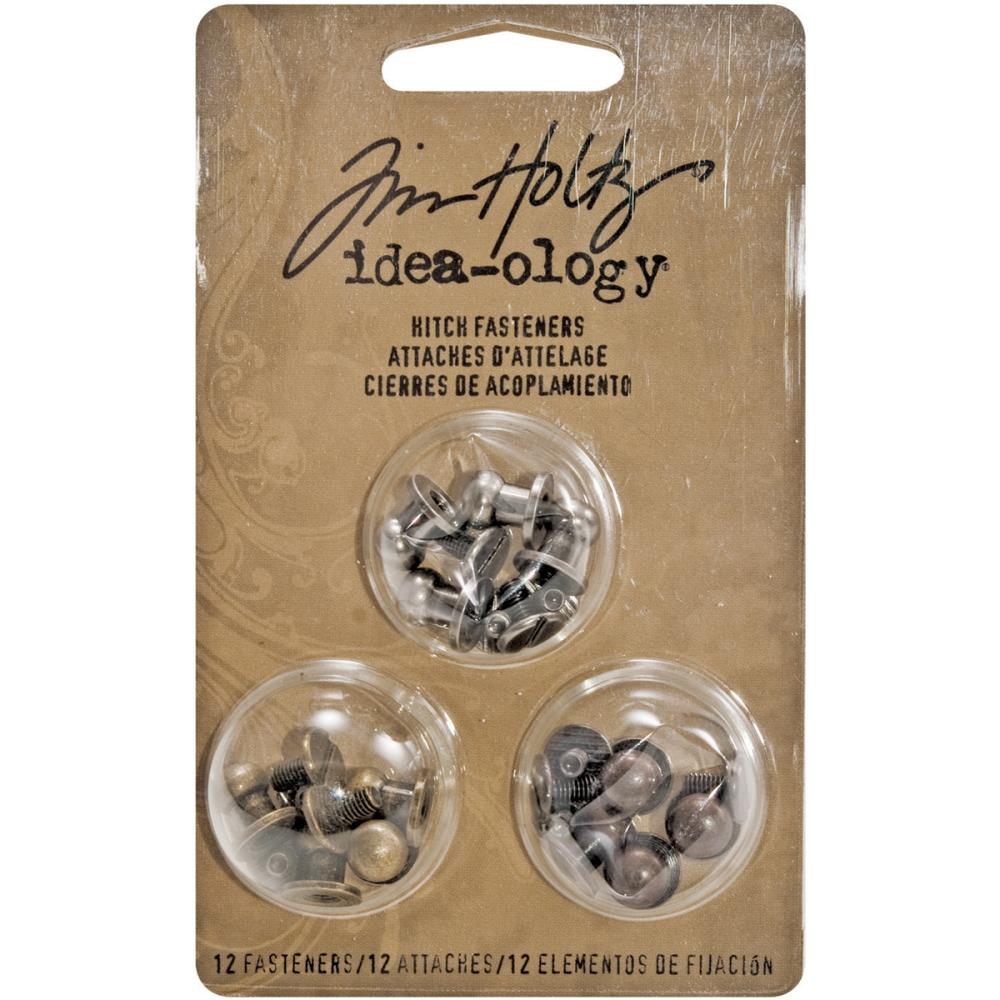
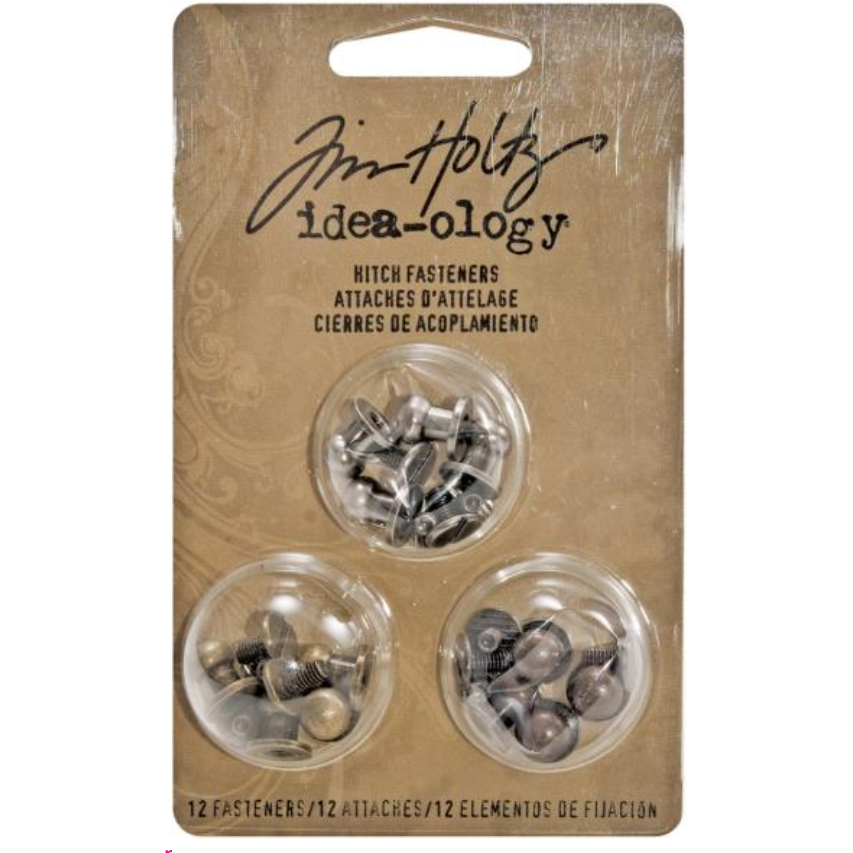
Tim Holtz Hitch Fasteners are small, metal hardware pieces. They help join paper, fabric, and other craft materials. These fasteners are popular in scrapbooking and mixed media projects.
They come in a vintage style, adding charm to any craft. Easy to use and very sturdy, they hold items firmly together. Crafters enjoy their look and function alike.
What Are Tim Holtz Hitch Fasteners Made Of?
These fasteners are made from metal, usually brass or steel. The metal gives them strength and durability. They have a rustic, aged finish that suits many designs.
How Do Tim Holtz Hitch Fasteners Work?
Each fastener has two prongs that push through materials. Once through, the prongs fold flat on the back side. This secures papers or fabrics tightly in place.
Why Use Tim Holtz Hitch Fasteners?
They add a vintage look to craft projects. They also provide a strong hold without glue or tape. Their small size fits perfectly in detailed artwork.
Materials Needed
Gathering the right materials makes using Tim Holtz Hitch Fasteners easier. These materials help you attach the fasteners securely and neatly. Prepare your workspace with all items before starting.
Tim Holtz Hitch Fasteners
These fasteners come in sets with screws and posts. Choose the size that fits your project. They hold papers or fabric together firmly.
Hole Punch Or Awl
A hole punch or awl creates holes for the fasteners. Pick a tool that matches the size of the fastener posts. This step ensures a clean and precise fit.
Screwdriver
A small screwdriver helps tighten the screws. Use a flathead or Phillips type, depending on the fastener. Tightening keeps your project sturdy.
Cutting Mat Or Protective Surface
Work on a cutting mat or safe surface. It protects your table from damage. It also helps keep materials steady while working.
Pencil Or Marker
Mark where to punch holes with a pencil or marker. This guides your placement for accuracy. Clear markings avoid mistakes and misalignment.
Step-by-step Setup
Setting up Tim Holtz Hitch Fasteners is simple. Follow these clear steps to attach fasteners neatly. This guide helps you create secure, stylish closures for your projects. Each step is easy to follow and quick to do.
Preparing Your Project
Start by marking the spot where the fastener will go. Use a pencil or a light marker. Make sure the position fits your design well. Check that both sides of your project line up. This keeps the fastener balanced and functional.
Gather your tools: a hole punch, the fastener set, and a flat surface. A firm base helps when punching holes. It prevents damage to your workspace and project.
Inserting The Fastener
Punch a hole at the marked spot carefully. The hole should be just big enough for the fastener post. Push the post through the hole from the front side. Make sure it fits snugly without too much force.
Align the post so it stands straight. This helps the fastener close properly later. Avoid bending the post during insertion.
Securing The Fastener
Place the washer over the post on the back side. Then add the cap or prong piece. Press down firmly but gently. Use a flat tool or your fingers to secure it tightly.
Check the fastener by opening and closing it. It should hold your project pieces together well. Adjust if the fastener feels loose or uneven.
Creative Uses
Tim Holtz Hitch Fasteners offer many creative uses beyond simple fastening. They add style and function to your craft projects. These small metal pieces work great for scrapbooks, journals, and mixed media art.
Explore different ways to use these fasteners. They help bind pages together, attach charms, and create fun interactive elements. Each use adds a unique touch and keeps your project sturdy.
Binding Pages
Use Hitch Fasteners to hold pages in place. They work well for mini albums or handmade books. Insert the fastener through punched holes in the pages. Then, secure with the prongs on the back. This method keeps pages tight but allows easy flipping.
Choose fasteners in different sizes or finishes. They add a vintage or industrial look. Binding pages this way is quick and strong. No need for glue or stitching.
Attaching Charms
Attach charms or small embellishments with Hitch Fasteners. Push the fastener through the charm’s loop or hole. Then secure it on your project’s surface. This method adds movement and interest to your design.
Charms can be metal, wood, or plastic. The fastener holds them firmly without damaging delicate parts. This technique works well on cards, tags, or journals.
Creating Interactive Elements
Make your projects interactive using Hitch Fasteners. Create spinning wheels, flip tabs, or movable panels. Insert the fastener through layers of paper or cardstock. The prongs keep layers connected but allow rotation or flipping.
This adds fun and engagement to your craft. Kids and adults enjoy interactive books and cards. Hitch Fasteners make these features easy to build and durable.
Tips For Best Results
Using Tim Holtz Hitch Fasteners can enhance your craft projects. Small details make a big difference. Following simple tips helps achieve the best results. These tips focus on choosing the right size, avoiding mistakes, and maintaining the fasteners.
Choosing The Right Size
Select fasteners that match your project thickness. Too small fasteners may not hold well. Too large ones can look bulky and awkward. Measure the material before buying fasteners. Consider the number of layers you want to attach. Proper size ensures a secure and neat finish.
Avoiding Common Mistakes
Do not force fasteners into thick materials. This can bend or break them. Use a hole punch to create clean holes. Align fastener parts carefully before pressing. Avoid over-tightening; it can damage your project. Practice on scrap material to gain confidence. Small errors can ruin your craft’s look.
Maintaining Fasteners
Store fasteners in a dry place to prevent rust. Clean them gently with a soft cloth if dirty. Avoid using harsh chemicals that may damage the finish. Check fasteners regularly for looseness or wear. Replace damaged fasteners to keep projects secure. Proper care extends the life of your fasteners.
Credit: www.shop.artbyjenny.com.au
Troubleshooting
Troubleshooting Tim Holtz Hitch Fasteners helps keep your projects strong. These fasteners hold parts together firmly. Sometimes, they may loosen or get damaged. Fixing these issues is easy. Follow simple steps to restore your fasteners’ function. Quick fixes save time and avoid frustration.
Fixing Loose Fasteners
Loose fasteners can cause parts to fall apart. Check if the fastener’s prongs are bent outward. Gently press the prongs inward to tighten them. Use pliers carefully for better grip. Avoid pressing too hard to prevent damage. Test the fastener by moving the connected parts. Repeat if needed until it feels secure.
Replacing Damaged Parts
Damaged fasteners lose their hold and look worn. Remove the old fastener by bending the prongs back. Take care not to tear the material. Match the size and style of the new fastener. Push the new fastener through the hole. Bend the prongs outward to lock it in place. Check the fit and adjust prongs if necessary.
Credit: www.simonsaysstamp.com
Frequently Asked Questions
What Are Tim Holtz Hitch Fasteners Used For?
Tim Holtz Hitch Fasteners secure layers in crafting projects. They hold paper, fabric, or leather firmly without damage. These fasteners add vintage charm to scrapbooks, journals, and mixed media art. They’re easy to use and reusable, making them perfect for creative DIY crafts.
How Do You Install Tim Holtz Hitch Fasteners?
To install, punch a hole in your material first. Insert the fastener’s prongs through the hole. Fold the prongs flat against the back side securely. Use a bone folder for a smooth finish. This method ensures a tight hold and neat appearance.
Can Tim Holtz Hitch Fasteners Be Reused?
Yes, these fasteners are reusable. Gently unfold the prongs to remove them. Avoid bending the prongs too much to maintain integrity. Reuse them in multiple projects for cost-effective crafting. Their durable metal design supports repeated use without damage.
Which Materials Work Best With Hitch Fasteners?
Hitch Fasteners work well with paper, cardstock, leather, and thin fabric. They hold these materials firmly without tearing. Avoid very thick or rigid materials as they may not fasten securely. Ideal for scrapbooking, journals, and mixed media art projects.
Conclusion
Tim Holtz Hitch Fasteners add strong, simple closures to projects. You can attach them quickly with basic tools. They fit well on paper, leather, and fabric. Using these fasteners gives your work a neat, vintage look. Try different sizes and finishes to match your style.
Keep practice to improve your technique and confidence. These small details make big differences in your crafts. Enjoy creating with Tim Holtz Hitch Fasteners every time.

