Are you ready to give your kitchen a fresh, stylish look without spending a fortune? Installing hardware on your kitchen cabinets is one of the easiest and most effective ways to transform your space.
Whether you want sleek handles, classic knobs, or something unique, this simple upgrade can make a big difference. In this guide, you’ll learn step-by-step how to install hardware like a pro—even if you’ve never done it before. By the end, your cabinets will look brand new, and you’ll feel proud of the work you did yourself.
Let’s get started!
Choosing The Right Hardware
Choosing the right hardware for kitchen cabinets is key to a great kitchen look and function. The right hardware makes cabinets easy to open and close. It also adds style and personality to the kitchen. Picking hardware that fits your needs and style is important for a smooth installation and lasting use.
Types Of Cabinet Hardware
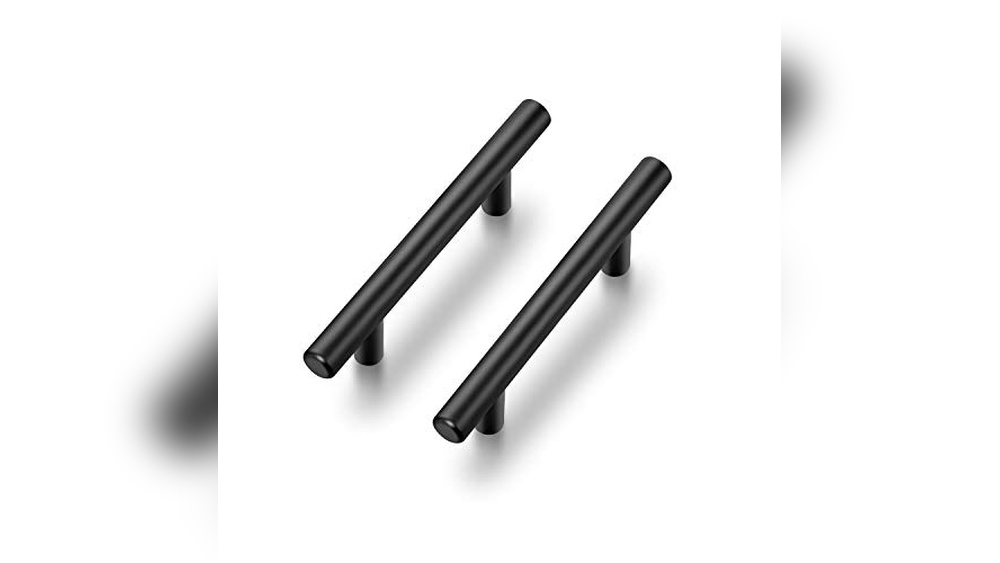
Cabinet hardware comes in many types. Knobs are small and round, easy to use on drawers and doors. Pulls are longer and give a better grip, great for larger cabinets. Handles can be simple or decorative, offering many style choices. Some hardware includes hinges or catches, but knobs and pulls are most common.
Materials And Finishes
Hardware is made from different materials like metal, plastic, or wood. Metal is strong and lasts long. Popular metals include stainless steel, brass, and bronze. Finishes affect the look and feel. Matte finishes hide fingerprints. Shiny finishes add brightness. Choose a finish that matches your kitchen’s vibe and is easy to clean.
Matching Style With Kitchen Design
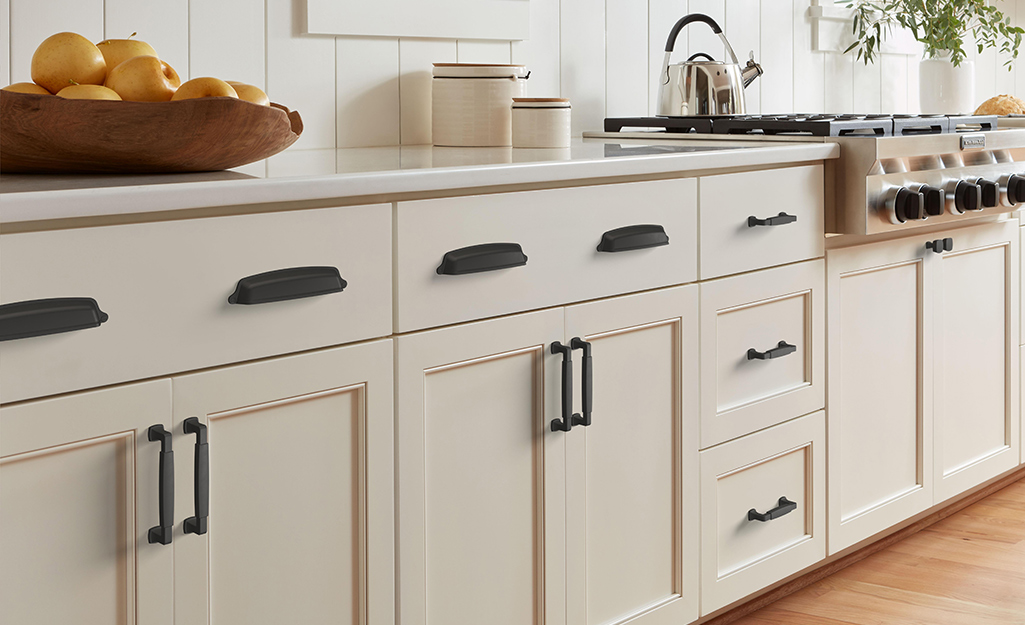
Hardware style should match the kitchen design. For a modern look, choose sleek and simple hardware. Rustic kitchens suit hardware with a rough, aged look. Classic kitchens work well with ornate or traditional hardware. Consider the cabinet color and overall kitchen style to pick hardware that fits perfectly.
Credit: www.homedepot.com
Tools And Materials Needed
Installing hardware on kitchen cabinets needs the right tools and materials. This section covers what you need before starting. Having everything ready makes the job faster and easier. It also helps avoid mistakes and damage to your cabinets.
Essential Tools
You need a drill with drill bits for making holes. A screwdriver, either manual or electric, is necessary for screws. A tape measure helps with accurate spacing. A pencil marks where you will drill. A level ensures the hardware is straight. A ruler or square helps check right angles.
Hardware Components
Choose cabinet handles or knobs that match your style. Screws come with the hardware but check if you need extra sizes. Use anchors if your cabinet material is soft or hollow. Sometimes washers are needed to hold hardware tightly. Keep all parts organized to avoid losing small pieces.
Safety Gear
Wear safety glasses to protect your eyes from dust and debris. Use gloves to avoid splinters and sharp edges. Ear protection is good if you use power tools for a long time. Work in a well-lit area to see clearly. Keep your work area clean to prevent accidents.
Preparing Cabinets For Installation
Preparing your kitchen cabinets for hardware installation sets the foundation for a smooth process. This step ensures your cabinets look great and the hardware fits perfectly. Taking time to prepare will save you hassle later.
Cleaning And Inspecting Surfaces
Start by cleaning the cabinet surfaces thoroughly. Use a mild cleaner and a soft cloth to remove dirt and grease. Clean surfaces help the hardware stick better and look neat.
After cleaning, inspect the surfaces carefully. Check for damage like cracks or chips. Fix any problems before installing new hardware to avoid future issues.
Measuring And Marking Drill Points
Measure carefully to place the hardware in the right spot. Use a tape measure and ruler for accuracy. Mark drill points lightly with a pencil.
Double-check your measurements before drilling. Even small errors can cause misaligned hardware. Take your time for the best results.
Removing Old Hardware
Remove any old knobs, handles, or hinges before starting. Use a screwdriver to avoid damaging the cabinet. Keep screws in a safe place if you plan to reuse them.
Removing old hardware creates a clean surface. This makes the new installation easier and more secure.
Installing Handles And Knobs
Installing handles and knobs on kitchen cabinets is a simple way to update the look. It also makes opening doors and drawers easier. Proper installation ensures the hardware stays secure and looks good over time. Follow these steps carefully to get the best results.
Drilling Pilot Holes
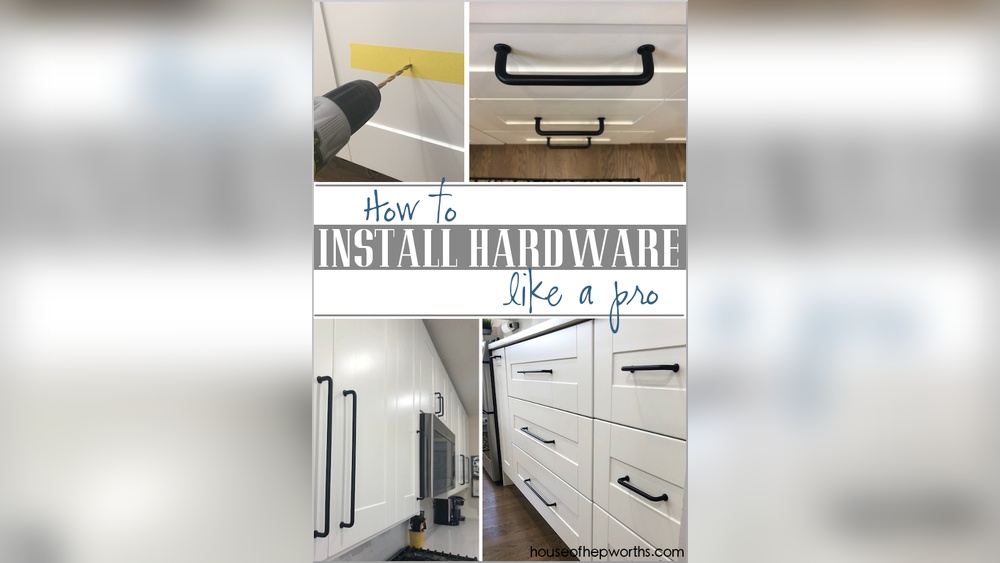
Start by marking where the holes will go. Measure carefully to keep handles straight and even. Use a pencil to mark spots on the cabinet door or drawer. Choose a drill bit slightly smaller than the screw size. Drill pilot holes at the marked spots. These holes help prevent wood from splitting.
Attaching Hardware Securely
Place the handle or knob over the pilot holes. Insert screws through the back of the cabinet panel. Tighten screws with a screwdriver until the hardware feels firm. Avoid over-tightening, which can strip the screw hole or damage wood. Check that the hardware does not wiggle or move.
Checking Alignment And Fit
Look at the installed handles or knobs from different angles. Make sure they are straight and aligned with other hardware pieces. Open and close doors and drawers to test the fit. Adjust screws slightly if needed to improve alignment or fit. Properly aligned hardware improves both function and appearance.
Installing Pulls And Drawer Slides
Installing pulls and drawer slides makes your kitchen cabinets easier to use. These small hardware pieces help you open and close drawers and doors smoothly. Proper installation improves both function and style. Follow these steps to fit pulls and drawer slides correctly.
Positioning Pulls Correctly
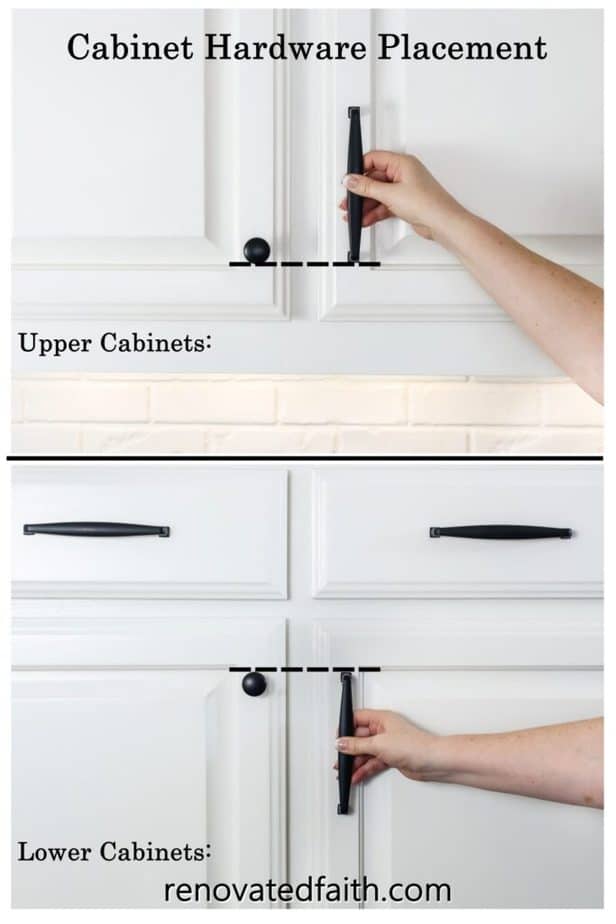
Measure carefully before placing pulls. For drawers, place pulls in the center horizontally. For cabinet doors, position pulls vertically near the edge. Use a ruler or tape measure to mark exact spots. Drill pilot holes to avoid wood splitting. Check alignment by holding the pull in place. This step ensures pulls look neat and feel comfortable.
Mounting Drawer Slides
Choose the right drawer slide type for your cabinet. Side-mount slides attach to the drawer sides. Undermount slides fit under the drawer. Use a level to keep slides straight. Attach slides inside the cabinet with screws. Attach the matching part on the drawer itself. Ensure screws are tight but do not over-tighten. Correct mounting prevents drawers from sticking or falling out.
Testing Smooth Operation
Slide the drawer in and out several times. Check for any resistance or wobbling. Adjust screws slightly if the drawer is uneven. Make sure the drawer closes fully and stays closed. Pulls should feel secure and easy to grip. Smooth operation means your installation is successful. This step saves future repairs and frustration.

Credit: www.youtube.com
Troubleshooting Common Issues
Installing hardware on kitchen cabinets is not always smooth. Some common problems may arise during or after installation. Knowing how to fix these issues saves time and frustration. This section covers simple solutions for typical hardware troubles.
Fixing Misaligned Hardware
Hardware that is not straight looks bad and can cause doors to stick. Start by loosening the screws slightly. Move the hardware gently until it aligns with the cabinet edges. Tighten screws while holding the hardware in place. Use a level to check the alignment. Small adjustments make a big difference.
Dealing With Stripped Screws
Stripped screws do not hold well and can slip out. Try using a rubber band over the screw head for extra grip. Use a screwdriver with a better fit to remove the screw. Replace stripped screws with new ones of the same size. For deep damage, fill the hole with wood filler before inserting a new screw.
Adjusting For Uneven Doors
Uneven cabinet doors spoil the kitchen’s look. Check the hinges first. Most hinges have screws to adjust height and side position. Loosen screws to move the door slightly. Tighten when the door sits evenly. Test the door by opening and closing to ensure smooth movement.
Maintaining Cabinet Hardware
Maintaining cabinet hardware keeps your kitchen looking fresh and working well. Small care steps can stop big problems later. Regular checks help catch issues early. Clean, tighten, or replace parts to keep cabinets smooth and safe.
Cleaning Tips
Use a soft cloth to wipe hardware often. Avoid harsh cleaners that can damage finishes. Mild soap and water work well. Dry hardware completely to stop rust or stains. Clean handles and knobs gently to keep shine.
Tightening Loose Fixtures
Loose screws make hardware wobbly and unsafe. Use a screwdriver to check all screws regularly. Tighten any loose ones carefully. Do not overtighten; it may strip the screw hole. Keep hardware secure for daily use and safety.
Replacing Damaged Pieces
Check for cracked or broken hardware parts. Replace damaged pieces quickly to avoid injury. Match new hardware to your cabinet style and size. Use proper tools to remove old fixtures without damage. Installing new hardware refreshes your kitchen’s look easily.
Credit: renovatedfaith.com
Frequently Asked Questions
How Do I Choose The Right Hardware For Kitchen Cabinets?
Select hardware that matches your kitchen style and cabinet type. Consider durability, finish, and size for a perfect fit. Choose handles or knobs that complement your kitchen’s design and are comfortable to use.
What Tools Are Needed To Install Cabinet Hardware?
You’ll need a drill, screwdriver, measuring tape, pencil, and level. A jig or template helps ensure even placement. These tools make installation accurate and efficient.
How Do I Measure For Cabinet Hardware Placement?
Measure from the edge or center of the cabinet door or drawer. Use consistent marks on all cabinets for uniformity. Proper measurement ensures hardware is aligned and looks professional.
Can I Install Hardware On Painted Cabinets?
Yes, but be gentle to avoid chipping paint. Pre-drill holes to prevent splitting. Use hardware that won’t damage the painted surface during installation.
Conclusion
Installing hardware on kitchen cabinets can be simple and fast. Measure carefully before drilling holes. Use the right tools for a secure fit. Take your time to align handles and knobs. Clean the area after installation to keep it neat.
Small changes can improve your kitchen’s look and function. Enjoy your updated cabinets and the new ease they bring. Practice makes perfect—try again if needed. You now have the basics to add hardware confidently.