Are your vinyl shutters starting to look worn out or damaged? Removing the fasteners holding them in place might seem tricky, but with the right steps, you can do it quickly and safely.
Whether you’re planning to replace your shutters or just need to fix a loose one, knowing how to remove vinyl shutter fasteners will save you time and frustration. Keep reading, and you’ll learn simple, clear methods that anyone can follow—even if you’re not a DIY expert.
Ready to get started? Let’s dive in!

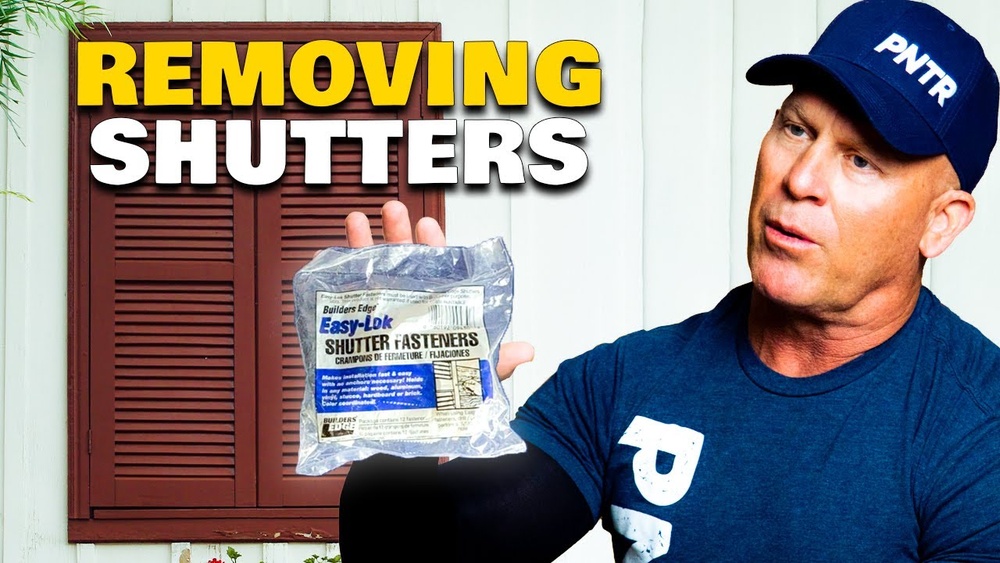
Credit: www.youtube.com
Tools Needed
Removing vinyl shutter fasteners requires the right tools for a smooth job. Having the correct tools makes the process quicker and safer. Some tools are essential, while others can help but are not required.
Essential Tools
- Screwdriver: A flathead or Phillips screwdriver fits most fasteners.
- Pliers: Useful for gripping and pulling stubborn fasteners.
- Utility Knife: Helps cut any paint or caulk around fasteners.
- Putty Knife: Can gently pry fasteners without damaging the shutter.
Optional Helpful Items
- Lubricant Spray: Loosens rusted or stuck fasteners easily.
- Magnetic Tray: Keeps screws and small parts safe during removal.
- Work Gloves: Protect your hands from sharp edges and debris.
- Flashlight: Illuminates tight or dark areas for better visibility.
Identify Fastener Types
Removing vinyl shutter fasteners starts with knowing the type of fastener used. Each fastener style requires a different approach and tool. Identifying fastener types helps avoid damage to shutters or walls. It also speeds up the removal process. This section explains common fastener styles and how to spot hidden clips.
Common Fastener Styles
Vinyl shutters often use screws, nails, or plastic clips. Screws are most common and easy to spot. They usually have a visible head on the shutter frame. Nails are less common but can hold shutters tightly. Plastic clips fit into small slots and snap the shutter in place. Some fasteners are painted over to blend with the shutter color. Check edges and corners carefully for these.
Spotting Hidden Clips
Hidden clips hold shutters without visible screws or nails. They sit behind the shutter or inside the frame. Look for small gaps where the shutter meets the wall. Use a flat tool to feel for clips under the shutter edges. Clips often require pressing or sliding to release. Handle gently to avoid breaking the clip or shutter. Knowing these clips saves time and prevents damage.
Prepare The Shutter
Preparing the shutter is an important step before removing vinyl shutter fasteners. It makes the process easier and keeps your home safe. Taking time to prepare helps avoid damage to the shutter and surrounding areas.
Clean The Area
Start by cleaning the shutter surface. Dirt and dust can hide fasteners or make tools slip. Use a soft cloth and mild soap to wipe the shutter gently. Make sure the area is dry before starting the removal.
Protect Surrounding Surfaces
Cover walls and window frames near the shutter. Use painter’s tape and plastic sheets to shield these areas. This prevents scratches or paint damage during the removal. Protecting surfaces keeps your home looking neat and safe.
Loosen Fasteners
Loosening the fasteners is the first step to safely removing vinyl shutters. These fasteners hold the shutters tightly to the wall. Carefully loosening them prevents damage to the shutters and the house exterior.
Use the right tools and gentle pressure. This makes the job easier and keeps the fasteners reusable. Patience is key to avoid breaking or bending parts.
Using Screwdrivers
Choose a screwdriver that fits the fastener head perfectly. A snug fit prevents slipping and stripping. Turn the screwdriver slowly to loosen the fastener.
Apply steady pressure. Do not force the fastener to turn quickly. If it feels stuck, try a different screwdriver size or type.
Keep the screwdriver straight. Angling it can damage the fastener head. Work on each fastener evenly to avoid uneven pressure.
Prying With Care
Some fasteners need gentle prying to loosen. Use a flat tool like a putty knife or a flathead screwdriver.
Slide the tool under the fastener head carefully. Apply light pressure to lift it slightly. Avoid using too much force to prevent cracking the vinyl.
Work slowly around the fastener. Small movements help release it without damage. Stop if you feel resistance and try loosening with a screwdriver again.
Remove Fasteners Safely
Removing vinyl shutter fasteners needs care and attention. Doing it safely prevents damage to shutters and walls. It also keeps you safe from injury. Follow simple steps for smooth removal and less hassle.
Extracting Screws
Use the right screwdriver that fits the screw head well. Turn screws slowly to avoid stripping. If screws are tight, apply gentle pressure while turning. Keep your hands steady to prevent slips. Collect screws in a container to avoid losing them.
Releasing Clips
Locate clips holding the shutter in place. Use a flat tool like a putty knife or flathead screwdriver. Gently pry the clips away from the shutter frame. Avoid using force to prevent breaking the clips. Work slowly and check progress often.
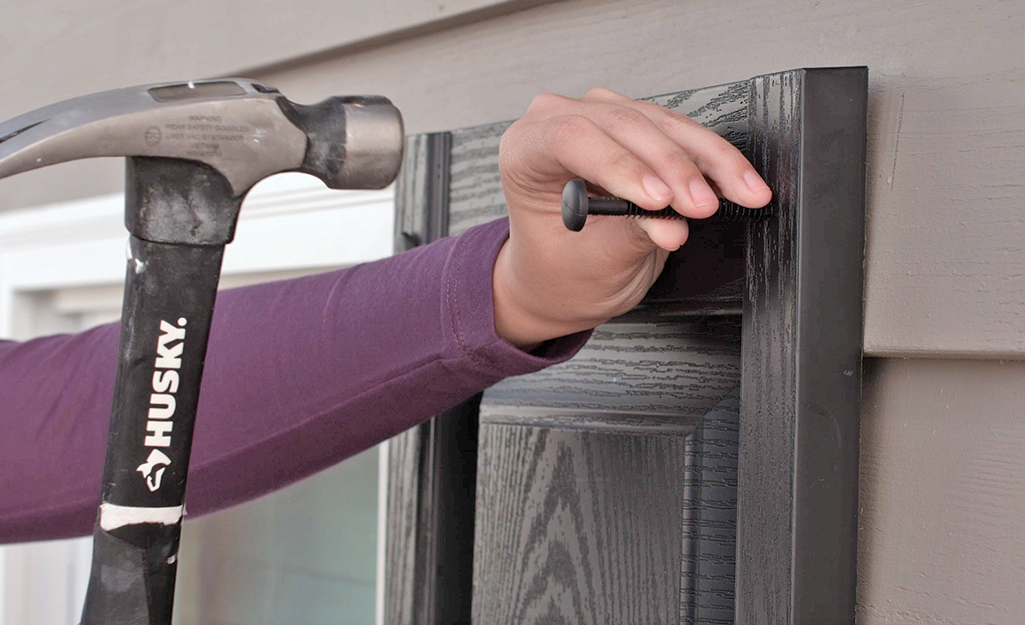
Credit: www.homedepot.com
Handle Stubborn Fasteners
Stubborn fasteners on vinyl shutters can slow down your project. They might be rusty or stuck tight. Patience and the right tools help remove them safely. Two effective ways to handle these fasteners include applying lubricants and using heat. Both methods make removal easier and prevent damage.
Applying Lubricants
Lubricants reduce friction and loosen stuck fasteners. Spray a small amount on the fastener and wait a few minutes. Oil or silicone sprays work well. Avoid using too much to prevent mess. After applying, try to turn or pull the fastener gently. Repeat if needed until it moves freely.
Using Heat
Heat can expand metal fasteners and break rust bonds. Use a hairdryer or heat gun on low setting. Warm the fastener evenly for one to two minutes. Do not overheat to avoid damaging vinyl shutters. After heating, try to loosen the fastener carefully. This method works best with metal fasteners only.
Post-removal Tips
After removing vinyl shutter fasteners, some important steps ensure the best results. These tips help keep your shutters and wall in great shape. Follow these steps carefully for a clean and safe finish.
Inspecting For Damage
Check the shutter and wall for any cracks or holes. Look closely at the area where the fasteners were. Small damages can get worse if ignored. Repair any cracks or holes with appropriate filler or sealant. This keeps your wall strong and prevents moisture from entering. Also, check if the shutter edges are smooth and intact.
Cleaning Residue
Remove leftover glue, dirt, or debris from the shutter surface. Use a soft cloth and mild soap with water. Gently scrub the area until clean. Avoid harsh chemicals that can damage the vinyl. Dry the shutter completely to stop mold or mildew growth. Clean surfaces help new fasteners stick better if you plan to reinstall them.
Replacing Or Repairing Fasteners
Replacing or repairing fasteners on vinyl shutters keeps them secure and looking good. Over time, fasteners may wear out or break. Fixing them ensures shutters stay attached firmly to the house. The process is simple with the right tools and parts.
Choosing Replacement Parts
Select fasteners made specifically for vinyl shutters. These match the size and style of original parts. Choose rust-resistant materials like stainless steel or plastic. Check measurements before buying to ensure a proper fit. Using the correct parts prevents damage and keeps shutters stable.
Installation Tips
Start by removing old fasteners carefully. Use a screwdriver or drill with the right bit. Align the new fastener with the shutter hole. Insert it straight to avoid bending or breaking. Tighten firmly but do not over-tighten. Test the shutter for secure attachment after installation.

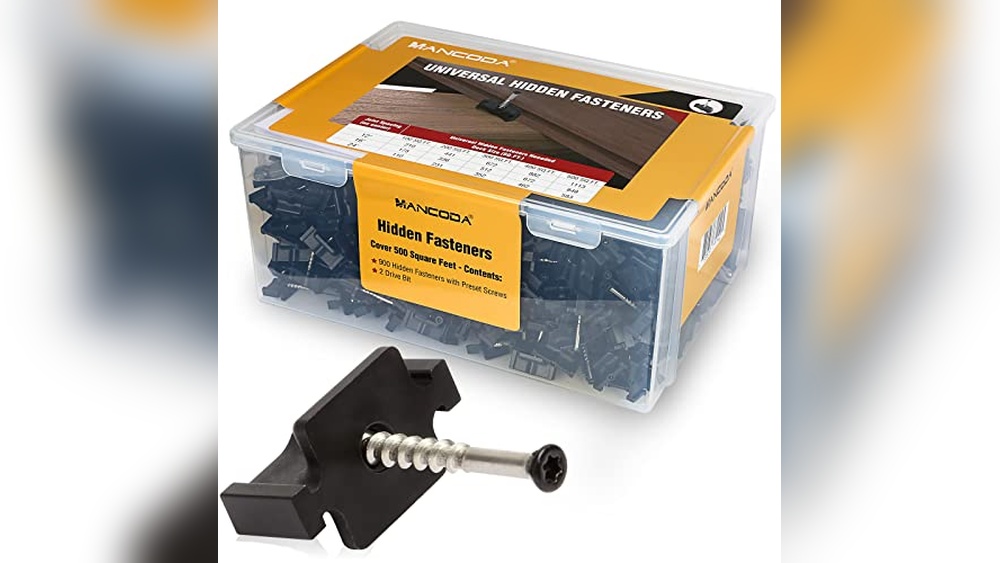
Credit: www.amazon.com
Frequently Asked Questions
What Tools Do I Need To Remove Vinyl Shutter Fasteners?
You need a flathead screwdriver, pliers, and sometimes a drill. These tools help loosen and pry out the fasteners safely without damaging the shutter or siding.
How Can I Safely Remove Vinyl Shutter Fasteners?
Start by gently prying around the fastener with a flathead screwdriver. Use pliers to pull out any stubborn clips or nails carefully to avoid cracking the vinyl.
Can I Reuse Vinyl Shutter Fasteners After Removal?
Yes, you can reuse them if they are undamaged. Inspect fasteners for cracks or bends and replace any that look worn out for secure reinstallation.
How Long Does It Take To Remove Vinyl Shutter Fasteners?
Removing fasteners usually takes 5 to 15 minutes per shutter. Time varies based on fastener type and how securely they are attached.
Conclusion
Removing vinyl shutter fasteners is simple with the right tools. Take your time and work carefully to avoid damage. Use basic tools like a screwdriver or pliers for best results. Check each fastener closely before starting. This way, you can remove them smoothly and safely.
Keep your shutters clean and well-maintained after removal. Small steps make the task easier and less stressful. You can handle this project with confidence and care. Enjoy your refreshed shutters once the fasteners are gone.