Have you ever tried to hang something on your wall, only to find the anchor won’t come out no matter what you do? Stripped wall anchors can be a real headache, leaving you frustrated and unsure how to fix the problem without damaging your wall.
But don’t worry—removing those stubborn anchors is easier than you think. In this guide, you’ll discover simple, step-by-step methods to get rid of stripped wall anchors quickly and safely. Keep reading to save your walls and get your project back on track!
Signs Of Stripped Wall Anchors
Stripped wall anchors can cause frustration and damage. Knowing the signs helps spot the problem early. This saves time and prevents bigger issues. Look out for common signals that show an anchor is stripped.
Common Causes
Wall anchors strip due to too much force. Over-tightening screws often damages the anchor. Using the wrong size anchor weakens the hold. Anchors in soft or crumbly walls break easily. Repeated stress from heavy items causes wear. Poor installation also leads to stripped anchors.
Identifying Damage
Loose screws that spin without gripping are a key sign. Anchors that wiggle or move inside the wall show damage. Walls with visible cracks or holes near anchors may be affected. Items hanging unevenly suggest anchor failure. If screws pull out with little resistance, anchors are stripped.

Credit: diy.stackexchange.com
Tools Needed For Removal
Removing stripped wall anchors requires the right tools. Having these tools ready makes the job easier and faster. Some tools are basic and almost always needed. Others can help but are not required for every removal.
Basic Tool List
- Pliers – Good for gripping and pulling anchors out.
- Screwdriver – Useful to turn or pry out anchors.
- Utility knife – Helps cut around the anchor if needed.
- Drill with a small bit – Can remove stubborn anchors by drilling them out.
Optional Helpful Tools
- Needle-nose pliers – Better for tight spaces and small anchors.
- Putty knife – Useful for prying or scraping around the anchor.
- Vacuum cleaner – Keeps the area clean of dust and debris.
- Flashlight – Improves visibility inside holes or dark corners.
Step-by-step Removal Methods
Removing stripped wall anchors can be tricky. Using the right method makes the job easier and prevents wall damage. Below are clear, simple steps to remove anchors safely and quickly. Choose the method that fits your tool set and anchor type.
Using Pliers
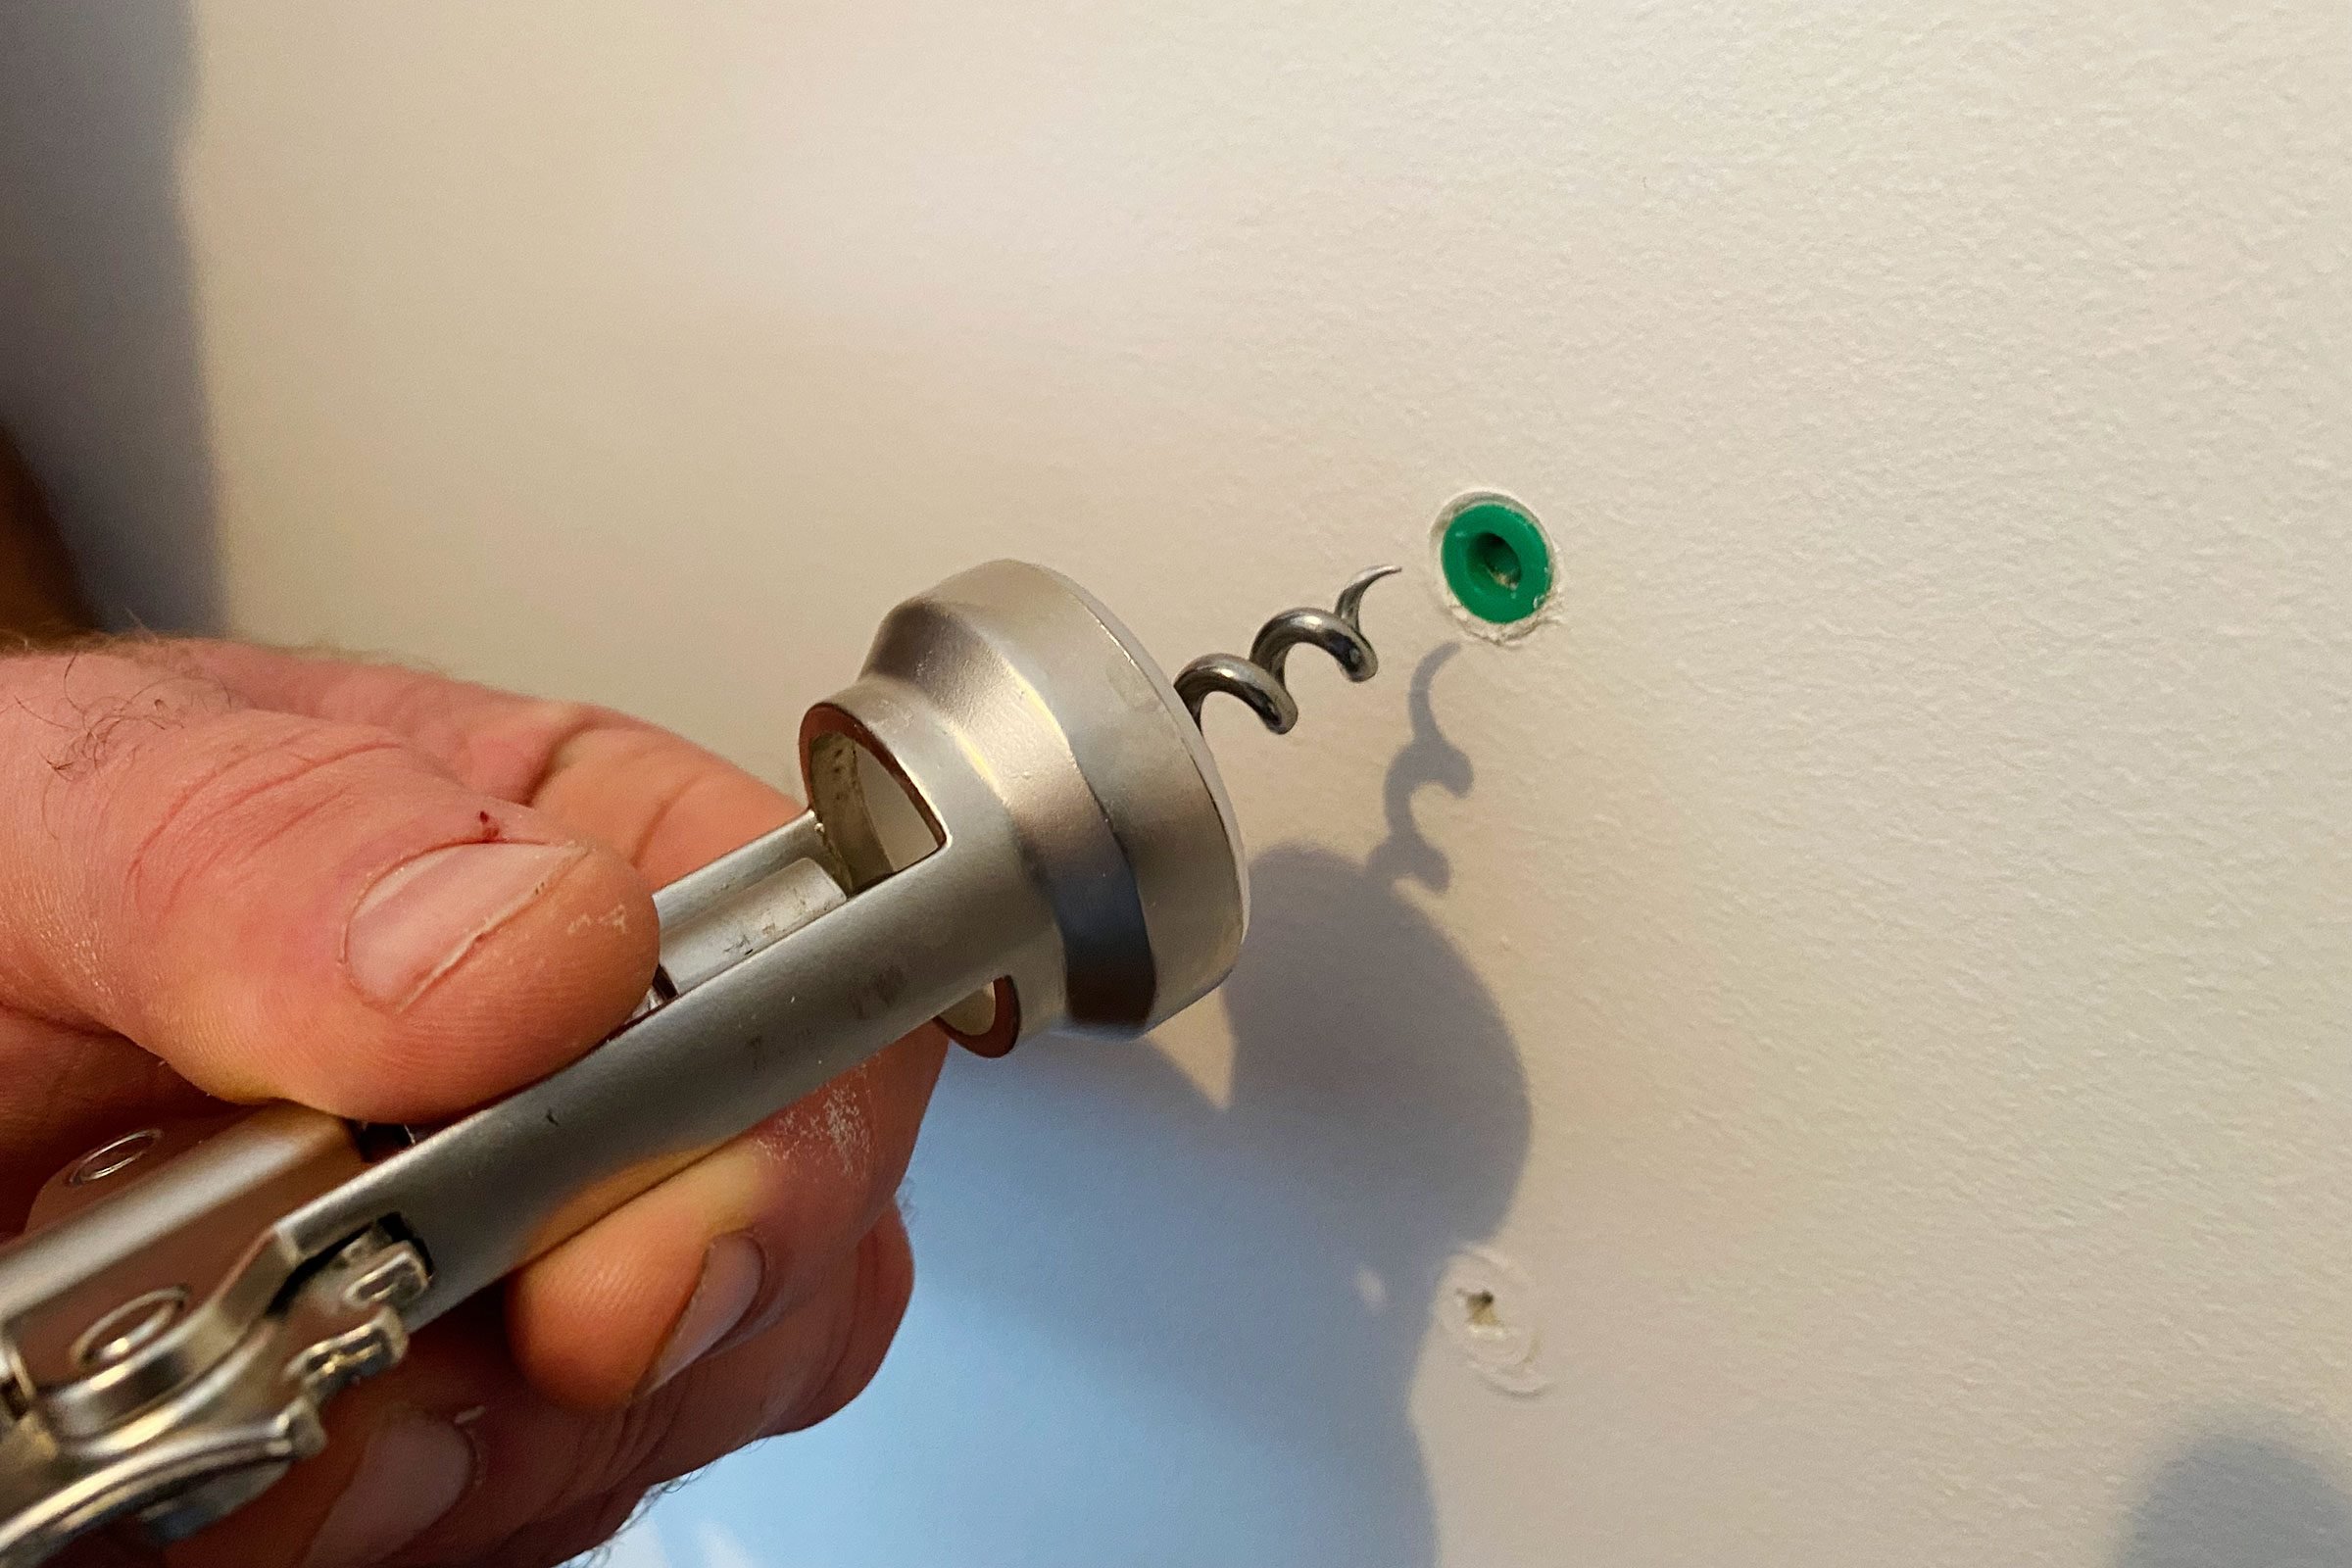
Grab the anchor with needle-nose pliers. Hold it firmly. Pull straight out with steady force. Wiggle slightly if it feels stuck. Avoid twisting too hard to prevent wall damage. This method works best with anchors sticking out from the wall.
Twisting With A Screwdriver
Insert a flathead screwdriver into the center of the anchor. Turn slowly to loosen the anchor. Twist counterclockwise to back it out. Use gentle force to avoid breaking the anchor inside the wall. This technique suits anchors that are flush or slightly inside the wall.
Drilling Out The Anchor
Choose a drill bit slightly smaller than the anchor’s diameter. Drill into the anchor carefully. This breaks up the anchor for easy removal. Clear out the debris with a vacuum or brush. This method works well for anchors that won’t come out by pulling or twisting.
Tapping And Prying Techniques
Use a hammer and a flat tool like a putty knife. Tap the anchor gently to loosen it. Then slide the putty knife under the anchor edge. Pry it out slowly with controlled force. This method is good for anchors buried deep but not glued tightly.
Preventing Anchor Stripping
Stripped wall anchors can cause frustration and damage. Prevention is better than fixing. Taking simple steps stops stripping before it starts. Proper choices and care help your anchors hold strong.
Choosing The Right Anchor
Select anchors based on wall type and weight load. Use plastic anchors for light items on drywall. Metal anchors work better for heavier objects. Avoid using anchors too small for the job. Match anchor size to the screw size. Check packaging for weight limits and wall compatibility.
Proper Installation Tips
Drill the correct hole size before inserting the anchor. Too large holes cause loose anchors. Too small holes make installation hard and damage the anchor. Insert anchors gently without forcing. Tighten screws slowly to avoid stripping. Stop tightening once the anchor feels secure.
Repairing The Wall After Removal
Removing stripped wall anchors often leaves holes or marks on the wall. Repairing these spots is important for a smooth and clean surface. The process involves filling the holes, then sanding and painting. This helps restore the wall’s original look.
Filling Holes
Start by cleaning the hole from dust and loose material. Use a putty knife to apply spackle or wall filler. Press the filler firmly into the hole. Smooth the surface to match the wall. Let the filler dry completely before moving on.
Sanding And Painting
Once the filler is dry, gently sand the area with fine-grit sandpaper. Sand until the surface feels even with the wall. Wipe away dust with a clean cloth. Choose paint that matches the wall color. Apply paint with a brush or roller in thin layers. Allow the paint to dry between coats for the best finish.
Credit: www.familyhandyman.com
When To Replace Anchors
Knowing when to replace wall anchors matters a lot. Stripped anchors lose their grip and can’t hold weight. If your anchor spins without tightening, it needs replacement. Loose or damaged anchors can cause damage to walls. Replace anchors to keep your fixtures safe and stable.
Selecting New Anchors
Choose anchors based on wall type and weight load. Drywall anchors work for light items like pictures. For heavier objects, use toggle bolts or molly bolts. Plastic anchors suit light loads but metal ones handle more weight. Check anchor size to match screw and hole diameter. Use quality anchors for better strength and durability.
Installation Best Practices
Drill the right hole size for the anchor. Clean out dust from the hole before installing. Insert the anchor fully and make sure it fits snugly. Tighten screws slowly to avoid stripping the anchor. Avoid overtightening, which can damage the wall or anchor. Test the anchor’s grip before hanging heavy items.

Credit: www.wikihow.com
Frequently Asked Questions
What Causes Wall Anchors To Become Stripped?
Wall anchors strip when the screw spins without gripping. This happens due to over-tightening or using the wrong anchor size. Poor wall material can also weaken the anchor’s hold. Recognizing these causes helps prevent damage and makes removal easier.
How Do I Safely Remove Stripped Wall Anchors?
First, try pulling the anchor gently with pliers. If stuck, use a screwdriver to push it inside the wall. For plastic anchors, drilling around them can help loosen the grip. Always work carefully to avoid wall damage.
Can I Reuse Stripped Wall Anchors?
No, stripped anchors lose their grip and stability. Reusing them risks poor support and wall damage. Always replace stripped anchors with new, properly sized ones for secure mounting.
What Tools Are Best For Removing Stripped Anchors?
Pliers, screwdrivers, and a drill are essential. Needle-nose pliers help grip loose anchors. A screwdriver can push anchors inward. Drills assist in loosening stubborn plastic anchors without damaging walls.
Conclusion
Removing stripped wall anchors does not have to be hard. With the right tools and simple steps, you can fix the problem quickly. Take your time and be careful to avoid damaging your wall. After removing the old anchor, choose a new one that fits better.
This will make your wall stronger and safer. Small repairs like this save money and keep your home looking good. Keep these tips in mind for any future wall anchor problems. You can handle it with confidence and ease.