Are you struggling to securely fix heavy items on your walls? Installing M10 screws and anchors might seem tricky at first, but once you know the right steps, it becomes simple and reliable.
In this guide, you’ll learn exactly how to install M10 screws and anchors so your shelves, cabinets, or decorations stay firmly in place. Keep reading to discover easy tips that will save you time, prevent damage, and give you confidence with every drill and screw.
Your walls deserve the best support—let’s make sure you get it right!
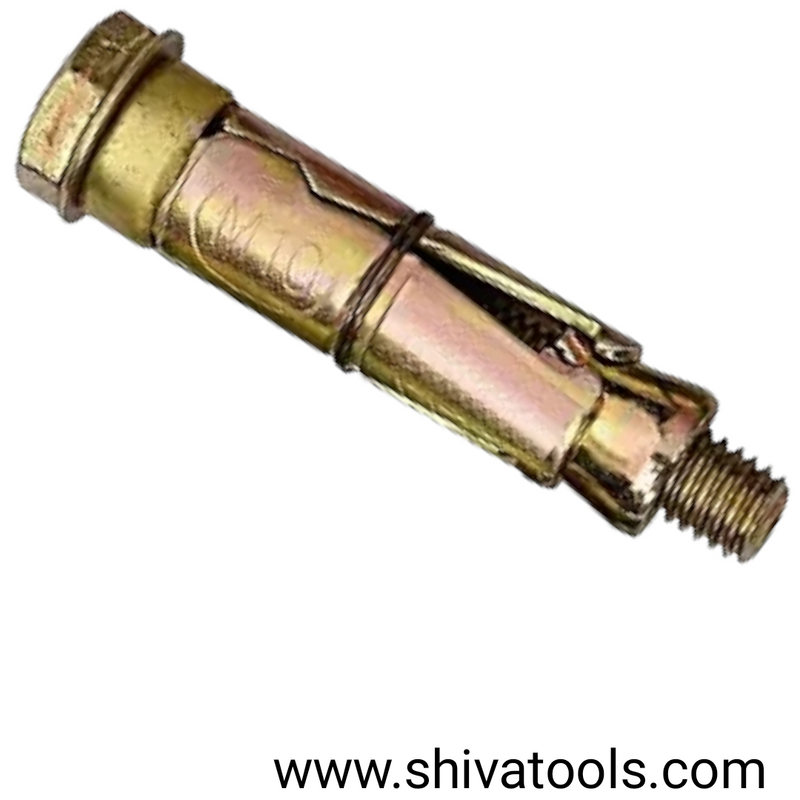
Credit: shivatools.com
Choosing The Right M10 Screws And Anchors
Choosing the right M10 screws and anchors is key for a strong hold. The correct combination ensures safety and durability. Picking the wrong ones can cause damage or failure. Understanding the types and matching them to your wall type helps you get the job done right.
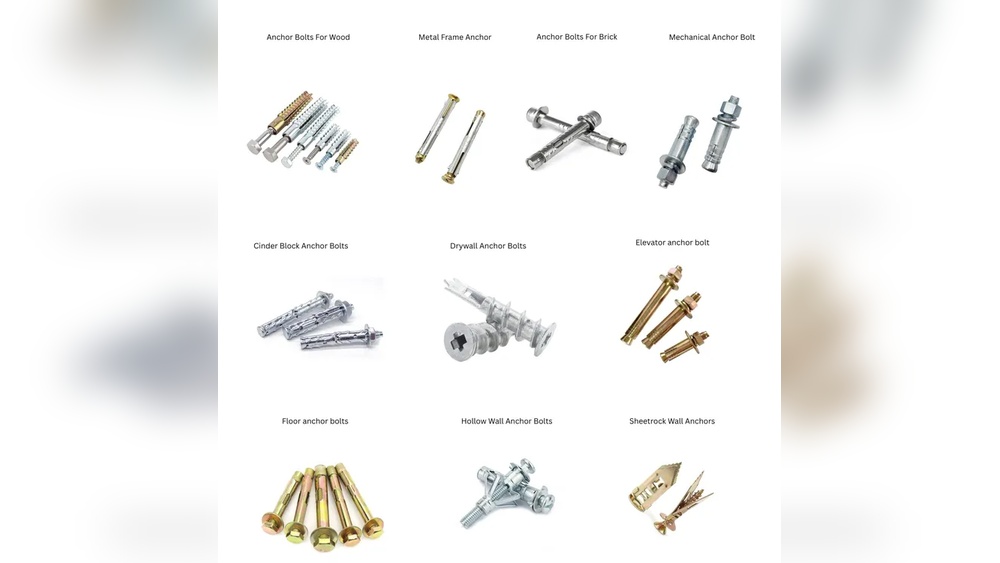
Types Of M10 Screws
M10 screws come in many types. Some common ones are hex bolts, machine screws, and lag screws. Hex bolts have a six-sided head for wrench use. Machine screws fit into pre-threaded holes. Lag screws have coarse threads for wood. Each type fits different needs and materials.
Selecting Suitable Anchors
Anchors hold screws firmly in the wall. Plastic anchors suit light loads and drywall. Metal anchors offer extra strength for heavy items. Expansion anchors work by expanding inside the hole. Toggle anchors spread the load behind the wall. Choose anchors based on the weight and wall type.
Matching Screws And Anchors To Wall Material
Different walls need different anchors and screws. Drywall requires lightweight anchors with M10 screws. Concrete walls need heavy-duty anchors and strong screws. Brick walls work well with expansion anchors. Wood walls usually need lag screws without anchors. Match materials for a secure fit.
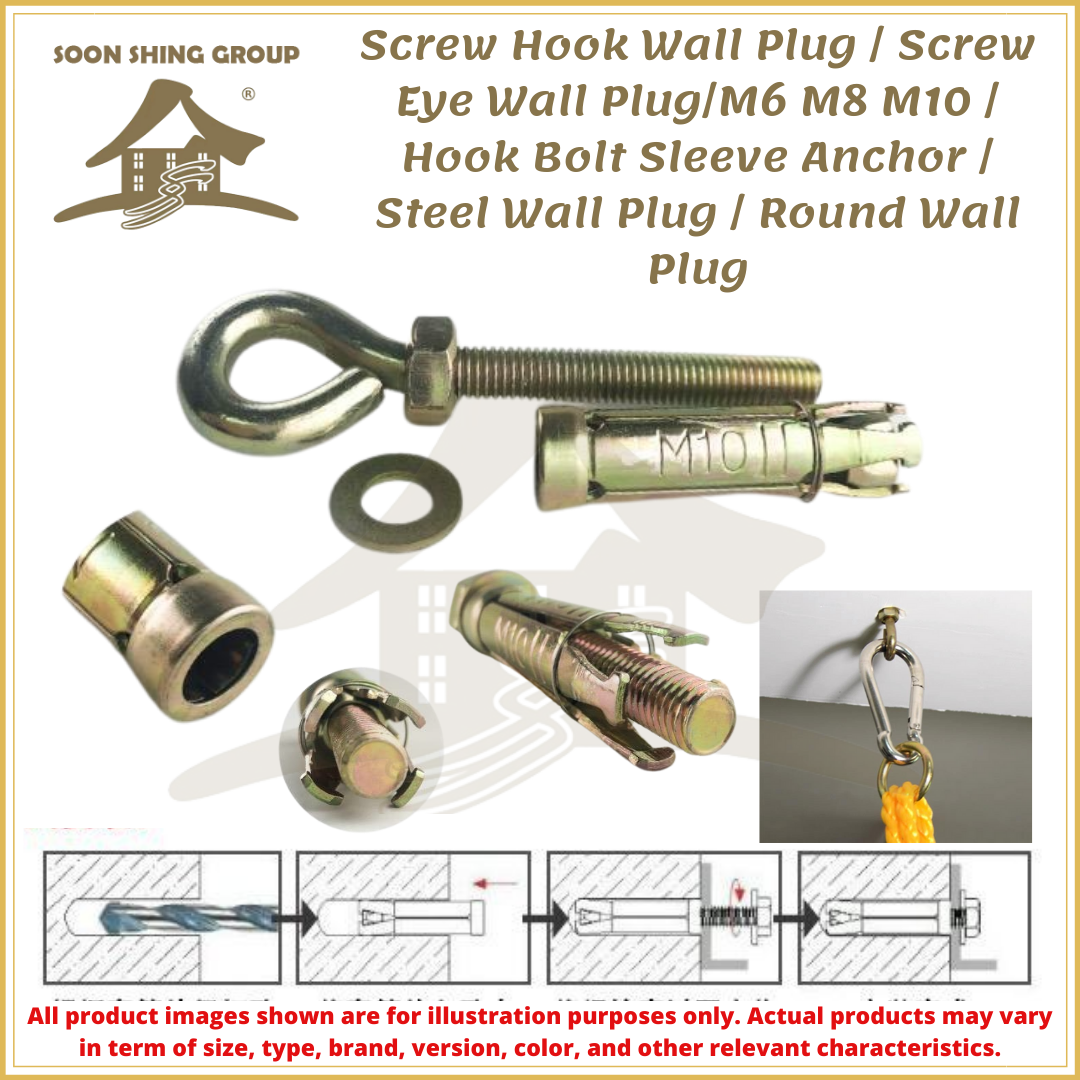
Credit: www.soonshingonline.com
Tools Needed For Installation
Installing M10 screws and anchors in walls requires the right tools. Using proper tools makes the job easier and safer. It also ensures the screws and anchors hold firmly. Below are the essential tools needed for installation.
Drill And Drill Bits
A drill is necessary to create holes for the anchors. Choose a drill bit that matches the size of the M10 anchor. A bit too small will make it hard to insert the anchor. A bit too large will make the anchor loose. Use a hammer drill for concrete or brick walls for better results.
Screwdriver And Wrench
Use a screwdriver to drive the screws into the anchors. A Phillips or flathead screwdriver works depending on the screw type. A wrench helps tighten the screws if they have hex heads. Tighten the screws firmly but do not overtighten, or the wall may crack.
Measuring And Marking Tools
Accurate measurement is key to proper installation. Use a tape measure to find the exact spot for the holes. Mark the spots clearly with a pencil or marker. A level tool helps keep the screws straight and aligned. Proper marking prevents mistakes and saves time.
Preparing The Wall
Preparing the wall is a key step before installing M10 screws and anchors. This step helps ensure a secure hold and prevents damage. Taking time here makes the installation smoother and safer.
Proper preparation helps avoid mistakes and saves time. Follow clear steps to get ready for drilling and fixing the anchors.
Locating The Installation Spot
First, find the exact spot on the wall for the screw. Choose a place that can hold weight well. Avoid areas near edges or corners.
Pick a solid part of the wall, such as a stud or concrete. This spot will provide the best support for your screws.
Marking Drill Points
Use a pencil to mark where you will drill the holes. Mark carefully to keep holes straight and in the right place.
Measure twice before marking. Correct markings prevent mistakes and save effort later.
Checking For Obstructions
Look for wires, pipes, or other objects inside the wall. Use a detector tool or tap the wall gently.
Avoid drilling near electrical cables or plumbing. Hitting these can cause danger and damage.
Drilling Holes For Anchors
Drilling holes for anchors is a crucial step when installing M10 screws in walls. Proper holes ensure the anchors fit tightly and hold the screws securely. A well-drilled hole prevents damage to the wall and keeps the installation strong and safe.
Selecting The Correct Drill Bit Size
Choose a drill bit that matches the size of the anchor. An M10 anchor usually requires a 10mm drill bit. Using a smaller bit makes the anchor hard to fit. A larger bit makes the anchor loose, reducing strength.
Drilling At The Right Depth
Drill the hole to the exact depth of the anchor length. Mark the drill bit with tape to guide the depth. Drilling too shallow stops the anchor from fitting fully. Too deep creates empty space and weak support.
Cleaning The Hole
Remove dust and debris from the hole before inserting the anchor. Use a brush or blow air into the hole. A clean hole helps the anchor grip the wall tightly. Dust can stop the anchor from holding properly.
Installing Anchors
Securing M10 screws in walls requires careful steps for a strong hold. Proper alignment, tightening, and care prevent damage and ensure stability. Follow these tips to install M10 screws with anchors safely and effectively.
Aligning Screws With Anchors
Place the screw directly over the anchor hole. Keep the screw straight to avoid bending. Check that the screw fits snugly inside the anchor. This ensures the load spreads evenly in the wall.
Tightening Screws Properly
Use a screwdriver or drill with a proper bit size. Turn the screw steadily and apply even pressure. Stop when the screw feels tight and secure. Tightening too little may cause the screw to loosen later.
Avoiding Over-tightening
Do not force the screw past resistance. Over-tightening can damage the anchor or wall. It may strip the threads or crack the wall material. Tighten just enough to hold the screw firmly in place.

Credit: my.rs-online.com
Securing M10 Screws
Maintaining M10 screws and anchors is key to keeping them strong and safe. Regular care helps avoid problems like loosening or rust. Simple steps extend the life of your screws and keep walls secure.
Follow these tips to protect your installation and ensure lasting hold.
Regular Tightness Checks
Check the screws often to see if they stay tight. Loose screws can cause damage or fall out. Use a screwdriver to gently turn each screw. Tighten any that feel loose, but avoid overtightening. This keeps the anchor firmly in place.
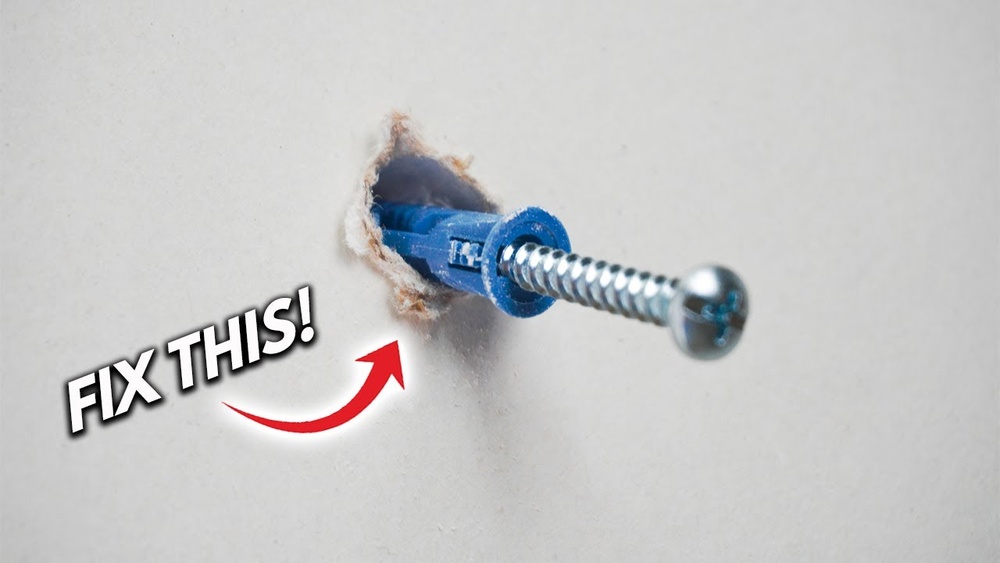
Replacing Damaged Anchors
Look for cracks or breaks in the anchors. Damaged anchors no longer hold well and can fail. Remove broken anchors carefully and replace them with new ones. Use the right size and type for your wall material. Proper replacement ensures strong support.
Preventing Rust And Corrosion
Rust weakens screws and anchors over time. Keep them dry and clean to stop rust from forming. Apply a light coat of anti-rust spray or lubricant. This protects metal parts and extends their life. Avoid installing screws in damp areas without protection.
Frequently Asked Questions
What Tools Are Needed To Install M10 Screws And Anchors?
You need a drill, M10 screws, anchors, a hammer, and a screwdriver. Choose the right drill bit size for the anchor. These tools ensure secure and easy installation.
How Deep Should I Drill For M10 Anchors?
Drill a hole slightly deeper than the anchor length. This allows the anchor to fit fully and hold firmly. Check anchor packaging for exact depth recommendations.
Can M10 Anchors Support Heavy Wall Fixtures?
Yes, M10 anchors are designed for heavy loads. Proper installation ensures strong support for shelves, TVs, and cabinets. Always check weight limits before use.
What Types Of Walls Work Best With M10 Anchors?
M10 anchors work well on concrete, brick, and drywall walls. Use specific anchors for each wall type for optimal grip. Avoid using the wrong anchor for safety.
Conclusion
Installing M10 screws and anchors in walls is simple with the right steps. Start by choosing the right drill bit and anchor type. Drill carefully, insert the anchor, and then screw in the M10 screw firmly. Take your time to avoid mistakes or wall damage.
This method works well for many wall types, including drywall and concrete. With practice, your installations will become stronger and more secure. Use these tips to complete your projects with confidence and ease.