Changing a light switch plate cover is one of the simplest and quickest ways to refresh the look of any room. Whether your current cover is old, cracked, or just doesn’t match your style anymore, you can replace it in minutes without any special tools or experience.
Imagine how a small change like this can brighten up your space and give you a sense of accomplishment. Ready to learn how to do it yourself? Keep reading, and you’ll discover easy, step-by-step instructions that make the process smooth and stress-free.
Your home makeover starts here!

Credit: www.angi.com
Tools And Materials Needed
Changing a light switch plate cover is a simple task. Having the right tools and materials makes the job easier and safer. You do not need many items, but each one plays an important role. Let’s review what you will need before starting.
Basic Tools
A screwdriver is the main tool you need. Usually, a flathead or Phillips screwdriver works. Keep both types handy just in case. You might also need a small flashlight to see inside the switch box. A voltage tester helps check if the power is off. This tool ensures your safety before touching wires.
Choosing The Right Cover
Pick a cover that fits your switch type. Covers come in plastic, metal, or wood. Plastic covers are common and easy to install. Metal covers are durable and give a modern look. Make sure the cover size matches your switch size. Check if the cover has one or multiple switch openings, depending on your switch setup.
Safety Gear
Safety gear protects you during the task. Wear insulated gloves to avoid electric shocks. Safety glasses keep dust and debris out of your eyes. Use a sturdy ladder if the switch is high on the wall. Always turn off the power at the circuit breaker before starting work.

Credit: roomfortuesday.com
Preparing For The Change
Before changing a light switch plate cover, preparation is key. It ensures safety and smooth work. Taking the right steps saves time and avoids accidents. Follow these simple tasks to get ready.
Turning Off The Power
First, turn off the power to the switch. Find the right circuit breaker in your electrical panel. Flip the switch to cut the electricity. Double-check by trying the light switch. No response means the power is off. This step keeps you safe during the process.
Removing The Old Cover
Next, remove the old switch plate cover. Use a screwdriver to loosen the screws. Keep the screws safe for reusing later. Gently pull the cover away from the wall. Avoid forcing it to prevent damage. This clears the area for the new cover.
Inspecting The Switch
Look closely at the switch itself. Check for cracks or damage on the switch and wires. Make sure wires are tight and secure. If you see anything unusual, fix it before continuing. A safe switch ensures your new cover fits well.
Installing The New Cover
Installing the new light switch plate cover is a simple step. It protects the wiring and gives a clean look. Follow these steps to put the cover on properly.
Aligning The Cover
Place the new cover over the switch. Make sure the holes in the cover match the screw holes on the wall. The cover should sit flat and even. Check that the switch fits well inside the opening.
Securing With Screws
Insert the screws into the holes carefully. Use a screwdriver to tighten them gently. Do not force the screws too much. Tightening slowly prevents cracking the cover or damaging the wall.
Ensuring A Tight Fit
Check the cover after securing the screws. It should not wiggle or move. If it feels loose, tighten the screws a little more. Make sure the cover fits snugly against the wall for a neat finish.
Design Tips For A Fresh Look
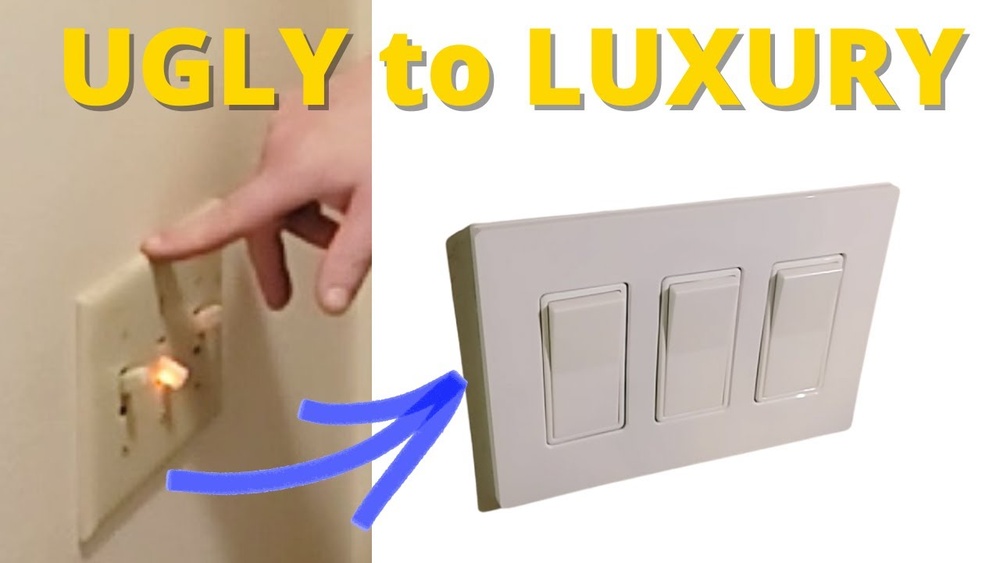
Changing your light switch plate cover can give any room a fresh, new look. Small changes like this make a big difference. It is an easy way to update your space without much effort or cost.
Choosing the right design for your switch plate cover can blend well with your room. You can keep things simple or add a personal touch. Here are some design tips for a fresh look.
Matching Room Decor
Pick a switch plate cover that matches your room’s colors. Use the same tones as your walls or furniture. This makes the switch look part of the room.
Neutral colors work well in most spaces. White, beige, or gray covers are safe choices. They do not stand out but still look clean and neat.
Using Decorative Covers
Decorative covers add style and character to your room. Choose covers with patterns, textures, or unique shapes. They can be made of metal, wood, or ceramic.
Look for covers that match your room’s theme. For example, rustic wood fits a country style room. Sleek metal works well in modern spaces.
Creative Painting Ideas
Painting your switch plate cover is a fun way to customize it. Use colors that pop or match your room’s accent shades. You can paint stripes, dots, or simple shapes.
Try using stencils for neat patterns. Seal the paint with a clear coat to protect it. This way, your design lasts longer and looks great.

Credit: www.youtube.com
Frequently Asked Questions
How Do I Remove A Light Switch Plate Cover Safely?
Turn off the power at the circuit breaker first. Use a screwdriver to unscrew the plate gently. Avoid forcing it to prevent damage.
What Tools Are Needed To Change A Switch Plate Cover?
You typically need a flathead or Phillips screwdriver. Sometimes, a voltage tester helps ensure safety. No special tools are required for most covers.
Can I Change A Switch Plate Cover Without Turning Off Power?
It’s not recommended. Turning off power prevents electric shock and accidents. Always prioritize safety before starting any electrical work.
How To Choose The Right Size For A Switch Plate Cover?
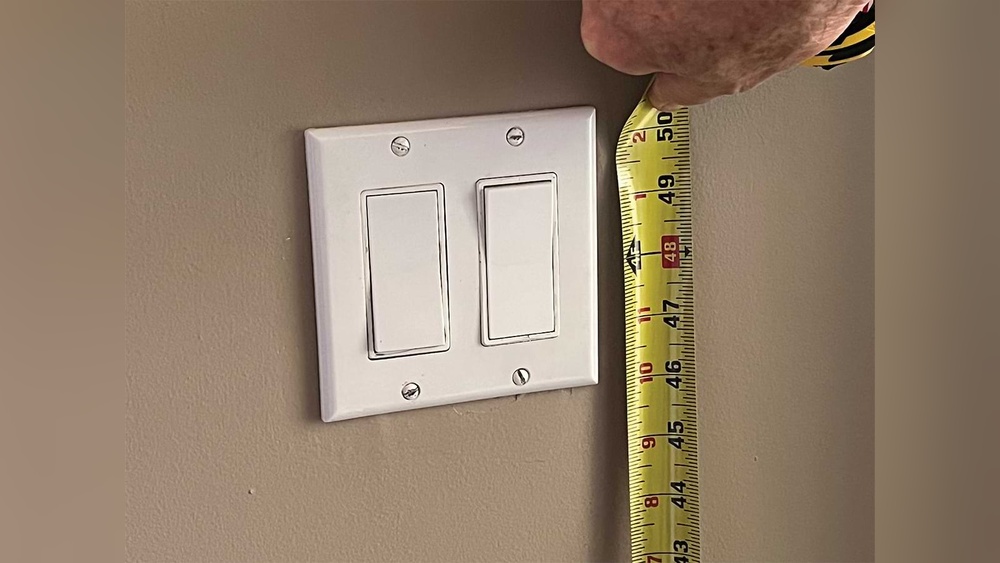
Measure the existing cover’s length and width. Match the screw hole spacing with the new cover. This ensures a perfect fit and easy installation.
Conclusion
Changing a light switch plate cover is simple and quick. Turn off the power first for safety. Use a screwdriver to remove the old cover. Place the new cover and tighten the screws carefully. Check that the switch works well after.
A fresh cover can improve your room’s look. Small changes make a big difference. Anyone can do this with basic tools. Give your home a neat, updated feel today.