Are you ready to give your kitchen a fresh new look without a full renovation? Installing hardware on your kitchen cabinets is one of the easiest and most effective ways to do just that.
Whether you want sleek handles or classic knobs, the right hardware can completely transform the feel of your space. But how do you make sure everything fits perfectly and looks professional? In this guide, you’ll discover simple, step-by-step tips to install hardware on your kitchen cabinets with confidence.
Keep reading, and you’ll have your cabinets looking stylish in no time!
Tools And Materials Needed
Installing hardware on kitchen cabinets is a task anyone can do. Having the right tools and materials makes the job easier and faster. This section explains what you need before starting.
Essential Tools
Start with a drill or screwdriver. These help fix screws into the cabinet doors. A tape measure is key to mark the exact spots for hardware. Use a pencil for clear, easy-to-erase marks. A level ensures your handles or knobs sit straight. You may need a drill bit set for different screw sizes. Lastly, have a ruler or square for precise measurements.
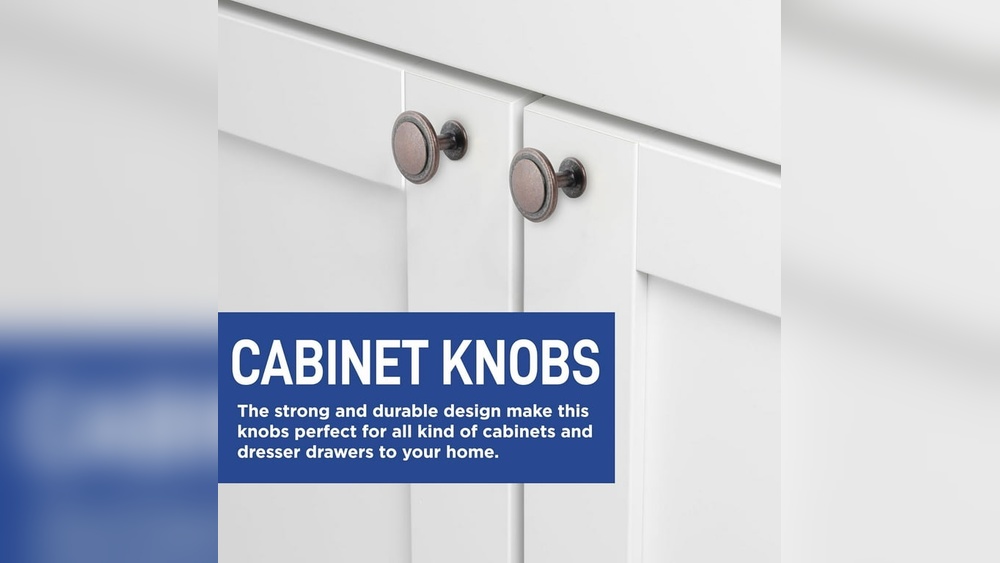
Choosing The Right Hardware
Pick hardware that matches your cabinet style. Handles and knobs come in many shapes and finishes. Consider metal for durability or plastic for cost savings. Make sure screws fit the thickness of your cabinet doors. Check if the hardware needs special tools for installation. Choose designs that feel good to hold and use daily.
Safety Gear
Wear safety glasses to protect your eyes from dust and debris. Gloves keep your hands safe from sharp edges or splinters. Avoid loose clothes that can catch on tools. Work in a well-lit area to see clearly. Keep your workspace clean to prevent accidents. Safety matters in every step of the project.
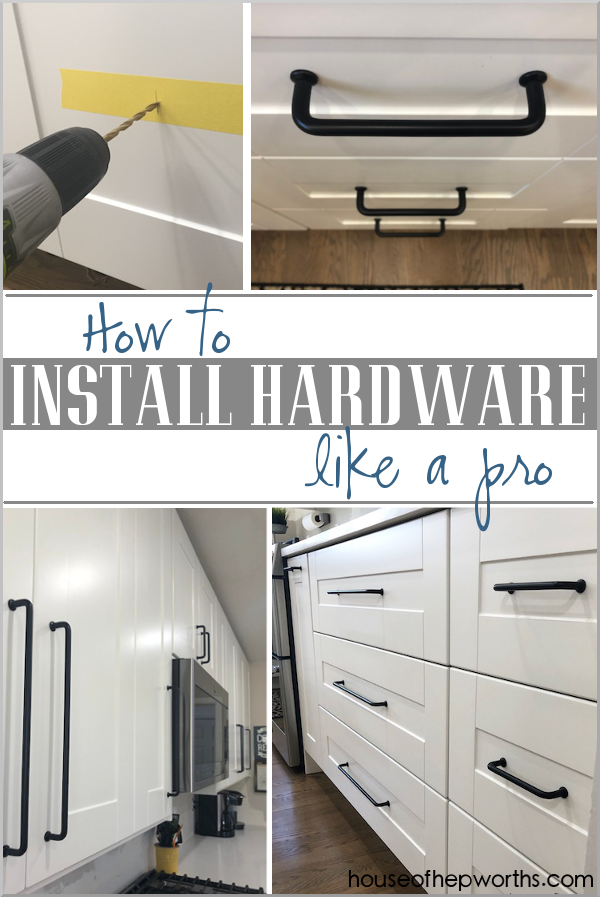
Credit: www.houseofhepworths.com
Preparing The Cabinets
Preparing the cabinets is the first step to install new hardware. This step ensures a smooth and neat installation. Proper preparation helps the new hardware fit well and look good. It also prevents damage and makes the hardware last longer.
Cleaning The Surface
Start by cleaning the cabinet surface. Use a mild soap and water mix. Wipe the area with a soft cloth to remove dust and grease. Dry the surface fully before moving on. A clean surface helps the hardware stick properly.
Measuring And Marking
Measure the spots where the hardware will go. Use a ruler or tape measure for accuracy. Mark the points lightly with a pencil. Double-check the marks for even spacing. Correct measurements ensure the hardware aligns well.
Removing Old Hardware
Take off the old handles or knobs carefully. Use a screwdriver to remove screws. Keep the screws if they fit the new hardware. Clean holes and surfaces after removal. This step prepares the cabinet for new installation.
Installing Handles And Pulls
Installing handles and pulls on kitchen cabinets changes their look and makes them easier to use. This task is simple but needs care. Correct placement and secure fixing are important for good results.
Aligning The Hardware
Start by choosing the right position for each handle or pull. Measure carefully to keep all pieces level and evenly spaced. Mark the spots with a pencil. Double-check the marks to avoid mistakes.
Drilling Pilot Holes
Use a drill bit slightly smaller than the screws. Drill pilot holes on the marked spots. This step stops the wood from splitting. Drill straight to keep holes clean and precise.
Securing With Screws
Place the handle or pull over the pilot holes. Insert screws through the inside of the cabinet door or drawer. Tighten screws firmly but avoid over-tightening. Check that hardware is stable and does not move.
Attaching Knobs
Attaching knobs to kitchen cabinets is a simple way to upgrade their look. It also makes opening and closing easier. This step-by-step guide helps you install knobs correctly. Follow these easy instructions for great results.
Positioning The Knob
First, decide where the knob will go. Usually, knobs sit near the cabinet door edge. Measure about 2 to 3 inches from the corner. Mark the spot with a pencil. Check that the mark is straight and even on all doors.
Drilling And Fixing
Use a drill with a small drill bit. Drill a hole on the mark carefully. Do not push too hard to avoid damage. Insert the knob screw from the inside of the door. Then, attach the knob on the outside. Tighten the screw with a screwdriver until the knob is firm.
Checking Stability
After fixing the knob, test its hold. Wiggle the knob gently to check for movement. If it feels loose, tighten the screw more. Make sure it is secure but avoid over-tightening. A stable knob lasts longer and works well.
Adjusting And Finishing
Adjusting and finishing your kitchen cabinet hardware is a key step to ensure everything works smoothly. It helps keep the handles and knobs tight and looking good. This part makes your kitchen look neat and well cared for.
Tightening Loose Hardware
Loose handles or knobs can be annoying and unsafe. Use a screwdriver to tighten screws gently. Check each piece carefully. Avoid overtightening, which can strip screws or damage wood.
Cleaning Residue
After installation, some dirt or glue might stay on the hardware. Use a soft cloth with mild soap and water to clean it. Dry the hardware well to prevent water spots and rust.
Final Inspection
Look over all hardware once more. Test each handle and knob by pulling gently. Make sure nothing wiggles or feels loose. Adjust screws if needed. This step guarantees your kitchen cabinets are ready to use.

Credit: smart.dhgate.com
Tips For Different Cabinet Styles
Installing hardware on kitchen cabinets requires different approaches for various cabinet styles. Each style has unique features that affect where and how hardware fits best. Understanding these differences helps achieve a clean and functional look. Choose the right hardware placement to match the cabinet design and enhance usability.
Flat-panel Cabinets
Flat-panel cabinets have smooth, simple surfaces. Hardware should be centered on the door’s edge for easy grip. Use a ruler or template to keep hardware placement consistent. Avoid placing knobs or pulls too close to the edges to prevent damage. Choose modern styles like bar pulls to complement the sleek look.
Raised-panel Cabinets
Raised-panel cabinets have a frame around a raised center panel. Place hardware on the frame part, not the raised panel itself. This keeps hardware stable and avoids splitting the wood. Position knobs near the bottom corner of upper doors and top corner of lower doors. Pulls work well on wider frames for a balanced look.
Glass Front Cabinets
Glass front cabinets need careful hardware selection to keep them elegant. Choose small, delicate knobs or pulls that do not overpower the glass. Place hardware on the frame edges for better support. Avoid heavy hardware that can strain the glass door. Use soft-close hinges to protect the glass from damage.
Common Mistakes To Avoid
Installing hardware on kitchen cabinets seems simple. Yet, many make common mistakes that cause problems later. Avoiding these errors saves time and keeps cabinets looking great. Focus on precision and the right tools for best results.
Wrong Measurements
Measuring incorrectly leads to misaligned hardware. It causes handles and knobs to look crooked. Always use a ruler or tape measure. Mark spots clearly before drilling. Double-check measurements to ensure accuracy.
Using Incompatible Hardware
Not all hardware fits every cabinet style or material. Using the wrong type can damage cabinet doors. Choose hardware designed for your cabinet’s thickness and design. Check compatibility before buying to avoid issues.
Over-tightening Screws
Too much force on screws can crack wood or strip holes. Tighten screws gently until snug, not forced. Use a screwdriver with good grip for control. This keeps hardware secure without damage.

Credit: www.homedepot.com
Frequently Asked Questions
How Do You Measure For Kitchen Cabinet Hardware?
Measure the center-to-center distance between existing holes or decide the exact spot. Use a ruler or tape measure for accuracy.
What Tools Are Needed To Install Cabinet Hardware?
You need a drill, screwdriver, measuring tape, pencil, and level to install kitchen cabinet hardware efficiently.
How Do You Align Hardware On Kitchen Cabinet Doors?
Mark consistent points on doors using a template or ruler. Use a level to ensure hardware is straight.
Can I Install Hardware On Cabinet Drawers And Doors?
Yes, hardware installation on both drawers and doors follows similar steps but requires precise placement for functionality.
Conclusion
Installing hardware on kitchen cabinets is simple with the right steps. Measure carefully and mark where each piece goes. Use the correct tools to avoid mistakes. Take your time for a neat, secure fit. Small details make a big difference in your kitchen’s look.
Enjoy the fresh, updated feel your cabinets now have. This task boosts both style and function easily. Give your kitchen a quick, easy upgrade today.