If you want to install cabinet knobs and pulls quickly and perfectly every time, the Kreg Cabinet Hardware Jig is your best friend. Imagine never having to guess where to drill holes or worry about uneven handles again.
This simple tool helps you align and space your hardware just right, saving you time and frustration. Whether you’re updating your kitchen or working on a DIY project, mastering the Kreg Cabinet Hardware Jig will make your job easier and your results more professional.
Keep reading, and you’ll learn exactly how to use this handy jig to transform your cabinets with confidence.
Kreg Jig Features
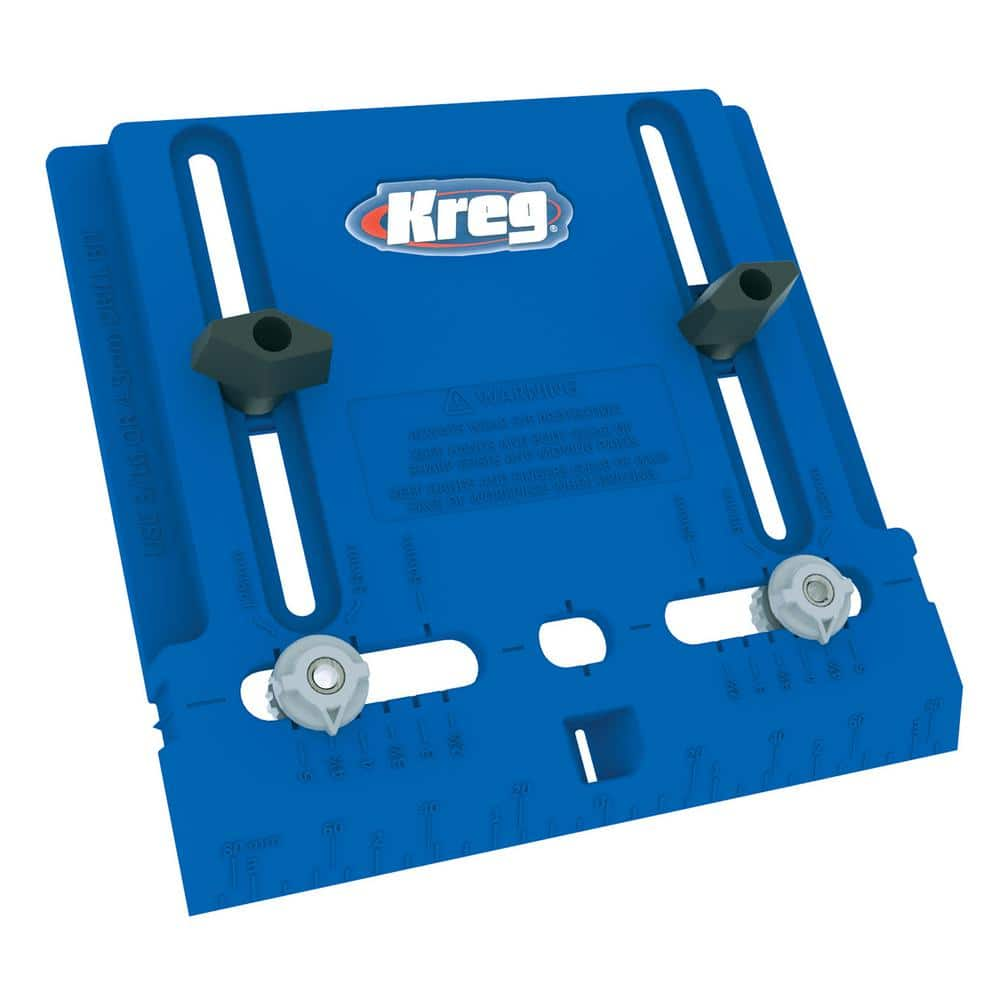
The Kreg Cabinet Hardware Jig offers several smart features that simplify installing cabinet knobs and pulls. Its design helps position hardware accurately and quickly on cabinets or drawers. Each feature plays a key role in making your project more precise and less time-consuming.
Design And Build
The jig has a sturdy plastic body that resists wear and tear. It feels solid in your hand and stays stable during use. Its compact size makes it easy to handle and store. The bright color improves visibility on your workbench. The design ensures durability for many projects.
Adjustable Guides
Adjustable guides let you set the jig for different hardware sizes. You can move the guides to match the distance between screw holes. This flexibility works with most cabinet knobs and pulls. It helps keep holes aligned and consistent across all doors or drawers.
Measuring Scales
Built-in measuring scales allow quick and accurate placement of hardware. The scales show both metric and imperial units for convenience. You can set the exact height and width for holes without extra tools. This feature reduces guesswork and improves the quality of your work.
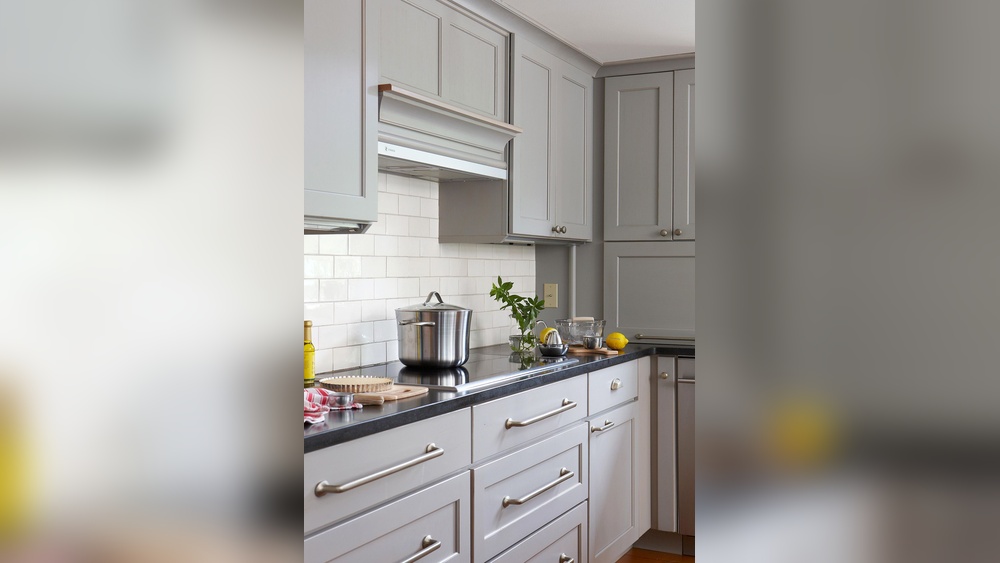
Choosing Pull Size
Selecting the right pull size is key to a good cabinet look and feel. The pull should fit the size of the drawer or door. Too small or too large pulls can look odd. It can also affect how easy it is to open the cabinet. The Kreg Cabinet Hardware Jig helps place pulls in the perfect spot. Use simple rules to pick the right pull size.
One-third Rule For Drawers
Measure the drawer’s width. Divide that number by three. The result is the ideal pull length.
For example, if a drawer is 18 inches wide, a 6-inch pull fits well. This size is easy to grip and looks balanced.
For very wide drawers, you can use longer pulls, but keep close to the one-third rule for best results.
One-third Rule For Doors
Measure the door’s height. Divide that by three to find the pull size.
If a cabinet door is 30 inches tall, a 10-inch pull matches perfectly. This size keeps the door’s look clean and balanced.
This rule helps to keep pulls proportional to cabinet doors no matter the size.
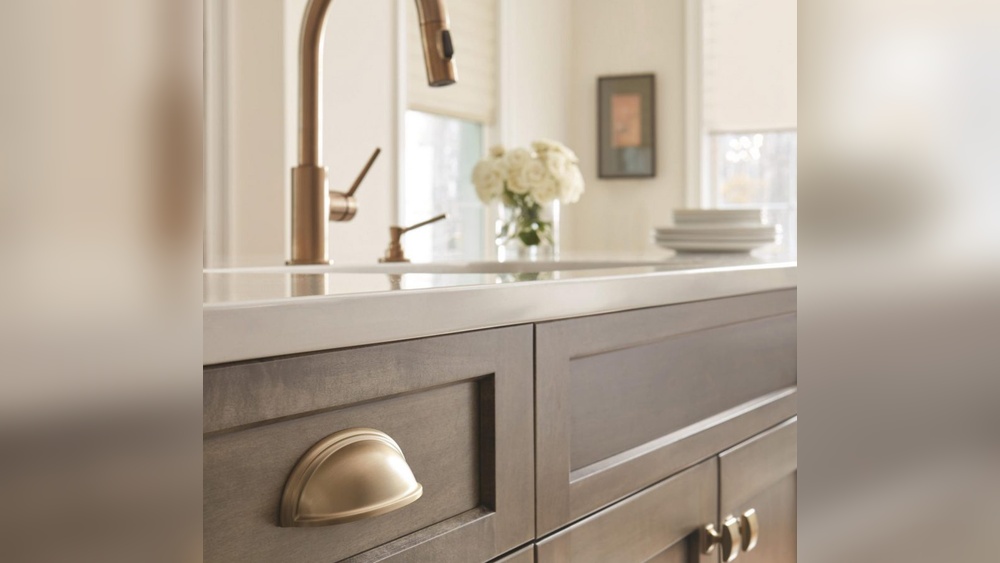
Aesthetic And Functional Benefits
Using the one-third rule makes cabinets look neat and stylish. Pulls fit the space well and add charm.
The right pull size also improves function. It gives a good grip to open drawers and doors easily.
This size works for many cabinet styles. It fits modern, classic, and simple designs well.
Preparing Cabinets
Preparing your cabinets is an essential step before using the Kreg Cabinet Hardware Jig. This process ensures accurate and clean installation of knobs or pulls. Taking time to prepare helps avoid mistakes and saves time in the long run. Follow these simple steps to get your cabinets ready for hardware installation.
Cleaning Surface
Start by cleaning the cabinet surface thoroughly. Remove dirt, dust, and grease with a mild cleaner. A clean surface helps the jig sit flat and prevents slipping. Use a soft cloth to wipe the area dry. Clean cabinets improve the accuracy of your drill holes.
Marking Drill Points
Next, mark the spots where you want to drill. Use a pencil to make small, clear marks on the cabinet. Measure carefully to ensure symmetry and balance. Marking drill points before using the jig saves time and reduces errors. Double-check your measurements to keep hardware aligned.
Using Tape For Accuracy
Apply painter’s tape over the area to be drilled. The tape prevents wood splintering when you drill. It also makes pencil marks easier to see. Place the jig on the taped surface for better grip. Using tape helps create clean, precise holes for your hardware.
Credit: www.kregtool.com
Setting Up The Jig
Setting up the Kreg Cabinet Hardware Jig is the first step for accurate and consistent hardware installation. Proper setup saves time and ensures your cabinet pulls and knobs line up perfectly. Follow these simple steps to prepare the jig for your project.
Adjusting Edge Guide
The edge guide sets the distance from the drawer or door edge to the drill hole. Slide the edge guide to match your hardware specifications. Lock it in place to keep the jig steady during drilling. Check the measurement with a ruler for precision.
Selecting Drill Bit
Choose the drill bit size based on your cabinet hardware’s screw diameter. The Kreg Jig package usually includes recommended drill bits. Insert the bit into your drill and ensure it is secure. Using the right drill bit prevents damage to your hardware or cabinet.
Centering The Handle
Position the jig so the handle lines up exactly where you want it. Use the built-in measurements to find the center point of the drawer or door. This step guarantees each pull or knob is placed evenly. Double-check the alignment before drilling any holes.
Drilling Holes
Drilling holes is a crucial step in using the Kreg Cabinet Hardware Jig. It ensures that your cabinet knobs and pulls fit perfectly and look professional. Precise drilling keeps your hardware aligned and stable. Follow these steps to drill clean, accurate holes every time.
Aligning The Jig
Place the jig flat against the cabinet surface. Use the built-in guides to position it exactly where the hole must go. Double-check the alignment by looking through the jig’s hole. Adjust until the hole lines up with your hardware’s mounting location.
Secure the jig with clamps or hold it firmly to stop any movement. This prevents mistakes during drilling and keeps holes consistent across multiple cabinets.
Maintaining Drill Depth
Set a drill stop collar on your drill bit to control depth. This prevents drilling too deep and damaging the cabinet. Check the recommended depth for your hardware before drilling.
Drill slowly and steadily until the stop collar meets the jig surface. This ensures each hole is the same depth, making hardware installation easier and more secure.
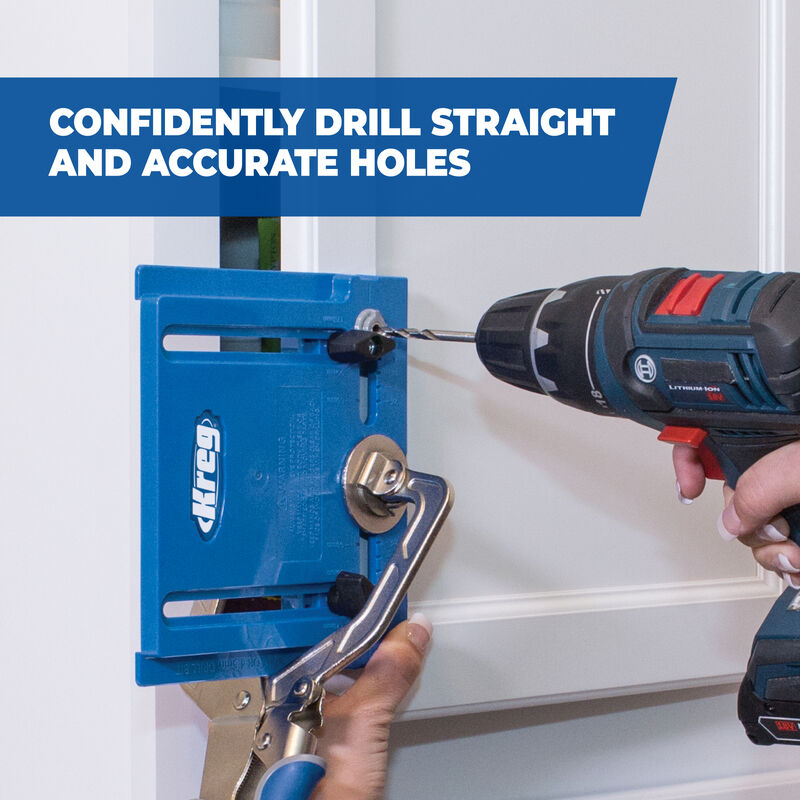
Drilling Straight Holes
Hold the drill perpendicular to the jig’s guide hole. Keeping the drill straight avoids angled holes that can misalign your hardware. Use the jig as a drill guide to help maintain the correct angle.
Apply even pressure without forcing the drill. Let the bit do the work for clean, precise holes. Straight holes mean your knobs and pulls will sit flush and look neat.

Credit: www.highlandwoodworking.com
Installing Hardware
Installing hardware on cabinets requires precision and care. The Kreg Cabinet Hardware Jig simplifies this process. It helps place holes in the exact spots for knobs and pulls. Correct installation improves the look and function of your cabinets. Follow these steps to attach pulls and knobs properly and check their alignment for a perfect finish.
Attaching Pulls
Start by selecting the right size pull for your drawer or door. Measure the cabinet and mark the center with the jig. Clamp the jig firmly to avoid movement during drilling. Use the drill guide holes to drill clean, straight holes. Insert the screws from inside the cabinet. Align the pull with the holes and tighten the screws. Check that the pull sits flush against the surface.
Securing Knobs
Place the jig on the cabinet door or drawer where you want the knob. Use the preset hole guide for consistent placement. Drill the hole carefully using the jig’s guide. Insert the screw from inside the cabinet. Attach the knob by screwing it onto the protruding screw. Tighten the knob so it is firm but do not over-tighten. This ensures easy use and prevents damage.
Checking Alignment
After attaching all hardware, verify their alignment. Stand back and visually check if pulls and knobs line up evenly. Use a level or straight edge to confirm horizontal or vertical alignment. Adjust screws slightly if needed to fix any misalignment. Proper alignment improves the cabinet’s appearance and usability. Take your time to get this step right for a professional look.
Tips For Consistency
Consistency is key when using the Kreg Cabinet Hardware Jig. Precise, repeatable results make installation faster and neater. Following some simple tips helps you place hardware in the same spot on every door or drawer. This keeps your cabinets looking professional and clean.
Small errors add up. Avoid them by sticking to a method that works every time. The jig is designed to help with this. Use it smartly to avoid guesswork and maintain accuracy.
Repeating Measurements
Mark your starting point carefully. Measure once and set the jig to that spot. Use a pencil to lightly mark the hole locations on the first door or drawer.
Then, keep the jig in the same setting for all other pieces. This avoids shifting measurements. Double-check the jig’s position before drilling each hole.
Use a ruler or tape measure to confirm distances. This ensures every handle or knob lines up perfectly across all cabinets.
Using Jig For Multiple Doors
Set up the jig on the first door or drawer. Lock it in place. Then slide it to the next door using the marks you made.
Repeat this process for every door or drawer. This method saves time and reduces errors. Align the jig carefully each time to keep hardware positions consistent.
Work on a flat surface. This prevents the jig from tilting or slipping. Hold the jig firmly while drilling to keep holes straight.
Avoiding Common Mistakes
Do not rush the setup. Take your time to adjust the jig properly before drilling. Rushing can cause uneven hole placement.
Check the drill bit size. Use the recommended size for your hardware screws. A wrong bit size can make holes too large or small.
Keep the jig clean. Dust or debris under the jig can change hole placement. Wipe it down after each use to maintain accuracy.
Credit: www.homedepot.com
Troubleshooting
Troubleshooting is key to getting perfect results with the Kreg Cabinet Hardware Jig. Small mistakes can cause problems, but most issues are easy to fix. Knowing how to spot and solve common problems saves time and frustration. Below are common issues and how to handle them for smooth cabinet hardware installation.
Misaligned Holes
Misaligned holes can ruin the look and function of your cabinet hardware. Check the jig placement before drilling. Use clamps to hold the jig firmly against the cabinet surface. Make sure the jig is square and level. Mark the hole positions with a pencil for accuracy. If holes are off, fill them with wood filler and drill new holes carefully.
Loose Hardware
Loose hardware makes cabinets feel cheap and weak. Tighten screws gently but firmly. Avoid over-tightening, which can strip the holes. Use longer screws if the original ones don’t hold well. Add small washers for extra grip. Check the screw size recommended for your cabinet thickness to ensure a snug fit.
Adjusting Jig Settings
The Kreg Cabinet Hardware Jig has adjustable stops and guides. Adjust these to match your cabinet size and hardware dimensions. Use the measurement marks on the jig for quick setup. Test drill on scrap wood to confirm settings. Fine-tune the jig to ensure consistent hole placement on all doors and drawers.
Maintenance And Storage
Proper maintenance and storage keep your Kreg Cabinet Hardware Jig working well. Clean the jig after use to remove dust and debris. Store it in a dry place to avoid rust and damage. Replace worn parts to ensure accurate drilling every time. These steps help extend the life of your jig and keep your projects precise.
Cleaning The Jig
Use a soft brush or cloth to remove sawdust and dirt. Avoid water or harsh chemicals that can cause rust. Wipe metal parts with a dry cloth to keep them clean. Regular cleaning prevents buildup that affects the jig’s accuracy.
Storing Properly
Store the jig in its case or a sturdy box. Keep it in a dry, cool area away from moisture. Avoid placing heavy items on top of the jig. Proper storage protects the jig from damage and corrosion.
Replacing Parts
Check the jig’s parts regularly for wear or damage. Replace drill guides, clamps, or other components as needed. Use only original or compatible replacement parts. Well-maintained parts keep the jig working smoothly and precisely.
Frequently Asked Questions
How To Use Kreg Cabinet Door Jig?
Place the Kreg cabinet door jig on the door edge. Adjust guides for hole placement. Drill using the jig’s holes. Attach hardware. Repeat for each door to ensure consistent alignment and mounting.
What Is The 1/3 Rule For Cabinet Pulls?
The 1/3 rule for cabinet pulls means the pull’s length should be one-third the drawer’s width or cabinet door’s height. This ensures a balanced, functional, and visually appealing look.
What Setting On Kreg Jig For 2×4?
Set the Kreg jig’s depth collar to 3/8 inch for 2×4 boards. Use the drill guide at the 1-1/2 inch setting. This ensures proper pocket hole placement for strong joints in 2×4 lumber.
What Size Drill Bit For Kreg Cabinet Hardware Jig?
Use a 3/16-inch drill bit with the Kreg Cabinet Hardware Jig for accurate hole drilling.
Conclusion
Using the Kreg Cabinet Hardware Jig makes hardware installation simple and precise. It helps you place knobs and pulls evenly every time. Follow the steps carefully, and your cabinets will look professional. This tool saves time and reduces mistakes during installation.
Practice a few times to gain confidence and improve your skill. With patience, your cabinet hardware will be straight and aligned perfectly. Enjoy the satisfaction of a neat and polished finish in your space.