Have you ever removed a wall anchor and been left with an ugly hole staring back at you? It’s frustrating, right?
But fixing that hole doesn’t have to be a headache. Whether you want your wall to look smooth again or prepare it for a fresh coat of paint, knowing how to fill a wall anchor hole the right way is key.
You’ll discover simple, step-by-step methods that anyone can follow—no special skills needed. Keep reading, and you’ll have your wall looking flawless in no time.
Types Of Wall Anchors
Wall anchors come in many types. Each one works best for certain walls and weights. Picking the right anchor helps keep things secure and prevents damage.
Here are some common types of wall anchors used in homes and offices.
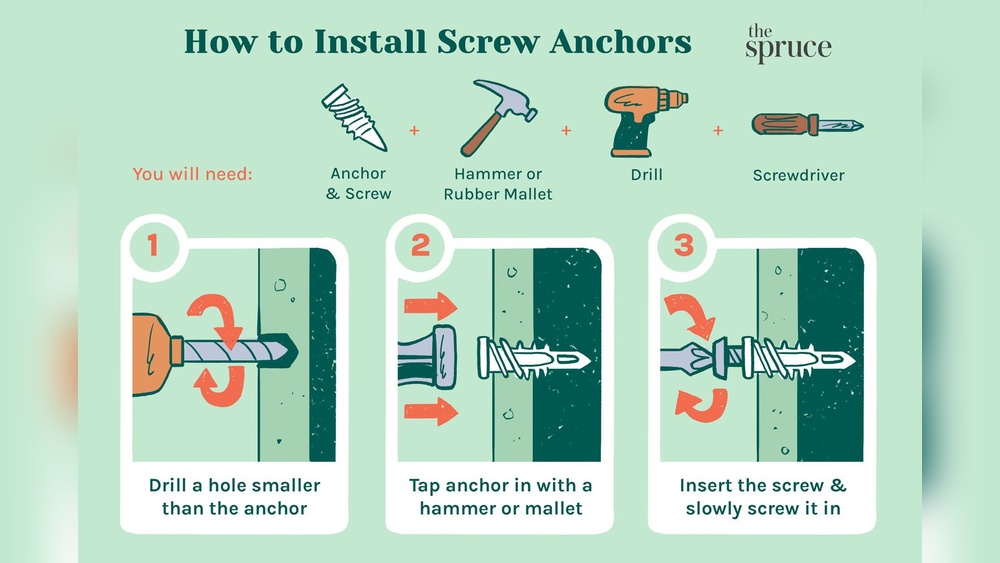
Plastic Expansion Anchors
Plastic expansion anchors are simple and popular. They work well in drywall and light materials. Insert the anchor into a drilled hole, then push the screw in. The anchor expands and grips the wall tightly.
These anchors hold light to medium loads. Use them for pictures, small shelves, or hooks. They are easy to install and remove.
Toggle Bolts
Toggle bolts are strong anchors for heavy items. They have metal wings that open inside the wall. This spreads the load over a larger area. Toggle bolts are great for hollow walls like drywall or plaster.
They support heavy shelves, mirrors, or TVs. Installation requires drilling a larger hole for the folded wings. Once inside, the wings open and lock firmly.
Molly Bolts
Molly bolts are metal anchors with a sleeve. Insert the bolt into a drilled hole and tighten it. The sleeve expands behind the wall, securing the bolt firmly.
They work well in drywall and plaster. Molly bolts hold medium to heavy items. Use them for towel racks, curtain rods, or cabinets. They provide a strong and lasting hold.

Credit: www.youtube.com
Tools And Materials Needed
Filling a wall anchor hole requires the right tools and materials. Using proper supplies makes the job easier and the result cleaner. Prepare before you start for the best outcome.
Filler Options
Choose a filler that suits your wall type. Spackling paste works well for small holes. For larger holes, use joint compound or wood filler. Some fillers dry quickly, while others take longer. Pick one based on your time and wall material.
Application Tools
A putty knife is essential for spreading filler smoothly. Use a small spatula for tight spaces. Sandpaper helps to smooth the surface after drying. Have a damp cloth ready to clean excess filler. These tools help create a neat finish.
Finishing Supplies
Paint or primer matches the wall color and hides the repair. A small paintbrush or roller works best for touch-ups. Masking tape protects surrounding areas from paint. Use a sanding block for even smoothing. These supplies give a polished look.
Preparing The Hole
Preparing the hole is the first step to fill a wall anchor hole properly. It ensures the filler sticks well and lasts longer. A clean, smooth hole helps the repair blend in with the wall. Take time to get it right. This saves effort later and improves the final look.
Cleaning The Hole
Start by wiping the inside of the hole with a dry cloth. This removes dust and dirt. Use a small brush or a cotton swab for better reach. A clean hole helps the filler bond tightly to the wall. Avoid using water, as it can weaken the surface.
Removing Loose Debris
Check the hole for loose pieces of plaster or drywall. Use a toothpick, tweezers, or a small tool to pull out these bits. Loose debris can cause the filler to crack or fall out. Make sure the hole feels solid and firm before filling it.
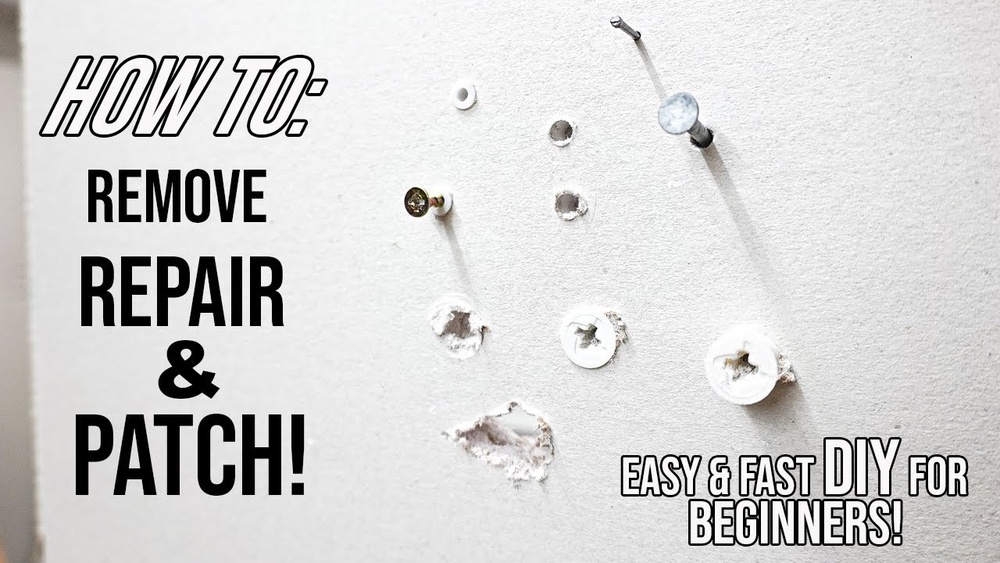
Filling Small Anchor Holes
Filling small anchor holes is a simple task that restores your wall’s smooth look. These holes often happen after removing screws or anchors. Fixing them quickly prevents damage and prepares your wall for painting.
Small holes need the right material to fill them properly. Using spackle or putty works best for tiny spaces. These materials dry fast and blend well with the wall.
Using Spackle Or Putty
Choose spackle or putty made for walls. Apply a small amount with a putty knife. Press it firmly into the hole. Overfill slightly to cover the hole completely. Wait for it to dry according to instructions. Drying usually takes 15 to 30 minutes. Use lightweight spackle for easier sanding later.
Smoothing The Surface
After the filler dries, smooth it with fine sandpaper. Sand gently until the surface feels even. Remove dust with a dry cloth. Check for any dips or bumps. Add more spackle if needed and sand again. The goal is a flat surface that matches the wall. This step helps paint stick and look neat.
Repairing Large Or Deep Holes
Large or deep wall anchor holes need careful fixing to look smooth again. These holes cannot be filled with just one quick patch. They need special steps and materials to make the wall strong and even. Proper repair stops cracks and keeps your wall safe.
Applying Patch Materials
Start by cleaning the hole. Remove dust and loose pieces. This helps the patch stick better. Use a putty knife to apply a strong patch material. Joint compound or spackle works well for most walls. For very deep holes, use a patch mix or plaster. Fill the hole completely but avoid overfilling. Smooth the surface with the knife. Let the patch dry fully before the next step.
Layering Techniques
Large holes need more than one layer of patch. Apply the first thin layer and let it dry. After drying, add another layer to fill the hole fully. Each layer should be thinner than the last. This prevents cracks and shrinks as it dries. Sand between layers lightly for a smooth finish. Repeat until the hole is level with the wall. This careful layering builds a strong, even surface ready for paint.
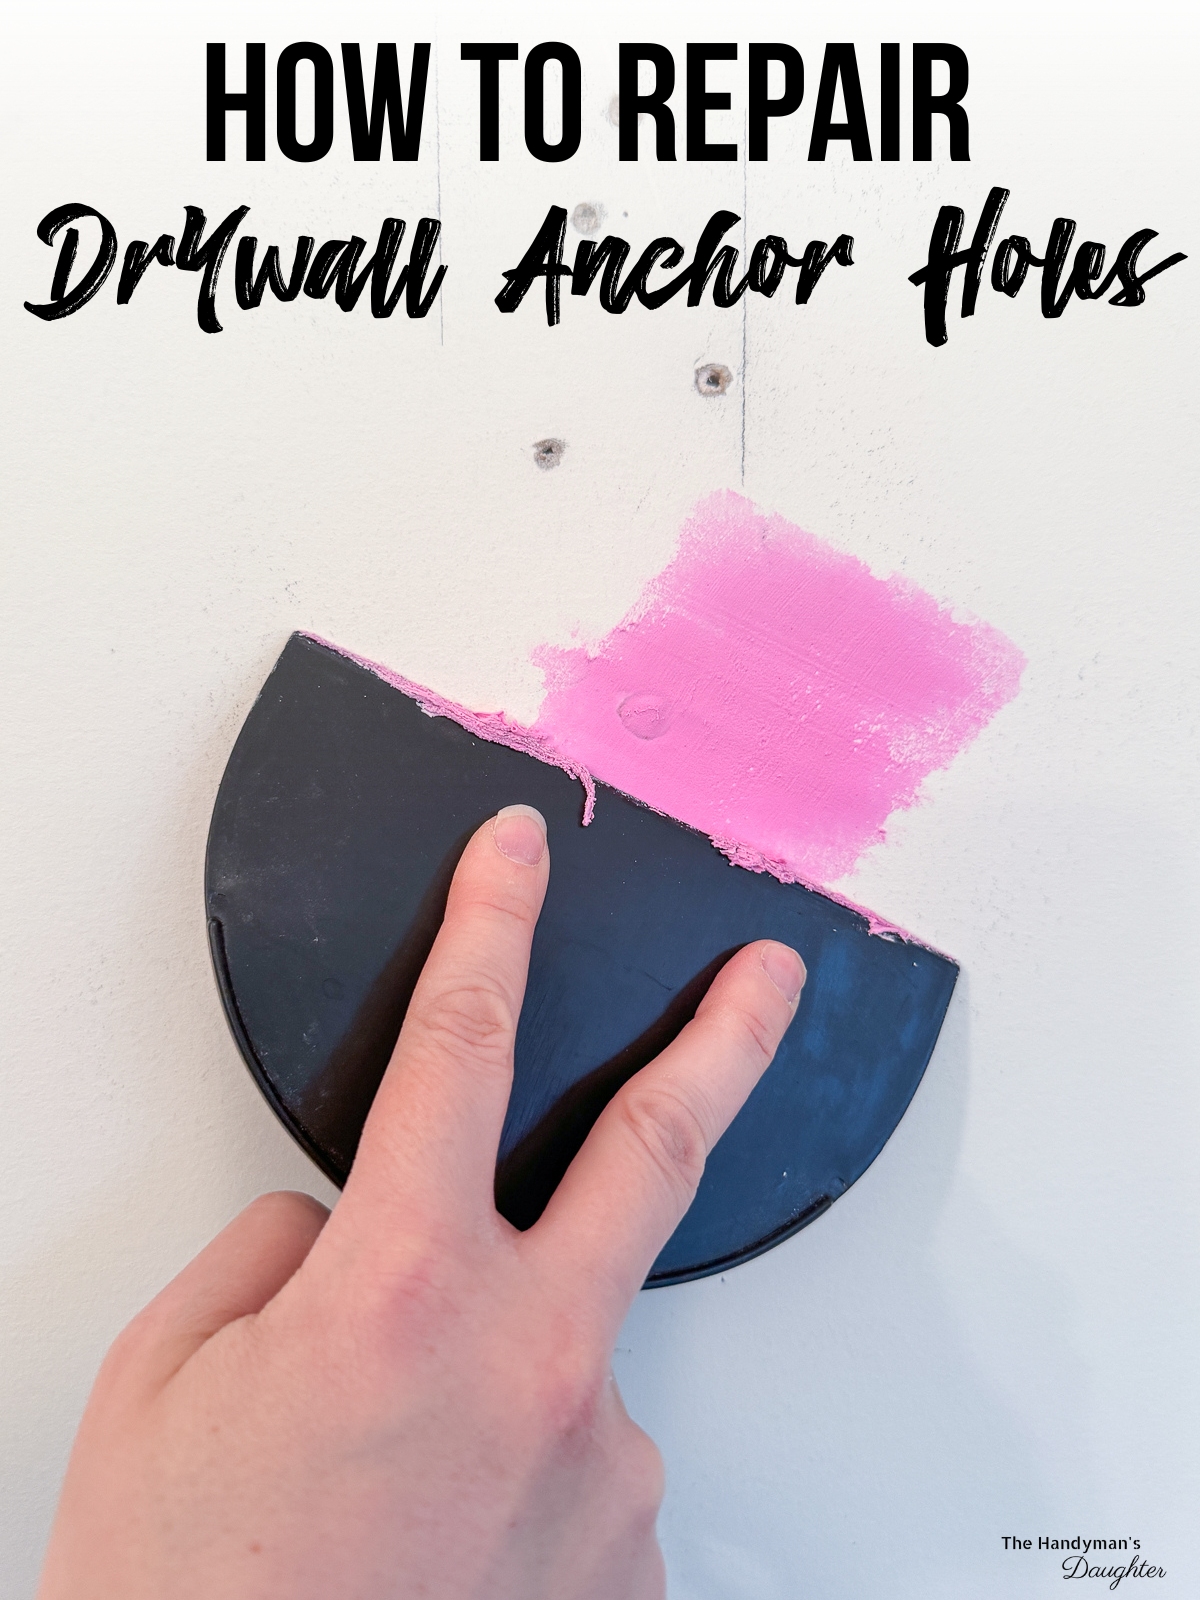
Credit: www.thehandymansdaughter.com
Sanding And Smoothing
Sanding and smoothing are key steps after filling a wall anchor hole. They help create a clean, even surface. This makes the repair less visible and ready for painting. Proper sanding removes bumps and rough patches. It also blends the patch with the wall perfectly.
Choosing The Right Sandpaper
Select sandpaper with the right grit for best results. Start with medium grit, around 120, to shape the patch. Use finer grit, like 220, to smooth the surface gently. Avoid very coarse sandpaper; it can damage the wall. Soft sanding helps avoid scratches and uneven areas.
Achieving A Seamless Finish
Sand lightly in circular motions to blend edges smoothly. Check often to see if the surface feels even. Use a damp cloth to wipe dust away before painting. Repeat sanding and wiping until the patch looks like part of the wall. A smooth finish makes the repair nearly invisible.
Painting And Touch-ups
After filling a wall anchor hole, painting and touch-ups make the repair blend with the wall. This step gives a smooth and clean finish. It also protects the filled area from damage and dirt. Taking time to paint correctly improves the look of your wall instantly.
Matching Paint Colors
Choose paint that matches your wall color closely. Take a small paint chip from the wall to a paint store. They can help find the right shade for you. Test the paint on a small area first. This avoids color mistakes that stand out later.
Blending Repairs With Surrounding Wall
Use a small brush to paint over the filled hole. Feather the paint edges gently into the surrounding wall. This softens the line between old and new paint. Let the paint dry completely before adding a second coat. Blending well helps the repair become invisible to the eye.
Tips For Long-lasting Repairs
Filling a wall anchor hole properly ensures your repair lasts for a long time. Using the right methods keeps walls strong and smooth. Small mistakes can cause cracks or weak spots. Follow these tips to make your repair solid and neat.
Avoiding Common Mistakes
Clean the hole before filling it. Dust or loose debris stops filler from sticking well. Use the right filler for your wall type. Overfilling can cause lumps that are hard to smooth. Let the filler dry completely before sanding or painting. Rushing these steps weakens the repair.
Maintaining Wall Integrity
Fill the hole in layers for deep gaps. This prevents the filler from shrinking or cracking. Use a putty knife to press filler firmly inside. Smooth the surface to match the wall texture. Avoid heavy impact near repaired spots for a few days. This helps the patch set and stay strong.

Credit: diy.stackexchange.com
Frequently Asked Questions
How Do You Fill A Wall Anchor Hole Quickly?
To fill a wall anchor hole quickly, use spackling paste or lightweight joint compound. Apply with a putty knife, smooth it out, and let it dry. Sand the area for a seamless finish before painting.
What Materials Work Best For Filling Anchor Holes?
Spackling paste, lightweight joint compound, or wood filler are best for filling anchor holes. They dry fast, are easy to sand, and paint well. Choose based on your wall type and hole size for optimal results.
Can I Paint Over Filled Wall Anchor Holes?
Yes, you can paint over filled wall anchor holes. Ensure the filler is fully dry and sanded smooth. Use a primer if needed, then apply paint matching your wall color for a flawless repair.
How Long Does It Take To Dry Wall Filler?
Wall filler typically dries in 30 minutes to a few hours. Drying time depends on filler type, hole size, and room humidity. Always follow manufacturer instructions for best results.
Conclusion
Filling a wall anchor hole is simple with the right steps. Choose the correct filler for your wall type. Clean the hole first to ensure a smooth finish. Apply filler carefully and let it dry fully. Sand the surface gently for an even look.
Paint over the area to match your wall color. Doing these steps saves your wall from damage. Small repairs keep your space neat and strong. Try it yourself and see how easy it can be.