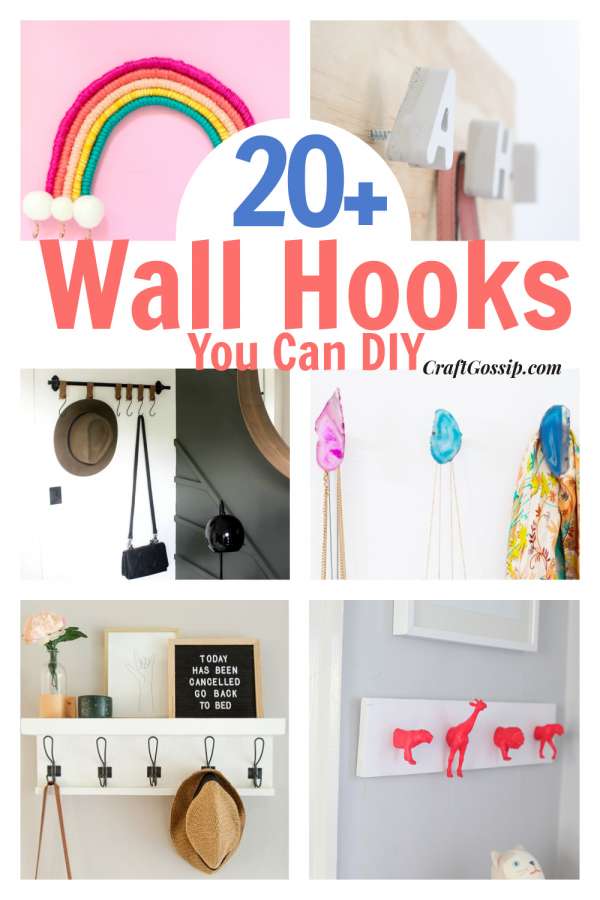
Looking for a simple way to add charm and organization to your space? You’re in the right place.
Making cute wall hooks is easier than you think, and the best part is, you can customize them to fit your style perfectly. Imagine turning plain walls into a fun, functional spot where your keys, bags, or hats hang beautifully.
Keep reading, and you’ll discover step-by-step tips that anyone can follow. By the end, you’ll have unique hooks that not only keep your space tidy but also make it feel truly yours. Ready to get creative? Let’s dive in!

Credit: www.multimet.com.pl
Materials Needed
Creating cute wall hooks starts with gathering the right materials. These supplies help you build hooks that are both strong and charming. Having everything ready makes the process smooth and fun.
Below are the main categories of materials you will need. Each group plays a key role in your project’s success.
Basic Tools
- Screwdriver or drill for attaching hooks to the wall.
- Measuring tape to ensure correct placement.
- Pencil for marking spots on the wall or wood.
- Sandpaper to smooth rough edges on wooden pieces.
- Hammer for light tapping if nails are used.
Decorative Supplies
- Wooden blocks or shapes as the base for hooks.
- Paints in your favorite colors to brighten the hooks.
- Brushes for applying paint evenly.
- Stickers or decals to add fun designs.
- Clear sealant to protect the paint and finish.
- Hooks or knobs to hang items on.
Safety Gear
- Safety goggles to protect eyes from dust and paint.
- Gloves to keep hands safe from sharp edges and paint.
- Dust mask if sanding wood to avoid inhaling dust.
- Apron or old clothes to protect clothing from paint.
Credit: semistories.semihandmade.com
Choosing Your Style
Choosing your style is the first step to make cute wall hooks that fit your space. Your style sets the mood and shows your personality. It also helps you pick the right materials and shapes. Think about what fits your room and what feels fun to create.
Theme Ideas
Pick a theme that matches your room or your taste. Nature themes like leaves, animals, or flowers bring calm and charm. Kids’ rooms work well with cartoon or fairy tale themes. For a modern look, try geometric shapes or simple lines. Themes help make your hooks look unique and special.
Color Schemes
Colors can make your wall hooks pop or blend with your room. Soft pastels create a gentle, cozy feel. Bright colors add energy and fun. Neutral tones like white, gray, or wood shades match many styles and keep things simple. Choose colors that match your walls or furniture for a neat look.
Functional Designs
Wall hooks should look good and work well. Think about what you will hang. Small hooks fit keys or jewelry. Bigger hooks hold bags or coats. Hooks with shelves or knobs add extra space. Choose strong materials for heavy items. A smart design keeps your space tidy and pretty.
Simple Wall Hook Designs
Simple wall hook designs bring charm and function to any room. They create a neat, organized space without much effort. These hooks can be cute and practical at the same time. Using basic materials and easy steps, you can craft hooks that fit your style.
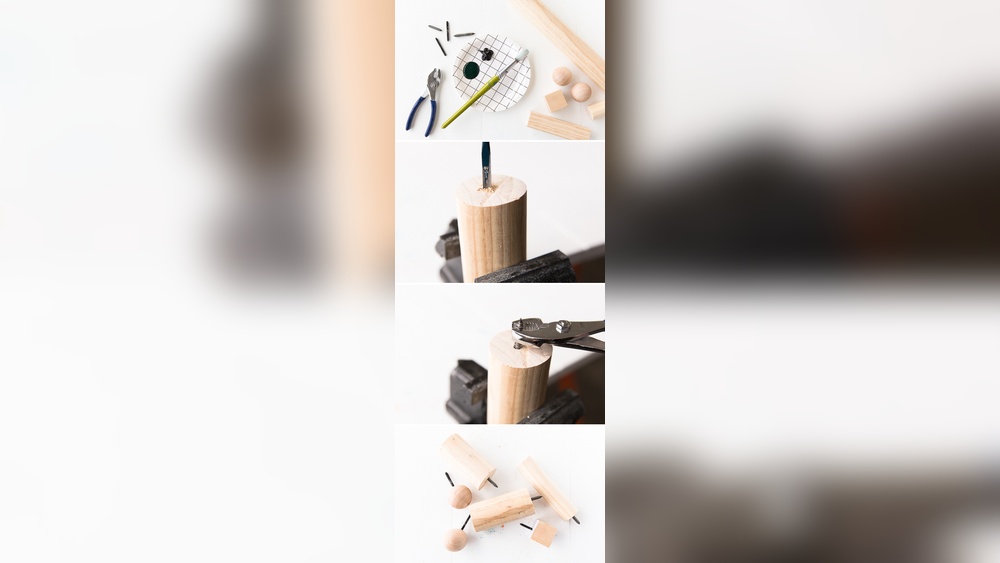
Wooden Hooks
Wooden hooks offer a natural, warm look. You can use small wooden blocks or branches. Sand the wood smooth for safety and paint or stain it. Attach sturdy hooks or knobs for hanging. Wooden hooks blend well with many decor styles.
Clay Hooks
Clay hooks allow creativity with shapes and colors. Use air-dry clay to mold small hooks or knobs. Paint them after drying to match your room. Clay hooks are lightweight and easy to make. They add a personal touch to your wall space.
Recycled Materials
Recycled materials give old items new life. Use bottle caps, old keys, or broken jewelry pieces. Clean and secure them firmly to a base. These hooks are eco-friendly and unique. They create an interesting look while helping the environment.
Credit: homeandgarden.craftgossip.com
Step-by-step Diy Projects
Creating cute wall hooks is a fun and simple project. You can make hooks that fit your style and space. Follow these easy steps to make your own beautiful hooks. Each step helps you build a strong and pretty hook for your walls.
Painting And Decorating
Start by choosing a base color for your hooks. Use acrylic paint for bright and lasting colors. Paint each hook evenly. Let the paint dry completely. Add patterns like dots, stripes, or flowers. Use small brushes for detailed designs. Decorating makes your hooks unique and eye-catching.
Attaching Hooks Securely
Pick hooks that match your design. Screw or nail them into the base. Make sure they are tight and will hold weight. Use a drill for harder surfaces. Test each hook by pulling gently. Secure hooks keep your items safe and stable.
Finishing Touches
Apply a clear sealant to protect the paint. Let the sealant dry well. Add felt pads to the back to avoid wall damage. Check all hooks for any loose parts. Your wall hooks are ready to use and admire.
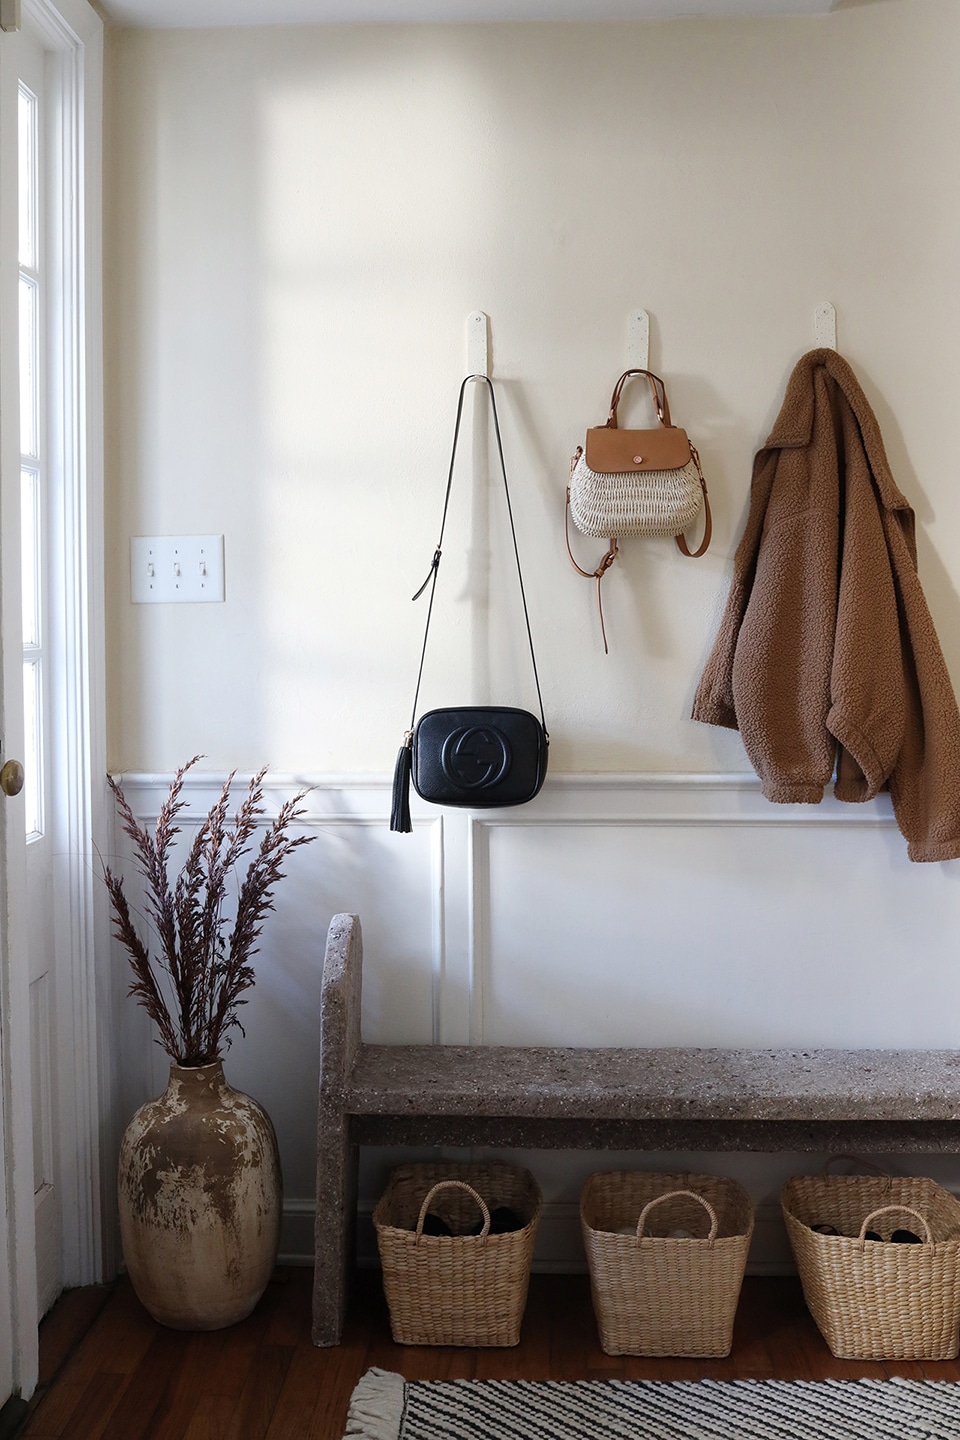
Placement Tips
Placement is key to making wall hooks both useful and decorative. Proper placement helps keep your space tidy and stylish. It also makes hooks easy to reach and use.
Think about where you need hooks most. Entryways, bathrooms, and bedrooms are great spots. Placement depends on what you want to hang and the room’s layout.
Choosing Walls
Select walls that are visible but not overcrowded. Empty walls near doors or furniture work well. Avoid walls that block movement or look cluttered.
Check wall strength. Drywall may need anchors for heavier hooks. Solid walls hold hooks better and last longer.
Height And Spacing
Place hooks at a comfortable height. For adults, 5 to 6 feet is ideal. Children’s hooks should be lower, around 3 to 4 feet.
Space hooks evenly to avoid clutter. Leave 4 to 6 inches between each hook. This spacing allows for hanging multiple items neatly.
Combining Hooks Creatively
Mix different hook shapes and sizes for a fun look. Use colorful or patterned hooks to add charm. Group hooks in lines or clusters for style and function.
Try combining hooks with small shelves or frames. This adds extra storage and visual interest. Creative combos make your wall hooks stand out.
Maintaining Your Wall Hooks
Maintaining your cute wall hooks is important to keep them looking nice and working well. Proper care helps them last longer and stay strong. Simple steps can keep your hooks clean, fix any problems, and even refresh their look over time.
Cleaning Methods
Dust your wall hooks regularly with a soft cloth. Use a damp cloth to remove dirt or stains gently. Avoid harsh chemicals that can damage the paint or material. For metal hooks, a little bit of mild soap and water works well. Dry the hooks completely to stop rust or damage.
Repairing Damages
Check your wall hooks for any loose screws or parts. Tighten screws with a screwdriver carefully. If a hook is cracked or broken, replace it with a new one. Use strong glue for small repairs on wooden or plastic hooks. Fixing damage early stops bigger problems later.
Updating Styles
Change your wall hooks’ look by repainting them with bright colors. Add decorations like stickers or small charms for a fresh style. Swap old hooks with new shapes or designs to match your room. Updating styles keeps your space fun and inviting.
Frequently Asked Questions
What Materials Are Best For Making Cute Wall Hooks?
Wood, metal, and resin are popular materials for cute wall hooks. They are durable, easy to shape, and paint-friendly. Choose based on your design style and wall type for the best results.
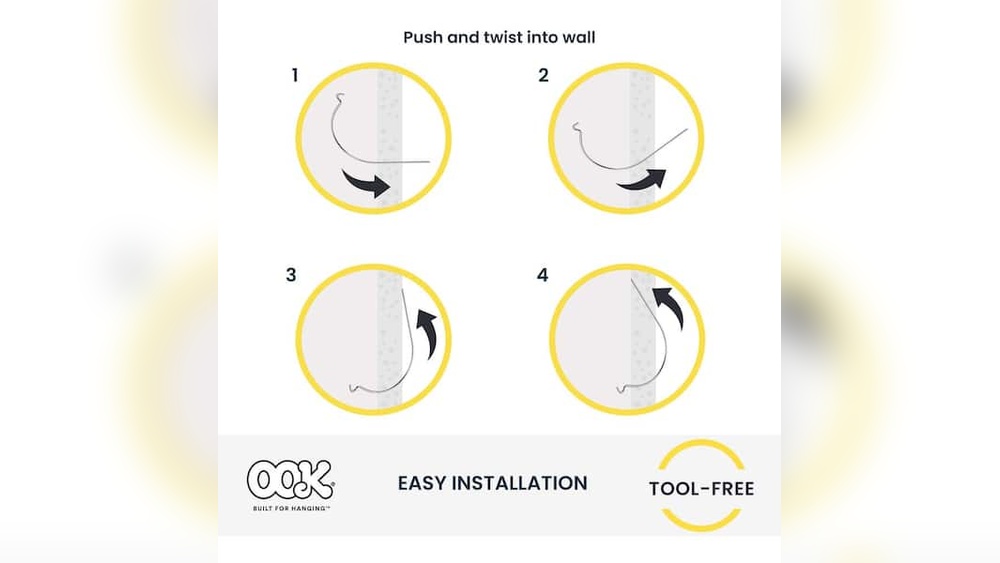
How Do I Securely Attach Wall Hooks To Drywall?
Use wall anchors or toggle bolts for drywall. These provide strong support and prevent hooks from pulling out. Always check the weight capacity before installation.
Can I Customize Wall Hooks With Paint Or Decorations?
Yes, you can paint and decorate wall hooks with acrylic paints, stickers, or fabric. Customizing adds personality and matches your room’s decor perfectly.
What Tools Are Needed To Make Cute Wall Hooks?
Basic tools include a drill, screwdriver, sandpaper, paintbrushes, and measuring tape. These help ensure precise, smooth, and safe hook installation.
Conclusion
Making cute wall hooks adds charm to any room. You only need a few simple tools and materials. These hooks help keep your space neat and organized. Personalize them with colors and shapes you like. It’s a fun way to use your creativity.
Try making different styles to match your decor. These DIY hooks save money and look great. Enjoy crafting and add a special touch to your walls. Give it a try and see how easy it is!