Are you tired of cluttered walls and messy spaces? Learning how to attach hooks to walls can transform your home in minutes.
Whether you want to hang keys, pictures, or cozy blankets, the right hook makes all the difference. But how do you choose the best method without damaging your walls? Keep reading, and you’ll discover simple, foolproof tips that anyone can follow.
By the end, you’ll have the confidence to add hooks perfectly every time—making your space neater and more inviting. Let’s get started!

Credit: www.youtube.com
Choosing The Right Hooks
Choosing the right hooks is key to a successful wall hanging project. The right hook holds your items safely and fits your wall type. Picking the best hook means you avoid damage and keep your space neat. This guide helps you select hooks that work for your needs and wall strength.
Types Of Hooks
Hooks come in many shapes and sizes. Some are simple nails, others are adhesive strips or screw-in hooks. Picture hooks hold framed art. Cup hooks are good for hanging mugs or plants. Choose a hook type that matches your item and wall surface.
Weight Capacity
Each hook has a weight limit. Small hooks hold light items like keys or hats. Larger hooks or anchors hold heavy items like shelves or mirrors. Check the hook’s weight rating before buying. Overloading a hook can cause it to fall and damage your wall.
Material Considerations
Hooks come in metal, plastic, or wood. Metal hooks are strong and last long. Plastic hooks work well for light items. Wood hooks add a rustic look but may not hold heavy weight. Match the hook material to the room style and the weight of your item.
Preparing The Wall
Attaching hooks to walls needs the right tools. Having the correct tools makes the job easier and safer. This section lists the tools you need to get started. Use these tools for a smooth and secure installation.
Basic Tools List
You will need a drill for making holes in the wall. A screwdriver helps tighten screws into the hooks. A hammer is useful for tapping in wall anchors or nails. A tape measure lets you mark the exact spot to place your hooks. A pencil marks where you will drill or hammer. Wall anchors provide extra support for heavy hooks. A level ensures your hooks are straight.
Safety Gear
Safety comes first. Wear safety glasses to protect your eyes from dust and debris. Use work gloves to protect your hands from sharp tools. A dust mask helps avoid breathing in wall dust. Keep a first aid kit nearby in case of minor injuries. Make sure your workspace is well-lit to avoid mistakes.
Tools You Will Need
Installing hooks on walls is a simple task anyone can do. Follow clear steps to attach hooks safely and firmly. This guide breaks down the process into easy parts for you.
Marking The Position
Choose the right spot on the wall for your hook. Use a pencil to mark where the hook will go. Check the height and alignment carefully. This step helps avoid mistakes later.
Drilling Pilot Holes
Select a drill bit slightly smaller than the anchor size. Drill holes at the marked spots with steady pressure. Keep the drill straight to avoid angled holes. Pilot holes guide the anchors and make installation easier.
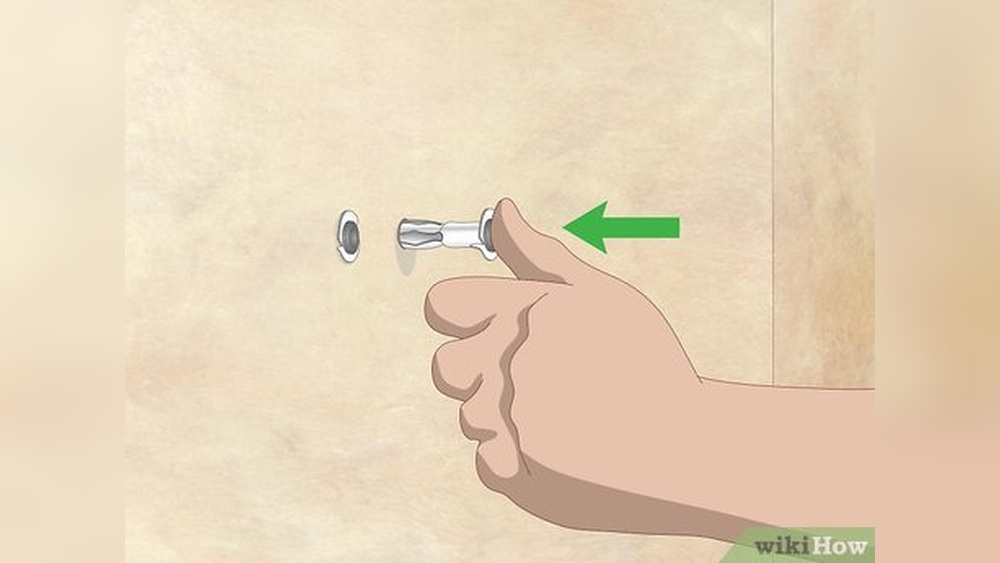
Inserting Anchors
Push wall anchors into the drilled holes gently. Use a hammer if the anchor does not go in easily. Anchors hold the screws tightly in drywall or plaster. Make sure anchors sit flush with the wall surface.
Attaching The Hook
Align the hook with the anchors in the wall. Insert screws through the hook base into the anchors. Tighten screws using a screwdriver until the hook is secure. Test the hook by applying light pressure to check stability.

Credit: www.wikihow.com
Step-by-step Hook Installation
Attaching hooks to walls requires different methods for various wall types. Each wall material has unique features. Knowing these helps to choose the right tools and techniques. This prevents damage and keeps hooks secure. Follow these tips for drywall, plaster, brick, and concrete walls.
Drywall
Drywall is soft and hollow behind the surface. Use anchors to hold hooks firmly. Plastic or metal anchors work well. Find a stud for heavier items. Studs provide extra support and prevent wall damage. Drill a small pilot hole before inserting the anchor. Screw the hook into the anchor gently.
Plaster
Plaster walls are hard and brittle. They can crack if drilled carelessly. Use a masonry bit for pilot holes. Insert plastic anchors to keep hooks stable. Avoid hammering nails directly into plaster. For heavier hooks, locate wooden lath or studs. This adds strength and safety.
Brick And Concrete
Brick and concrete are tough and dense. Use a hammer drill for making holes. Choose masonry anchors designed for these surfaces. Drill carefully to avoid cracks. Insert anchors fully before screwing hooks in. This ensures strong grip and long-lasting hold.
Tips For Different Wall Types
Attaching hooks to walls may seem easy, but many make common mistakes. These errors can cause hooks to fall or damage walls. Avoid these pitfalls to ensure your hooks stay secure and your walls remain intact.
Overloading Hooks
Hooks have weight limits. Putting too much weight causes them to bend or fall. Check the hook’s weight limit before use. Use multiple hooks for heavy items. Overloading leads to damage and unsafe conditions.
Ignoring Wall Studs
Wall studs provide strong support. Attaching hooks only to drywall is weak. Find studs using a stud finder or knock method. Anchoring into studs keeps hooks stable. Ignoring studs risks hooks pulling out easily.
Skipping Anchors
Drywall anchors help hold hooks firmly. Screws alone may not grip drywall well. Use anchors for heavier items or drywall installation. Skipping anchors weakens the hook’s hold. Anchors distribute weight and prevent wall damage.

Credit: lelloliving.com
Common Mistakes To Avoid
Hooks help organize spaces and hold items securely. Keeping them stable is key for safety and durability. Sometimes, hooks need removal without harming walls. Proper care extends wall and hook life.
Checking Stability
Check hooks regularly to ensure they hold well. Gently pull on the hook to test firmness. Look for any movement or looseness. Tighten screws or adjust as needed. Secure hooks prevent accidents and damage.
Safe Removal Techniques
Remove hooks carefully to avoid wall marks. Slowly twist or pull the hook straight out. Use a putty knife to lift adhesive hooks gently. Avoid yanking or forcing hooks off. Clean the area with mild soap after removal.
Repairing Wall Damage
Small holes or marks can be fixed easily. Use wall putty or spackle to fill holes. Smooth the surface with a putty knife. Let it dry before sanding lightly. Paint over the spot to match the wall color.
Frequently Asked Questions
What Tools Are Needed To Attach Hooks To Walls?
You need a drill, screws, wall anchors, a screwdriver, a level, and a pencil. These tools ensure secure hook installation on various wall types.
How Do I Choose The Right Wall Hooks?
Select hooks based on wall type and weight capacity. Use adhesive hooks for light items and screw-in hooks for heavier objects.
Can Hooks Damage My Walls?
Improper installation can cause holes or cracks. Use wall anchors for drywall and avoid overloading hooks to prevent damage.
How High Should I Place Wall Hooks?
Place hooks at eye level or according to item length. For coats, 5-6 feet high works well for easy reach.
Conclusion
Attaching hooks to walls is simple with the right steps. Choose the correct hook and wall type first. Use basic tools and follow safety tips carefully. Take your time to measure and mark spots clearly. Secure hooks firmly for strong support and lasting use.
This method works well for pictures, keys, and decorations. Try these tips to keep your walls neat and organized. Enjoy a tidy space with hooks placed just right.