Have you ever struggled to remove an anchor screw from your wall and felt stuck? You’re not alone.
Getting that stubborn screw out can be frustrating and even damage your wall if you’re not careful. But don’t worry — you’ll discover simple, effective methods to safely and easily get that anchor screw out without any hassle. Keep reading, and you’ll be able to fix your wall quickly and move on to your next project with confidence.
Credit: www.familyhandyman.com
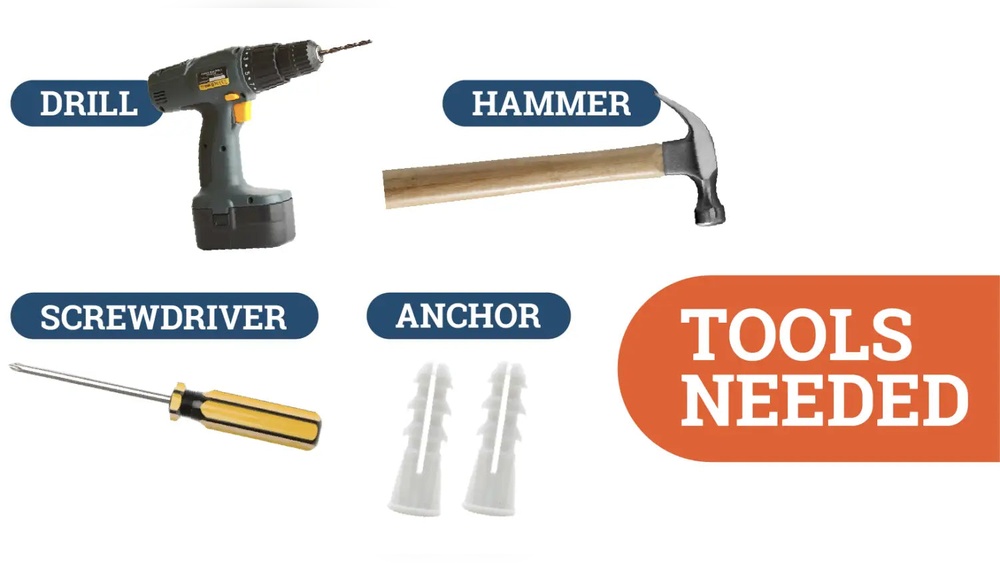
Tools Needed
Removing an anchor screw from a wall starts with knowing the anchor type. Different anchors need different removal methods. Identifying the anchor helps avoid wall damage. It also saves time and effort.
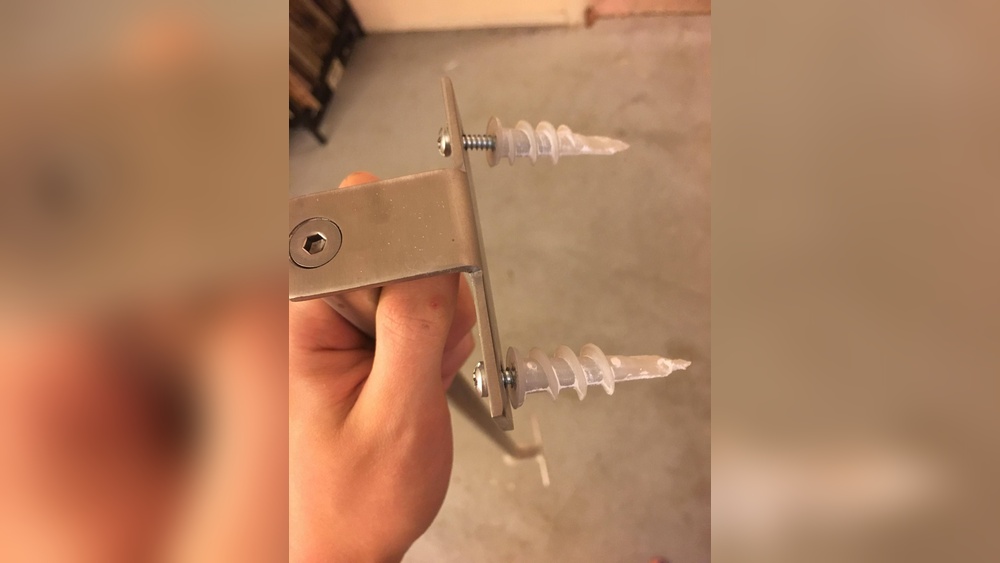
Plastic Expansion Anchors
Plastic expansion anchors are common in drywall. They are simple and hollow. The screw expands the anchor inside the wall. These anchors usually stay in the wall when the screw is removed. Pulling the anchor out gently with pliers often works.
Toggle Bolts
Toggle bolts have spring-loaded wings that open inside the wall. The wings hold the anchor tight. The screw goes through the center of the toggle. To remove, unscrew the bolt until the wings drop. The wings stay inside the wall hollow space.
Molly Bolts
Molly bolts expand behind the wall when tightened. They have metal sleeves that grip the wall. Unscrew the bolt, then push or pull the sleeve out. Some molly bolts can be pushed back into the wall cavity after removal.
Identify The Anchor Type
Preparing the area is important before removing an anchor screw from the wall. It helps keep the space safe and clean. Taking time to prepare also protects the wall from damage. Follow these simple steps to get ready.
Clear Surroundings
Remove any furniture or items near the wall. This gives you enough room to work freely. It also stops things from getting damaged. Keep the floor clear to avoid tripping hazards. A tidy workspace makes the task easier and safer.
Protect Wall Surface
Cover the wall around the anchor screw with painter’s tape. This helps prevent scratches or marks during removal. Use a soft cloth or cardboard to shield the area. Protecting the wall keeps it looking good after the screw is out. Small steps like this save time on repairs later.
Prepare The Area
Removing a screw from an anchor can be tricky. The anchor holds the screw tightly in the wall. You need to take the screw out carefully to avoid damage. This section explains easy steps to remove the screw safely.
Use Screwdriver
Choose the right screwdriver for the screw head. A matching screwdriver fits well and avoids slipping. Insert the screwdriver firmly into the screw slot. Turn the screwdriver gently to loosen the screw.
Apply Steady Pressure
Press the screwdriver against the screw while turning. Steady pressure helps the screw turn without stripping. Avoid quick or jerky movements. Slow, even force works best to remove the screw.
Remove Screw From Anchor
After removing an anchor screw, the wall may show holes or small damage. Fixing this damage makes the wall look smooth and clean again. Repairing the wall is easy with the right steps and materials.
Fill Holes
Start by cleaning the holes from dust and loose pieces. Use a putty knife to apply wall filler or spackle into the holes. Press the filler firmly to fill the space completely. Let the filler dry according to the package instructions. Dry filler holds the paint better and hides the hole fully.
Sand And Paint
Once the filler is dry, use fine sandpaper to smooth the surface. Sand lightly until the patch blends with the wall. Wipe away dust with a clean cloth. Choose paint that matches your wall color. Apply paint with a brush or roller over the repaired area. Let the paint dry and add a second coat if needed. This step restores the wall’s original look.
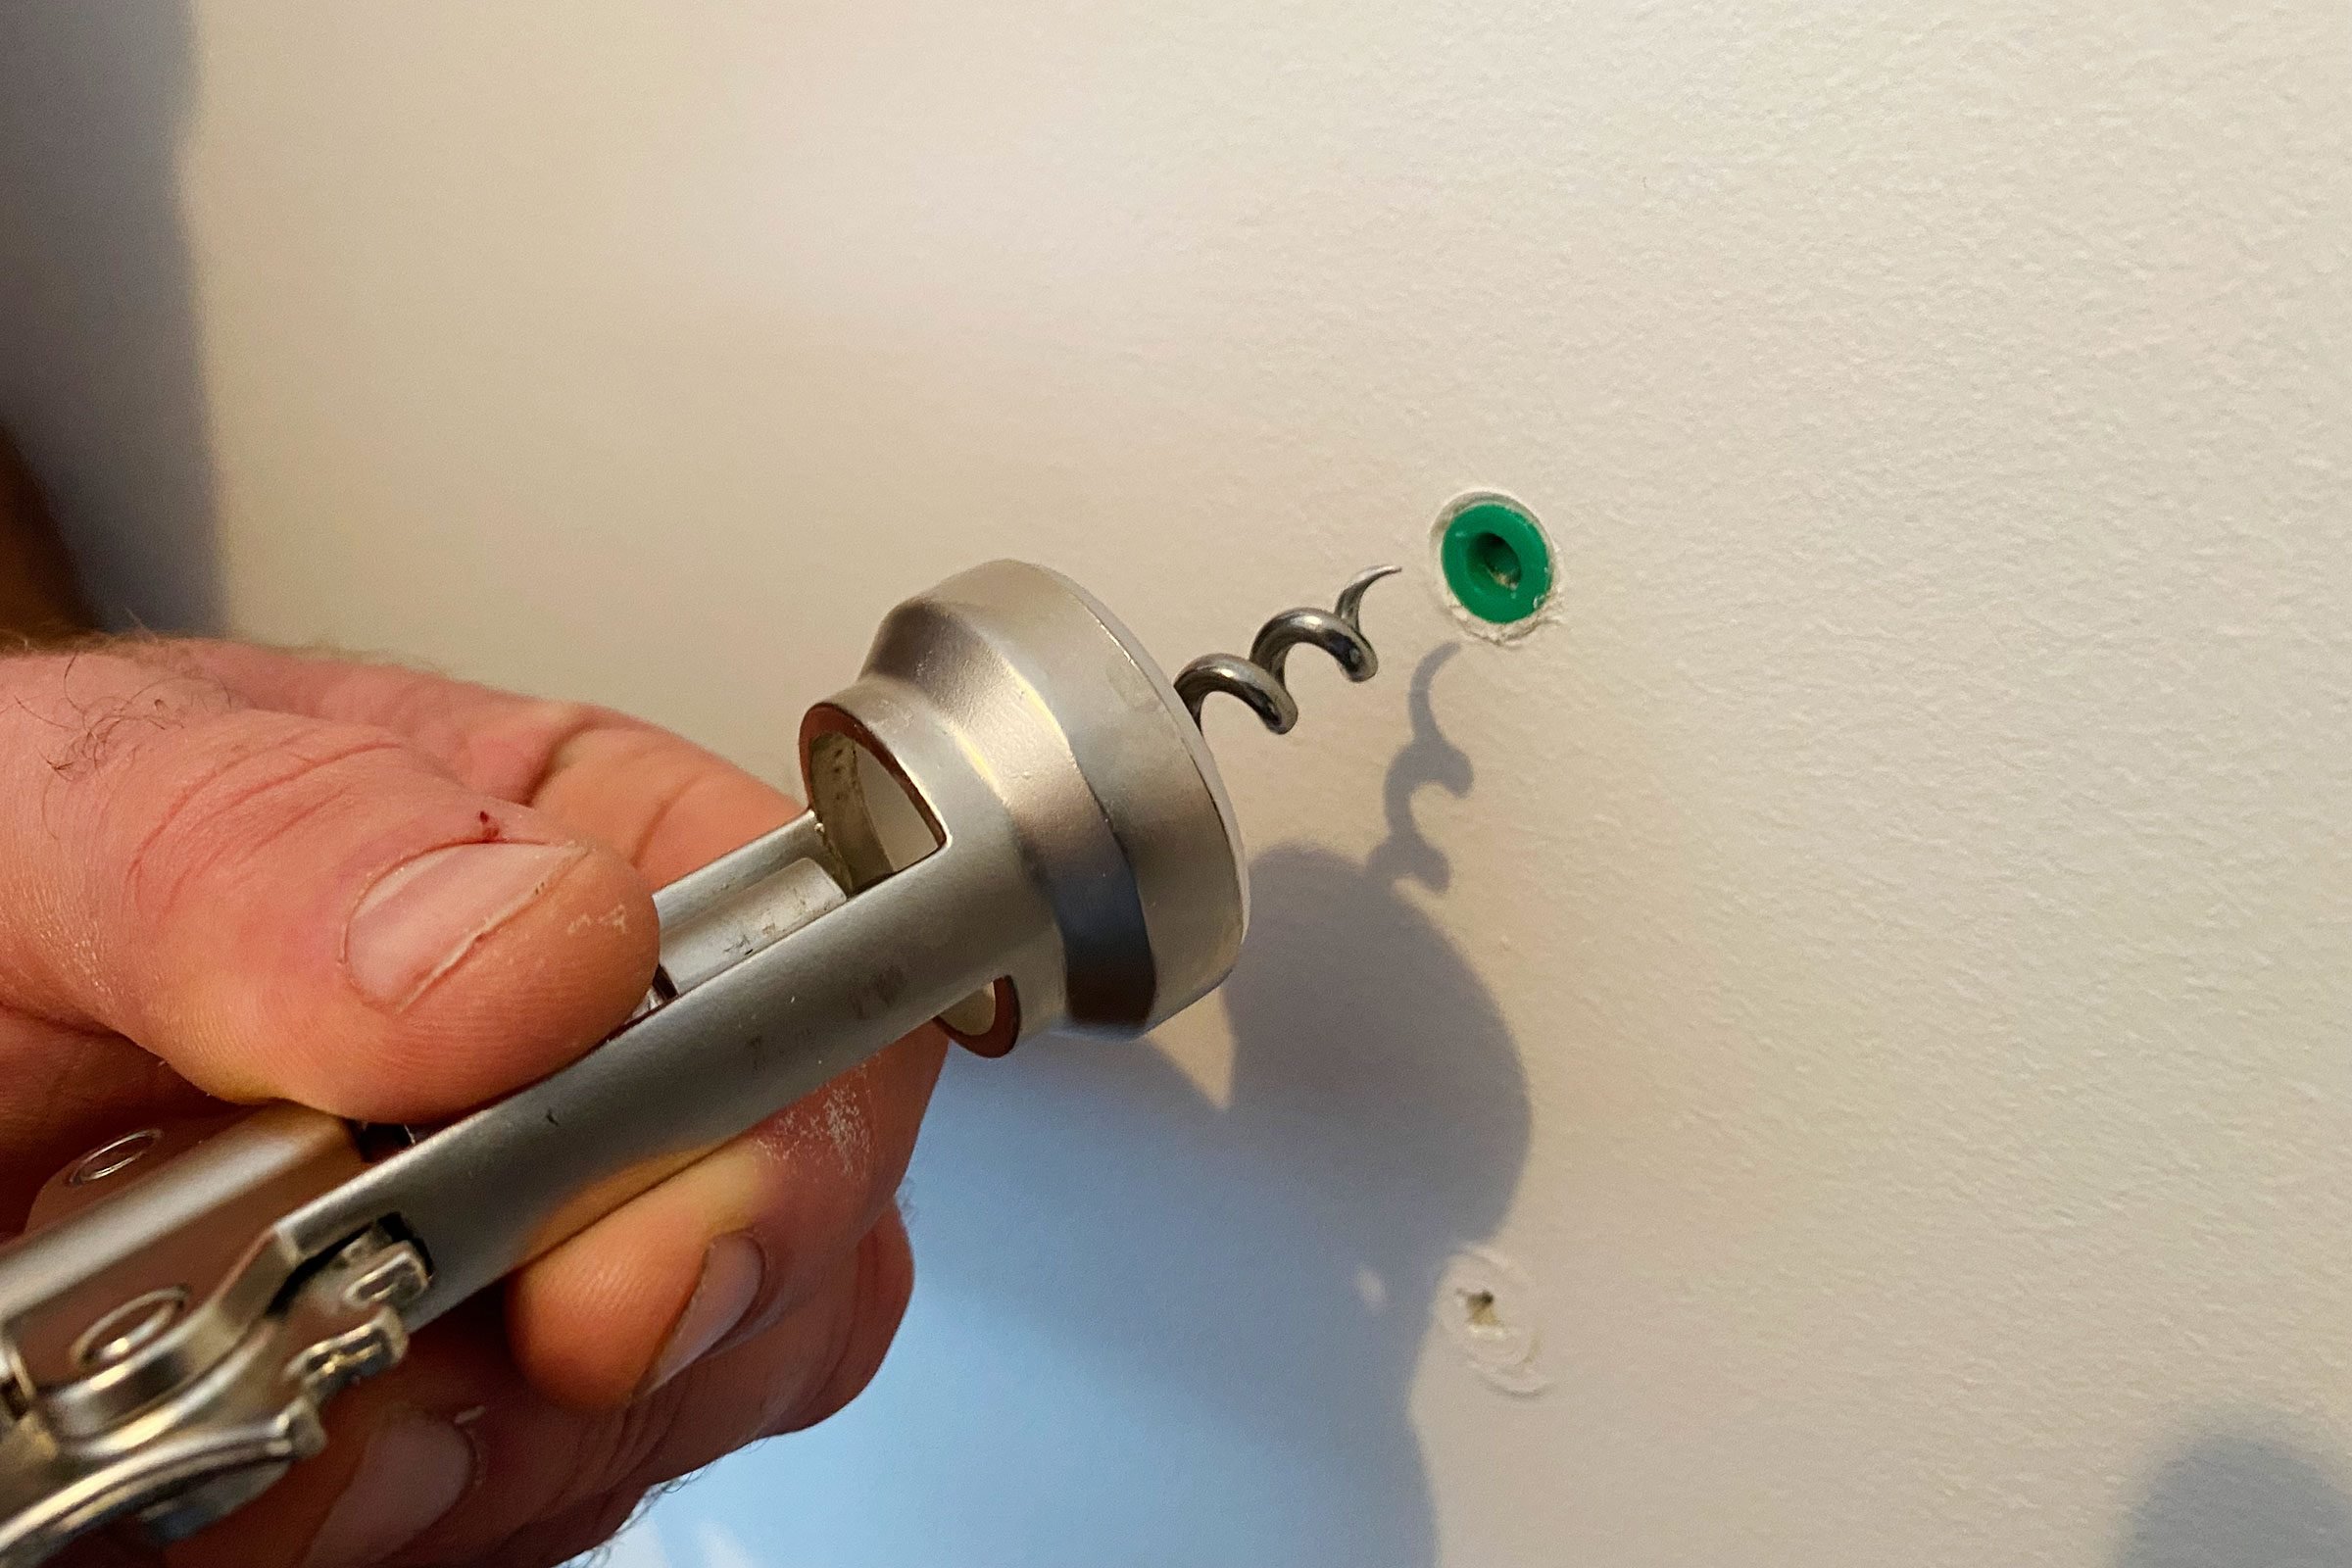
Extract The Anchor
Preventing future problems with anchor screws in your wall saves time and effort. Knowing how to choose the right anchor and install it properly helps keep your walls strong and your items secure. This section shares simple tips to avoid common mistakes.
Choosing The Right Anchor
Select an anchor based on the wall type and the weight of the item. Drywall anchors work well for light loads. For heavy items, use toggle bolts or molly bolts. Plastic anchors suit small screws but may fail under pressure. Metal anchors offer better support for medium to heavy loads. Always check the anchor’s weight rating before buying.
Proper Installation Tips
Drill a hole matching the anchor size exactly. Too big a hole weakens the hold. Insert the anchor flush with the wall surface. Tighten screws slowly to avoid breaking the anchor. Avoid over-tightening, which can damage the wall and anchor. Use a level to keep items straight. Clean the hole of dust before inserting the anchor for better grip.

Credit: theturquoisehome.com

Credit: www.tjlituo.com
Frequently Asked Questions
How Do I Remove An Anchor Screw From A Wall?
To remove an anchor screw, first unscrew it with a screwdriver. If stuck, use pliers to grip and turn gently. Avoid damaging the wall by pulling straight out once loose.
Can I Reuse The Wall Anchor After Removal?
Reusing wall anchors is not recommended. They often lose grip after removal. Instead, use a new anchor for secure fastening and safety.
What Tools Are Needed To Extract An Anchor Screw?
You need a screwdriver matching the screw head and pliers for grip. A drill may help loosen stubborn screws. A putty knife can assist in wall repair afterward.
How To Fix Holes After Removing Anchor Screws?
Fill holes with spackle or wall filler. Use a putty knife to apply it smoothly. Once dry, sand lightly and repaint for a clean finish.
Conclusion
Removing an anchor screw from a wall does not have to be hard. Take your time and use the right tools. Start by loosening the screw gently. If it resists, try different methods to avoid wall damage. Always work carefully to keep the wall intact.
With patience, you can fix the problem quickly. Remember, small steps lead to success. Now, you are ready to handle anchor screws with confidence.