Looking to add hooks on your wall but not sure where to start? You’re in the right place.
Hanging hooks might seem simple, but doing it wrong can damage your walls or cause your items to fall. Imagine having a neat, organized space where everything has its place—no clutter, no mess. This guide will show you exactly how to put hooks on your wall the right way, step by step.
By the end, you’ll feel confident tackling this easy home upgrade yourself. Ready to transform your space? Let’s get started!

Credit: www.youtube.com
Choosing The Right Hook
Choosing the right hook is important for hanging items safely and neatly. The wrong hook can damage your wall or fail to hold your things. Different hooks fit different needs and wall types. Knowing how to pick the best hook saves time and effort.
Types Of Wall Hooks
Wall hooks come in many shapes and sizes. Some hooks have nails attached, while others use adhesive pads. There are metal hooks, plastic hooks, and wooden hooks. Some hooks are designed for heavy items, and some for light objects. Choosing the type depends on what you want to hang.
Matching Hooks To Wall Material
Walls can be made from drywall, plaster, brick, or wood. Each wall type needs a certain kind of hook. For drywall, use hooks with anchors or adhesive hooks. For brick or concrete, use screws and wall plugs. Wooden walls can hold hooks with simple nails. Match the hook to the wall for a strong hold.
Weight Capacity Considerations
Every hook has a weight limit. Light hooks hold up to a few pounds, heavy-duty hooks hold more. Check the hook’s weight capacity before buying. Hang lighter items on small hooks. Use heavy-duty hooks for coats, bags, or tools. Always choose a hook that can carry more than your item weighs.
Gathering Necessary Tools
Before putting hooks on the wall, gather the right tools. Proper tools make the job easier and safer. Prepare everything before starting to avoid interruptions.
Basic Tools Checklist
Start with a hammer or screwdriver, based on hook type. Use a pencil to mark spots on the wall. A tape measure helps place hooks evenly. A level keeps hooks straight. Anchors and screws fit most wall types. A drill speeds up work but is not always needed.
Optional Tools For Different Surfaces
For drywall, use drywall anchors or toggle bolts for support. Masonry walls need a hammer drill and masonry bit. Tile walls require a special drill bit to avoid cracks. Stud finders locate strong spots behind drywall. Gloves protect your hands during work. A vacuum cleaner helps clean dust after drilling.
Preparing The Wall
Preparing the wall is the first step to hang hooks correctly. A well-prepared wall ensures hooks hold tight and last long. It also keeps your wall safe from damage. Take time to prepare the surface and check for any obstacles inside the wall. This helps you avoid future problems and makes the process smoother.
Cleaning The Surface
Start by cleaning the wall surface where you want to place the hook. Dust, dirt, and grease can stop the hook from sticking well. Use a damp cloth or sponge with mild soap to wipe the area. Let the wall dry completely before you move on. A clean surface helps hooks stay firm and prevents slipping.
Locating Studs And Avoiding Obstacles
Find studs inside the wall to support heavy hooks. Use a stud finder or gently tap the wall to listen for a solid sound. Mark the stud spots with a pencil. Avoid areas with pipes or wires to prevent accidents. Studs hold the hook better, especially for heavier items. Knowing where obstacles hide keeps you safe and protects your home’s wiring and plumbing.
Marking Hook Placement
Marking hook placement is a key step in hanging hooks on your wall. It ensures hooks are positioned correctly and look balanced. Proper marking avoids unnecessary holes and keeps your wall neat.
Take your time to mark spots carefully before drilling or nailing. This preparation helps hooks hold items securely and look good.
Measuring For Symmetry
Start by measuring the space where you want to place hooks. Use a tape measure to find the center point of the wall or area.
Measure equal distances from the center for each hook. This keeps hooks evenly spaced and balanced. Mark each spot lightly with a pencil.
Check measurements twice to avoid mistakes. Even spacing makes the display neat and pleasing to the eye.
Using Level Tools
Use a level to ensure hooks are straight and aligned. Place the level on the wall where you marked the hook spots.
Adjust the marks so the bubble in the level is centered. This confirms hooks will hang straight across.
Mark the final spots clearly before installing hooks. A level helps prevent crooked hooks and uneven lines.
Installing Hooks On Drywall
Installing hooks on drywall is a common task that helps organize spaces. Drywall is soft and can easily crack or crumble without the right tools. Using the proper methods ensures your hooks stay secure and your walls stay intact. Below are two effective ways to install hooks on drywall safely and strongly.
Using Anchors And Screws
Anchors provide extra support for screws in drywall. Start by drilling a small hole where you want the hook. Push the anchor gently into the hole until it is flush with the wall. Then, screw the hook into the anchor. The anchor spreads inside the wall, holding the hook firmly. This method works well for heavier items and prevents the wall from damage.
Hammering In Nail Hooks
Nail hooks are easy to install and good for light items. Choose a hook with a thin nail to avoid large holes. Position the hook on the wall and tap the nail gently with a hammer. Drive the nail straight to keep the hook stable. Nail hooks leave small holes that are easy to fix if removed. Use this for keys, small pictures, or light decorations.
Installing Hooks On Tile Or Concrete
Installing hooks on tile or concrete walls needs care and the right tools. These surfaces are hard and can crack if drilled incorrectly. Proper drilling and anchor selection help secure hooks safely. This guide explains how to do it step-by-step.
Drilling Techniques
Use a drill with a masonry bit for tile or concrete. Start with a small pilot hole. Drill slowly to avoid cracking tiles. Keep the drill steady and straight. Use masking tape on the tile to stop the drill from slipping. Clear dust from the hole before installing anchors. Wear safety glasses to protect your eyes from dust.
Choosing The Right Anchors
Pick anchors made for tile or concrete walls. Plastic anchors work for light loads. Metal anchors hold heavier items securely. Expansion anchors fit tightly in drilled holes. Tap anchors gently into the hole with a hammer. Tighten screws slowly to avoid breaking tiles. Check the weight limit on each anchor before use.
Testing Hook Stability
Testing hook stability is a key step after installation. It ensures the hook holds items safely without falling. This process helps avoid damage to walls and belongings. Follow simple steps to check if your hooks are secure and reliable.
Weight Testing
Start by hanging a light item on the hook. Check if the hook stays firmly in place. Gradually add heavier objects to test its strength. Stop adding weight once you feel the hook might loosen. This prevents wall damage and ensures safety.
Adjustments And Replacements
If the hook feels loose, tighten it or try a different spot. Use wall anchors for extra support on drywall. Replace the hook if it bends or breaks during testing. Proper adjustment keeps your wall and items safe over time.
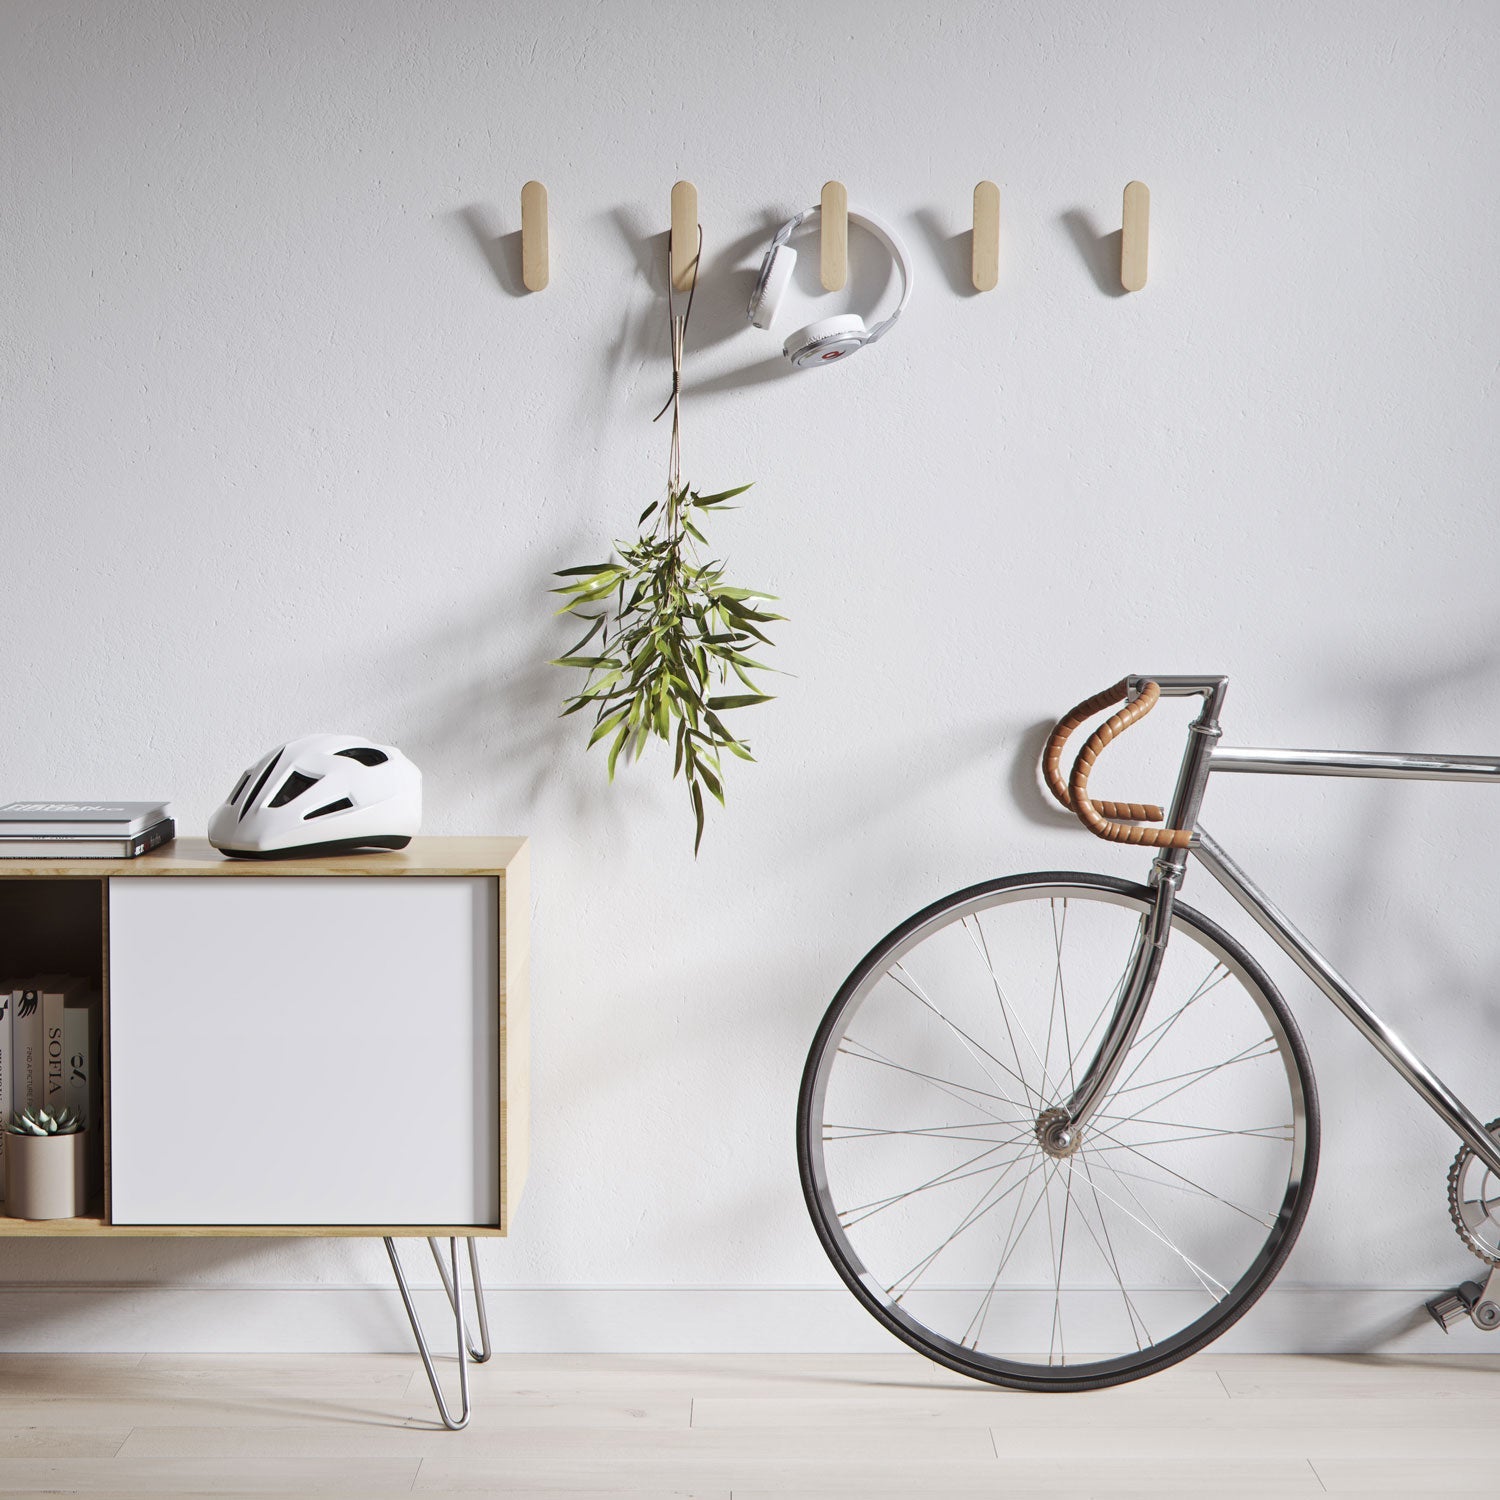
Credit: www.thehairpinlegcompany.co.uk
Maintaining Hook Durability
Maintaining hook durability is key for long-lasting wall hooks. Proper care keeps hooks strong and safe. It prevents damage and avoids accidents. Simple steps help hooks hold weight better. Follow these tips to keep hooks in good shape.
Regular Inspection
Check hooks often for signs of wear or damage. Look for cracks, rust, or bending. Tighten screws or nails if loose. Replace hooks that look weak or broken. Regular checks stop small problems from growing. A quick inspection saves time and money.
Avoiding Overloading
Do not hang items heavier than the hook’s limit. Overloading can bend or break hooks. Use multiple hooks for heavier objects. Spread weight evenly across hooks. Know the weight capacity before hanging anything. This keeps hooks strong and walls safe.

Credit: www.wikihow.com
Frequently Asked Questions
How Do I Choose The Right Wall Hook?
Choose hooks based on wall type and weight capacity. For drywall, use anchors. For wood, screws work well. Consider hook size and style for your needs.
What Tools Are Needed To Install Wall Hooks?
You need a drill, screwdriver, wall anchors, screws, a pencil, and a level. These tools ensure precise and secure hook installation on any wall type.
How Do I Avoid Damaging My Wall When Installing Hooks?
Use appropriate anchors for drywall. Mark drill spots accurately. Drill slowly and avoid over-tightening screws. This prevents wall cracks and ensures hooks hold firmly.
Can I Hang Heavy Items With Wall Hooks?
Yes, use heavy-duty hooks with strong anchors. Ensure the hook and anchor support the item’s weight. Always check weight limits before hanging heavy objects.
Conclusion
Putting hooks on your wall is easier than it seems. Choose the right hook for your wall type. Use simple tools like a drill or hammer carefully. Measure and mark spots to keep hooks straight. Secure hooks firmly to hold your items safely.
This small task can help organize your space well. Try it yourself and enjoy a tidier room. Hooks add both function and style to walls. Keep these tips in mind for best results.