Changing a light switch plate might seem like a small task, but it can make a big difference in the look of your room. If your switch plate is cracked, outdated, or just doesn’t match your style, replacing it is easier than you think.
You don’t need special skills or tools to do it yourself. In this guide, you’ll discover simple, step-by-step instructions that anyone can follow. By the end, you’ll have a fresh, clean switch plate that adds a subtle upgrade to your space.
Ready to give your room an instant makeover? Let’s get started!
Credit: hydrangeatreehouse.com
Tools And Materials Needed
Changing a light switch plate is a simple task that anyone can do. Having the right tools and materials makes the job easier and safer. Prepare everything before starting to avoid interruptions.
Essential Tools
You need a screwdriver to remove and install screws. A flathead or Phillips screwdriver works, but check your switch plate screws first. A voltage tester helps ensure the power is off. Safety first.
Keep a flashlight nearby if the room is dark. A small container to hold screws helps prevent losing them. Clean cloth or paper towels can wipe dust or fingerprints.
Choosing The Right Switch Plate
Select a switch plate that fits your switch type. Single, double, or triple switch plates vary in size. Match the color and style to your room decor. Plastic plates are common and affordable.
Metal plates offer durability and a sleek look. Some plates have special features like dimmer switches or smart controls. Make sure the plate has the right number of openings for switches or outlets.
Credit: www.reddit.com
Safety First
Removing the old switch plate is the first step in changing a light switch plate. It helps prepare the area for the new plate and keeps everything neat. This process is simple and takes only a few minutes.
Start by turning off the power to the switch for safety. Then, use a screwdriver to remove the screws holding the plate. After that, clean the area to remove dust and dirt. A clean surface helps the new plate fit better and look good.
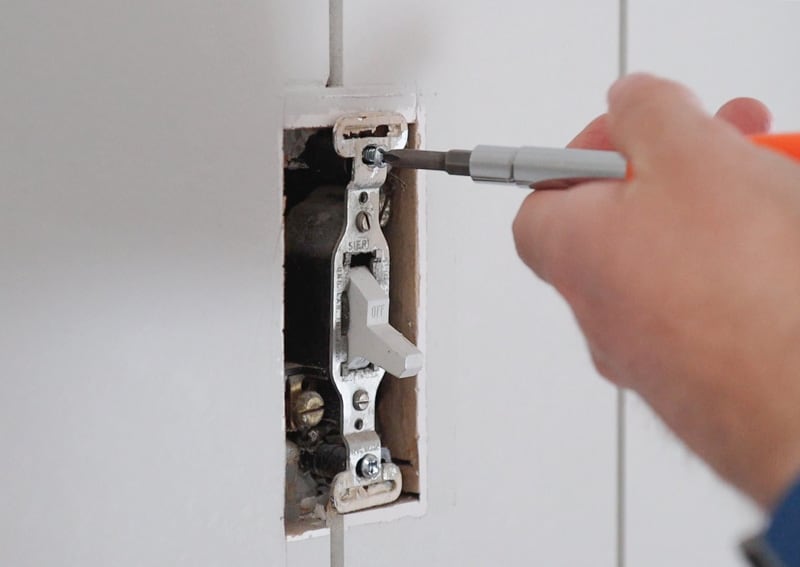
Unscrewing The Plate
Find the screws on the old switch plate. Use a flathead or Phillips screwdriver that fits the screws. Turn the screws counterclockwise to loosen and remove them. Keep the screws safe; you might need them later.
Gently pull the plate away from the wall. If it feels stuck, wiggle it a bit without forcing. Avoid damaging the wall or switch.
Cleaning The Area
Use a dry cloth or a small brush to remove dust and dirt. Clean around the switch and the wall surface. Remove any paint chips or debris.
A clean area ensures the new plate will sit flat and look neat. It also helps avoid any bumps or uneven spots.
Removing The Old Switch Plate
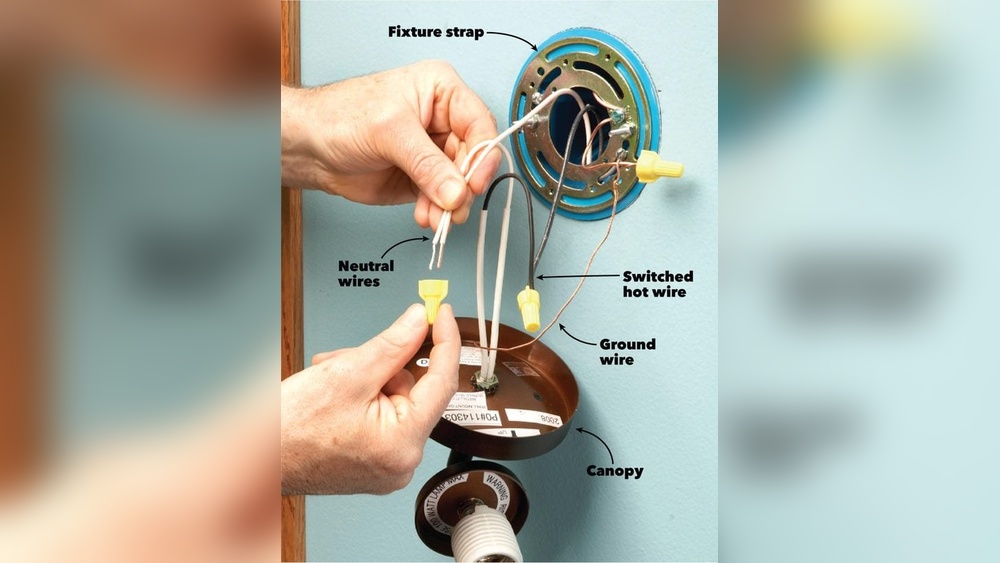
Installing the new switch plate is the final step in your light switch upgrade. This part is simple but needs care to make sure the plate fits well and stays secure. A properly installed plate improves the look of your wall and protects the wiring behind it.
Aligning The Plate
Hold the new switch plate close to the wall. Match the holes on the plate with the switch screws. Check if the plate covers the switch and wall opening evenly. The plate should sit flat against the wall without gaps. Take your time to adjust the position before moving to the next step.
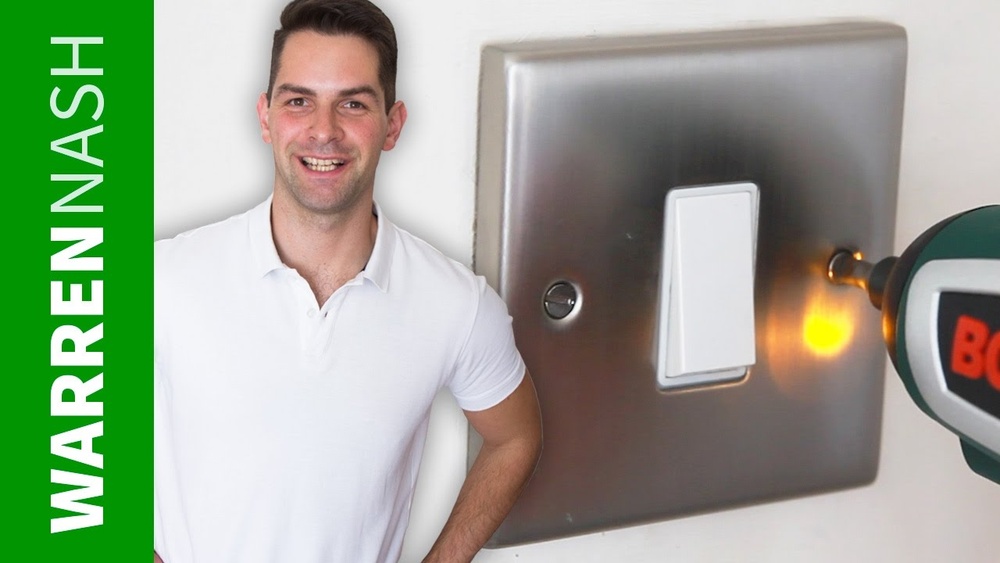
Securing With Screws
Use the screws that came with your new plate. Place one screw in the top hole and tighten it gently. Then, add the bottom screw and tighten it the same way. Do not over-tighten. Too much force can crack the plate. The plate should feel firm and not move when touched.

Credit: www.youtube.com
Installing The New Switch Plate
After replacing the light switch plate, some final checks are essential. These ensure your work is safe and works properly. Follow these simple steps to finish your task confidently.
Restoring Power
First, turn the power back on at the circuit breaker. This step brings electricity to the switch again. Make sure the breaker is fully on. Avoid touching the switch or plate while turning on the power. Safety first.
Testing The Switch
Next, test the switch to see if it controls the light. Flip the switch up and down slowly. The light should turn on and off without flickering. If the light does not work, turn off the power and re-check your connections.
Final Checks
Changing a light switch plate is a simple way to refresh any room. A stylish upgrade can make a big difference. It adds personality and style without much effort. Small details like colors and materials matter. They can match or contrast with your room’s look. Let’s explore some tips to choose the best options for your space.
Choosing Colors And Materials
Select colors that complement your walls and furniture. Neutral shades like white, beige, or gray fit most rooms. Bold colors create a focal point. Materials also affect the style. Plastic plates are common and affordable. Metal plates add a modern or vintage feel. Wood plates bring warmth and texture. Glass or ceramic plates offer elegance and shine.
Coordinating With Room Decor
Match the switch plate with your room’s style. For a classic room, pick simple and clean designs. Modern rooms benefit from sleek and shiny finishes. Rustic rooms look great with wood or bronze plates. Consider the room’s color palette for harmony. Patterns and textures can add interest but keep balance. Proper coordination ties the room together nicely.
Frequently Asked Questions
How Do I Safely Remove A Light Switch Plate?
Turn off the power at the circuit breaker first. Use a screwdriver to unscrew the plate carefully. Avoid touching wires to prevent shocks. Removing the plate is simple and safe with these steps.
What Tools Do I Need To Change A Switch Plate?
You only need a flathead or Phillips screwdriver. Make sure the power is off before starting. Optional tools include a voltage tester for safety. These basic tools make changing a switch plate easy.
Can I Change A Switch Plate Without An Electrician?
Yes, changing a switch plate is a simple DIY task. Just ensure the power is off to avoid shock. Follow safety steps and use the right tools. Most homeowners can do it safely and quickly.
How Do I Choose The Right Size Switch Plate?
Measure the existing plate’s height and width before buying. Match the screw hole spacing as well. Plates come in standard sizes for most switches. Correct sizing ensures a perfect fit and clean look.
Conclusion
Changing a light switch plate is simple and quick. Turn off the power first for safety. Use a screwdriver to remove the old plate. Then, place the new plate and tighten the screws. No special skills are needed. This small task can improve a room’s look.
Try it yourself and feel proud. A fresh switch plate makes a difference. Save money by doing it on your own. Enjoy the clean, updated look in minutes. Easy and safe—just follow these steps.