Are you ready to take control of your lighting and create the perfect mood in any room? Connecting a dimmer switch to your LED lights can transform how your space feels, giving you the power to adjust brightness with ease.
But if you’re unsure where to start or worried about making a mistake, you’re not alone. In this guide, you’ll discover simple, step-by-step instructions that anyone can follow. By the end, you’ll have the confidence to install your dimmer switch safely and enjoy smooth, adjustable lighting whenever you want.
Keep reading to unlock the full potential of your LED lights!

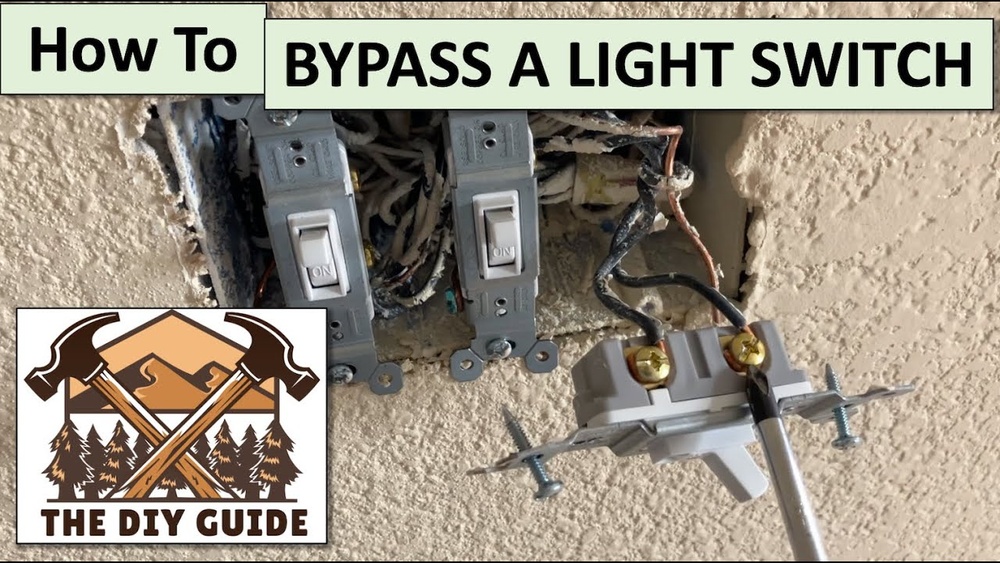
Credit: diy.stackexchange.com
Choosing The Right Dimmer Switch
Choosing the right dimmer switch is important for your LED lights. It helps control brightness smoothly and saves energy. Not every dimmer works well with LED bulbs. This section guides you to pick the best dimmer switch.
Types Of Dimmer Switches For Led
There are several types of dimmers. Leading-edge dimmers work with older bulbs but may flicker with LEDs. Trailing-edge dimmers suit LED lights better. Digital or electronic dimmers offer smooth control. Choose a dimmer designed for LEDs.
Compatibility With Led Lights
Check if the dimmer switch matches your LED bulbs. Many dimmers say “LED compatible.” This means they handle low power and different wiring. Using the wrong dimmer can cause flicker or damage. Always match dimmer and LED brands if possible.
Wattage And Load Considerations
Each dimmer has a wattage limit. Add the wattage of all LED bulbs you use. The total should not exceed the dimmer’s rating. LEDs use less power, but check the minimum load too. Some dimmers need a minimum load to work properly.

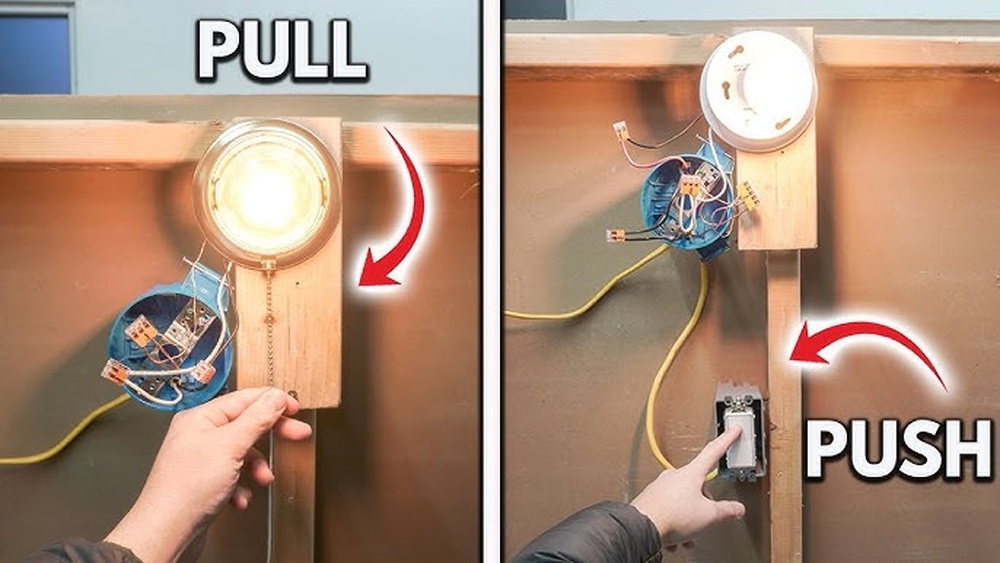
Credit: www.youtube.com
Tools And Materials Needed
Connecting a dimmer switch to LED lights requires some basic tools and materials. Having the right items ready makes the job easier and safer. This section lists what you need before starting your project.
Essential Tools
- Screwdriver set (flathead and Phillips)
- Wire stripper and cutter
- Voltage tester
- Needle-nose pliers
- Electrical tape
- Drill (optional for mounting)
Safety Equipment
- Insulated gloves
- Safety glasses
- Non-conductive shoes
- Flashlight or headlamp (for dark spaces)
Materials Checklist
- Compatible dimmer switch for LED lights
- Wire connectors (wire nuts)
- Electrical box (if not already installed)
- LED-compatible bulbs
- Wall plate for dimmer switch
Preparing For Installation
Preparing for installation is an important step before connecting a dimmer switch to LED lights. Proper preparation helps ensure safety and smooth work. It also prevents damage to your electrical system and new dimmer switch.
This section covers three key tasks. First, turning off power to avoid electric shock. Next, removing the old switch carefully. Finally, identifying wiring to connect the new dimmer correctly.
Turning Off Power
Start by turning off power at the circuit breaker. This stops electricity from flowing to the switch. Use a tester to confirm the power is off. Never skip this step. Safety is the top priority.
Removing Existing Switch
Remove the switch cover plate by unscrewing it. Then, carefully unscrew the switch from the wall box. Gently pull the switch out to expose the wires. Note how the wires connect to the switch. Take a picture for reference if needed.
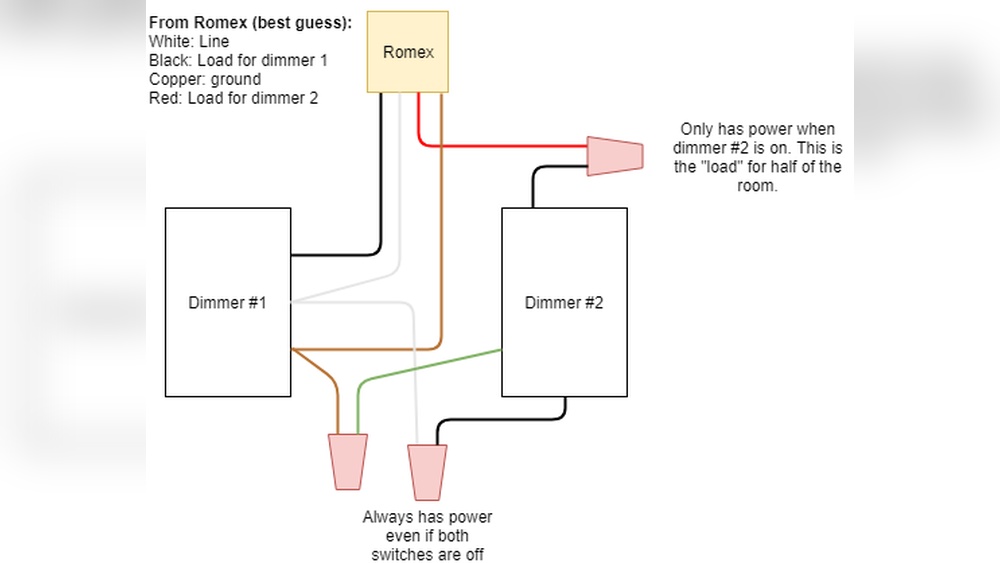
Identifying Wiring
Identify the wires connected to the switch. Usually, there is a live wire, a load wire, and a ground wire. Use a voltage tester to double-check. Label the wires with tape to avoid confusion. Correct identification prevents wiring mistakes.
Credit: www.solidapollo.com
Wiring The Dimmer Switch
Wiring the dimmer switch is an important step to control your LED lights. It needs careful attention to make sure the lights work well and safely. Follow simple steps to connect the wires, secure them, and mount the dimmer switch properly.
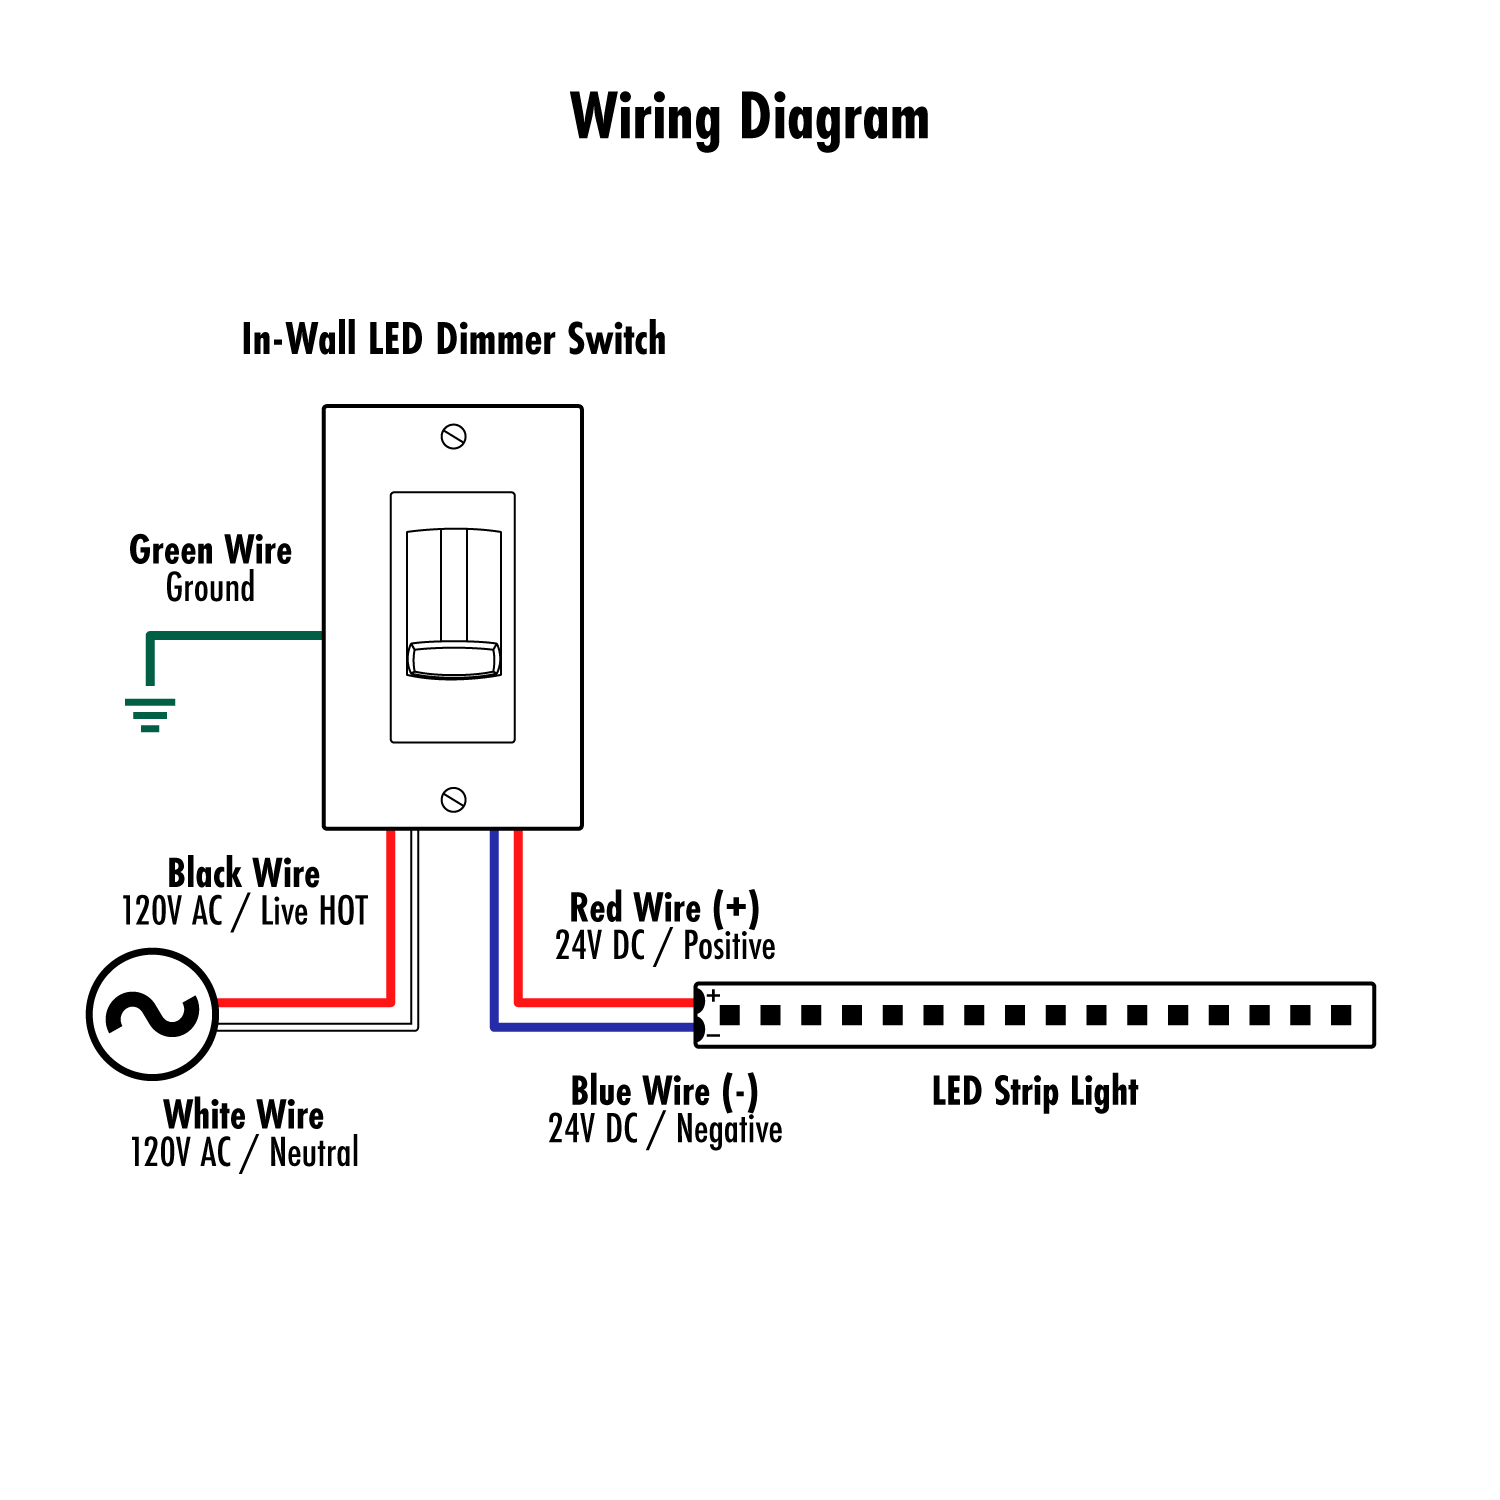
Connecting Wires Correctly
First, turn off the power at the breaker. Identify the wires: usually, black is live, white is neutral, and green or bare is ground. Connect the dimmer switch wires to the matching house wires. Twist the wires together tightly for a good connection.
Securing Wire Nuts
Use wire nuts to cover the twisted wires. Twist the nuts clockwise until they are tight. Tug gently on each wire to check it does not come loose. Wire nuts keep connections safe and prevent shorts.
Mounting The Dimmer
Carefully push the wires into the electrical box. Align the dimmer switch with the screw holes. Use screws to fix the dimmer switch firmly in place. Attach the faceplate to finish the installation.
Testing And Troubleshooting
Testing and troubleshooting your dimmer switch with LED lights ensures safe and smooth operation. This step helps you find and fix problems early. It saves time and avoids damage to your electrical system. Follow simple checks and fixes to keep your lights working well.
Restoring Power Safely
Turn the main power back on after wiring is complete. Use a circuit tester to check if power is flowing. Avoid touching wires or terminals while power is on. Wear insulated gloves for extra safety. If unsure, ask an expert to restore power.
Checking Dimmer Functionality
Switch the dimmer on and off to test response. Rotate the dimmer knob and watch the LED lights change brightness. The lights should dim smoothly without flickering. If lights do not respond, double-check wiring connections. Confirm the dimmer switch matches LED light specifications.
Common Issues And Fixes
Flickering lights often mean loose connections or incompatible dimmers. Tighten all wire connections carefully. Replace the dimmer with an LED-compatible model if flickering continues. Dimmer not working might be a faulty switch. Swap out the switch or test it with a multimeter. Dimmer causing buzzing sounds signals overload or poor wiring.
Tips For Optimal Performance
Getting the best from your dimmer switch and LED lights needs careful steps. Small changes make a big difference. Follow simple tips to improve light quality and switch life. These tips help avoid common problems like flicker and noise.
Use the right bulbs and keep your dimmer switch in good shape. This keeps your lighting smooth and reliable. Brightness control works well. Enjoy perfect lighting every time.
Avoiding Flicker And Noise
Flicker and noise can annoy or damage bulbs. Use dimmer switches made for LED lights. Cheap or wrong dimmers cause flicker. Check for dimmers with low noise ratings. A quiet dimmer means better comfort and longer bulb life.
Using Compatible Led Bulbs
Not all LED bulbs dim well. Look for bulbs labeled “dimmable.” These bulbs match dimmer switch needs. Mixing non-dimmable bulbs with dimmers causes flicker and damage. Choose bulbs from trusted brands. This ensures steady, clear light.
Maintaining Your Dimmer Switch
Keep your dimmer switch clean and dust-free. Dust can cause poor contact and flicker. Turn off power before cleaning. Check connections regularly. Tight wires prevent sparks and switch failure. Replace old or worn dimmers to keep lighting smooth and safe.
Frequently Asked Questions
What Types Of Dimmer Switches Work With Led Lights?
Compatible dimmer switches are designed specifically for LED bulbs. Look for LED or ELV dimmers. Avoid incandescent-only dimmers, as they may cause flickering or damage.
How Do I Safely Connect A Dimmer Switch To Led Lights?
Turn off the power at the circuit breaker. Connect the dimmer’s wires to the corresponding wires in your circuit. Use wire nuts and follow the manufacturer’s instructions carefully.
Can All Led Lights Be Dimmed With A Dimmer Switch?
No, only dimmable LED bulbs work with dimmer switches. Check the packaging or product details for “dimmable” before installation.
Why Do Led Lights Flicker After Installing A Dimmer Switch?
Flickering often occurs due to incompatible dimmers or low-quality LED bulbs. Use LED-compatible dimmers and high-quality bulbs to fix flickering issues.
Conclusion
Connecting a dimmer switch to LED lights is simple and useful. It lets you control light brightness easily. Always turn off power before starting any work. Follow the wiring steps carefully for safety and function. Choose dimmers that match LED bulbs to avoid flickering.
A well-installed dimmer saves energy and sets the right mood. Enjoy soft or bright lighting with just a switch. Small effort brings big changes to your home lighting. Now, your LED lights can shine exactly how you want.