Have you ever pressed your brake pedal and noticed your brake lights didn’t come on? This could mean your brake light switch is bad, and it’s something you shouldn’t ignore.
Your brake lights are crucial for keeping you and others safe on the road. If they don’t work properly, it can lead to accidents or traffic tickets. But how do you know if the brake light switch is the problem?
You’ll learn simple, clear steps to check your brake light switch yourself. Keep reading to save time, avoid costly repairs, and make sure your car stays safe to drive.
Credit: www.autozone.com
Signs Of A Faulty Brake Light Switch
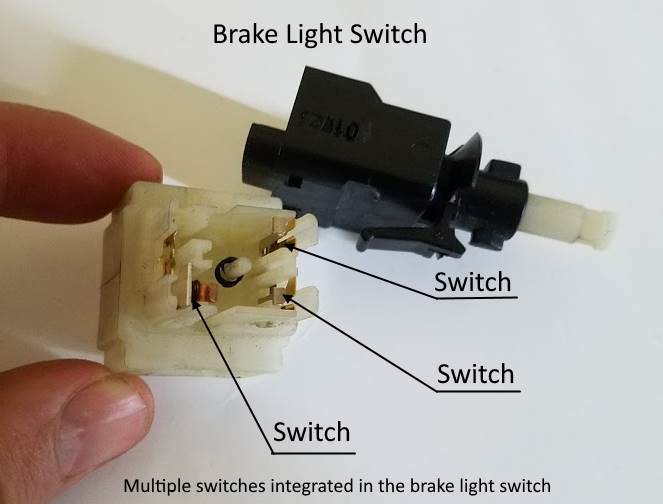
The brake light switch is a small but important part of your car’s safety system. It tells the brake lights when to turn on and off. A bad brake light switch can cause several problems. These problems often show clear signs. Recognizing these signs helps keep you and others safe on the road.
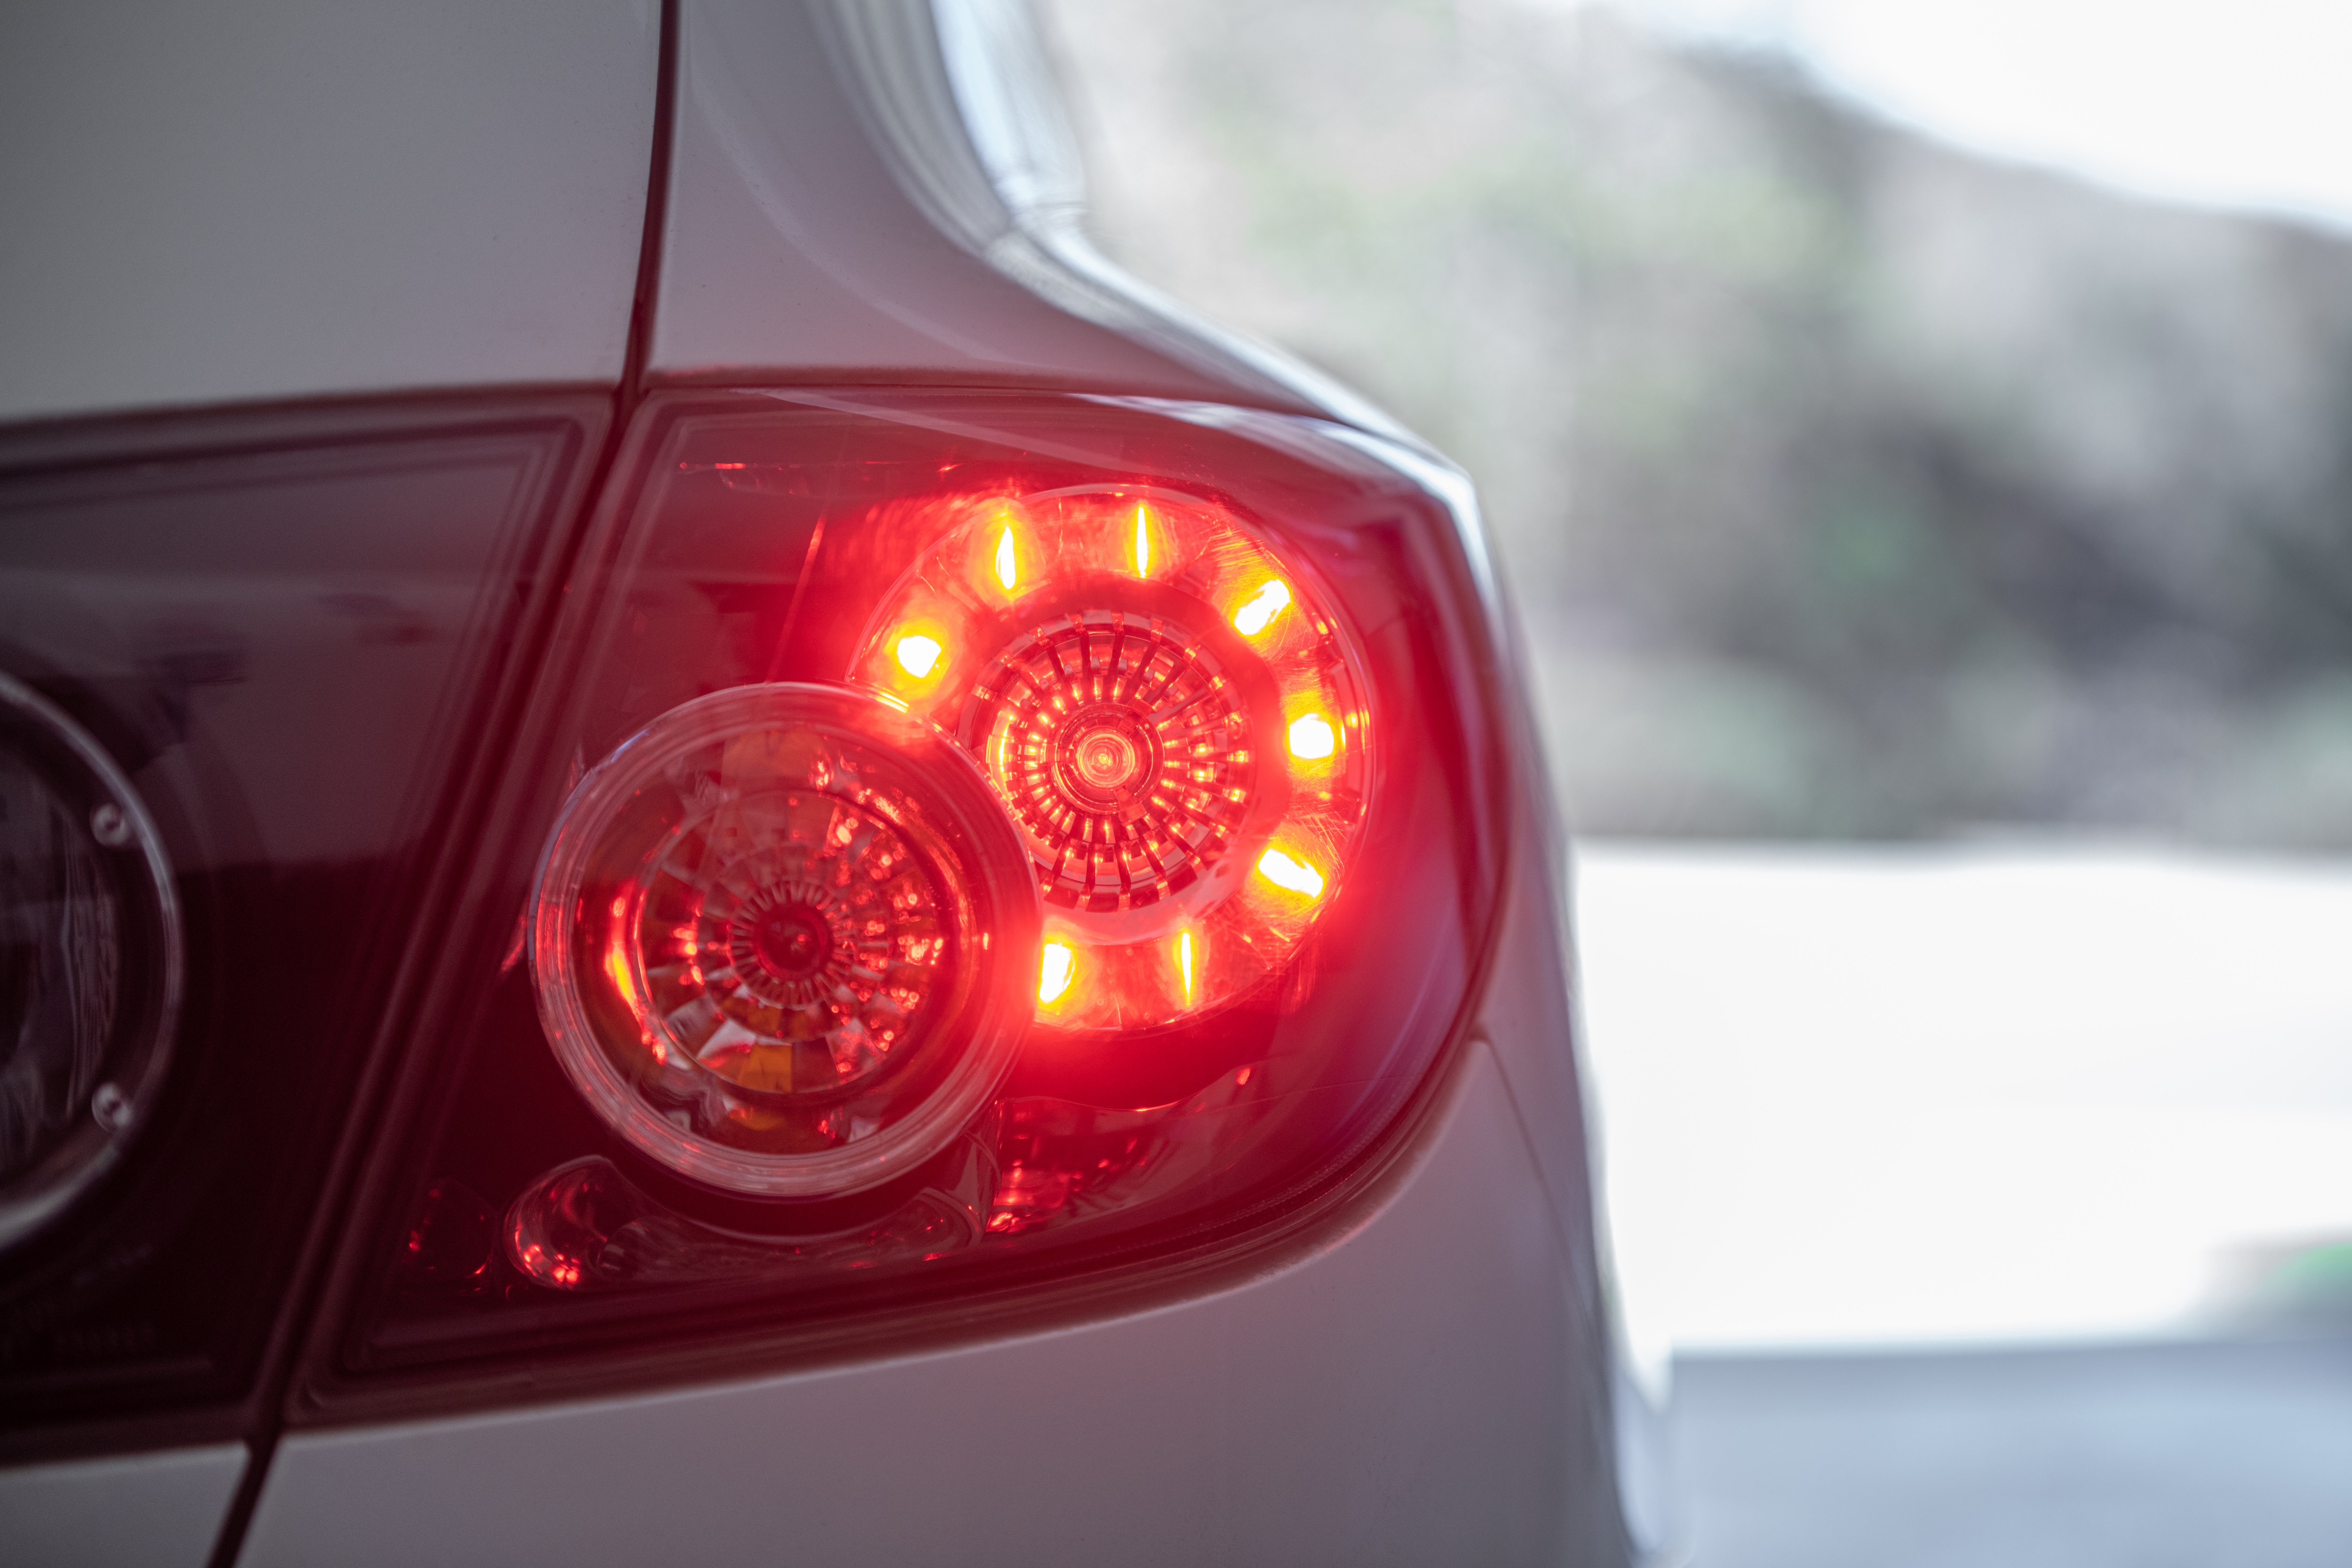
Brake Lights Not Illuminating
One common sign is brake lights not turning on. When you press the brake pedal, the lights should glow bright. If they don’t light up, the switch may be faulty. This issue can confuse drivers behind you. It raises the risk of accidents. Check the brake light switch to fix this problem quickly.
Brake Lights Staying On
Sometimes brake lights stay on even if you don’t press the pedal. This can drain your car battery. It may also confuse other drivers. A stuck or broken brake light switch often causes this. The lights remain lit because the switch cannot turn them off. Inspect the switch for damage or wear.
Cruise Control Issues
The brake light switch helps control the cruise system. A faulty switch might stop the cruise control from working. It may not turn off when you press the brake. This can make driving unsafe. If cruise control acts strange, check the brake light switch first. Fixing it can restore proper function.
Brake Pedal Problems
The brake light switch connects to the brake pedal. A bad switch can cause the pedal to feel odd. It might feel loose or too stiff. Sometimes the pedal does not respond well. This affects braking performance and safety. Inspect the switch and pedal for signs of trouble.

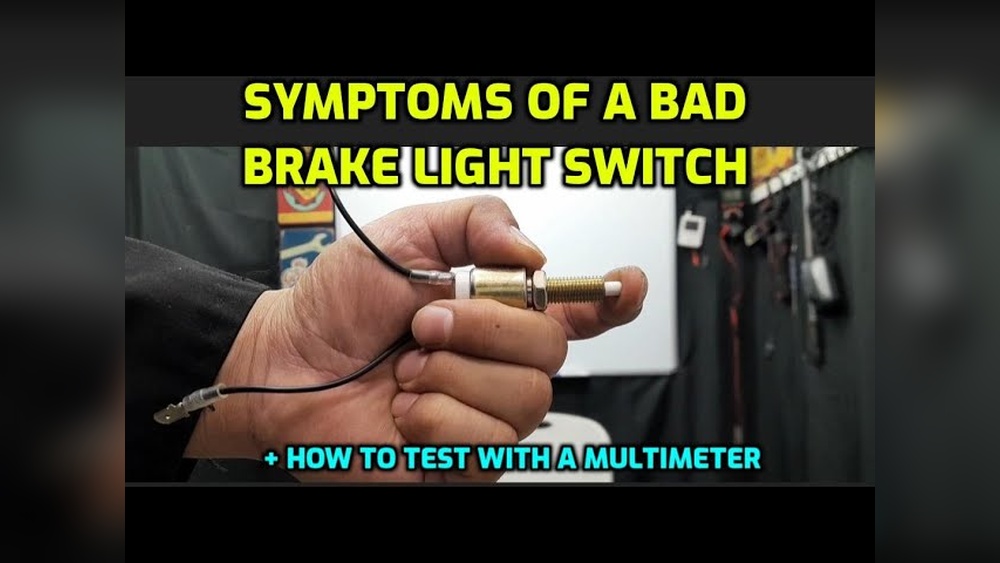
Credit: www.youtube.com
Tools Needed For Testing
Testing a brake light switch needs some simple tools. These tools help check if the switch works well or needs fixing. Having the right tools makes the job easier and safer.
Multimeter
A multimeter measures electric current, voltage, and resistance. It helps see if the brake light switch sends power correctly. Most brake light switch tests need a multimeter. It is a small device and easy to use.
Basic Hand Tools
You need basic hand tools like screwdrivers and pliers. These tools help remove the brake light switch or open panels. A wrench may be useful for some car models. Keep these tools ready before starting the test.
Safety Equipment
Safety glasses protect your eyes from dust and sparks. Gloves keep your hands safe and clean. Always wear safety gear to avoid injuries. Safety is important during any car repair or test.
Locating The Brake Light Switch
Finding the brake light switch is the first step in checking if it is bad. This small part controls the brake lights on your car. Knowing its location helps in testing and replacement. Most brake light switches are easy to find.
Position Near Brake Pedal
The brake light switch is usually near the brake pedal. It is mounted on the brake pedal arm or just above it. This spot allows the switch to activate when you press the pedal. Look under the dashboard on the driver’s side. The switch is often attached to a bracket or the pedal assembly. It may be a small, rectangular or cylindrical part.
Identifying The Switch Connector
The switch has an electrical connector plugged into it. This connector sends signals to the brake lights. It usually has one or two wires. The connector clips onto the switch and can be gently pulled off. The wires are often color-coded for easy identification. Check for dirt or damage around the connector. A loose or broken connector can cause brake light problems.
Testing The Brake Light Switch
Testing the brake light switch helps find out if it works right. This switch controls the brake lights. If it fails, the brake lights may not turn on. That can be unsafe for driving. The tests include visual checks and electrical tests. These steps are simple and do not need much skill.
Visual Inspection
Start by looking at the brake light switch carefully. Check if it is loose or broken. Look for dirt or damage on the switch and wires. Make sure the switch is in the right place. Clean any dirt or rust you see. This step can show obvious problems fast.
Continuity Test With Multimeter
Use a multimeter to test the switch’s continuity. Set the multimeter to the continuity mode. Disconnect the switch from its wires. Touch the probes to the switch terminals. Press the brake pedal. The multimeter should beep or show zero resistance. No beep means the switch may be bad. This test tells if the switch lets electricity pass through.
Voltage Test Procedures
Measure the voltage at the switch with the brake pedal pressed. Use a multimeter set to DC voltage. Connect the black probe to a ground point. Place the red probe on the switch terminal. Press the brake pedal. The multimeter should show battery voltage. No voltage means the switch or wiring may have a problem. This test checks if power reaches the brake light switch.
Removing The Brake Light Switch
Removing the brake light switch is an important step to check if it is bad. The switch controls the brake lights, so removing it carefully is key. Follow these steps to remove the switch safely and easily.
Disconnecting The Battery
Start by disconnecting the car battery. This stops any electrical shocks or short circuits. Use a wrench to loosen the negative battery cable. Remove the cable and keep it away from the battery terminal. This step keeps you safe while working on the brake light switch.
Unplugging The Connector
Locate the brake light switch near the brake pedal. Find the electrical connector attached to it. Press the tab on the connector to release it. Gently pull the connector away from the switch. Do not pull hard to avoid damaging the wires.
Detaching The Switch
Look for a mounting clip or nut holding the switch in place. Use a screwdriver or wrench to remove it carefully. Slide the switch out from its bracket. Keep the switch safe if you plan to test or replace it later.
Credit: www.youcanic.com
Installing A New Brake Light Switch
Installing a new brake light switch is a key step to fix brake light issues. The process needs care and some basic tools. A correct installation ensures safety and proper light function. Follow each step to place and adjust the switch properly.
Positioning The New Switch
Start by locating the brake pedal arm. The new switch fits near the pedal bracket. Align the switch so its plunger touches the pedal arm. Check the switch fits snugly without forcing it. Proper position helps the switch detect pedal movement accurately.
Adjusting The Switch
Press the brake pedal slowly. Adjust the switch so the plunger moves with the pedal. The switch should activate just before the pedal moves down. Use the adjustment nut or screws to set the right distance. Correct adjustment prevents brake lights from staying on or off.
Reconnecting And Testing
Reconnect the electrical connector to the new switch. Ensure the connection is firm and secure. Press the brake pedal and watch the brake lights. The lights must turn on immediately when pressing the pedal. Test multiple times to confirm the switch works well.
Preventive Maintenance Tips
Preventive maintenance helps keep your brake light switch working well. It stops problems before they start. Regular care makes your driving safer. It also saves money on repairs. Simple steps can keep the switch in good shape.
Regular Inspection
Check the brake light switch every few months. Look for loose wires or damage. Press the brake pedal and see if the lights turn on. Any delay or no light means trouble. Early checks catch issues fast.
Cleaning The Switch Area
Dirt and dust can block the switch. Wipe the area with a clean cloth. Avoid using water near electrical parts. Keep the switch dry and clear. Clean parts work better and last longer.
When To Replace
Replace the switch if lights flicker or do not work. Also change it if the brake pedal feels different. Old switches wear out over time. Buy a new switch to keep brakes safe.
Frequently Asked Questions
How Do I Know If My Brake Light Switch Is Faulty?
A faulty brake light switch causes brake lights to stay on or not light up. Check if brake lights fail to illuminate when pressing the pedal. Also, look for cruise control or ABS issues, as these can indicate switch problems.
What Are The Common Symptoms Of A Bad Brake Light Switch?
Common symptoms include brake lights that never turn off, don’t light up when pressed, or erratic brake light behavior. You might also notice problems with cruise control or difficulty shifting out of park in automatic cars.
Can A Bad Brake Light Switch Affect Vehicle Safety?
Yes, a bad brake light switch compromises safety by causing brake lights to malfunction. This reduces visibility to other drivers, increasing the risk of rear-end collisions. Timely inspection and replacement are crucial for safe driving.
How Can I Test The Brake Light Switch At Home?
To test, press the brake pedal and observe if the brake lights illuminate. Use a multimeter to check switch continuity. If lights don’t respond or multimeter shows no connection, the switch likely needs replacement.
Conclusion
Checking your brake light switch can save you time and money. A simple test helps spot problems early. Faulty switches affect brake lights and safety. Fixing or replacing the switch keeps your car safe. Regular checks prevent bigger car issues later.
Stay alert to signs like brake lights not working. Taking a few minutes today avoids costly repairs tomorrow. Keep your vehicle in good shape by watching brake light performance. Safety first—always make sure your brake lights function well.