Have you ever faced the frustration of a stuck or broken deadbolt? Replacing it might sound complicated, but what if it’s easier than you think?
You don’t need to be a locksmith or own special tools to get the job done. In fact, with a little guidance, you can secure your home quickly and confidently. Keep reading, and you’ll discover simple steps that make replacing a deadbolt straightforward — saving you time, money, and stress.
Your peace of mind is just a few minutes away.
Credit: premiumhardware.net
Tools Needed
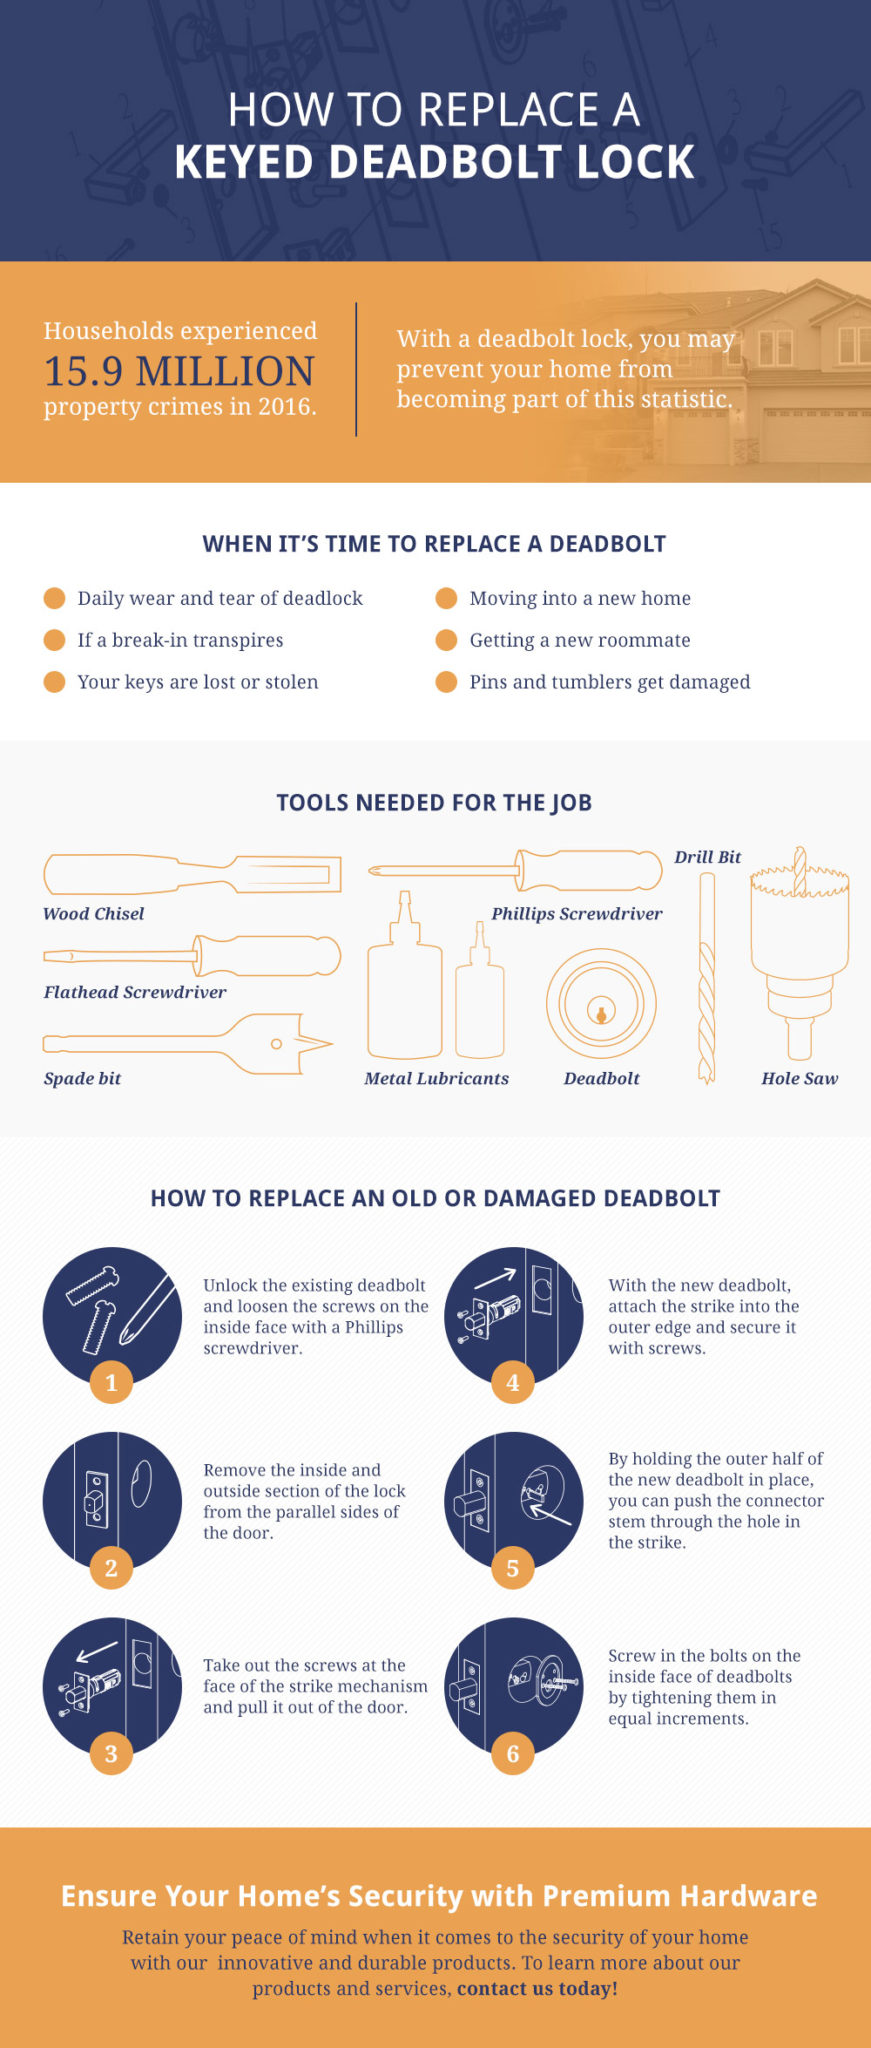
Replacing a deadbolt requires a few simple tools. Having the right tools makes the job easier and faster. Most tools are common and easy to find. Some extra tools can help save time and effort.
Basic Tools List
- Phillips screwdriver
- Flathead screwdriver
- Tape measure
- Pencil
- Drill (optional but helpful)
- Chisel (for adjusting the door frame)
Optional Tools For Efficiency
- Power drill with screwdriver bits
- Hole saw (if new holes are needed)
- Utility knife (for trimming)
- Flashlight (to see inside the door edge)
- Level (to ensure the deadbolt is straight)
Choosing The Right Deadbolt
Choosing the right deadbolt is important for home security and ease of use. The right lock fits your door and meets your safety needs. It also feels comfortable to operate every day.
Understanding different types and what to consider helps you pick the best deadbolt. This makes replacing a deadbolt easier and more effective.
Types Of Deadbolts
There are single-cylinder and double-cylinder deadbolts. Single-cylinder locks use a key outside and a thumb turn inside. Double-cylinder locks require a key on both sides. This type adds extra security but needs careful use. Some deadbolts are smart locks. They use codes or phones instead of keys. Each type suits different needs and doors.
Factors To Consider
Think about door material and thickness first. Make sure the deadbolt fits your door’s size. Check your security needs next. High-traffic doors might need stronger locks. Also, consider ease of use. Choose a lock that works well for everyone in the house. Budget matters too. Some deadbolts cost more but offer better features. Finally, check the lock’s certification for quality and safety.
Removing The Old Deadbolt
Removing an old deadbolt is the first step to installing a new one. The process is straightforward and requires basic tools. A little care helps avoid damage to your door and frame. This section guides you through removing the old deadbolt safely and quickly.
Unlocking And Accessing Screws
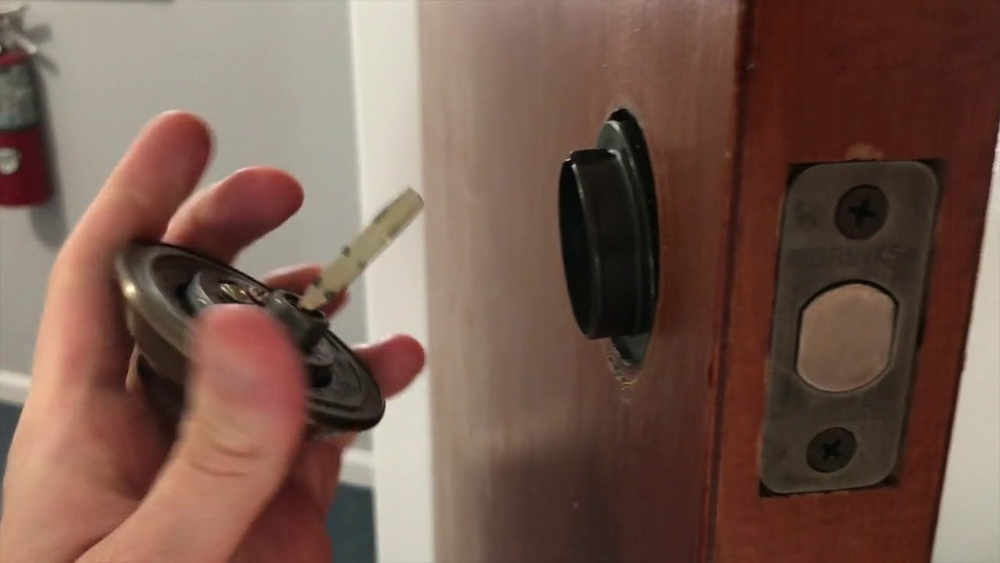
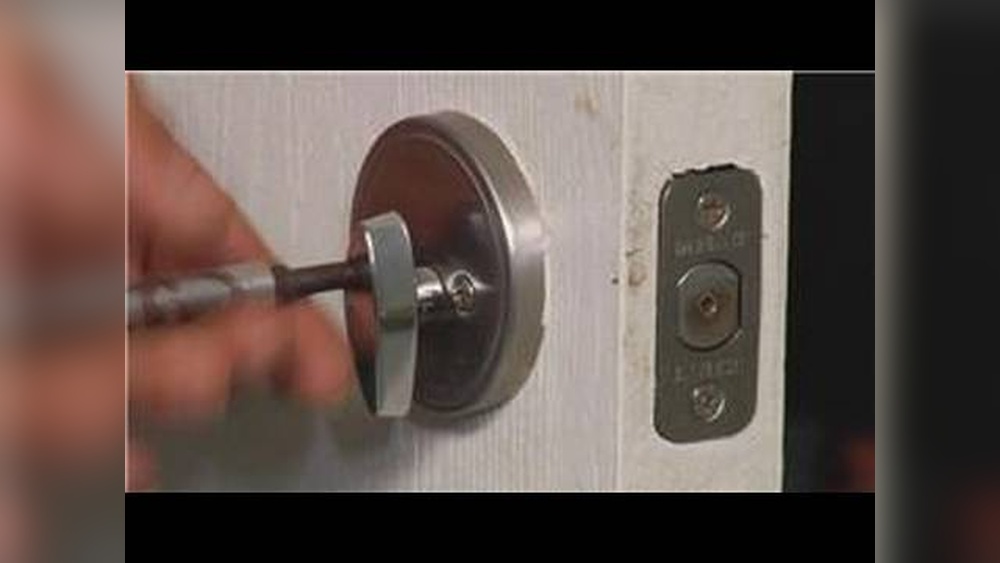
Start by unlocking the door to access the deadbolt easily. Look for the screws on the interior side of the lock. These screws hold the lock components together. Use a screwdriver to remove them carefully. Keep the screws safe for reuse or disposal. Without unlocking, the lock parts may not come apart smoothly.
Detaching The Lock Components
After removing the screws, gently pull off the interior lock plate. Next, remove the exterior lock faceplate by pulling it straight out. The deadbolt latch is inside the door edge. Unscrew the latch plate to free the deadbolt mechanism. Pull the deadbolt out from the door. Check for any parts still attached and remove them.
Preparing The Door
Preparing the door is an important step before replacing a deadbolt. It helps the new lock fit correctly and work smoothly. Taking time to prepare the door can save trouble later. This step includes checking the door alignment and adjusting the strike plate.
Checking Door Alignment
Start by closing the door slowly. Notice if the door lines up with the frame. The door should close without gaps or resistance. Misaligned doors can cause the deadbolt to stick or not lock properly. Look for any spots where the door rubs against the frame. Use a level or a straight edge to check if the door is even. Small shifts in alignment can create big problems for your lock. Fixing this before installing the deadbolt makes sure it works well.
Adjusting The Strike Plate
The strike plate is the metal piece on the door frame. It catches the deadbolt when you lock the door. Check if the strike plate is in the right position. It should line up with the deadbolt bolt. If it is too high or low, the bolt may not fit. Unscrew the strike plate and move it slightly up or down. Test the door by locking and unlocking a few times. Make sure the bolt fits snugly without force. Adjusting the strike plate helps your new deadbolt work smoothly.
Installing The New Deadbolt
Installing a new deadbolt is a straightforward task with clear steps. This part of the process ensures your lock fits and works properly. Each action matters to keep your door secure and easy to use. Follow these simple steps to finish the installation with confidence.
Positioning The Lock
Place the new deadbolt on the door carefully. Align it with the existing holes for a perfect fit. Make sure the lock’s bolt slides smoothly into the strike plate. Check that the keyhole and thumb turn line up correctly on both sides.
Securing The Screws
Use a screwdriver to fasten the screws tightly. Start by hand to avoid stripping the threads. Tight screws keep the deadbolt steady and safe. Do not over-tighten, as this can damage the lock or door.
Testing The Lock Function
Turn the key or thumb turn to test the lock. Ensure the bolt moves freely without sticking. Lock and unlock the door several times. Confirm the deadbolt fully extends and retracts with ease.

Credit: www.homedepot.com
Common Issues And Fixes
Replacing a deadbolt can be simple, but some common issues might slow you down. Knowing these problems and their fixes helps you save time and effort. This section covers frequent deadbolt troubles and easy solutions.
Misalignment Problems
Misalignment happens when the deadbolt and strike plate do not line up. This stops the lock from turning smoothly. Measure the placement carefully before installing a new deadbolt. Adjust the strike plate by loosening its screws. Move it slightly up, down, or sideways. Tighten the screws and test the lock again. If needed, enlarge the hole in the door frame for a better fit. Proper alignment makes locking and unlocking easy and secure.
Sticky Lock Mechanisms
Sticky locks cause frustration during use. Dirt, rust, or lack of lubrication often cause this issue. Clean the lock with a soft cloth and a small brush. Spray graphite or silicone-based lubricant inside the keyhole and on the bolt. Avoid oil-based lubricants; they attract dirt. Work the key in and out several times to spread the lubricant. Repeat this process if the lock still feels stiff. Regular maintenance prevents stickiness and extends the lock’s life.
Maintenance Tips
Keeping a deadbolt in good shape makes replacement easier and extends its life. Regular care helps avoid common problems like sticking or jamming. Simple maintenance steps keep your lock working smoothly and safely.
Lubrication Recommendations
Use a dry lubricant or graphite powder for your deadbolt. Avoid oil-based products; they attract dust and dirt. Apply lubricant inside the keyhole and on the bolt mechanism. Do this twice a year or when the lock feels stiff. Proper lubrication reduces wear and helps the lock move freely.
Regular Inspection
Check the deadbolt regularly for signs of wear or damage. Look for loose screws or a misaligned strike plate. Test the lock by turning the key and knob several times. Early detection of issues prevents bigger problems later. Tighten any loose parts and fix alignment to keep the lock secure.
Credit: www.youtube.com
Frequently Asked Questions
How Difficult Is It To Replace A Deadbolt Lock?
Replacing a deadbolt is generally straightforward. With basic tools and clear instructions, most homeowners can complete it in 20-30 minutes. It involves removing the old lock, aligning the new one, and securing it. No advanced skills are usually needed.
What Tools Do I Need To Replace A Deadbolt?
You typically need a screwdriver, measuring tape, and possibly a drill. Most deadbolt kits include installation instructions and necessary screws. Having a level helps ensure proper alignment. These basic tools make the replacement process easier and faster.
Can I Replace A Deadbolt Without Professional Help?
Yes, many deadbolt replacements are DIY-friendly. Most locks come with detailed instructions. If you follow the steps carefully, you can save money and time. However, complex locks or damaged doors may require professional assistance.
How Long Does It Take To Replace A Deadbolt?
Replacing a deadbolt usually takes 20-30 minutes for an average DIYer. Time depends on experience and door condition. Preparing tools beforehand speeds up the process. Reading instructions fully before starting also helps.
Conclusion
Replacing a deadbolt is not very hard. Most people can do it with basic tools. Clear instructions and the right parts help a lot. It takes less than an hour for many. Safety improves when you install a good lock.
You save money by doing it yourself. Try it step by step and stay patient. A secure home feels better every day. Small efforts bring big peace of mind. Give it a try and see how simple it can be.