Are your string lights not turning on, or is the switch feeling loose and unresponsive? Changing a string light switch might seem tricky, but it’s easier than you think—and you don’t need to be an expert to do it.
In this guide, you’ll learn simple, clear steps to replace your switch safely and quickly. Imagine having your lights glowing perfectly again, adding warmth and charm to your space without any hassle. Keep reading, and you’ll have your string lights working like new in no time!

Credit: www.reddit.com
Tools And Materials Needed
Changing a string light switch requires a few basic tools and materials. Having everything ready makes the task easier and faster. This section lists what you need before starting.
Essential Tools For The Job
A screwdriver is a must for removing the old switch and installing the new one. Choose a flathead or Phillips based on your switch screws.
Wire strippers help remove the insulation from wires. This tool ensures safe and clean connections.
A voltage tester checks if the power is off. Always test wires to avoid electric shocks.
Needle-nose pliers assist in bending wires for better connections. They offer precision in tight spaces.
Materials Required
You will need a replacement switch that matches your current setup. Check the voltage and type before buying.
Electrical tape secures wire connections and prevents shorts. Use good quality tape for safety.
Wire nuts connect wires safely and hold them together. Pick the right size for your wires.
Optional: A small flashlight can help if you work in dim areas.
Safety Precautions
Safety is the top priority when changing a string light switch. Electricity can be dangerous. Taking proper steps protects you from harm. Follow clear safety rules before starting any work on electrical devices.
Simple precautions help avoid shocks and accidents. Prepare your workspace and tools carefully. Stay calm and focused through the process.
Turn Off The Power Source
Always switch off the power at the main circuit breaker. This stops electricity from flowing to the switch. Double-check that the string lights are off before touching wires. Use a non-contact voltage tester to confirm no current is present.
Use Insulated Tools
Choose tools with insulated handles. These protect you from electric shocks. Avoid using metal tools without insulation. Keep your hands dry and wear rubber-soled shoes for added safety.
Work In A Dry Area
Never work on electrical parts in wet or damp places. Water increases the risk of electric shock. Ensure the area around the switch is dry. If outside, wait for dry weather or use a dry cloth to wipe the surface.
Read The Manufacturer’s Instructions
Check the switch’s manual before you start. Follow all specific safety guidelines provided. Each switch may have different wiring or installation steps. Proper knowledge prevents mistakes and hazards.
Wear Safety Gear
Use safety glasses to protect your eyes from debris. Gloves can protect your hands from sharp wires and edges. Avoid loose clothing that can get caught in tools or wires.
Turning Off Power
Always switch off the power before changing a string light switch. This step keeps you safe from electric shock. Double-check the power is off by testing the switch.
Locate The Circuit Breaker
Start by finding the main circuit breaker panel in your home. It is often in the basement, garage, or utility room. Open the panel door carefully to see the switches inside. Look for the breaker that controls the area where your string lights are installed. It may be labeled as “lights” or “outdoor.”
Switch Off The Correct Breaker
Flip the breaker switch to the off position. This stops the electrical power flowing to the string light switch. Double-check by trying to turn on the string lights. They should not light up. If they do, turn off the main breaker to cut power to the whole house.
Use A Voltage Tester
Safety first. Use a voltage tester on the switch wires to be sure power is off. Touch the tester’s probes to the wires. If the tester does not light up or beep, the power is off. Never work on electrical wiring without confirming no electricity is present.
Removing The Old Switch
Removing the old switch is the first step in changing a string light switch. It requires careful handling to avoid damage or injury. Follow each step slowly and safely. Prepare your tools and workspace before starting.
Turn Off The Power
Switch off the power at the breaker box. This stops electricity flow to the switch. Double-check by flipping the switch to see if the lights turn off. Safety first.
Remove The Switch Cover
Use a screwdriver to take off the switch cover plate. Keep the screws safe for later use. The cover reveals the wiring and the switch itself.
Unscrew The Old Switch
Unscrew the switch from the electrical box. Hold the switch steady as you remove the screws. Pull the switch out gently to access the wires.
Disconnect The Wires
Note the position of each wire on the switch. Use a screwdriver to loosen the terminal screws. Carefully pull the wires free. Avoid pulling on the wires themselves.
Identifying Wires
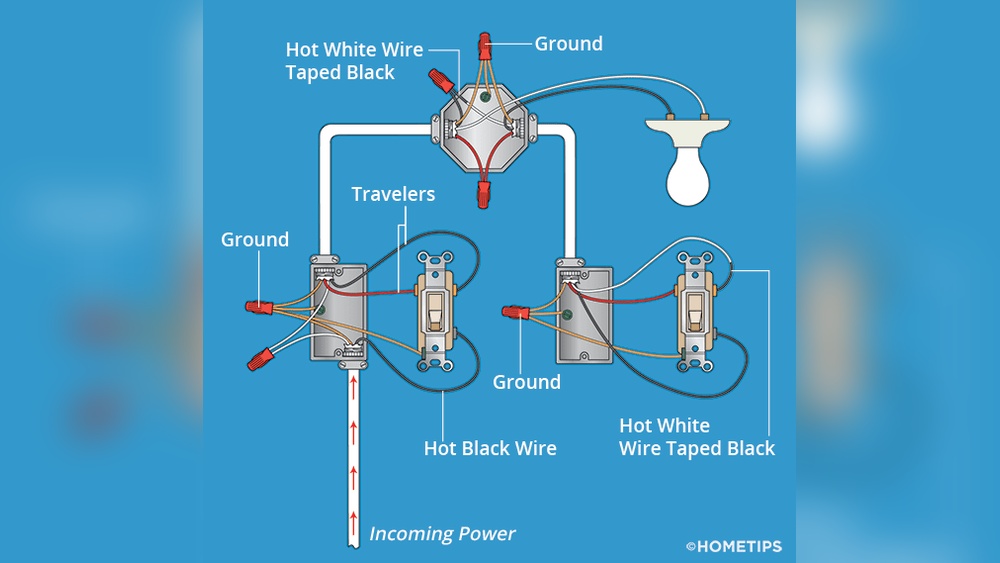
Identifying wires is the first step to changing a string light switch safely. Knowing which wire does what helps avoid mistakes and keeps you safe. Wires come in different colors and types. Each wire has a special role in the switch setup.
Learning to recognize these wires makes the replacement process easier. Take your time to look closely at each wire. Use the right tools to check them properly.
Understanding Wire Colors
Wire colors show their purpose in the circuit. The black wire usually carries power from the source. The white wire acts as the neutral return path. A green or bare copper wire is the ground. Knowing these colors helps you connect wires correctly.
Using A Voltage Tester
A voltage tester checks if a wire has electric current. It helps find the live wire safely. Touch the tester to each wire carefully. The tester lights up or beeps if the wire is live. This step prevents shocks and mistakes.
Labeling Each Wire
Label wires before removing the old switch. Use tape and a marker or small tags. Mark the black, white, and ground wires clearly. This makes connecting the new switch easier. It saves time and avoids confusion during installation.
Connecting The New Switch
Connecting the new switch is a key step in changing a string light switch. It controls the power flow to your lights. Proper connection ensures safety and functionality. Follow simple steps to link the wires correctly.
Identify The Wires
First, check the wires in your switch box. Usually, there are two or three wires: live, neutral, and ground. The live wire carries electricity. The neutral wire completes the circuit. The ground wire protects from electrical shocks. Use a tester to confirm each wire.
Attach The Wires To The Switch
Connect the live wire to the switch’s common terminal. Attach the neutral wire to the correct terminal, if your switch has one. Connect the ground wire to the green screw or ground terminal. Tighten all screws securely to avoid loose connections.
Secure The Switch And Test
Place the switch back into the box carefully. Screw it in without overtightening. Restore power and test the switch by turning the string lights on and off. Check for proper operation and no flickering. If it works well, close the switch plate.
Securing The Switch And Cover
Securing the switch and cover is the final step in changing a string light switch. It keeps the switch safe and stops any electrical problems. Properly securing helps the switch last longer and stay stable.
Take your time to fit the switch back into the box. Make sure all wires are tucked neatly inside. This prevents pinching or damage when you close the cover.
Align The Switch With The Mounting Holes
Hold the switch steady inside the box. Line up the screw holes on the switch with those on the box. This makes it easier to screw the switch in straight and tight.
Use The Correct Screws To Fasten The Switch
Use screws that fit the switch and box properly. Tighten the screws just enough to hold the switch firmly. Avoid over-tightening, which can crack the switch or box.
Attach The Cover Plate Securely
Place the cover plate over the switch carefully. Match the screw holes on the cover with those on the switch. Tighten the screws to hold the cover in place, but not too tight.
Test The Switch For Stability
After securing, gently wiggle the switch. It should feel firm and not move. A loose switch can cause problems or safety risks.
Restoring Power And Testing
Restoring power and testing the string light switch is the final step in the process. It ensures the switch works correctly and safely. This step helps confirm the installation is successful and the lights respond as expected.
Take time to check everything carefully. This avoids any electrical issues or damage to the string lights. Follow the steps below to restore power and test the switch properly.
Restore Power To The Circuit
Turn the circuit breaker back on at the main electrical panel. Make sure the breaker controlling the string light switch is in the ON position. This restores electricity to the switch and string lights.
Check The Switch Operation
Flip the switch on and off slowly. Watch the string lights closely. They should turn on and off with the switch. If the lights do not respond, double-check all wiring connections.
Inspect For Any Issues
Look for flickering lights or unusual sounds. These signs may indicate a wiring problem. Turn off the power immediately if you notice any issue. Fix wiring or seek professional help before using again.
Test Multiple Times
Switch the lights on and off several times. This confirms the switch works consistently. Consistent operation means your replacement was successful.
Troubleshooting Common Issues
Changing a string light switch is simple, but problems can happen. Troubleshooting helps find and fix these issues fast. This section covers common problems and easy ways to solve them. Understanding these tips saves time and keeps your lights working well.
Checking The Power Supply
Start by making sure the power supply is working. Look at the outlet to see if it has power. Try plugging another device into the same outlet. If it does not work, the problem is the outlet or circuit breaker. Reset the breaker or try a different outlet.
Inspecting The Switch Connections
Loose or wrong connections cause the switch to fail. Turn off the power before checking wires. Look for any loose or disconnected wires on the switch. Tighten screws and reconnect wires as needed. Make sure wires match the switch instructions.
Testing The Switch Functionality
Sometimes the switch itself is broken. Use a tester or multimeter to check the switch. A working switch shows continuity when turned on. Replace the switch if there is no continuity. This step ensures the switch is not the problem.
Examining The String Lights
Faulty string lights may cause issues. Check the bulbs for damage or burn-out. Replace any broken or missing bulbs. Inspect the light string for cuts or frays in the wire. Damaged wires need repair or replacement.

Credit: www.youtube.com
Credit: www.ccfpjamaica.com
Frequently Asked Questions
How Do I Safely Turn Off Power Before Changing A String Light Switch?
Always switch off the circuit breaker to cut power. Use a voltage tester to confirm no electricity flows. Safety first prevents shocks or injuries during the switch replacement.
What Tools Are Needed To Change A String Light Switch?
You need a screwdriver, wire stripper, voltage tester, and replacement switch. These tools help remove the old switch and install the new one properly and safely.
Can I Replace A String Light Switch Myself?
Yes, with basic electrical knowledge and proper safety measures, you can. Follow step-by-step instructions carefully to avoid hazards and ensure the switch works correctly.
How Do I Connect Wires To The New String Light Switch?
Match wire colors to corresponding terminals on the switch. Tighten screws firmly to secure wires. Proper connections ensure the switch functions without electrical issues.
Conclusion
Changing a string light switch is simple and safe with the right steps. Always turn off the power before starting work. Use basic tools and follow instructions carefully. Take your time to avoid mistakes and ensure everything fits well. After replacing the switch, test it to confirm it works properly.
This small fix can brighten your space quickly and easily. No need to call a professional for this task. Now you can enjoy your string lights anytime you want.