Are you tired of harsh, bright lights in your home? Changing your regular light switch to a dimmable one can instantly transform your space, giving you full control over the mood and brightness.
Imagine setting the perfect lighting for movie nights, cozy dinners, or relaxing evenings—all with a simple switch. In this guide, you’ll learn exactly how to make this easy upgrade yourself, even if you’re not an expert. Keep reading, and you’ll discover step-by-step tips to bring more comfort and style to your home lighting right now.

Credit: www.youtube.com
Choosing The Right Dimmer Switch
Choosing the right dimmer switch matters for a smooth lighting upgrade. It controls the brightness of your lights and sets the right mood. Picking the correct one ensures safety and works well with your bulbs.
Types Of Dimmer Switches
There are several types of dimmer switches. Rotary dimmers turn by twisting a knob. Slide dimmers use a sliding control to adjust light. Touch dimmers respond to a light tap. Each type offers a different way to control brightness.
Compatibility With Bulbs
Not all dimmers work with every bulb. Some dimmers suit LED bulbs, others fit incandescent or halogen. Check the packaging for bulb compatibility. Using the right match prevents flickering or damage.
Power Ratings And Load Capacity
Every dimmer has a power rating. This shows the maximum wattage it can handle. Make sure the combined wattage of your bulbs does not exceed this limit. Overloading can cause the dimmer to fail or become unsafe.
Credit: www.homedepot.com
Tools And Materials Needed
Changing a light switch to a dimmable one needs some tools and materials. Having everything ready makes the task easier and faster. This section lists what you need before starting.
Essential Tools
- Screwdriver set – both flathead and Phillips types
- Voltage tester – to check power is off
- Wire stripper – to remove insulation cleanly
- Pliers – for bending and twisting wires
- Electrical tape – for securing wire connections
- Drill (optional) – for mounting screws if needed
Safety Equipment
- Insulated gloves – to protect against electric shock
- Safety goggles – to shield your eyes from debris
- Non-conductive footwear – to avoid grounding yourself
- Flashlight – to see clearly if power is off
Dimmer Switch Components
- Dimmer switch – compatible with your light type
- Mounting plate – to secure the switch to the wall
- Wire nuts – to connect wires safely
- Instruction manual – for specific installation steps
Preparing For Installation
Preparing for installation is the first step to change your light switch to a dimmable one. This process needs care and attention to ensure safety. Follow each step closely to avoid accidents. Make sure you have all tools ready before starting.
Turning Off Power
Start by turning off the power to the switch at the circuit breaker. This stops electricity flow and keeps you safe. Do not skip this step. Confirm the switch is off before moving on.
Testing For Live Wires
Use a voltage tester to check if wires are live. Touch the tester to each wire carefully. If the tester shows no voltage, the wires are safe to handle. Always test twice to be sure.
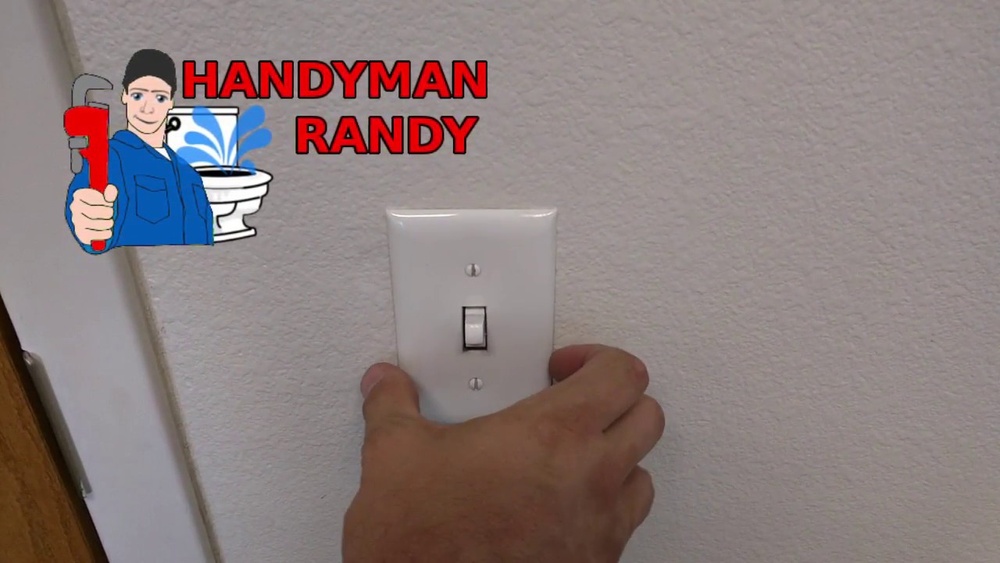
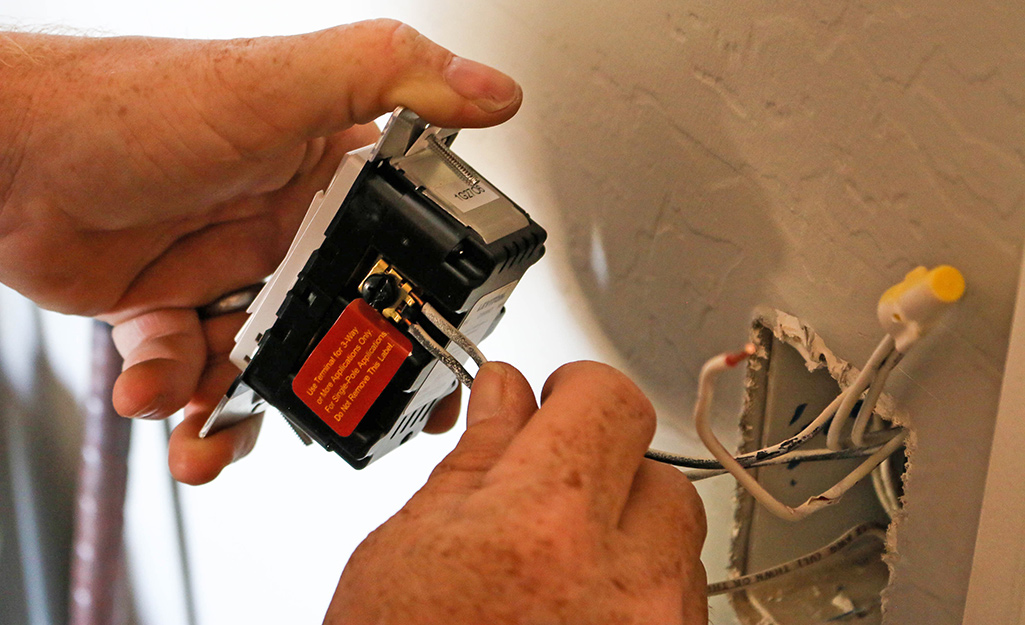
Removing The Old Switch
Unscrew the switch cover plate. Then, remove the screws holding the switch to the wall box. Gently pull the switch out to see the wires. Note how wires are connected before disconnecting them.
Installing The Dimmer Switch
Installing a dimmer switch is a simple way to control your room’s lighting. It lets you adjust the brightness to fit your mood. This section guides you through the basic steps to install a dimmer switch safely and correctly.
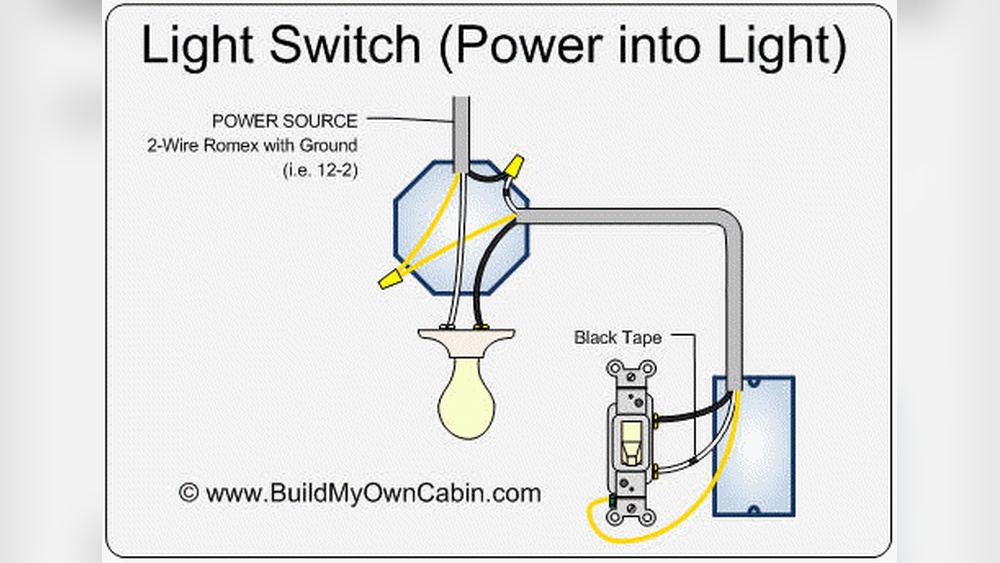
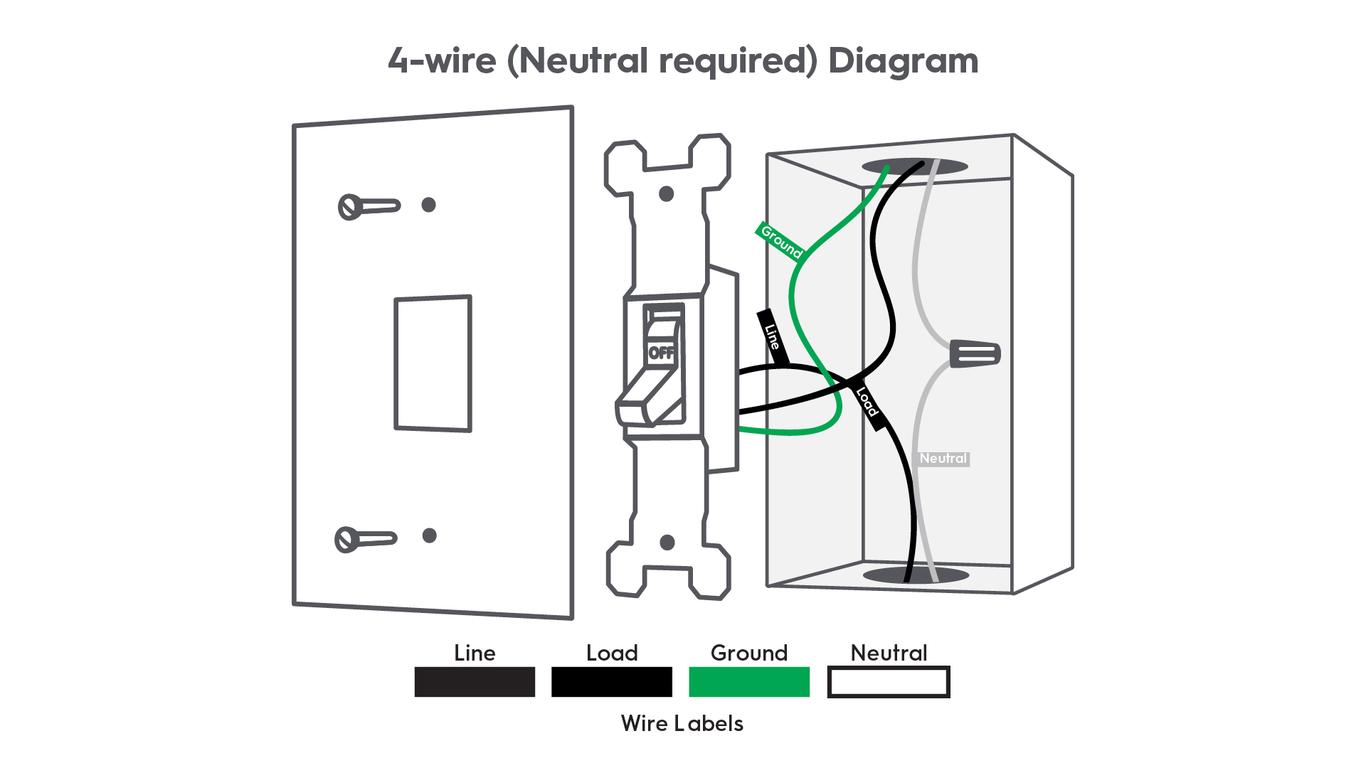
Wiring The Dimmer
Turn off the power at the breaker before starting. Remove the old switch by unscrewing it. Notice the wires connected to it. Connect the dimmer switch wires to the house wires. Match black to black and green or copper to ground. Use wire nuts to secure connections. Tuck the wires neatly into the box.
Securing The Switch
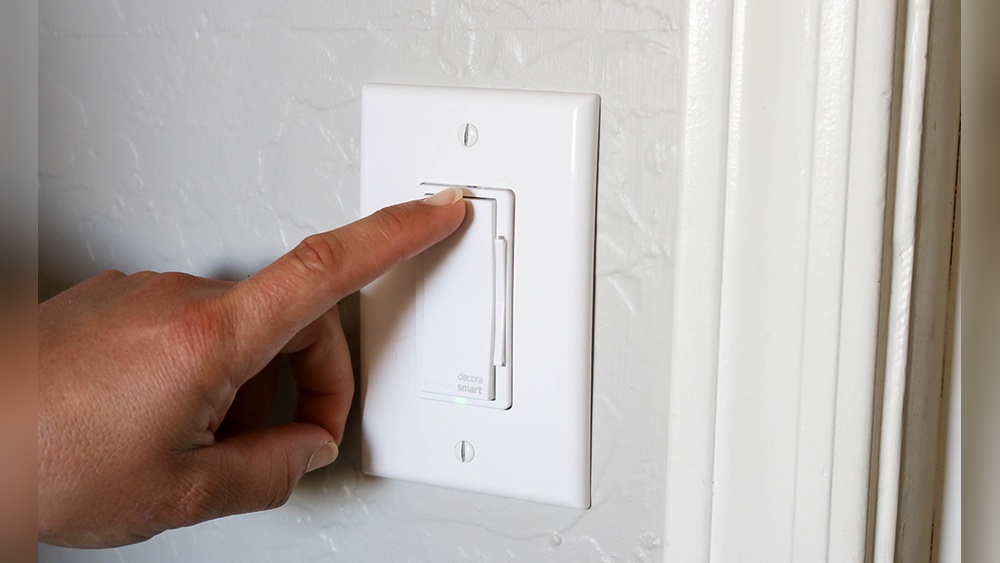
Push the dimmer switch into the wall box carefully. Align it so the screw holes match. Use the screws to secure the switch in place. Make sure it is firm and does not move. Avoid over-tightening to prevent damage.
Reattaching The Cover Plate
Place the cover plate over the switch. Line up the screw holes. Insert the screws and tighten them gently. Check the cover plate is flush with the wall. Restore power and test your new dimmer switch.
Testing And Troubleshooting
Testing and troubleshooting are important steps after changing your light switch to a dimmable one. These steps help ensure your new dimmer works correctly and safely. You can spot and fix problems early. This saves time and avoids damage to your lights or wiring.
Powering On And Testing
Turn the power back on at the circuit breaker. Switch on the dimmer and check if the light responds. Slowly move the dimmer knob or slide to see if the brightness changes. If the light flickers or does not change, power off immediately. Double-check the wiring and connections before trying again.
Common Issues And Fixes
One common issue is flickering lights. This may happen if the bulb is not dimmer-compatible. Replace it with a dimmable bulb. Another problem is the dimmer not turning off the light completely. Check if the dimmer switch matches the bulb’s wattage. Loose wiring can cause buzzing sounds. Tighten all wire connections and secure the dimmer firmly.
Adjusting Dimmer Settings
Most dimmers have a small adjustment screw or dial. This adjusts the minimum brightness level. Use a screwdriver to turn it slowly. Find the lowest setting where the light stays stable without flickering. Test the dimmer at different brightness levels. This ensures smooth dimming and saves bulb life.
Credit: www.gelighting.com
Safety Tips And Best Practices
Changing a light switch to a dimmable one can improve your home’s lighting and save energy. Safety is very important during this task. Following best practices reduces risks and ensures your new switch works well.
Avoiding Electrical Hazards
Turn off power at the circuit breaker before starting. Use a voltage tester to confirm no electricity flows to the switch. Never work on live wires. Wear insulated gloves to protect your hands. Keep the work area dry and clear of clutter. Use proper tools designed for electrical work only.
Maintenance Tips
Check the dimmer switch regularly for signs of wear. Tighten any loose screws or connections. Clean dust and debris from the switch cover with a dry cloth. Avoid using harsh chemicals near the switch. Replace the dimmer switch if it flickers or feels hot to touch. Proper maintenance keeps the dimmer safe and functional.
When To Call A Professional
Call an electrician if you are unsure about wiring. Complex electrical systems need expert handling. If the dimmer switch causes buzzing or sparks, stop using it. Professionals can fix tricky wiring or replace faulty parts safely. Hiring a pro prevents accidents and ensures proper installation.
Frequently Asked Questions
How Do I Replace A Standard Switch With A Dimmable One?
Turn off the power first. Remove the old switch carefully. Connect the dimmer switch wires matching colors. Secure the dimmer switch and restore power. Test the dimmer to ensure it works properly.
What Tools Are Needed To Change To A Dimmable Switch?
You need a screwdriver, wire stripper, voltage tester, and the dimmer switch. These tools ensure safe removal and installation of the dimmer switch.
Can All Light Bulbs Work With Dimmable Switches?
No, only dimmable bulbs work with dimmer switches. Check bulb packaging to confirm compatibility. Using non-dimmable bulbs can cause flickering or damage.
Is It Safe To Install A Dimmer Switch Myself?
Yes, if you follow safety precautions and turn off power. Use a voltage tester to confirm no electricity flows. If unsure, hire a licensed electrician for safety.
Conclusion
Changing a light switch to dimmable is a smart home upgrade. It lets you control brightness and save energy. Choose the right dimmer switch for your bulbs. Turn off power before starting the work for safety. Follow the steps carefully and test the switch after installation.
Enjoy the cozy light and mood you create. Small changes make a big difference in your space. Try it yourself and see how easy it can be.