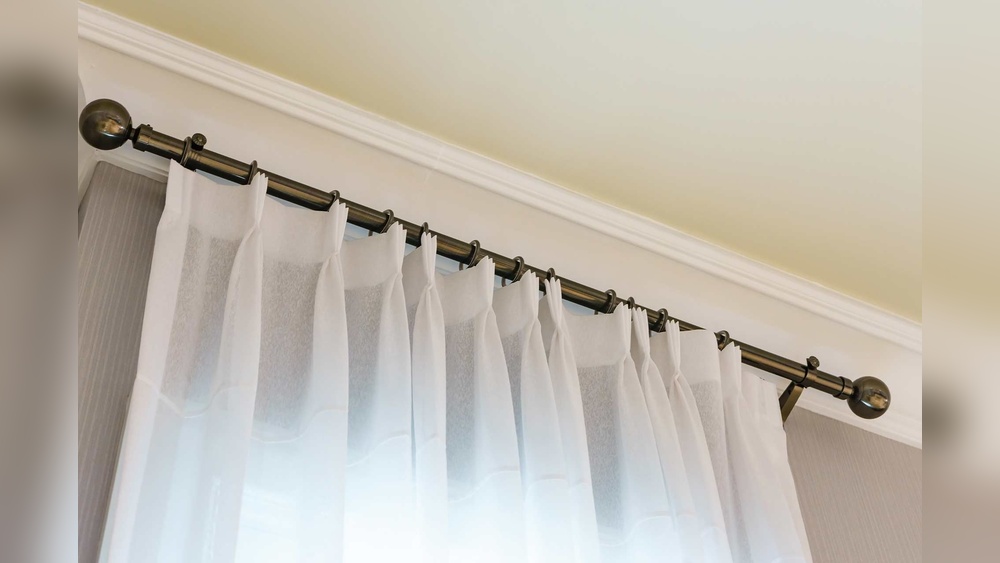
Are you tired of cluttered walls and searching for a simple way to organize your space? Putting up wall hooks can be the perfect solution to keep your things tidy and within reach.
But if you’re unsure how to do it right, you might end up with crooked hooks or damaged walls. Don’t worry—this guide will walk you through easy, step-by-step instructions to hang wall hooks like a pro. By the end, you’ll have the confidence to add style and function to any room in your home.
Ready to transform your walls? Let’s get started!
Credit: www.youtube.com
Choosing The Right Wall Hooks
Choosing the right wall hooks is key to a successful hanging project. The right hooks hold your items securely and protect your walls. This section helps you pick hooks that fit your needs and wall types. Simple steps lead to strong and lasting results.
Types Of Wall Hooks
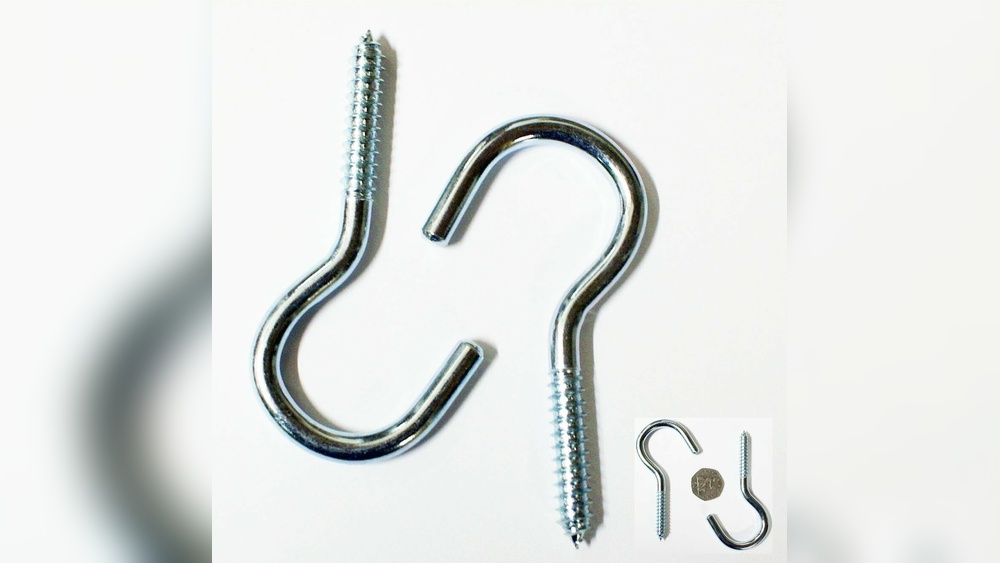
Wall hooks come in many styles. Some have adhesive backs for easy use. Others require nails or screws for extra strength. There are single hooks, double hooks, and decorative hooks. Choose a style that fits what you want to hang.
Materials And Weight Limits
Hooks are made from metal, plastic, or wood. Metal hooks usually hold more weight. Plastic hooks work well for light items. Check the weight limit on the package. Never exceed the hook’s weight limit to avoid damage.
Matching Hooks To Wall Surfaces
Different walls need different hooks. Drywall can hold hooks with anchors or adhesive. Tile walls need special hooks for smooth surfaces. Wood walls allow nails or screws easily. Match the hook type to your wall for best results.
Tools And Materials Needed
Putting up wall hooks is easier with the right tools and materials. Having everything ready helps the process go smooth. It also keeps your walls safe from damage. This guide lists what you need to prepare before starting.
Basic Tools Checklist
- Wall hooks or hangers
- Measuring tape
- Pencil for marking spots
- Level to keep hooks straight
- Drill or screwdriver
- Wall anchors for extra support
- Hammer
Optional Tools For Different Walls
- Stud finder for drywall
- Masonry drill bit for brick or concrete
- Plastic anchors for hollow walls
- Protective gloves
- Masking tape to mark drill spots
Preparing The Wall
Preparing the wall is the first step to hang wall hooks properly. A clean and well-marked wall makes the process easier. It helps the hooks stay strong and last longer.
Cleaning The Surface
Start by cleaning the wall surface. Use a damp cloth to remove dust and dirt. Dirt can stop the hook from sticking well. Let the wall dry completely before moving on.
Finding The Best Spot
Choose the spot where the hook will hold the most weight. Look for a solid part of the wall, not a weak or crumbly area. Avoid areas with pipes or wires behind the wall.
Marking Drill Points
Use a pencil to mark where the screws will go. Measure carefully to keep the hook level. Double-check your marks before drilling to avoid mistakes.
Installing Wall Hooks On Drywall
Installing wall hooks on drywall can be simple with the right tools and steps. Drywall is a soft material, so it needs extra support to hold hooks firmly. Using the correct anchors and screws will keep hooks stable and prevent damage to the wall. Follow easy steps to secure your hooks safely.
Using Anchors And Screws
Choose the right anchor for your hook size and weight. Plastic anchors work for light items, metal anchors for heavier loads. First, drill a small hole in the drywall where you want the hook.
Insert the anchor gently into the hole. Tap it lightly with a hammer until it is flush with the wall. Next, screw the hook or screw into the anchor. Tighten it until secure, but do not overtighten.
This method spreads the load and stops the drywall from cracking or falling apart. Always check the weight limit of your anchor before use.
Avoiding Common Mistakes
Do not skip using anchors. Screwing directly into drywall can cause the hook to fall out. Avoid using large screws without anchors. It can damage the wall badly.
Measure and mark the spot carefully. Hooks placed unevenly look unprofessional. Use a level tool to keep hooks straight.
Do not overload the hooks. Heavy items may pull them out. Check the wall for pipes or wires before drilling. This prevents accidents or damage.
Installing Wall Hooks On Tile Or Concrete
Installing wall hooks on tile or concrete can be tricky. These surfaces are hard and need special tools. You must take care to avoid cracks or damage. The right steps will make hooks strong and safe. Follow simple tips to drill and secure hooks properly.
Drilling Tips For Hard Surfaces
Use a drill with a carbide or diamond-tipped bit. Start drilling slowly to avoid slipping. Mark the spot clearly before you begin. Keep the drill straight and steady. Use a small piece of tape on the drill bit to stop at the right depth. Let the drill do the work; don’t press too hard. Wear safety glasses to protect your eyes from dust.
Securing Hooks Safely
Choose anchors made for tile or concrete. Insert the anchor into the hole gently. Screw the hook into the anchor carefully. Check that the hook is tight but do not overtighten. Test the hook by pulling lightly to ensure it holds well. Use hooks with rubber pads to protect tile surfaces. Clean the area before starting to ensure good adhesion and fit.

Credit: lelloliving.com
Hanging Items Correctly
Hanging items correctly on wall hooks keeps your space tidy and safe. Proper placement helps avoid damage to walls and items. It also makes your room look neat and organized.
Balancing Weight
Always check the weight limit of each hook before hanging items. Place heavier items on stronger hooks or anchors. Distribute weight evenly to prevent hooks from pulling out. Avoid hanging too many heavy things on one hook.
Spacing Multiple Hooks
Space hooks evenly for a balanced look and easy access. Measure distance between hooks to fit the size of items. Leave enough room so items don’t overlap or crowd each other. Proper spacing helps keep walls in good condition.
Maintaining Wall Hooks
Wall hooks help organize your space and keep things tidy. Maintaining them ensures they last longer and hold items securely. Simple care can prevent damage to walls and hooks. It also helps keep your room looking neat. Follow easy steps to maintain your wall hooks well.
Regular Checks
Check your wall hooks often. Look for loose screws or nails. Tighten them if needed. Make sure hooks do not wobble or tilt. Worn hooks may not hold weight safely. Replace hooks that show signs of rust or breakage. Regular checks stop accidents before they happen. Keep the area around hooks clean too.
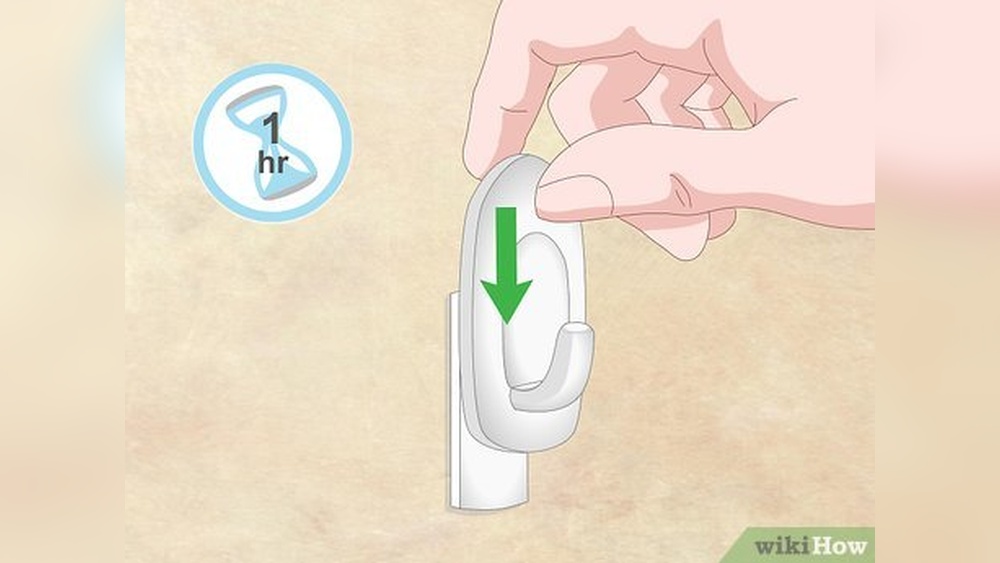
Removing Hooks Without Damage
Remove hooks carefully to avoid wall damage. Pull hooks gently and slowly. Use a putty knife to lift stubborn hooks. Avoid pulling hard to prevent paint peeling. After removal, fill holes with spackling paste. Smooth the surface with sandpaper once dry. Paint over the patch to match the wall. This keeps your walls smooth and fresh.

Credit: diy.stackexchange.com
Frequently Asked Questions
How Do I Choose The Right Wall Hooks?
Select wall hooks based on weight capacity, wall type, and hook style. Consider the room’s decor and hook purpose for best results.
What Tools Are Needed To Install Wall Hooks?
You need a drill, screws, wall anchors, a screwdriver, a pencil, and a level for proper installation.
Can I Put Wall Hooks On Drywall Without Studs?
Yes, use wall anchors or toggle bolts to secure hooks safely on drywall without studs.
How High Should I Place Wall Hooks?
Place wall hooks at a comfortable height, usually between 5 to 6 feet, depending on usage.
Conclusion
Putting up wall hooks can make your space neat and useful. Choose the right hook for your wall type. Use simple tools and follow easy steps. Take your time to measure and mark spots well. Secure hooks tightly so they hold weight safely.
Enjoy hanging coats, bags, or decorations with ease. Small efforts bring big changes to your room. Try it today and see the difference yourself.