Are you tired of struggling with wall hooks that never seem to hold up? Whether you want to hang your favorite picture, organize your keys, or display your latest artwork, knowing how to nail wall hooks properly makes all the difference.
Imagine a simple trick that keeps your hooks sturdy and your walls damage-free. You’ll discover easy steps that anyone can follow to get perfect results every time. Ready to transform your space with confidence? Let’s dive in and make your walls work for you!
Choosing The Right Wall Hooks
Choosing the right wall hooks is key to a neat and organized space. The perfect hook holds your items securely and matches your room’s look. Picking the wrong hook can cause damage or fail to support your items. It is important to know the different types, materials, and styles before you buy.
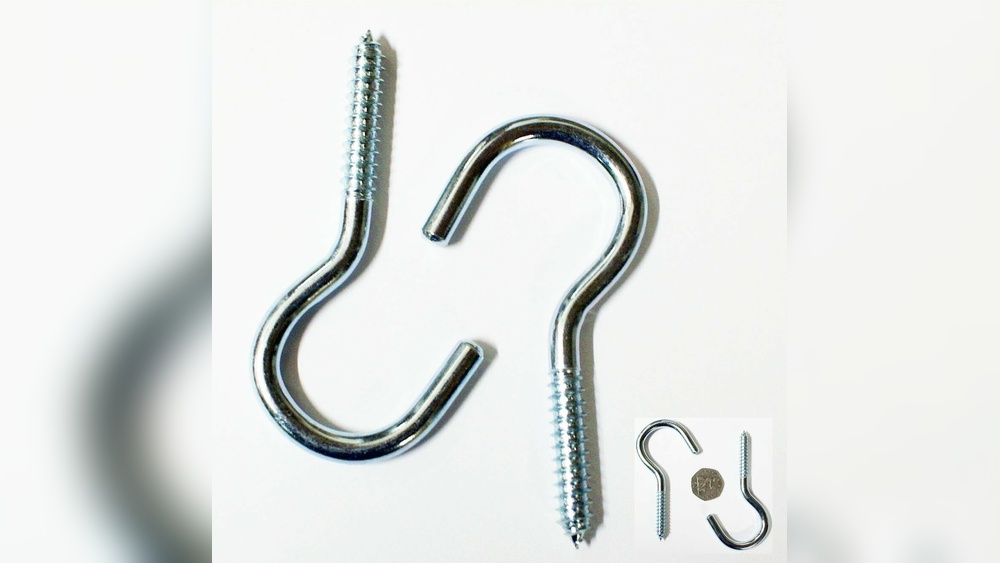
Types Of Wall Hooks
Wall hooks come in many styles. Some hooks have one arm, while others have multiple arms. There are adhesive hooks, screw-in hooks, and over-the-door hooks. Each type suits different needs and surfaces. For example, adhesive hooks are good for light items and smooth walls. Screw-in hooks hold heavier items but need drilling. Choose the type that fits your wall and what you want to hang.
Materials And Weight Limits
Hooks are made from metal, plastic, wood, or a mix. Metal hooks are strong and long-lasting. Plastic hooks work well for light items. Wood hooks add a natural look but may not hold heavy things. Always check the weight limit on the package. Use hooks that can hold more than your item’s weight. This prevents falling and wall damage.
Matching Hooks To Room Style
Wall hooks should blend with your room’s style. Modern rooms suit simple metal or clear plastic hooks. Rustic rooms look good with wooden or wrought iron hooks. Bright colors add fun to children’s rooms. Choose a hook color and design that fits your space. This makes your room look tidy and stylish.

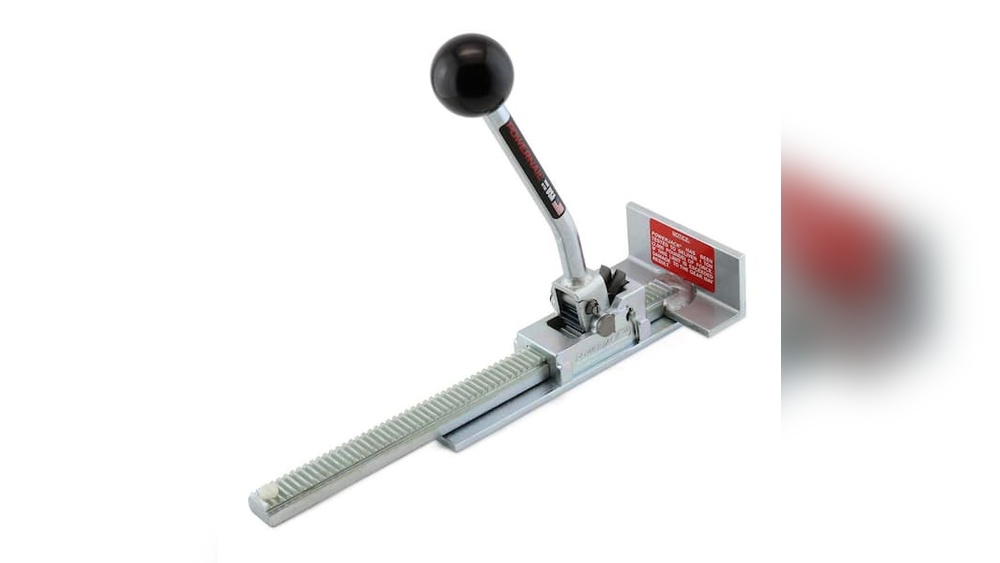
Credit: garrettwade.com
Tools Needed For Nailing Wall Hooks
Nailing wall hooks requires the right tools for a secure hold. Using proper tools makes the job easier and safer. It helps to avoid damage to your walls.
This section lists tools needed for nailing wall hooks. Some are essential, while others improve accuracy. Choose what fits your project and skills.
Essential Tools Checklist
- Hammer – for driving nails into the wall
- Wall hooks – choose the right size and type
- Nails – sharp and suitable for your wall type
- Measuring tape – to measure hook placement
- Pencil – for marking spots on the wall
Optional Tools For Accuracy
- Level – ensures hooks are straight
- Stud finder – locates studs for stronger support
- Small drill – makes pilot holes for easier nailing
- Protective gloves – for hand safety
- Safety goggles – protect eyes from flying debris
Preparing The Wall Surface
Preparing the wall surface is the first step to hang wall hooks properly. This process helps the hooks stay strong and last longer. A clean and safe wall prevents damage and keeps your home neat. Follow simple steps to get the wall ready before nailing the hooks.
Cleaning And Inspecting The Wall
Start by cleaning the wall where you want to place the hook. Use a damp cloth to remove dust and dirt. A clean surface helps the hook stick or nail better. After cleaning, look closely for cracks, holes, or peeling paint. These problems can make the hook fall or damage the wall. Fix any small holes with filler. Let it dry before you nail the hook.
Locating Studs And Avoiding Wiring
Studs are wooden beams behind the wall that hold heavy things. Find studs using a stud finder or by tapping the wall. Hooks nailed into studs hold more weight safely. Avoid areas with electrical wires or plumbing. Use a wire detector or check your home’s wiring plan. Nailing into wires can cause shocks or damage. Mark safe spots clearly before you start nailing.
Measuring And Marking Placement
Measuring and marking the placement of wall hooks is a key step to get them right. This step helps avoid mistakes and uneven hooks. Careful measurement ensures your hooks look neat and work well.
Taking time to mark the exact spot makes hanging easier. You will save effort and make your wall look good. Follow simple tools and rules for perfect placement every time.
Choosing The Right Height
Pick a height that fits your space and use. For coats, place hooks around 5 feet high. For keys or small items, lower heights work better. Think about who will use the hooks most.
Adjust height to match furniture or wall features. Keep the hooks easy to reach but out of the way. Consistency in height helps your wall look organized.
Using A Level And Measuring Tape
Use a measuring tape to find exact spots on the wall. Measure twice to avoid errors. Mark light pencil dots where each hook will go.
Use a level to keep hooks straight across the wall. A crooked hook looks sloppy and can cause items to fall. Hold the level up and adjust marks until perfectly even.
These tools make your job quick and accurate. Precise marks save time and improve the final look. Take a moment for this step; it pays off.
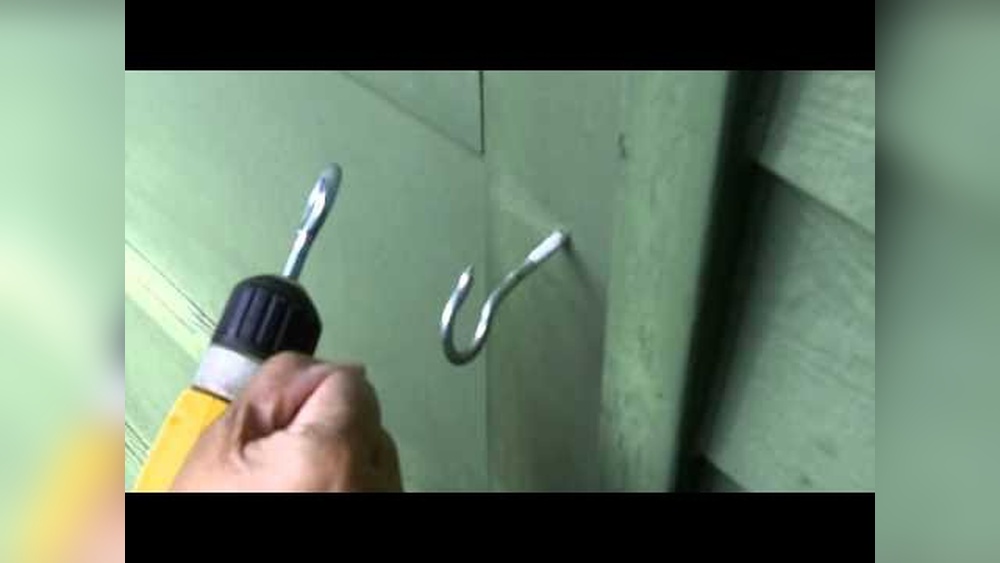
Nailing Techniques For Secure Hooks
Nailing wall hooks securely requires the right techniques. Poor nailing can cause hooks to fall or damage walls. Using proper angles and depth makes hooks hold stronger. Different wall materials need different approaches. This section covers key tips for nailing hooks safely and firmly.
Angle And Depth Tips
Drive nails at a slight angle, about 45 degrees. This angle helps nails grip the wall better. Avoid nailing straight in, as nails may loosen over time. Push the nail just deep enough to hold the hook firmly. Do not hammer too far, or the hook may not hang properly. A shallow nail can easily pull out, so find the right depth.
Handling Different Wall Types
Drywall is soft and can crack or crumble if nailed wrong. Use a small pilot hole or a wall anchor for heavy hooks. Brick or concrete walls need masonry nails or screws. Avoid forcing regular nails into hard surfaces. Wooden walls allow nails to go in easily but check for hidden wiring or pipes. Adjust your nailing method based on the wall type for best results.
Testing Hook Stability
Testing the stability of wall hooks is key to making sure they hold your items safely. A hook that feels loose or wobbly can cause damage to your wall or drop your belongings. Checking stability after installation helps avoid these problems. It also ensures the hook lasts longer and works well for daily use.
Weight Testing Methods
Start by hanging something light on the hook. Use a small bag or a jacket. Wait a few minutes. Check if the hook moves or pulls away from the wall. Next, try a heavier item close to the weight you expect to hang. Watch for any signs of slipping or bending. This test shows if the hook can carry your items without falling.
Adjusting Placement If Needed
If the hook feels loose or unstable, try moving it slightly. Shift the hook a little up or down. Choose a spot with a solid surface, like a stud or wall beam. Avoid drywall areas that feel soft. Use a level to keep the hook straight. Test again after moving. Repeat until the hook feels strong and secure.
Common Mistakes To Avoid
Nailing wall hooks seems simple, but many make common mistakes. These errors can weaken the hook’s hold or damage your walls. Avoiding these pitfalls ensures your hooks stay strong and secure.
Overloading Hooks
One major mistake is putting too much weight on a hook. Each hook has a weight limit. Exceeding this can cause the hook to pull out or bend. Use hooks designed for heavy items if needed. Spread weight across multiple hooks for heavier objects.
Ignoring Wall Material Differences
Not all walls are the same. Drywall, plaster, and brick need different nails or anchors. Using the wrong type can cause hooks to fail. Check your wall type before nailing. Choose nails or anchors made for your wall material to ensure a firm hold.

Credit: www.amazon.com

Credit: www.amazon.com
Frequently Asked Questions
What Tools Do I Need To Nail Wall Hooks Properly?
You need a hammer, a nail set, a pencil, and a level. These tools help you position and secure hooks accurately and safely.
How Do I Choose The Right Spot For Wall Hooks?
Find a stud or use wall anchors for heavy items. Mark the spot with a pencil and ensure it’s level before nailing.
Can I Nail Wall Hooks Into Drywall Without Studs?
Yes, but use appropriate wall anchors to prevent damage. Anchors provide extra support and keep hooks stable on drywall surfaces.
How Deep Should I Nail Wall Hooks Into The Wall?
Nail the hooks until they are firmly anchored but avoid pushing too deep. Secure placement ensures they hold weight without damaging the wall.
Conclusion
Nailing wall hooks is simple with the right steps. Choose the correct hook and find a good spot. Use a level to keep hooks straight. Mark the spot before you start. Drill or hammer carefully to avoid damage. Test the hook to ensure it holds well.
Small efforts lead to strong, useful hooks. Now, you can hang items safely and neatly. Enjoy your organized space with confidence.