Are you staring at those stubborn anchors stuck in your wall, wondering how to get them out without causing damage? Removing anchors can feel tricky, especially when you want your walls to look perfect afterward.
But don’t worry—you’re just a few simple steps away from a clean, smooth surface. You’ll discover easy, effective ways to remove anchors from your wall quickly and safely. Keep reading, and you’ll learn how to tackle this task like a pro, saving time and avoiding common mistakes.

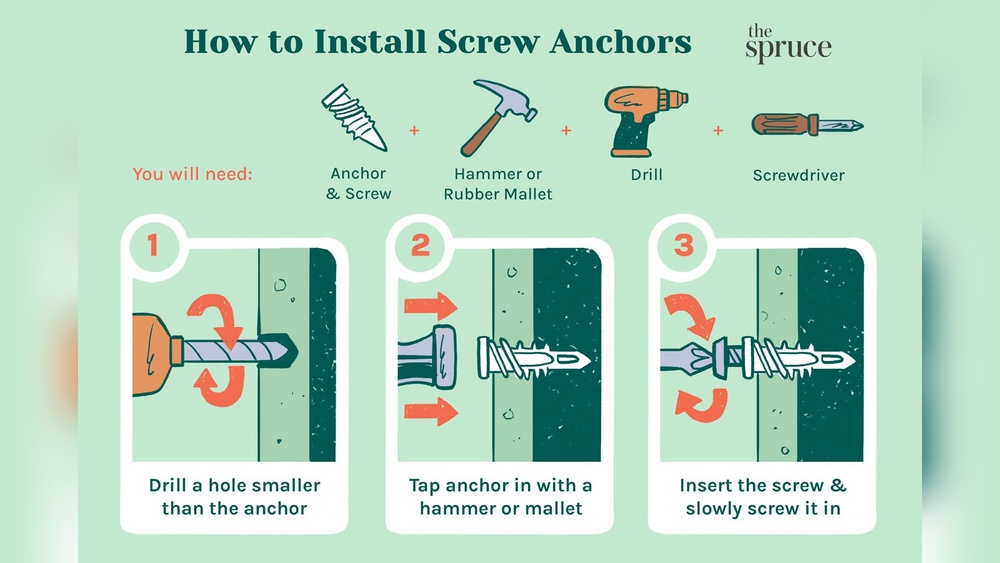
Credit: www.hgtv.com
Types Of Wall Anchors
Wall anchors come in several types, each designed for different tasks. Knowing these types helps you remove them safely and correctly. Some anchors hold light items, while others support heavy loads. Understanding their shapes and uses makes the removal process easier.
Plastic Expansion Anchors
Plastic expansion anchors are common and easy to spot. They are small, hollow tubes that expand inside the wall. You push or tap them into a pre-drilled hole. The plastic expands when you insert a screw, holding the anchor tight. Removing them usually means pulling or pushing them out carefully.
Toggle Bolts
Toggle bolts have metal wings that open inside the wall. These wings hold the anchor firmly against the drywall or hollow wall. They support heavy items like shelves or mirrors. To remove toggle bolts, you must unscrew them first. The wings then fold and come out easily.
Molly Bolts
Molly bolts are metal anchors with a sleeve that expands behind the wall. They work well for medium to heavy objects. When you insert a screw, the sleeve spreads out and locks in place. Removing molly bolts requires unscrewing and sometimes pushing the sleeve into the wall cavity.
Self-drilling Anchors
Self-drilling anchors do not need a pre-drilled hole. They have sharp threads that cut into drywall as you screw them in. These anchors are quick to install and hold light to medium loads. To remove, unscrew them slowly. They usually come out without much damage.
Tools Needed
Removing anchors from a wall requires the right tools. These tools help you work safely and quickly. Using the proper items makes the job easier. Here are the basic tools you will need for this task.
Screwdriver
A screwdriver helps to remove screws holding the anchor. Choose a screwdriver that fits the screw head well. A flathead or Phillips screwdriver works best for most anchors. This tool helps loosen the anchor without damaging the wall.
Pliers
Pliers grip the anchor tightly for easy removal. Needle-nose pliers work well for small or tight spaces. Use pliers to pull out anchors that do not unscrew easily. They provide a strong grip to avoid slipping.
Drill
A drill is useful for anchors stuck deep in the wall. Use a drill bit slightly smaller than the anchor size. Carefully drill around the anchor to loosen it. The drill helps remove tough anchors without breaking the wall.
Utility Knife
A utility knife cuts around the anchor for a clean removal. Score the wall surface gently to prevent damage. This tool is helpful for anchors with drywall or paint around them. It creates a neat edge for filling later.
Putty Knife
A putty knife smooths the wall after anchor removal. It helps scrape off leftover material and old putty. Use it to prepare the surface for patching and painting. The putty knife ensures a clean, flat wall finish.
Prepare The Area
Preparing the area before removing anchors from a wall is essential. It ensures safety and keeps your space clean. Taking time to prepare prevents damage and makes the process smoother. Start by organizing the wall and protecting nearby surfaces.
Clear The Wall Surface
Remove any pictures, shelves, or decorations from the wall. Clear the surface around the anchor. Dust and dirt can hide damage and make removal harder. Wipe the wall gently to clean the area. A clean wall helps you see the anchor clearly.
Protect Surrounding Areas
Cover floors and furniture near the wall with a drop cloth or old sheets. This stops dust and debris from spreading. Use painter’s tape to protect edges and trim. Wear gloves and safety glasses to protect yourself. Preparing the space keeps everything safe and tidy.
Removing Plastic Expansion Anchors
Removing plastic expansion anchors from a wall is a common task during home repairs or renovations. These anchors hold screws tightly in place, but they can be tricky to remove without damaging the wall. Knowing the right steps makes the process easier and cleaner.
This guide shows simple ways to remove plastic anchors safely. Follow each step carefully for the best results.
Unscrew The Anchor
Start by turning the screw counterclockwise. This often loosens the anchor inside the wall. Use a screwdriver that fits the screw head well. Keep turning until the screw comes out completely. Sometimes, the anchor will come out with it. If not, move to the next step.
Pull Out With Pliers
Grab the anchor’s edge with needle-nose pliers. Pull it gently but firmly straight out of the wall. Wiggle the anchor slightly to loosen it. Avoid bending or breaking it inside the wall. If it resists, do not force it hard. Use the drill method instead.
Use A Drill If Stuck
Choose a drill bit slightly larger than the anchor. Drill slowly into the anchor’s center. This breaks the anchor into small pieces inside the wall. Remove the loose parts with pliers or a vacuum. Be careful not to drill too deep. This method prevents wall damage while clearing the anchor.
Removing Toggle Bolts
Removing toggle bolts from a wall can be tricky. These anchors hold heavy items securely but need care to take out. Understanding the process helps avoid damage to your wall. Follow clear steps to remove toggle bolts safely and cleanly.
Unscrew And Collapse The Toggle
First, unscrew the bolt using a screwdriver. Turn it counterclockwise until loose. As you unscrew, the toggle will start to collapse inside the wall. Keep turning slowly to avoid breaking the bolt or wall surface.
Push The Toggle Into The Wall
Once the bolt is out, the toggle stays inside the wall cavity. Push the toggle gently into the wall using a thin tool or your finger. It will fall behind the drywall, hiding the hole. This step prevents the toggle from sticking out or causing damage.
Seal The Hole
After removing the toggle, fill the hole with spackle or wall filler. Use a putty knife to smooth the surface evenly. Let it dry, then sand lightly for a clean finish. Paint over the patch to match your wall color and hide the repair.

Credit: theturquoisehome.com
Removing Molly Bolts
Molly bolts are strong anchors used to hold heavy items on walls. Removing them can be tricky. It needs care to avoid damage to your wall. Follow these steps to remove molly bolts safely and easily.
Unscrew The Bolt
Start by turning the bolt counterclockwise. Use a screwdriver that fits well. Unscrew the bolt until it comes out completely. This step frees the inner part of the anchor.
Collapse The Sleeve
Next, push the sleeve inside the wall. Use a flat tool like a screwdriver. Press gently to fold or collapse the sleeve. This makes the anchor smaller and easier to remove.
Extract The Anchor
Finally, pull the collapsed anchor out of the wall. Use pliers if needed for better grip. Pull straight to avoid wall damage. Fill the hole afterward for a smooth finish.
Removing Self-drilling Anchors
Removing self-drilling anchors from a wall is a simple task with the right steps. These anchors are designed to hold tightly, but they can be taken out carefully to avoid wall damage. Follow these instructions to remove them safely and prepare your wall for repairs or new fixtures.
Unscrew The Anchor
Start by turning the anchor counterclockwise. Use your hand or a screwdriver for better grip. Keep turning until the anchor comes out. If it feels stuck, avoid forcing it. Move gently to prevent wall damage.
Use Pliers If Needed
When the anchor is hard to turn, use pliers. Grip the anchor firmly with the pliers. Twist it slowly to loosen the anchor. Pliers give extra strength for tough anchors. Be careful not to break the anchor inside the wall.
Fill The Hole
After removing the anchor, fill the hole. Use wall filler or putty to cover it. Apply with a putty knife and smooth the surface. Let it dry completely before sanding. This step prepares your wall for painting or new anchors.
Repairing The Wall
After removing anchors from a wall, the surface will likely have holes or rough spots. Repairing these areas is important for a smooth, clean finish. This process helps restore the wall’s look and prepares it for painting or decoration. Follow these simple steps to fix your wall quickly and easily.
Clean The Hole
Start by clearing any loose debris from the hole. Use a brush or vacuum to remove dust and small pieces. This step ensures the repair material sticks well. A clean hole gives a better, longer-lasting result.
Apply Spackle Or Putty
Fill the hole with spackle or wall putty using a putty knife. Press the material firmly into the hole to fill it completely. Smooth the surface by spreading the spackle evenly. Let it dry according to the product instructions before moving on.
Sand And Paint
Once dry, sand the patched area with fine-grit sandpaper. Sand until the surface feels smooth and even with the wall. Wipe away dust with a clean cloth. Finish by painting the repaired spot to match the rest of the wall. This step hides the repair and refreshes the wall’s look.
Tips For Best Results
Removing anchors from a wall can be tricky. Following some simple tips helps get the best results. These tips reduce damage to the wall and save time. Careful work and the right tools make the job easier. After removal, a clean finish keeps your wall looking neat.
Work Slowly And Carefully
Take your time to avoid damaging the wall. Pull anchors out gently, not with force. Small movements help loosen the anchor without making big holes. Patience prevents cracks and chipped paint. A slow approach leads to cleaner results.
Use Proper Tools
Choose tools designed for anchor removal. Needle-nose pliers work well for most anchors. A flathead screwdriver can help pry stubborn ones. Avoid using sharp tools that damage the wall. Proper tools protect your wall and make the task easier.
Match Paint Color
After removing anchors, small holes may remain. Use paint that matches your wall color. This hides holes and keeps the surface smooth. Test paint on a small spot before applying. Matching paint makes repairs nearly invisible.

Credit: www.youtube.com
Frequently Asked Questions
How Do You Safely Remove Wall Anchors?
To safely remove wall anchors, use pliers to grip and pull them out gently. For stubborn anchors, unscrew or tap them inward carefully. Avoid damaging the wall by working slowly and using the right tools.
What Tools Are Needed To Remove Wall Anchors?
You need pliers, a screwdriver, and sometimes a hammer or utility knife. Pliers help grip anchors, screwdrivers unscrew them, and knives can cut around the anchor for easy removal.
Can Wall Damage Be Avoided When Removing Anchors?
Yes, avoid wall damage by removing anchors slowly and carefully. Use proper tools and fill holes afterward with spackle or wall filler to restore the surface smoothly.
How To Fix Holes Left After Anchor Removal?
Fill holes with spackle or wall filler using a putty knife. Let dry, then sand smooth. Finally, repaint the area to match the wall color for a seamless finish.
Conclusion
Removing anchors from a wall is easier than it seems. Just follow the right steps and use simple tools. Take your time and be gentle to avoid wall damage. Fix any holes with putty or filler afterward. This keeps your wall smooth and ready for new decorations.
Remember, patience helps you get the best results. Now, you can confidently remove anchors without stress or mess.