Are you tired of nails that just won’t hold or screws that keep slipping out of your walls? Putting in a plastic wall anchor is the simple fix you need to hang shelves, pictures, or heavy items securely.
But if you’ve never done it before, it might seem tricky. Don’t worry—this guide will walk you through each easy step so you can feel confident and get the job done right. Keep reading, and soon you’ll know exactly how to put in a plastic wall anchor like a pro.
Choosing The Right Anchor
Choosing the right plastic wall anchor is key to a strong hold. The anchor must fit the wall type and the weight of the object. The wrong anchor can lead to damage or failure. Understanding the types and sizes helps make the best choice.
Types Of Plastic Anchors
Plastic anchors come in several types. Expansion anchors spread out in the wall to hold tight. Screw anchors have threads that grip the wall as you screw in. Hollow wall anchors open up behind drywall for extra support. Pick the type that matches your wall and the load.
Matching Anchor To Wall Material
Different walls need different anchors. Drywall anchors work well for light items on plaster or drywall. Concrete or brick walls need heavy-duty anchors that expand firmly in the hole. Choose anchors made for your wall to avoid crumbling or loose fits.
Size And Weight Considerations
Anchor size affects how much weight it can hold. Bigger anchors hold more weight but need larger holes. Match the anchor size to the screw size and the object’s weight. Always check the anchor’s weight limit before buying or installing.

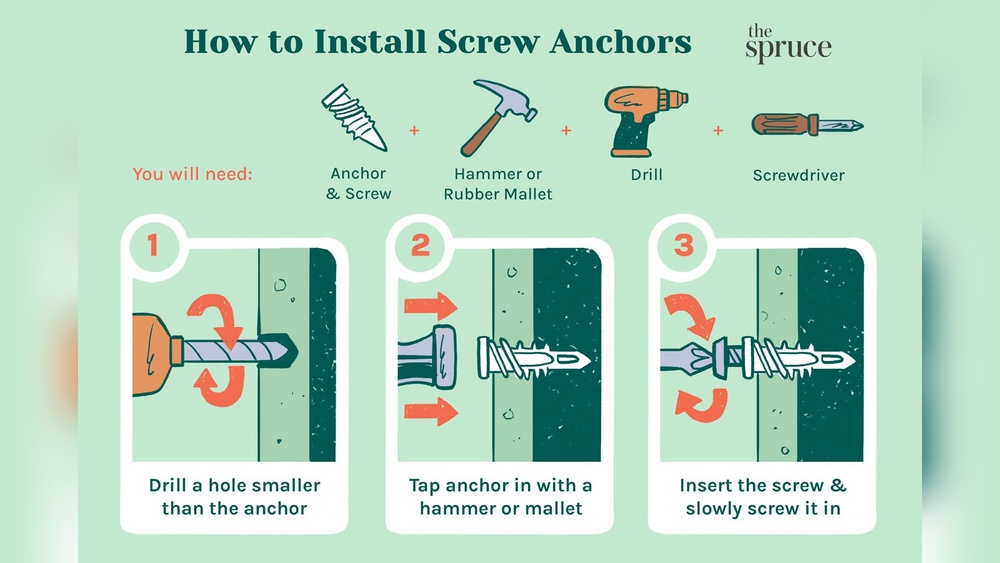
Credit: www.picturehangsolutions.com
Tools You’ll Need
Before starting, gather the right tools. Having the correct tools makes the job easier and faster. You only need a few basic items to install plastic wall anchors properly. Each tool plays an important role in ensuring a secure fit.
Drill And Drill Bits
A drill is essential for making holes in the wall. Use a drill bit that matches the anchor size. The hole should be just big enough for the anchor to fit snugly. A power drill or cordless drill works best. Manual drills are harder but still usable for small jobs.
Screwdriver Options
Choose the right screwdriver to drive the screw into the anchor. A Phillips head screwdriver fits most screws used with plastic anchors. A flathead screwdriver can work for some types too. Electric screwdrivers save time and effort on bigger projects.
Measuring Tools
Measuring tools help mark the exact spot for drilling. A tape measure ensures the hole is in the right place. A pencil or marker helps to mark the spot clearly. A level can keep your work straight and even.
Preparing The Wall
Preparing the wall is the first step in installing a plastic wall anchor. This step ensures a secure hold and prevents damage to your wall. Taking time here makes the entire process easier and safer.
Locating The Mounting Spot
Choose the exact place on the wall for your anchor. Look for a solid area free of cracks or damage. This spot will hold the weight of what you hang.
Measure carefully. Use a level to keep your item straight. Mark the spot lightly with a pencil for accuracy.
Marking Drill Points
Mark the drill points clearly on the wall. These marks guide where you will drill holes for the anchors. Use a pencil so you can erase mistakes.
Double-check the marks. Make sure they match the size of the anchor and the item you want to mount. Correct marks prevent errors during drilling.
Checking For Obstructions
Check inside the wall for pipes, wires, or studs. Use a stud finder or similar tool. Avoid drilling into electrical wires or plumbing.
Clear walls reduce risks and make the anchor stronger. If you find obstructions, move your marks to a safe spot.
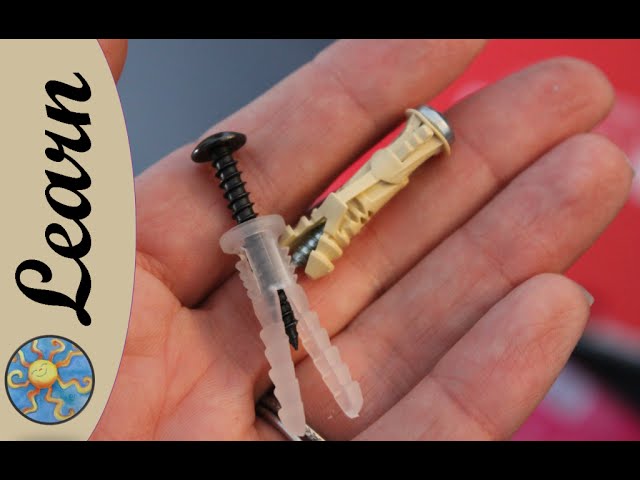
Credit: www.youtube.com
Drilling The Hole
Drilling the hole is the first important step to install a plastic wall anchor. A clean and correctly sized hole helps the anchor hold tight. It prevents damage to the wall and makes sure the anchor fits well. Follow these simple steps for best results.
Selecting The Correct Drill Bit Size
Choose a drill bit that matches the anchor size. Check the package or instructions for the right drill bit number. Using a drill bit too big or too small can cause the anchor to fail. The hole should be just wide enough for the anchor to slide in snugly.
Drilling At The Right Depth
Set the drill to stop at the right depth. Most anchors need a hole slightly longer than their length. Mark the drill bit with tape to avoid drilling too deep. This prevents weak spots in the wall and ensures the anchor holds securely.
Ensuring A Clean Hole
Clear out dust and debris after drilling. Use a small brush or blow air into the hole. A clean hole allows the anchor to grip the wall surface tightly. Avoid pushing dust back inside, as it can reduce the anchor’s strength.
Installing The Plastic Anchor
Installing a plastic wall anchor is a simple step that gives extra support to screws in drywall or other materials. The anchor holds the screw firmly, preventing it from pulling out. Proper installation is key to making the anchor work well and hold strong. Follow these steps carefully for the best results.
Inserting The Anchor Properly
Choose the right size anchor for your hole. Push the anchor straight into the hole. Do not twist or force it sideways. The anchor should fit snugly without bending. If it does not go in easily, check the hole size. The anchor must sit firmly inside the wall.
Tapping The Anchor Flush
Use a hammer to tap the anchor gently. Tap until the anchor is flush with the wall surface. Do not hit too hard. A soft tap is enough to set the anchor in place. Being flush ensures the screw will hold tight and not wobble.
Avoiding Damage To The Anchor
Handle the anchor with care. Avoid bending or cracking it during insertion. Do not use excessive force. Damaged anchors will not hold screws well. Check the anchor’s position before screwing to avoid breakage. A strong anchor means a secure hold for your items.
Mounting The Fixture
Mounting the fixture is a key step after placing the plastic wall anchor. This process secures your item firmly to the wall. Follow each step carefully for a strong hold.
Aligning The Fixture
Hold the fixture against the wall over the anchor. Make sure the holes in the fixture match the anchor’s position. Keep the fixture steady to avoid slipping.
Driving The Screw Into Anchor
Insert the screw into the anchor through the fixture hole. Use a screwdriver or drill to turn the screw clockwise. Tighten slowly to avoid damaging the wall or fixture.
Testing Stability
Gently wiggle the fixture to check its hold. It should feel firm without any movement. If loose, tighten the screw more or check the anchor placement.
Troubleshooting Common Issues
Troubleshooting common issues with plastic wall anchors helps make your project easier. Problems can cause frustration and weak holds. Knowing simple fixes saves time and keeps your walls safe. Here are solutions to common problems you might face.
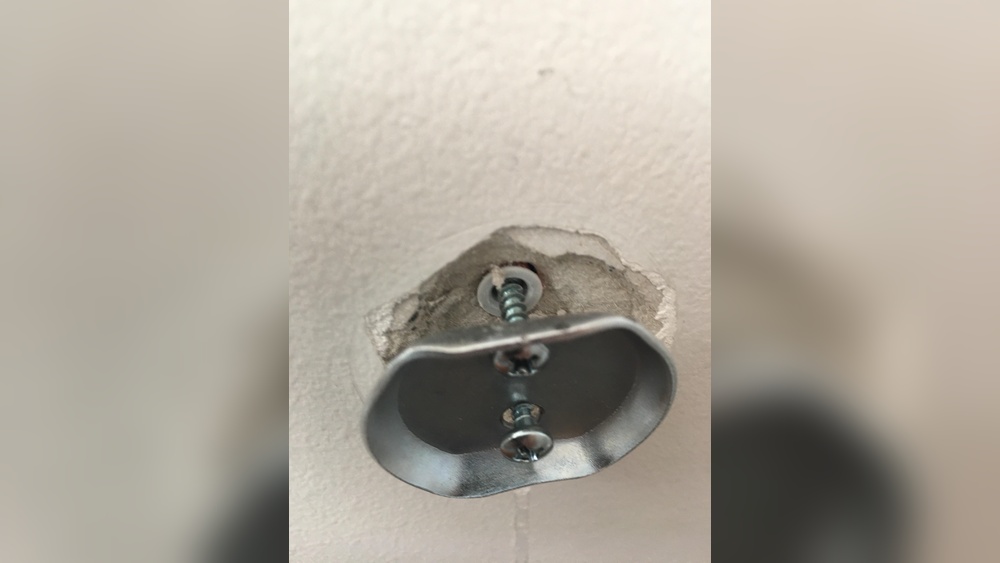
Anchor Spinning In Hole
Anchor spinning means it turns but does not tighten. This happens if the hole is too big or the anchor is damaged. Try a smaller drill bit or a larger anchor size. Push the anchor firmly, then gently tap it with a hammer to secure it. Avoid forcing the anchor, as it may break.
Loose Fittings
Loose fittings occur when the screw does not hold tight in the anchor. Use the right screw size for the anchor. Screw length matters too; it should match the anchor depth. Tighten the screw slowly. Stop if you feel resistance to avoid stripping the anchor or wall.
Wall Damage Prevention
Prevent wall damage by drilling the correct hole size. Use a drill bit matching the anchor diameter. Drill straight and steady to avoid cracking the wall. Clean out dust from the hole before inserting the anchor. Always choose anchors suitable for your wall type to protect it.
Tips For Long-lasting Mounts
Ensuring your plastic wall anchors hold strong for a long time takes care and attention. Simple steps can extend the life of your mounts and keep your items secure. Follow these tips for reliable and lasting results.
Choosing Quality Anchors
Pick anchors made from durable plastic that resists cracking. Avoid cheap anchors that break easily or lose grip. Check the packaging for weight limits and wall type compatibility. Quality anchors fit snugly and support the right load.
Regular Inspection
Look at your mounted items often. Check for any loosening or wobbling. Tighten screws gently if needed, but do not force them. Early fixes help prevent damage and keep mounts safe. Regular checks catch problems before they grow.
Avoiding Overloading
Do not exceed the anchor’s weight limit. Heavy items can pull anchors out or crack the wall. Spread weight across multiple anchors for large or heavy objects. Proper load management keeps anchors secure and walls intact.

Credit: www.youtube.com
Frequently Asked Questions
What Tools Do I Need For Plastic Wall Anchors?
You need a drill, drill bit, screwdriver, plastic wall anchors, and screws. These tools ensure proper installation and secure hold on the wall.
How Do I Choose The Right Drill Bit Size?
Select a drill bit matching the anchor’s diameter. This ensures a tight fit and prevents the anchor from slipping or cracking.
Can Plastic Wall Anchors Hold Heavy Items?
Plastic anchors support light to medium loads, typically up to 25 pounds. For heavier items, consider metal anchors or toggle bolts.
How Deep Should I Drill For Wall Anchors?
Drill slightly deeper than the anchor length to allow full insertion. This prevents damage and ensures the anchor grips securely inside the wall.
Conclusion
Putting in a plastic wall anchor is simple and helpful. Follow the steps carefully for a strong hold. Choose the right size anchor for your wall and screw. Drill a hole, insert the anchor, then tighten the screw. This method keeps your items safe and secure.
Practice makes perfect, so try it yourself soon. With a little effort, you can hang things with confidence. No need to worry about loose screws or damaged walls. Easy and effective—just what you need for your next project.