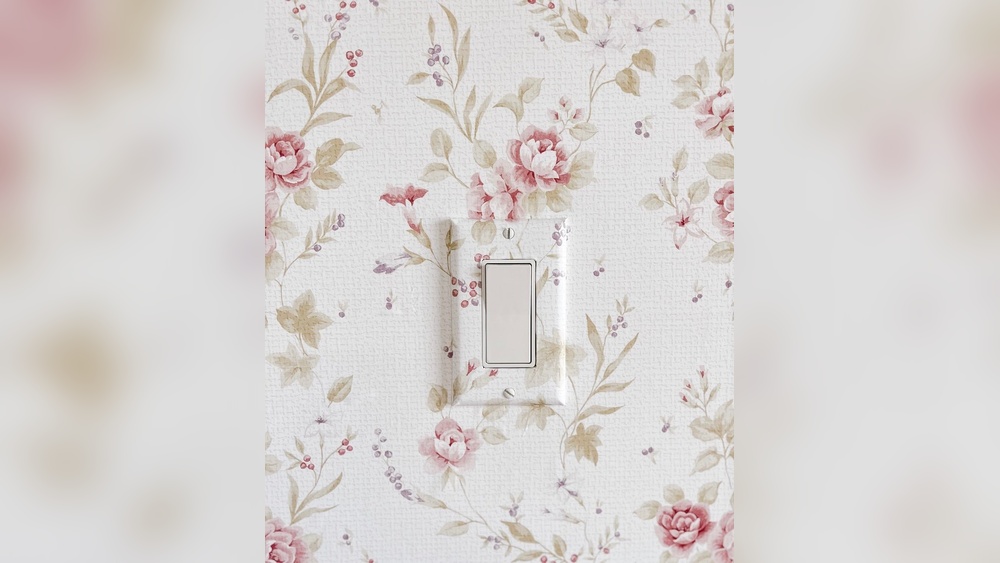
Are you tired of plain, boring light switch plates that ruin the look of your beautifully wallpapered walls? What if you could easily transform those dull covers into stylish accents that blend perfectly with your decor?
Covering a light switch plate with wallpaper is a simple, affordable way to add a personalized touch to any room. In this guide, you’ll discover step-by-step how to do it right, saving you time and frustration while giving your space a fresh, cohesive look.
Ready to make your walls truly stand out? Let’s dive in!
Tools And Materials Needed
Covering a light switch plate with wallpaper is a simple way to add style to any room. The right tools and materials make the task easier and help achieve a clean look. Preparing well saves time and reduces mistakes.
Choosing The Right Wallpaper
Select wallpaper that is thin and flexible. Thin wallpaper bends easily around the edges of the switch plate. Patterns that match your wall create a seamless look. Avoid thick or textured wallpaper, as it may not stick well or fit neatly.
Choose wallpaper with a smooth surface for easy cutting and gluing. Vinyl or coated wallpapers work well because they resist moisture and are durable. Pick a wallpaper that complements your room’s style and color scheme.
Essential Tools For The Job
Gather these tools before starting the project. A small utility knife helps cut precise shapes around the switch plate holes. Use a ruler or straight edge for clean, straight cuts. A pencil is needed to mark the wallpaper.
Have a pair of sharp scissors to trim excess wallpaper. A sponge or cloth helps smooth the wallpaper and remove air bubbles. Use wallpaper adhesive or double-sided tape designed for small surfaces. Finally, keep a screwdriver handy to remove and replace the switch plate.
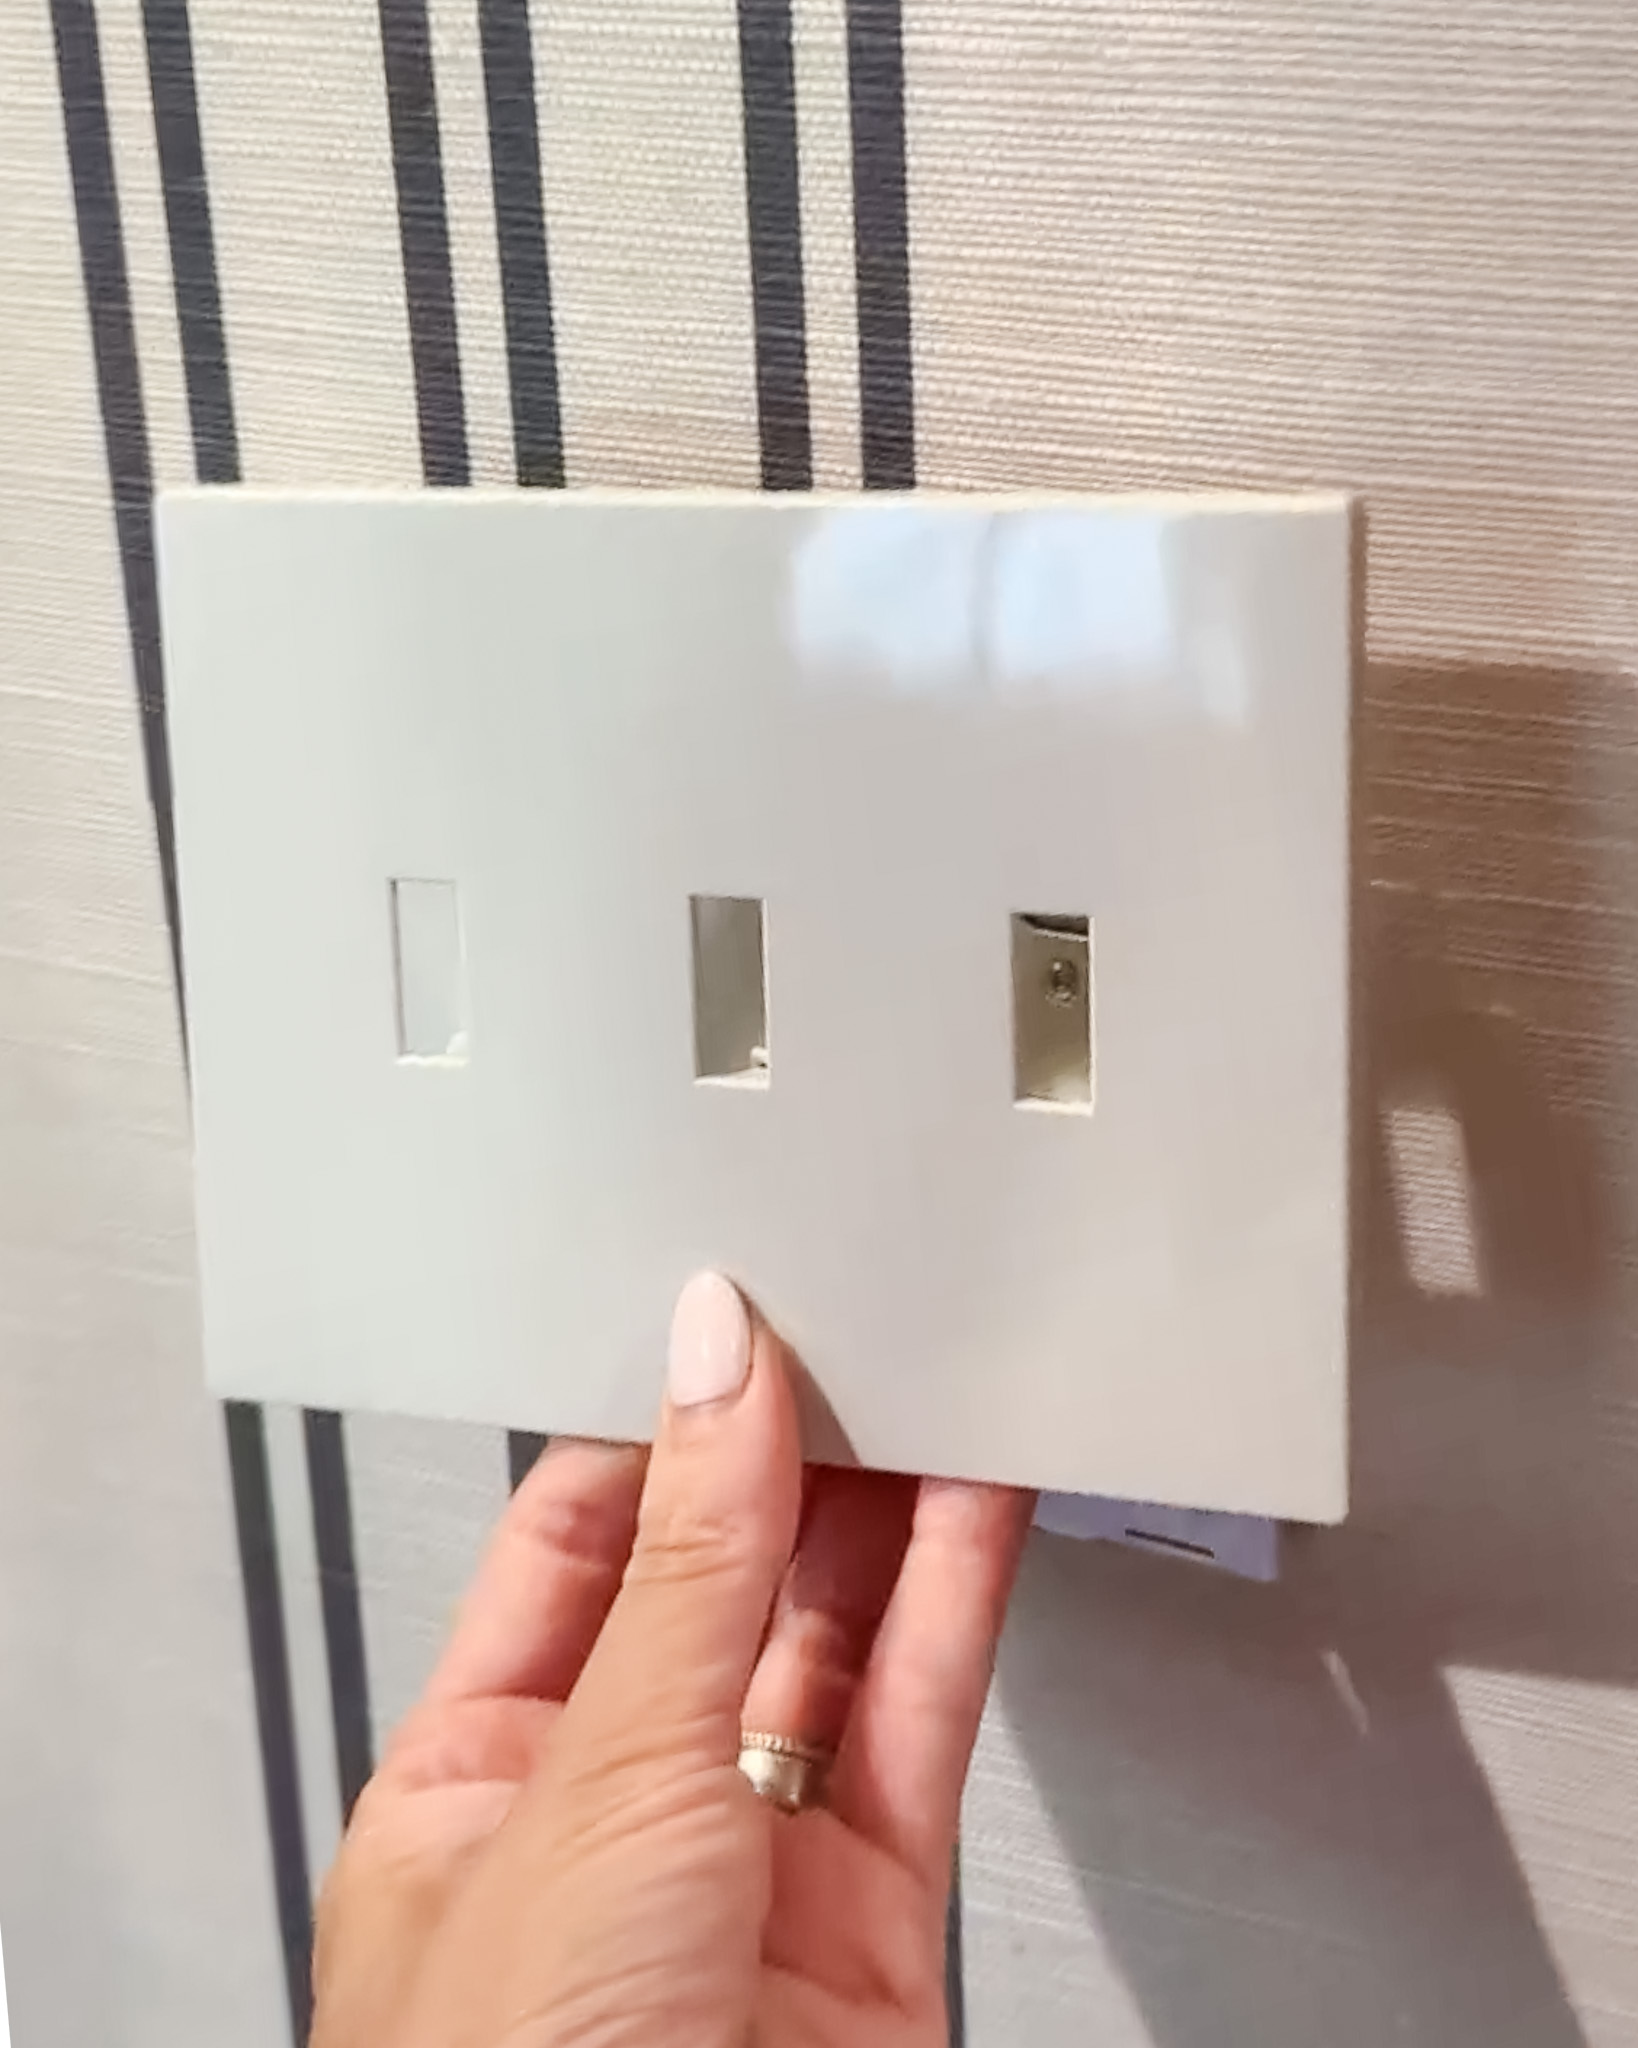
Preparing The Light Switch Plate
Preparing the light switch plate is the first step to a neat wallpaper cover. It helps the wallpaper stick well and look smooth. A clean and dry plate gives the best result.
Follow simple steps to remove, clean, and prep the plate. This makes sure your project looks good and lasts long.
Removing The Plate Safely
Turn off the power to the switch. This keeps you safe from electric shock.
Use a screwdriver to remove the screws on the plate. Keep the screws safe for later use.
Gently pull the plate away from the wall. Avoid bending or breaking it.
Cleaning And Prepping The Surface
Wipe the plate with a damp cloth to remove dust and dirt. Do not soak it.
Let the plate dry completely before applying wallpaper. A dry surface helps glue stick better.
Lightly sand the plate with fine sandpaper. This creates a rough surface for better adhesion.
Wipe off any dust from sanding with a clean cloth. Now the plate is ready for wallpaper.
Cutting Wallpaper To Size
Cutting wallpaper to size is a key step in covering a light switch plate. It ensures the wallpaper fits perfectly and looks neat. Precise cutting prevents waste and helps the wallpaper lie flat. This part of the process needs careful attention and simple tools.
Measuring The Plate Accurately
Start by removing the switch plate from the wall. Use a ruler or measuring tape to get the exact height and width. Measure the front and sides if the plate has depth. Write down the measurements to avoid mistakes. Add a small extra margin for trimming later.
Tips For Precise Cutting
Place the wallpaper on a flat surface with the pattern facing down. Use a sharp craft knife or scissors for clean cuts. Mark the cutting lines lightly with a pencil first. Cut slowly along the lines to avoid tearing the paper. Keep a straight edge nearby to guide your cuts. Test fit the wallpaper on the plate before gluing it down.
Credit: chrislovesjulia.com
Applying Wallpaper To The Plate
Applying wallpaper to a light switch plate is a simple way to add style to any room. The process requires patience and care to get a smooth and neat look. This section explains how to apply wallpaper to the plate effectively.
Using Glue Or Adhesive
Start by cutting a piece of wallpaper slightly larger than the plate. Choose a strong glue or wallpaper adhesive to ensure the paper sticks well. Spread a thin, even layer of glue on the back of the wallpaper piece. Avoid using too much glue to prevent wrinkling. Carefully press the wallpaper onto the plate. Make sure all edges are covered and the wallpaper sticks firmly.
Smoothing Out Bubbles And Wrinkles
Use a flat tool, like a credit card, to smooth the wallpaper. Start from the center and push outward. This action helps remove air bubbles and wrinkles. Take your time and be gentle. If small bubbles remain, prick them with a pin and smooth again. Let the wallpaper dry completely before handling the plate. This step ensures a clean and professional finish.
Finishing Touches
Finishing touches make your wallpapered light switch plate look neat and lasting. This step ensures the wallpaper fits perfectly and stays in place. Careful work here gives a clean, professional feel to your project.
Trimming Excess Wallpaper
Use a sharp craft knife to trim the extra wallpaper. Cut close to the edges for a smooth fit. Avoid cutting too deep to protect the plate underneath. Take your time to keep lines straight and clean. Small, careful cuts prevent peeling later on.
Sealing For Durability
Apply a thin layer of clear sealer over the wallpaper. This protects the paper from dirt and moisture. Use a brush or sponge to spread the sealer evenly. Let it dry fully before reattaching the switch plate. Sealing helps your work last longer without damage.
Credit: www.kyleswitchplates.com
Reinstalling The Light Switch Plate
Reinstalling the light switch plate is a crucial step after covering it with wallpaper. This step ensures the plate fits well and looks neat. It also protects the wallpaper and keeps the switch safe to use.
Aligning And Securing The Plate
Place the light switch plate carefully over the switch. Make sure the wallpaper edges line up with the plate’s edges. Use a screwdriver to tighten the screws gently. Avoid over-tightening, which can crack the plate or damage the wallpaper. Check that the plate sits flat against the wall without gaps.
Safety Checks Before Use
Before turning the power back on, inspect the plate and switch area. Confirm the screws are tight and the plate does not move. Ensure no wallpaper covers the switch toggle or buttons. Test the switch only after you are sure everything is secure. This keeps you safe and protects the electrical parts from damage.
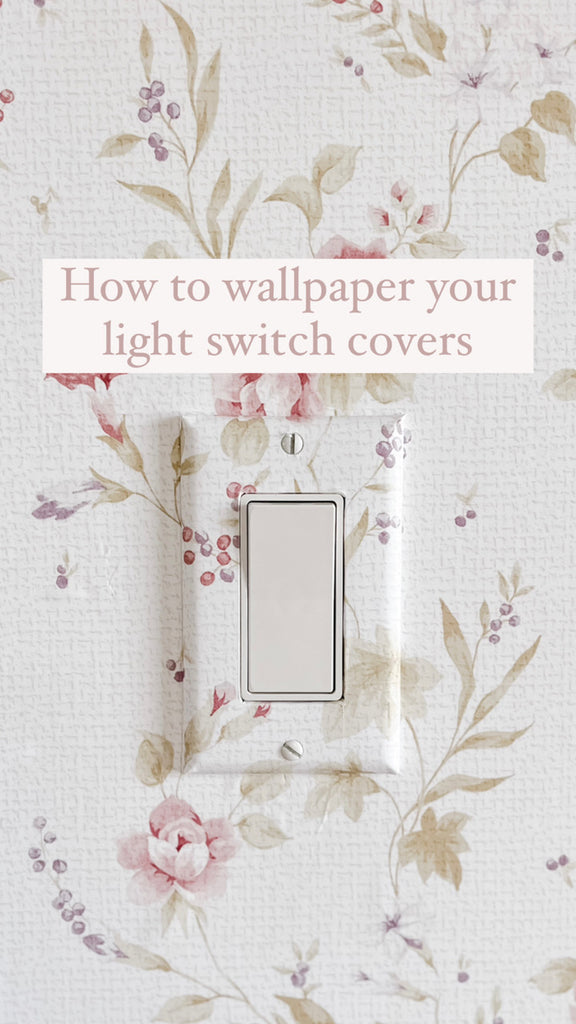
Creative Design Ideas
Creative design ideas make covering a light switch plate with wallpaper fun and unique. This small detail can change the look of your room. It adds charm and style without much effort. Experiment with patterns, colors, and textures to create a personalized touch. Even a simple switch plate can become a focal point.
Using Patterned Wallpaper
Patterned wallpaper brings life to plain switch plates. Choose bold prints to add energy to the space. Floral or geometric patterns work well for a modern look. Cut the wallpaper carefully to match the design across the plate. This creates a seamless and polished effect. Patterns can also help the switch blend into the wall, making it less noticeable.
Mixing Textures And Colors
Mix textures like matte and glossy finishes for depth. Combine soft wallpaper with a smooth plastic or metal plate. Contrast colors between the wallpaper and plate for a striking effect. Use color to tie the switch plate into the room’s theme. Small changes like these make the switch plate stand out as a design element.
Troubleshooting Common Issues
Covering a light switch plate with wallpaper can brighten a room. Small problems may happen during the process. Fixing these issues makes your work look neat and clean. This section helps solve common troubles fast. Follow these easy tips for better results.
Dealing With Wrinkles And Bubbles
Wrinkles and bubbles appear if the wallpaper is not smooth. Press the paper gently from the center out. Use a soft cloth or a plastic card. Move slowly to push air out. Small bubbles can be pricked with a pin. Then press flat to remove air. Avoid using too much glue to stop wrinkles.
Fixing Misalignment Problems
Misalignment happens when the wallpaper does not line up with the switch plate. Carefully peel back the wallpaper from one corner. Slowly adjust it to fit the edges correctly. Use a ruler to check straight lines. Cut small trims with a sharp blade for better fit. Take your time to avoid tears or damage.
Credit: rockymountaindecals.com
Frequently Asked Questions
How Do You Prepare A Light Switch Plate For Wallpaper?
First, remove the switch plate from the wall. Clean the surface to remove dust and grease. Let it dry completely before applying wallpaper.
What Type Of Wallpaper Works Best On Switch Plates?
Thin, flexible wallpaper or decorative contact paper works best. It’s easier to cut and adhere smoothly on small surfaces like switch plates.
Can I Wallpaper Over The Switch Plate Without Removing It?
Removing the switch plate is recommended. Wallpapering over it can cause uneven edges and peeling over time, reducing durability.
How To Cut Wallpaper Accurately For Switch Plates?
Use a sharp craft knife and a metal ruler. Cut slowly along the edges to ensure a precise fit around the switch plate.
Conclusion
Covering a light switch plate with wallpaper is simple and creative. It adds a fresh look to any room without much effort. Just take your time and follow the steps carefully. This small change can make a big difference in your home’s style.
Try it yourself and enjoy the new, neat appearance. Decorating can be easy and fun with little ideas like this. Give your walls a unique touch today.