Are you tired of cluttered walls and messy spaces? Imagine having stylish, sturdy wall hooks that you made yourself—hooks that fit perfectly with your home’s style and needs.
Making your own wall hooks isn’t as hard as you think. With a few simple materials and easy steps, you can create functional and beautiful hooks that will keep your space organized. Ready to transform your walls and add a personal touch?
Let’s dive into how you can make homemade wall hooks that work for you.

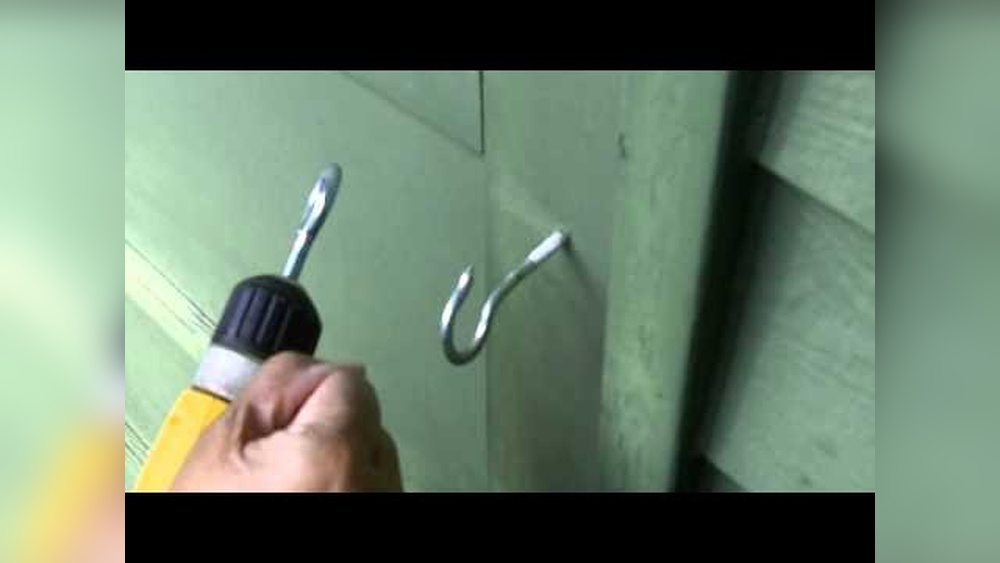
Credit: www.youtube.com
Materials Needed
Choosing the right wall is important for making homemade wall hooks strong and safe. Not all walls hold hooks well. The type of wall affects how much weight it can support. Picking the right spot helps hooks last longer and prevents damage. This section explains different wall types and where to place hooks.
Wall Types
Drywall is common in many homes. It is easy to drill into but weak for heavy hooks. Use anchors or find a stud behind the drywall for better support.
Plaster walls are harder and thicker than drywall. They may crack if you drill too hard. Use small nails or special hooks made for plaster.
Concrete or brick walls are very strong. Use a hammer drill and masonry screws. These walls hold heavy items well but need the right tools.
Wood walls or paneling are easy for screws and nails. Hooks hold well here and do not need extra anchors.
Placement Tips
Choose a wall space where hooks will be useful and visible. Avoid spots near door frames or windows. These areas can be fragile or have less space.
Pick a height that is easy to reach. For coats, about 5 feet high works well. For keys or small items, lower spots are better.
Check the wall for studs using a stud finder. Hooks attached to studs hold more weight. If no stud is available, use strong wall anchors.
Leave enough space between hooks. Crowded hooks can cause items to fall or damage the wall.
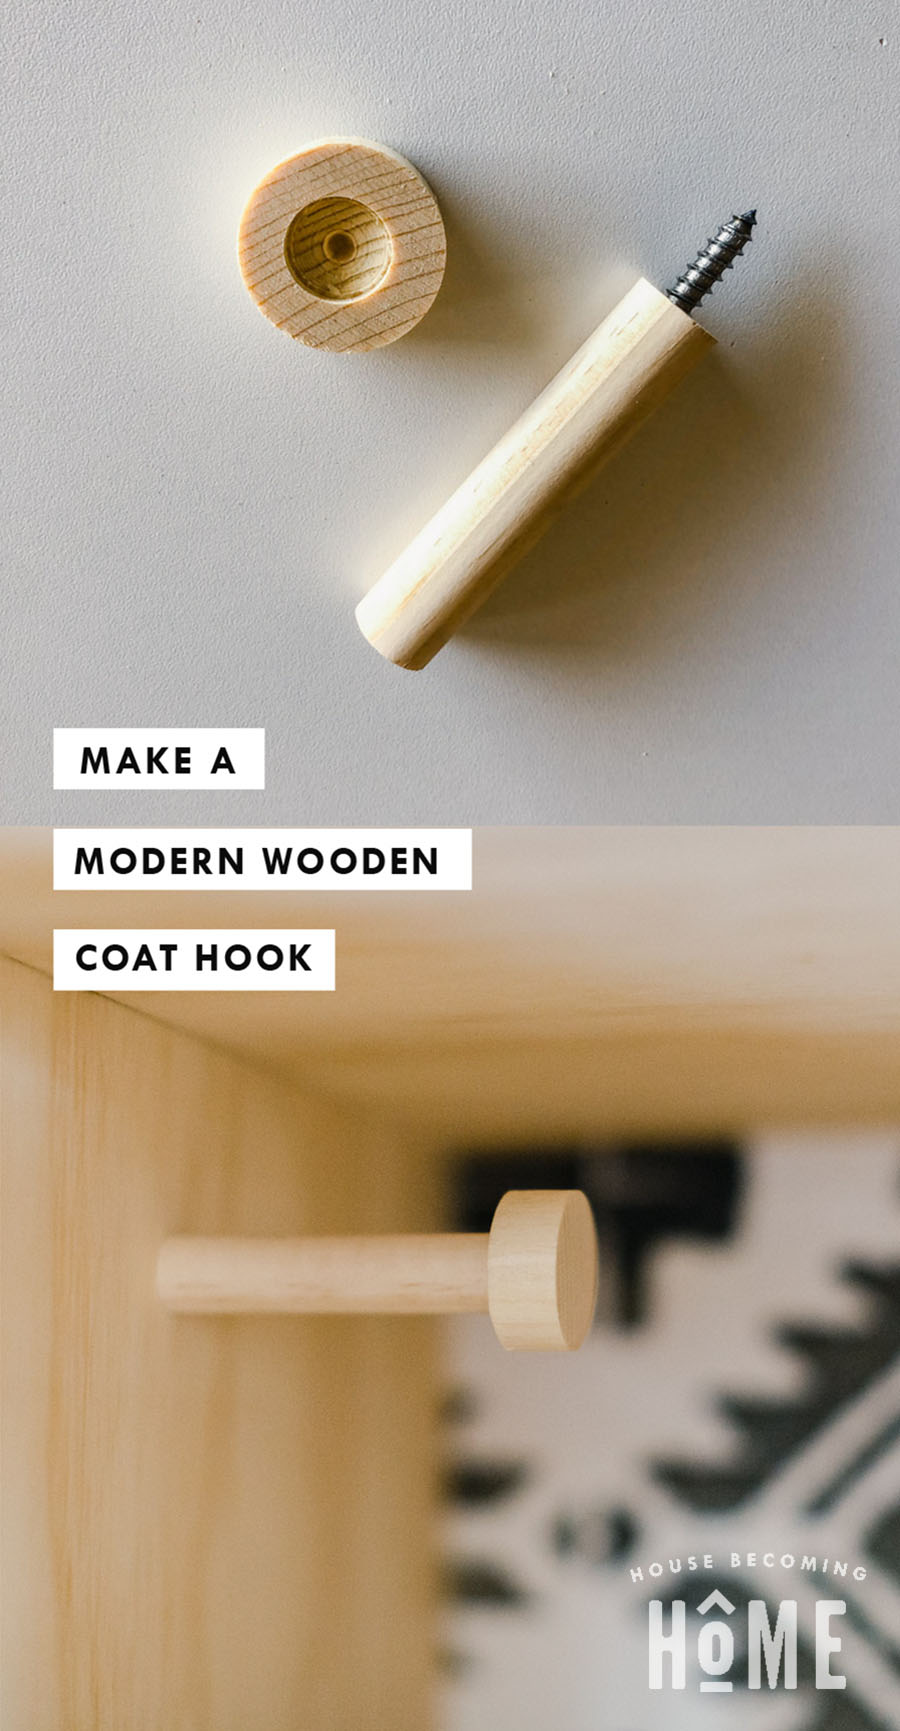
Credit: housebecominghome.com
Choosing The Right Wall
Simple wooden hooks are a great way to add function and charm to any room. They bring a natural look and feel. Making these hooks at home is easy and fun. You only need basic tools and wood pieces. This project suits beginners and those who want a quick craft.
Cutting And Shaping Wood
Start by choosing a softwood like pine or cedar. Cut small blocks about 3 inches long and 1 inch thick. Use a saw to make straight cuts. Shape one end into a curve or point for the hook. A rasp or file helps smooth the shape.
Sanding And Finishing
Sand the wooden pieces with fine-grit sandpaper. Smooth all edges and surfaces to avoid splinters. Wipe off dust using a clean cloth. Apply a coat of wood finish or paint to protect the wood. Let it dry completely before mounting.
Mounting Techniques
Mark the wall where hooks will go. Use screws or wall anchors for secure mounting. Drill pilot holes in the wood blocks. Attach the hooks with screws through the back. Check they are level and firmly fixed.
Simple Wooden Hooks
Upcycled materials make excellent wall hooks. They save money and help the environment. Plus, they add a unique look to your space. Using things you already have can turn ordinary items into useful hooks. This project is simple and fun. It gives old objects a new purpose.
Using Old Keys
Old keys have interesting shapes and sizes. They are perfect for small wall hooks. Clean the keys well before use. Attach them to a wooden board or directly on the wall. Use strong glue or screws for a secure hold. These hooks work great for hanging light items like jewelry or keys. Each key can bring a vintage charm to your room.
Repurposed Hardware
Hardware parts like bolts, nuts, and handles make sturdy hooks. Find these in old furniture or tools. Clean and paint them if needed. Screw the hardware into a wooden plank or wall. They can hold heavier items like coats or bags. This option gives a rugged, industrial look to your space. Hardware hooks are tough and last a long time.
Creative Ideas
Think beyond usual materials. Old drawer knobs, broken tools, or metal spoons can become hooks. Attach knobs to a board for a colorful hook rack. Bend metal spoons into hooks for a creative touch. Use small wooden blocks or pieces of driftwood as bases. Mix different items for a fun, eclectic style. Creativity helps make your wall hooks unique and personal.

Credit: www.youtube.com
Upcycled Materials For Hooks
Installing hooks safely is important to keep your walls strong and secure. Proper installation stops hooks from falling or damaging the wall. It also protects your items from falling and breaking.
Choosing Anchors
Pick the right anchors for your wall type. Drywall needs plastic or metal anchors. Concrete or brick walls need heavy-duty anchors. Use anchors that fit the hook size. This keeps hooks steady and prevents wall damage.
Weight Considerations
Know how much weight your hook will hold. Light hooks hold keys or hats. Heavy hooks hold bags or coats. Use stronger anchors for heavy items. Check hook and anchor weight limits before installation.
Tools For Installation
Gather tools before starting. You need a drill, screwdriver, and level. A stud finder helps locate wall studs. Use a pencil to mark spots for drilling. Proper tools make installation easier and safer.
Painted And Decorated Hooks
Keeping your homemade wall hooks in good shape helps them last longer. Regular care prevents damage and keeps hooks looking fresh. Small efforts can save time and money later.
Cleaning Hooks
Dust hooks often to stop dirt buildup. Use a soft cloth or brush for gentle cleaning. Avoid harsh chemicals that may ruin paint or finish. For metal hooks, a damp cloth works well.
Checking Stability
Test hooks regularly to ensure they stay firm on the wall. Gently wiggle each hook to check for looseness. Tighten screws or nails quickly if hooks feel shaky. Strong hooks hold your items safely.
Refreshing Appearance
Touch up paint or varnish to keep hooks bright. Light sanding before repainting helps new paint stick. Replace any worn parts like screws or adhesive strips. Fresh looks make hooks blend well with your space.
Frequently Asked Questions
What Materials Do I Need To Make Homemade Wall Hooks?
You need wood, screws, hooks, a drill, sandpaper, and paint or stain. These basic materials are easy to find and affordable. Choose hooks based on your style and purpose. Quality materials ensure durable and attractive wall hooks.
How Do I Attach Homemade Wall Hooks Securely?
Use a drill to make pilot holes for screws. Secure hooks tightly to prevent wobbling. Mount wall hooks on studs for best support. Always use appropriate anchors for drywall installations to ensure stability.
Can I Customize The Design Of Homemade Wall Hooks?
Yes, you can customize by painting, staining, or carving wood. Add decorative hooks or use unique materials like metal or ceramic. Personalizing your hooks enhances room decor and matches your style perfectly.
How Long Does It Take To Make Homemade Wall Hooks?
Making basic wall hooks usually takes 30 minutes to an hour. Time depends on design complexity and drying time for paint or stain. Simple projects are quick and great for beginners.
Conclusion
Making homemade wall hooks is simple and fun. You can use materials found at home. This project saves money and adds a personal touch. Try different shapes and colors to match your space. Small steps lead to great results. Enjoy creating something useful and unique.
Start today and see how easy it is. Your walls will thank you for it.