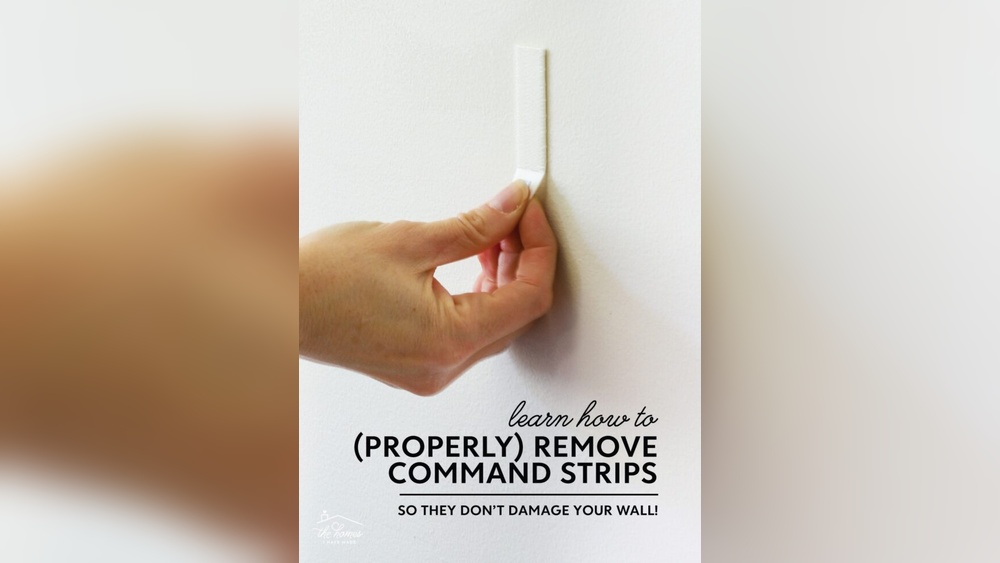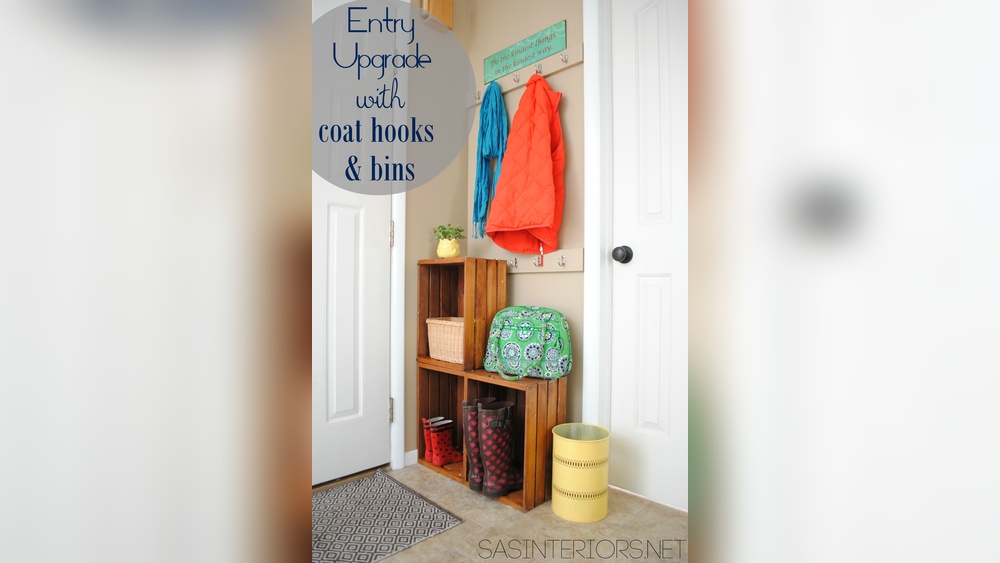
Are you tired of cluttered walls and missing hooks when you need them most? Imagine turning simple materials into handy small wall hooks that keep your space neat and organized.
Making your own wall hooks is easier than you think, and it gives you the power to customize them exactly how you want. In this guide, you’ll discover simple steps that anyone can follow—no special skills needed. Ready to transform your walls and add a touch of creativity to your home?
Keep reading, and let’s get started!
Choosing Materials
Choosing the right materials is key to making small wall hooks that last. The material affects strength, look, and ease of making. Pick materials that suit your style and skill level. This section covers common options to help you decide.
Wood Options
Wood is easy to shape and gives a warm, natural look. Pine and oak are popular for wall hooks. Pine is soft and simple to cut. Oak is harder but very strong. Sand the wood smooth to avoid splinters. You can paint or stain wood for a custom finish.
Metal Choices
Metal hooks provide a modern and sturdy option. Aluminum is light and rust-resistant. Steel is very strong but heavier. You can bend thin metal strips into hooks. Use metal hooks for hanging heavier items. A smooth finish prevents clothes from catching.
Repurposed Items
Repurposed materials create unique and eco-friendly hooks. Old keys, drawer handles, or knobs work well. These items add character and save money. Attach them securely to hold weight. Repurposed hooks fit well in vintage or rustic decor.

Credit: cascadeironco.com
Essential Tools
Creating small wall hooks requires a few basic tools. These tools help you cut, shape, and finish the hooks properly. Having the right tools makes the process easier and the results better. Here are the essential tools you need for this simple project.
Cutting Tools
Cutting tools shape the material for your hooks. A small saw or a craft knife works well for wood or plastic. For metal hooks, use tin snips or a metal cutter. Keep blades sharp for clean cuts and safety.
Drills And Screws
Drills help make holes for screws or mounting. A cordless drill is best for control and ease. Use small drill bits to match the screw size. Screws hold the hook firmly on the wall. Choose screws that fit the hook and wall type.
Finishing Supplies
Finishing supplies make your hooks look neat and last longer. Sandpaper smooths rough edges and surfaces. Paint or varnish adds color and protects the material. Use a brush or cloth to apply finishes evenly.
Design Ideas
Designing small wall hooks can be fun and creative. These hooks are useful and add style to any room. Choosing the right design helps match your space and needs. Below are some popular design ideas that work well for small wall hooks.
Minimalist Styles
Minimalist hooks focus on simple shapes and clean lines. They use basic colors like white, black, or gray. These hooks fit well in small spaces and keep the look neat. Metal or wood with smooth finishes works great for these designs. Minimalist hooks do not have extra decorations or patterns.
Rustic Looks
Rustic hooks bring a warm, natural feel to any room. They often use raw or distressed wood. Iron or bronze hooks add to the rustic charm. These hooks look great in kitchens, cabins, or living rooms. Rough textures and earthy colors make the rustic style stand out.
Modern Touches
Modern hooks use bold shapes and bright colors. They can be made from metal, plastic, or glass. These hooks often have unique and creative forms. Modern designs add a fresh and lively look to your walls. They work well in offices, bedrooms, or creative spaces.

Credit: www.amazon.com
Step-by-step Guide
Making small wall hooks is a simple and fun project. This step-by-step guide will help you create hooks that fit your style and space. Follow each part carefully for the best results. You will need basic tools and materials to start.
Measuring And Marking
First, decide the size of your wall hooks. Use a ruler or tape measure to get exact lengths. Mark the wood or material with a pencil. Make clear lines for cutting. Measure twice to avoid mistakes.
Cutting And Shaping
Use a saw or cutting tool to follow your marks. Cut slowly and steadily for clean edges. Sand the edges smooth to avoid splinters. Shape the hook as you want, rounding corners if needed. Take your time to get a nice finish.
Assembly And Mounting
Attach any parts of the hook using glue or small nails. Let the glue dry completely before handling. Find the right spot on the wall to mount your hooks. Use screws or wall anchors to fix them tightly. Check that each hook is secure and straight.
Creative Finishes
Creative finishes give small wall hooks a unique look. They make simple hooks stand out. You can match the hooks to your room style. These finishes also protect the hooks from wear. Try different methods to find what fits your taste.
Painting Techniques
Painting is a quick way to add color and style. Use spray paint for smooth, even coats. Try chalk paint for a matte, vintage look. Tape patterns for stripes or shapes. Let each layer dry before adding another. Seal with clear paint to protect your work.
Staining Tips
Stain shows wood grain and adds warmth. Choose a shade that suits your decor. Apply with a brush or cloth in the wood direction. Wipe off extra stain to avoid blotches. Use a clear finish after drying for shine and durability. Test stain on scrap wood first.
Adding Decorative Elements
Decorative touches make hooks personal and fun. Glue small beads, buttons, or fabric pieces. Wrap hooks with twine or thin rope for texture. Attach metal charms or tiny knobs for character. Keep decorations secure for daily use. Mix styles for a creative flair.
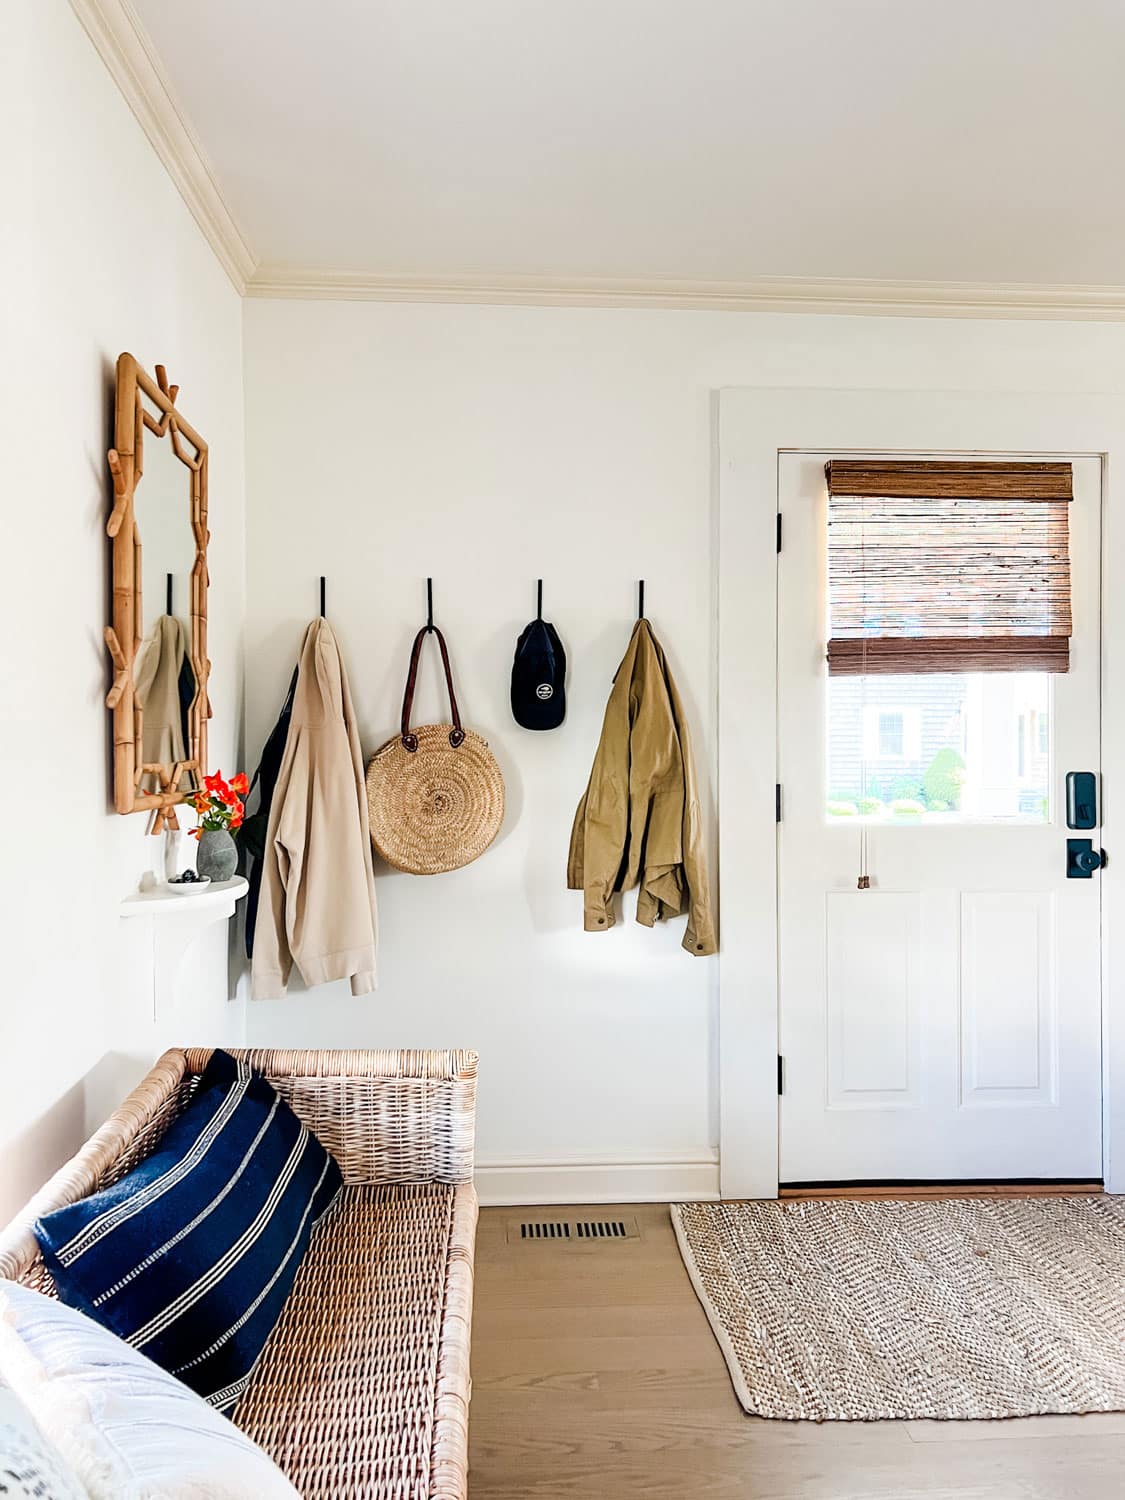
Credit: mostlovelythings.com
Installation Tips
Installing small wall hooks correctly is key for safety and durability. Follow these tips to ensure your hooks stay strong and look neat. Proper installation saves you time and effort in the long run. Focus on the wall type, spacing, and weight limits for best results.
Wall Types And Anchors
Different walls need different anchors. Drywall requires plastic or metal anchors. For concrete or brick walls, use heavy-duty anchors. Always choose anchors that match your wall material. This prevents hooks from pulling out or falling.
Spacing And Placement
Place hooks with enough space between them. Avoid crowding hooks too close to each other. Measure the area before drilling holes. Keep hooks at a comfortable height for easy reach. Proper spacing helps distribute weight evenly.
Weight Considerations
Check the weight limit of your hooks and anchors. Do not hang items heavier than the hook’s capacity. Light items like keys and small bags work best. For heavier items, use stronger hooks and anchors. This prevents damage to your walls and items.
Maintenance And Care
Taking care of your small wall hooks helps them stay strong and look good. Regular maintenance keeps hooks working well for a long time. Simple actions can prevent damage and keep hooks clean.
Cleaning Methods
Dust hooks often with a soft cloth. Use a damp cloth for sticky dirt. Avoid harsh cleaners that can damage the finish. Mild soap and water work well for most hooks. Dry hooks completely after cleaning to stop rust.
Repairing Damage
Check hooks regularly for cracks or loose screws. Tighten screws with a screwdriver when needed. Small cracks can be fixed with glue or wood filler. Replace hooks that are badly damaged or bent. Repair keeps hooks safe and reliable.
Extending Lifespan
Do not overload hooks with heavy items. Choose the right hook size for your needs. Place hooks away from direct sunlight or moisture. Use protective coatings on metal hooks to stop rust. Good care makes hooks last many years.
Frequently Asked Questions
What Materials Are Needed To Make Small Wall Hooks?
To make small wall hooks, you need wood or metal pieces, screws, hooks, a drill, and paint. These materials are affordable and easy to find. Choose materials based on your wall type and desired hook style for best results.
How Do I Attach Small Wall Hooks Securely?
Use a drill to make pilot holes in the wall. Insert wall anchors if needed for extra support. Screw the hooks tightly into the anchors or directly into studs. This ensures the hooks hold weight safely without damaging the wall.
Can I Customize Small Wall Hooks At Home?
Yes, you can customize small wall hooks easily. Paint, stain, or decorate the hooks to match your room decor. Adding personal touches like patterns or labels makes hooks unique and functional. Custom hooks improve organization and style.
What Are The Best Places To Install Small Wall Hooks?
Install small wall hooks near entryways, bathrooms, or closets for convenience. Use them for keys, towels, hats, or jewelry. Placing hooks at eye level ensures easy access. Proper placement enhances room organization and saves space.
Conclusion
Small wall hooks add style and function to any room. They are easy to make with simple tools and materials. You can customize them to fit your space and needs. Making your own hooks saves money and adds a personal touch.
Try different designs and finishes to match your decor. Start small and enjoy the process of creating something useful. Your walls will look neat and organized with these hooks. Give it a try and see how simple projects can brighten your home.