Imagine walking into a room where the lights turn on automatically, saving you time and energy without lifting a finger. If you’re tired of fumbling for switches in the dark or want to make your home smarter and more efficient, changing your regular light switch to a motion sensor is a simple upgrade you’ll love.
In this guide, you’ll discover easy steps to transform your lighting setup, boost convenience, and cut down on wasted electricity. Ready to make your home smarter and your life easier? Let’s dive in.
Tools And Materials Needed
Changing a light switch to a motion sensor switch needs the right tools and materials. Having these ready makes the process smooth and safe. This section lists all essential items for the project.
Basic Tools
You need a screwdriver set with flathead and Phillips heads. A voltage tester is important to check power safety. Wire strippers help remove insulation from wires cleanly. Needle-nose pliers assist in bending and twisting wires. A flashlight or headlamp improves visibility in dark spaces.
Materials For Installation
A motion sensor switch designed for your home’s voltage is necessary. Electrical tape secures wire connections. Wire nuts join wires safely. Wall plates cover the switch area for a neat finish. Mounting screws usually come with the sensor switch.
Safety Equipment
Wear insulated gloves to protect against electric shocks. Safety glasses shield your eyes from sparks or debris. Turn off the circuit breaker before starting the work. Use a non-contact voltage tester to confirm power is off.
Safety Precautions
Changing a light switch to a motion sensor can save energy and add convenience. Safety must be your first priority during this task. Electrical work can be risky without the right steps. Follow safety rules to protect yourself and your home.
Turn Off Power At The Circuit Breaker
Always switch off the power before starting any electrical work. Find the correct circuit breaker and turn it off. Use a tester to make sure the power is off. Never trust the wall switch alone to cut the power.
Use Proper Tools And Equipment
Use tools designed for electrical work. Insulated screwdrivers and pliers reduce the risk of shock. Wear safety gloves to protect your hands. Keep your workspace dry to avoid electric hazards.
Check For Live Wires
Test wires with a voltage tester before touching them. This step confirms no electricity is flowing. Treat all wires as if they are live until tested. Avoid working near water or damp areas.
Follow Manufacturer Instructions
Read the motion sensor switch guide carefully. Each model may have unique installation steps. Correct wiring prevents damage and ensures proper function. Keep the instructions handy during installation.
Seek Help From A Professional
Call a licensed electrician if unsure about any step. Mistakes can cause shocks or fires. Experts have the knowledge to install safely. Investing in professional help protects your home and family.
Choosing The Right Motion Sensor Switch
Choosing the right motion sensor switch is key to a successful upgrade. The correct switch ensures smooth operation and saves energy. It fits well with your home setup and meets your needs. This section helps you understand the main types and wiring compatibility.
Types Of Motion Sensors
Motion sensors detect movement to turn lights on or off. Two common types are infrared and ultrasonic sensors. Infrared sensors detect heat from people or animals. Ultrasonic sensors send sound waves and sense movement by changes in the echo. Each type suits different rooms and lighting needs. Choose based on room size and sensor range.
Compatibility With Existing Wiring
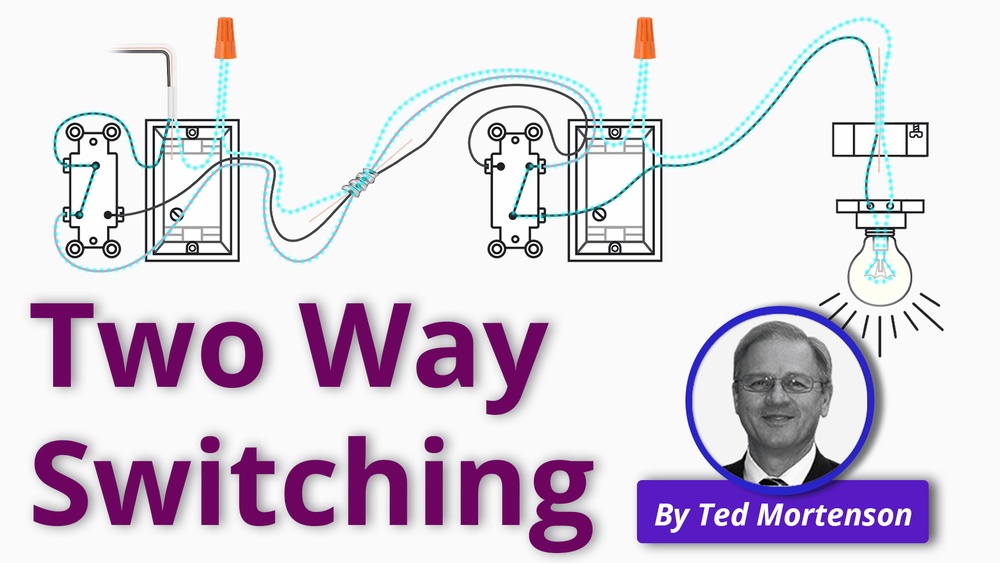
Motion sensor switches must work with your current wiring. Most homes use single-pole or three-way switches. Single-pole controls one light from one location. Three-way controls one light from two locations. Check if your wiring has a neutral wire. Many motion sensors need a neutral wire to work. Confirm this before buying to avoid installation issues.
Turning Off The Power
Turning off the power is the first step in changing a light switch to a motion sensor. It keeps you safe from electric shocks. Always make sure the power is completely off before starting any work.
Electricity is dangerous. Even a small shock can cause harm. Taking time to turn off the power protects you and your home.
Locate The Circuit Breaker
Find the main electrical panel in your home. It is usually in the basement, garage, or a storage room. Open the panel door to see the switches inside.
Look for the switch that controls the light switch you want to change. It might be labeled. If not, turn off the main breaker to cut power to the whole house.
Switch Off The Correct Breaker
Flip the breaker to the off position. This stops the flow of electricity to the switch. Double-check by trying the light switch to see if the light goes off.
Do not touch the wires until you are sure the power is off. Use a voltage tester to confirm no current is present.
Use A Voltage Tester
Hold the tester near the wires connected to the switch. The tester will show if electricity is still flowing. No light or sound means it is safe to proceed.
Using a tester adds an extra layer of safety. Never skip this step before handling wires.
Removing The Existing Light Switch
Removing the existing light switch is the first step in changing it to a motion sensor. This task needs care and the right safety steps. You will work with electrical parts, so safety is very important.
Turn off the power to the switch at the breaker box. This stops any chance of electric shock. Use a voltage tester to check if the power is really off. Never skip this step.
Gather Tools And Materials
Before starting, get a screwdriver, voltage tester, and a small container for screws. These tools help you remove the switch easily. Keep everything close to avoid delays.
Remove The Switch Cover Plate
Use a screwdriver to take off the screws on the cover plate. Take the plate off gently. Keep screws in the container for later use. Do not force the plate off.
Unscrew The Light Switch
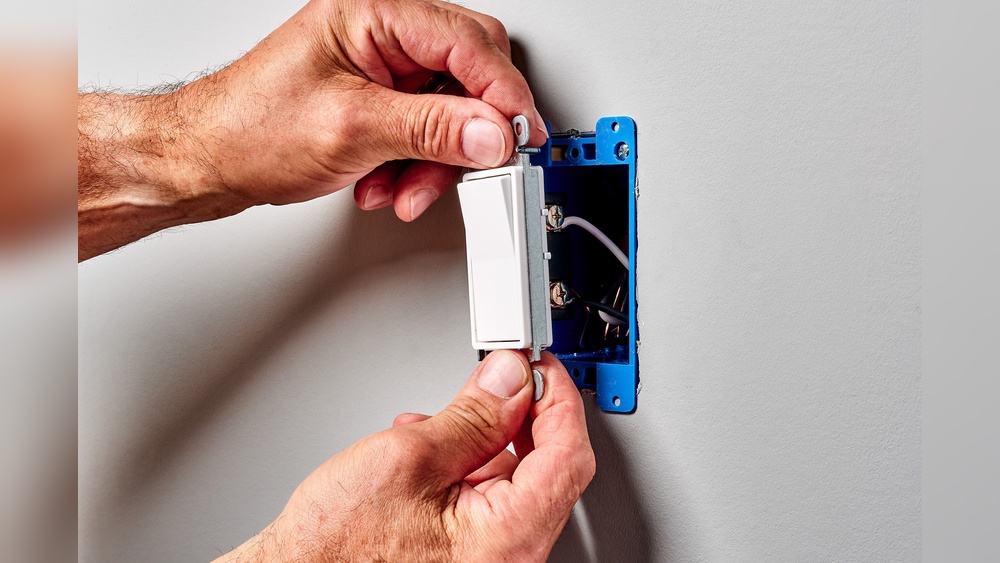
Next, remove the screws holding the switch to the electrical box. Pull the switch out slowly to see the wires behind. Do this carefully to avoid breaking wires.
Disconnect The Wires
Use the screwdriver to loosen the screws holding wires on the switch. Note the wire positions or take a photo. This helps connect the new motion sensor correctly. After loosening, gently pull the wires off the switch.

Credit: www.beeslighting.com
Wiring The Motion Sensor Switch
Wiring a motion sensor switch is a key step when upgrading from a regular light switch. This process controls the flow of electricity and makes the sensor work properly. Understanding the wiring helps avoid mistakes and ensures safety.
Before starting, turn off the power at the breaker. This protects you from electric shocks. Use a voltage tester to confirm the wires are not live. Always follow safety rules during wiring.
Identifying Wires
First, open the switch box and look at the wires. Usually, you will see three types: the live wire, the load wire, and the neutral wire. The live wire carries power from the breaker. The load wire connects to the light fixture. The neutral wire completes the circuit.
Wires often have different colors. Black or red is usually live. White is neutral. Green or bare copper is ground. Check your sensor switch manual for exact wire colors. Some switches need a neutral wire to work.
Connecting The Sensor Switch
Match each wire from the sensor to the correct wire in the box. Connect live to live, load to load, and neutral to neutral. Use wire nuts to twist wires together tightly. Connect the ground wire to the sensor’s green wire or ground screw.
Secure all wire connections and push them gently back into the box. Attach the sensor switch to the wall with screws. Restore power and test the switch. The light should turn on when motion is detected.
Mounting The Motion Sensor Switch
Mounting the motion sensor switch is the step where the new device takes its place. Proper mounting ensures the sensor works well and lasts long. This process is simple and needs only a few tools.
Positioning the motion sensor switch correctly helps it detect movement easily. Follow these steps to mount it securely and safely.
Turn Off The Power
Safety first. Switch off the power at the circuit breaker. This stops any risk of electric shock. Confirm the power is off by testing the switch with a voltage tester.
Remove The Old Switch
Unscrew the switch plate. Pull the old switch out gently. Note how the wires connect to the old switch. This helps when attaching the new one.
Connect The Wires To The Motion Sensor
Match the wires from the wall to the motion sensor switch wires. Use wire nuts to join them securely. Check that all connections are tight and no bare wire shows.
Secure The Switch To The Wall Box
Push the wires back into the wall box carefully. Align the motion sensor switch with the screw holes. Screw it in firmly but do not over-tighten.
Attach The Cover Plate
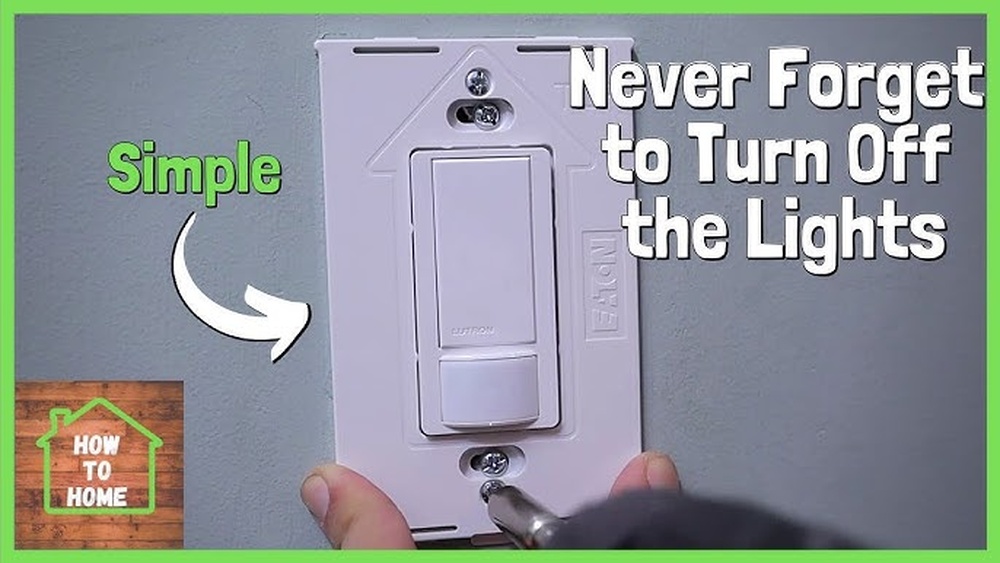
Place the cover plate over the switch. Screw it in place. Make sure the plate is flush with the wall for a neat look.
Testing The Motion Sensor
Testing the motion sensor is a key step after installation. It confirms the sensor works correctly and saves energy. This step helps avoid problems later. Follow simple tests to check motion detection and light response.
Check Power And Wiring
Turn on the circuit breaker. Make sure the motion sensor receives power. Inspect wiring connections for tightness. Loose wires cause sensor failure. Use a voltage tester for safety.
Adjust Sensor Settings
Set the sensor’s sensitivity and time delay. Sensitivity controls how much movement triggers the light. Time delay sets how long the light stays on. Adjust these based on room size and use.
Test Motion Detection
Walk slowly in front of the sensor. Watch if the light turns on quickly. Move out of the sensor range to see if the light goes off. Repeat this several times for accuracy.
Check Light Coverage
Observe if the light covers the needed area. Move around the room corners and edges. Adjust sensor angle if some spots stay dark. Proper coverage ensures good lighting and safety.
Verify Night Mode
Some sensors work only in low light. Test the sensor in dark conditions. Cover windows or test at night. Confirm the light activates only when it is dark.
Adjusting Settings For Sensitivity And Timer
Adjusting the sensitivity and timer settings on your motion sensor switch helps control how it works. These settings let you customize when the light turns on and how long it stays lit. Proper adjustments save energy and make the switch more convenient. This section explains simple ways to set sensitivity and timer for best results.
Adjusting The Sensitivity Level
The sensitivity setting controls how much movement triggers the light. Turn the dial or use buttons to change sensitivity. Increase sensitivity to catch small movements in the room. Lower sensitivity stops the light from turning on by passing pets or small objects. Test different levels until the sensor works well for your space.
Setting The Timer Duration
The timer controls how long the light stays on after no movement. Adjust it to fit your needs. Shorter times save electricity but may turn off too soon. Longer times keep the light on for comfort but use more power. Most sensors let you set from a few seconds to several minutes.
Testing And Fine-tuning Settings
After adjusting, test the switch by moving in front of it. Watch how quickly the light responds and how long it stays lit. Change the settings as needed to improve performance. Fine-tuning helps avoid false triggers and keeps the light ready when you need it.
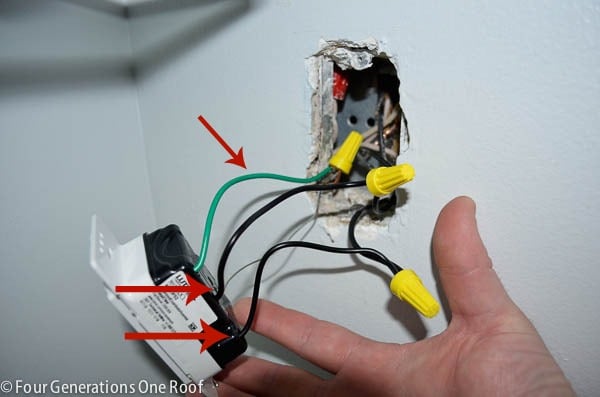
Credit: www.fourgenerationsoneroof.com
Troubleshooting Common Issues
Installing a motion sensor switch can save energy and add convenience. Yet, it might not always work perfectly right away. Troubleshooting common issues helps ensure your motion sensor switch functions well. Understanding basic fixes can save time and avoid frustration.
Check Power Supply And Wiring
First, confirm the power is off before touching wires. Loose or wrong wiring often causes problems. Make sure wires connect to correct terminals. Use a voltage tester to verify power flow. Tighten any loose connections for a stable setup.
Adjust The Sensor Sensitivity
Sensors may not detect motion well if sensitivity is too low. Increase the sensitivity using the dial or switch on the device. Test by moving in front of the sensor. Reduce sensitivity if the light stays on too long.
Ensure Proper Sensor Placement
Incorrect sensor placement limits detection. Avoid pointing the sensor toward windows or heat sources. Place it where it can see the main activity area. Keep it away from pets or small moving objects to reduce false triggers.
Test The Light Bulb Compatibility
Not all bulbs work with motion sensor switches. Check if your bulb type matches the switch specifications. LED and CFL bulbs sometimes cause flickering or failure. Try swapping the bulb for a compatible one to solve issues.
Reset The Motion Sensor Switch
Sometimes a reset clears temporary faults. Turn off power at the breaker for 30 seconds. Turn it back on and test the switch again. This can help the sensor recalibrate and work properly.

Credit: www.fourgenerationsoneroof.com
Frequently Asked Questions
How Do I Replace A Light Switch With A Motion Sensor?
First, turn off the power at the circuit breaker. Remove the old switch and connect the motion sensor wires as per instructions. Secure the sensor and restore power. Test the sensor to ensure proper operation.
What Tools Are Needed To Install A Motion Sensor Switch?
You’ll need a screwdriver, wire stripper, voltage tester, and electrical tape. These tools help safely remove the old switch and connect the new sensor switch.
Can I Install A Motion Sensor Switch Myself?
Yes, if you have basic electrical knowledge and follow safety precautions. Always turn off power before working and carefully follow installation instructions. Otherwise, hire a licensed electrician.
Will A Motion Sensor Switch Save Energy?
Yes, motion sensor switches reduce energy waste by automatically turning lights off when no motion is detected. This increases efficiency and lowers electricity bills.
Conclusion
Changing a light switch to a motion sensor saves energy and adds comfort. The process is simple and does not take long. Make sure to turn off the power before starting. Follow each step carefully for safety. Motion sensors help lights turn on only when needed.
This upgrade is smart for any home or office. Enjoy hands-free lighting and lower electricity bills. Try it yourself and see the difference today.