Are you tired of old, flickering light switches that don’t work right or just don’t match your style? Changing your light switches can be easier than you think—and it’s a quick way to refresh any room.
Imagine flipping a switch that feels smooth and looks brand new every time. In this guide, you’ll learn simple, step-by-step instructions to safely replace your light switches and transform your space. Keep reading, and you’ll gain the confidence to tackle this home upgrade yourself, saving money and adding a personal touch to your home.
Let’s get started!
:max_bytes(150000):strip_icc()/how-to-replace-a-light-switch-1824670_07_newswitch_40431-69f2872f4a734dc89e3c2bed8711fc69.jpg)
Credit: www.thespruce.com
Tools And Materials Needed
Before changing a light switch, gather all the necessary tools and materials. Having everything ready makes the job easier and faster. It also helps you avoid mistakes and stay safe. This section lists the basic tools, safety gear, and types of replacement switches you may need.
Basic Tools
You need a screwdriver set, including flathead and Phillips heads. A voltage tester is essential to check for electricity. Wire strippers help remove insulation from the wires. Needle-nose pliers make handling wires easier. A flashlight can help if the area is dark.
Safety Gear
Wear insulated gloves to protect from electric shocks. Safety glasses shield your eyes from dust and sparks. Use a dust mask if the area is old or dusty. Always turn off power at the breaker before starting work.
Replacement Switch Types
Choose the right switch for your needs. Single-pole switches control one light from one spot. Three-way switches control a light from two locations. Dimmer switches adjust the brightness of your lights. Make sure the switch matches your wiring and voltage.
Turn Off Power Safely
Turning off the power safely is the first step to change light switches. It protects you from electric shocks and accidents. Always treat electricity with care. Never skip this step before working on any electrical fixture.
Locate The Circuit Breaker
Find your home’s circuit breaker panel. It is usually in the basement, garage, or utility room. Open the panel door carefully. Look for the switch that controls the light switch you want to change. The switches are often labeled. If not, you may need to turn off the main breaker to cut power to the whole house.
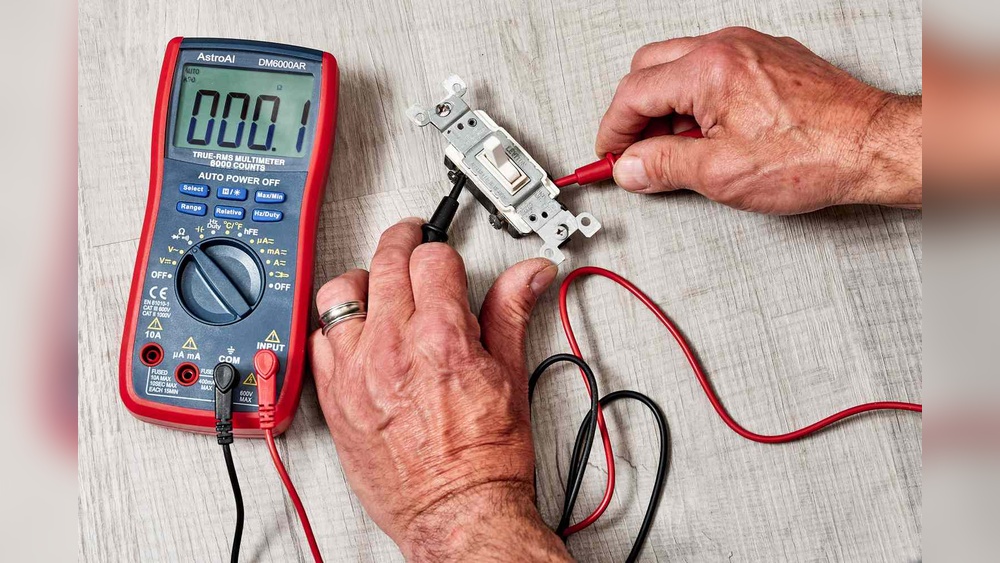
Verify Power Is Off
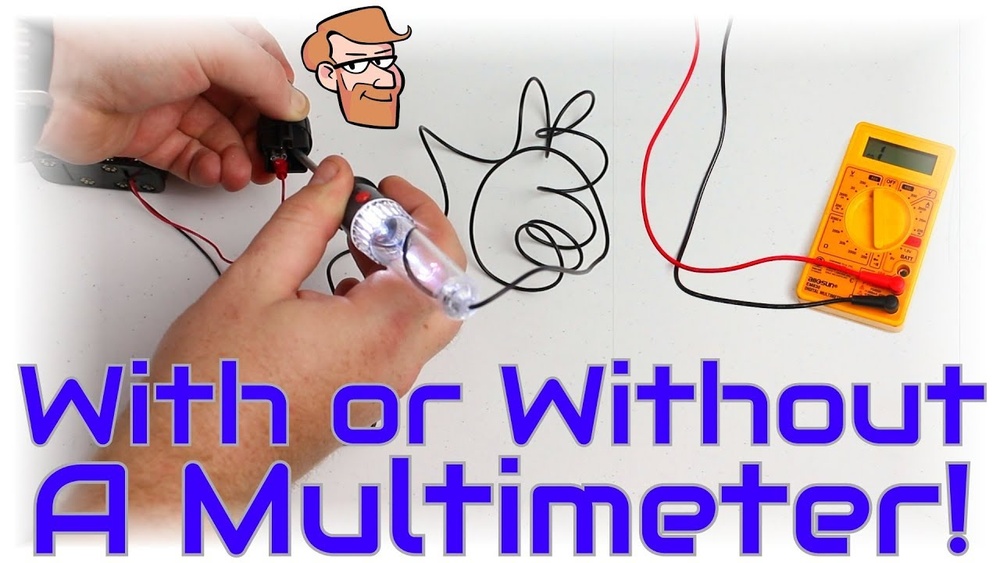
After turning off the circuit breaker, check the power. Use a voltage tester or a simple light bulb tester on the light switch. Make sure no electricity flows to the switch. If the tester shows no power, it is safe to proceed. Double-checking avoids accidents and ensures your safety.
Remove The Old Switch
Removing the old light switch is the first step in the replacement process. This task needs care and attention to ensure safety. Turn off the power at the breaker box before starting. Use a voltage tester to confirm no electricity flows to the switch. Follow these simple steps to take out the old switch properly.
Unscrew The Cover Plate
Start by unscrewing the cover plate with a screwdriver. The cover plate hides the switch and wires. Place the screws in a safe spot. Gently pull the cover plate away from the wall. Set it aside carefully to avoid damage.
Disconnect Wires
Next, unscrew the screws holding the wires on the switch. Keep track of which wire goes where. Take a photo or note the wire positions for later. Carefully pull the wires off the switch terminals. Do not let wires touch each other or metal parts. Tuck the wires back into the electrical box safely.
Identify Wiring Types
Identifying the wiring type is the first step to changing light switches safely. Different switches have different wiring setups. Knowing the wiring type helps avoid mistakes and ensures the switch works correctly. This guide covers two common types: single-pole and three-way switch wiring.
Single-pole Switch Wiring
A single-pole switch controls one light from one location. It has two main wires: a hot wire and a load wire. The hot wire brings power to the switch. The load wire sends power to the light fixture. There is also a ground wire for safety. The wires usually connect to three terminals on the switch. The hot wire goes to the black or brass terminal. The load wire connects to the other brass terminal. The ground wire attaches to the green terminal. This simple wiring makes the single-pole switch easy to install and replace.
Three-way Switch Wiring
A three-way switch controls one light from two locations. It uses three wires plus a ground wire. These include a common wire and two traveler wires. The common wire connects to the power source or light fixture. The traveler wires connect the two switches. They allow the switches to work together. The ground wire keeps the circuit safe. Three-way switches have three terminals: one common and two traveler terminals. The common wire goes to the dark-colored terminal. The traveler wires connect to the lighter terminals. This wiring is more complex but allows flexible light control.
Install The New Switch
Installing the new switch is the next important step after removing the old one. This part requires focus and care to ensure safety and proper function. Take your time to connect the wires and secure the switch firmly. Proper installation helps avoid electrical issues later on.
Connect Wires Correctly
First, check the wires coming from the wall. Identify the live, neutral, and ground wires. Match each wire to the correct terminal on the switch. Usually, the live wire connects to the brass screw. The neutral wire attaches to the silver screw. The ground wire goes to the green screw or ground terminal. Tighten the screws to hold the wires firmly. Loose connections can cause sparks or switch failure.
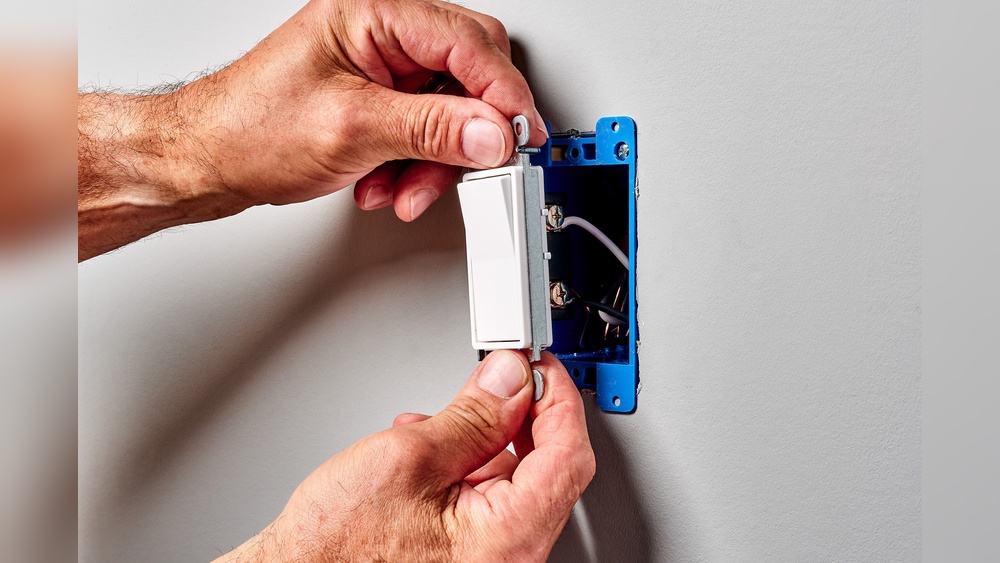
Secure The Switch In Place
Once wires are connected, gently push the switch back into the box. Avoid forcing the wires to prevent damage. Align the switch with the mounting holes. Use the screws provided to fasten the switch to the electrical box. Tighten the screws evenly until the switch feels secure. A properly secured switch reduces movement and improves safety. Finally, attach the cover plate to finish the installation.

Credit: www.youtube.com
Test The New Switch
Testing the new switch is a crucial step after installation. It ensures the switch works correctly and safely. Never skip this part to avoid electrical problems.
Restore Power
Turn the circuit breaker back on. This restores electricity to the switch. Check that the power is fully on before moving forward. Be careful and avoid touching wires during this step.
Check Functionality
Flip the switch up and down several times. The connected light or device should turn on and off smoothly. If it does not work, turn off the power again and check the wiring. Make sure the switch feels firm and not loose. A working switch means your installation was successful.
Tips For A Professional Finish
Achieving a professional finish when changing light switches makes your work look neat and safe. Small details improve the overall appearance and function. Follow these tips to ensure a clean, lasting result.
Use Quality Materials
Choose durable switches and wall plates. Cheap materials can break or wear out fast. Pick products that fit your home’s style and lighting needs. Quality parts last longer and reduce the risk of problems.
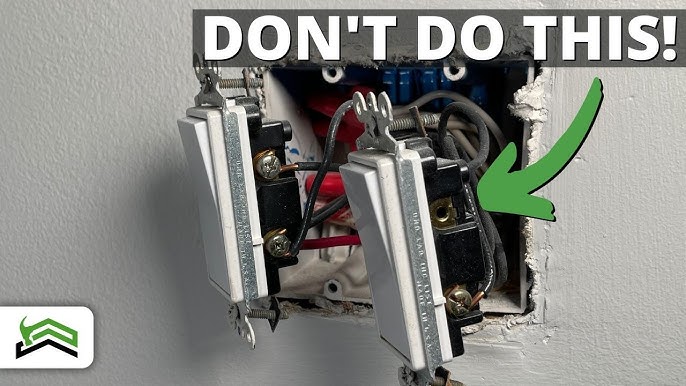
Handle Wiring Carefully
Turn off power before starting any work. Use a voltage tester to be sure. Connect wires tightly and match colors correctly. Loose or wrong connections can cause shorts or shocks. Take your time to secure each wire properly.
Troubleshooting Common Issues
Troubleshooting common problems with light switches helps keep your home safe and bright. Many issues are simple to fix and do not need a professional. Understanding these problems saves time and money. Below are common issues and easy ways to solve them.
Switch Not Working
First, check if the power is off or the breaker tripped. Sometimes the switch itself may be broken. Remove the cover and test the wires with a voltage tester. Loose or disconnected wires cause the switch to fail. Tighten any loose wires and replace the switch if needed. Always turn off power before working on electrical parts.
Flickering Lights
Flickering lights often mean a poor connection. Check the bulb to make sure it is tight and not faulty. If the bulb is fine, the problem may be inside the switch. Loose wires or a worn switch can cause flickers. Replace the switch if tightening wires does not help. Use a bulb with the correct wattage for your fixture.
Loose Switch Plate
A loose switch plate is usually easy to fix. Remove the screws and tighten them securely. Sometimes the wall anchors are broken or missing. Replace or add new anchors to hold the plate firmly. A tight switch plate looks better and prevents dust from entering the switch box.
Credit: www.youtube.com
Frequently Asked Questions
How Do I Safely Turn Off Power Before Changing Switches?
Always switch off the circuit breaker linked to the switch. Use a voltage tester to confirm no electricity flows. Safety first prevents shocks or accidents during switch replacement.
What Tools Are Needed To Change A Light Switch?
Basic tools include a screwdriver, voltage tester, wire stripper, and electrical tape. These tools ensure safe and efficient removal and installation of the switch.
Can I Replace A Single-pole Switch With A Dimmer?
Yes, you can replace a single-pole switch with a compatible dimmer. Ensure the dimmer matches your bulb type and wiring for proper function.
How Do I Identify Wires In A Light Switch Box?
Typically, black wires are hot, white are neutral, and green or bare wires are ground. Use a voltage tester for confirmation before handling wires.
Conclusion
Changing light switches is a simple task anyone can do. Always turn off the power first for safety. Use the right tools and follow steps carefully. Take your time to avoid mistakes and ensure a good connection. A new switch can improve your room’s look and function.
With practice, this job becomes easier and quicker. Try it yourself and enjoy the satisfaction of fixing things at home.