Are you struggling to securely anchor 3/4 EMT conduit to your wall? Whether you’re working on a home project or a professional job, getting this step right is crucial for safety and durability.
In this guide, you’ll discover simple, effective techniques to fasten your EMT quickly and firmly. By following these easy tips, you’ll avoid common mistakes that could cost you time and effort. Keep reading to learn exactly how to anchor 3/4 EMT to the wall like a pro.
Choosing The Right Tools
Choosing the right tools is key to anchor 3/4 EMT to the wall correctly. The right tools make the job easier and safer. They help ensure a strong and lasting hold. Using poor tools can cause mistakes and waste time.
Focus on tools designed for EMT installation. Also, protect yourself with proper safety gear. Both play an important role in a successful project.
Essential Tools For Emt Installation
Start with a tape measure to mark exact spots on the wall. A level is necessary to keep the EMT straight. Use a drill with masonry bits for drilling into concrete or brick. A hammer and anchors secure the EMT to the wall. Wire cutters help trim the EMT to the right length. A screwdriver or impact driver tightens screws firmly. A conduit bender shapes the EMT to fit corners or angles.
Safety Equipment To Use
Wear safety goggles to protect eyes from dust and debris. Gloves protect your hands from sharp edges on the EMT. Use ear protection if you work with loud tools. Dust masks keep you from breathing in harmful particles. Wear sturdy shoes to protect feet from dropped tools or materials. Proper safety gear keeps you safe and focused throughout the task.
Selecting The Proper Anchors
Selecting the proper anchors is a key step in securing 3/4 EMT conduit to a wall. The right anchors keep the conduit stable and safe. Choosing the wrong anchors can cause the conduit to loosen or fall. This section covers how to pick anchors that fit your wall and project needs.
Types Of Anchors For Wall Mounting
Several anchors work well for mounting 3/4 EMT to walls. Plastic expansion anchors are common and cheap. They expand inside the wall to hold screws tightly. Metal anchors, such as molly bolts, offer stronger support. Sleeve anchors work best for heavy loads. Toggle bolts hold well in hollow walls. The choice depends on the weight and wall type.
Matching Anchors To Wall Material
Wall material affects which anchor to choose. Drywall needs anchors like toggle bolts or molly bolts. Concrete and brick require sleeve or wedge anchors. Wood walls usually only need wood screws. Always check the wall surface before buying anchors. Using the right anchor improves strength and safety of the mounted EMT conduit.
Preparing The Wall
Preparing the wall is an important first step to anchor 3/4 EMT securely. A well-prepared wall ensures strong support and safe installation. Take time to get this step right. It helps avoid damage and saves effort later.
Locating Studs And Marking Points
Start by finding the studs inside the wall. Studs provide solid support for the EMT conduit. Use a stud finder tool or tap the wall to hear a solid sound. Mark each stud location with a pencil. These marks show where to drill holes for anchors.
Measure carefully along the wall to place your conduit evenly. Mark points where the conduit will attach. Keep marks level and spaced for a neat finish. Double-check measurements before drilling.
Cleaning And Measuring Surface
Clean the wall surface where you will install the EMT. Remove dust, dirt, and grease. Use a damp cloth or mild cleaner. A clean surface helps anchors hold better.
Measure the wall length to match your conduit size. Note any obstacles like outlets or switches. Plan your layout around these. Accurate measuring avoids mistakes during installation.

Credit: cn-anchor.en.made-in-china.com
Drilling And Installing Anchors
Drilling and installing anchors is a key step to secure 3/4 EMT conduit to the wall. This process ensures a strong hold and prevents the conduit from moving. Proper drilling and anchor placement make the installation safe and durable.
Drilling Pilot Holes
Start by marking the spots for your anchors on the wall. Use a pencil to make small marks where the holes will go. Choose a drill bit that matches the size of your anchors.
Drill straight into the wall at each marked spot. Go slowly to keep the hole clean and precise. Clear out any dust or debris from the holes before moving on.
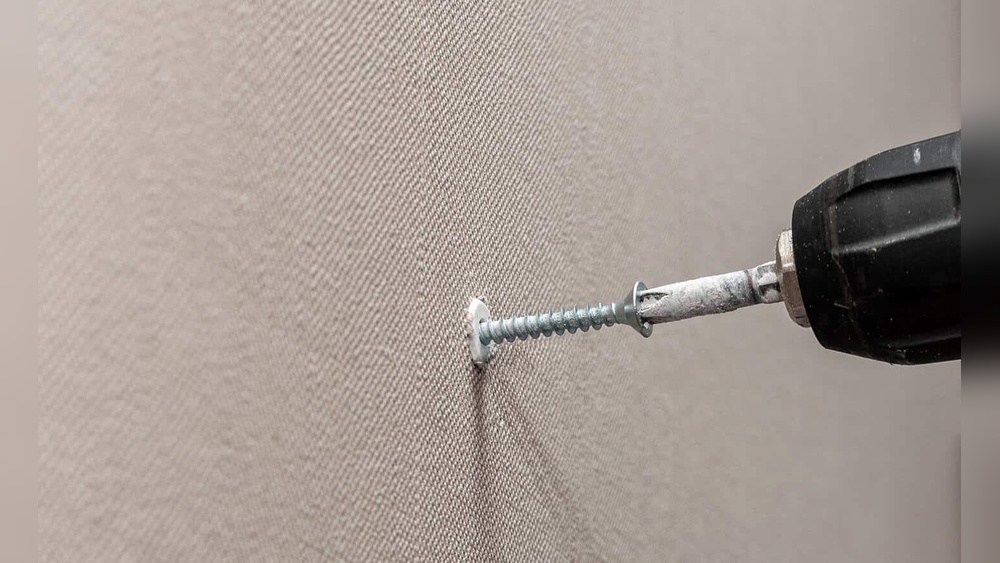
Inserting And Securing Anchors
Push the anchors firmly into the holes. Tap them lightly with a hammer if needed to get them flush with the wall. Make sure the anchors fit snugly and do not wiggle.
Place the conduit bracket or strap over the anchors. Insert screws through the bracket holes and into the anchors. Tighten the screws until the conduit is firmly held in place, but avoid overtightening.
Mounting The 3/4 Emt
Mounting the 3/4 EMT conduit to the wall is a key step for a secure electrical installation. This process keeps the conduit stable and protects wires inside. Proper mounting prevents damage and ensures safety. Follow clear steps for a neat, long-lasting setup.
Positioning The Emt Conduit
Start by measuring the wall space carefully. Mark spots where the conduit will run. Hold the EMT conduit against the wall. Check that it is straight and level. Proper alignment helps avoid bends or gaps. Use a level tool for better accuracy. Mark clamp locations along the conduit. Space clamps evenly, about every 3 feet.
Tightening Clamps And Supports
Attach clamps to the marked spots on the wall. Use screws suitable for the wall material. Place the conduit inside the clamps carefully. Tighten the screws to hold the conduit firmly. Do not overtighten; avoid crushing the conduit. Check that the conduit does not move. Use a wrench or screwdriver for tightening. Secure all clamps to provide full support.

Credit: www.youtube.com
Testing Stability And Safety
Testing the stability and safety of your 3/4 EMT conduit installation is key. It ensures the conduit stays in place and protects electrical wiring. A solid installation reduces risks of damage and accidents. Always check both physical security and legal compliance. This step keeps your project safe and reliable.
Checking For Secure Attachment
First, gently pull on the conduit to test its hold. It should not move or wiggle. Look closely at the anchors and screws for tightness. Use a screwdriver to tighten any loose parts. Make sure the conduit sits flush against the wall. Gaps can cause stress on the conduit and wires. Confirm all brackets are properly spaced and fastened. Proper spacing helps avoid sagging and strain.
Ensuring Compliance With Electrical Codes
Check local electrical codes for conduit installation rules. Codes often specify anchor types and spacing limits. Follow these rules to avoid fines and ensure safety. Use approved materials and hardware only. Incorrect materials may fail over time. Verify grounding and bonding requirements are met. Proper grounding prevents electrical shocks and hazards. Keep documentation of your installation for inspections.
Common Mistakes To Avoid
Anchoring 3/4 EMT conduit to the wall seems simple but common mistakes often cause problems. These errors affect the strength and safety of your installation. Avoiding these mistakes saves time and effort.
Improper Anchor Selection
Choosing the wrong anchor can lead to weak mounting. Use anchors rated for the wall type and weight of the EMT. Avoid using plastic anchors on heavy metal conduits. Metal anchors or toggle bolts work better for strong support. Always check anchor weight limits before installation.
Ignoring Wall Material Differences
Different walls need different anchors. Drywall requires special anchors compared to concrete or brick walls. Using the wrong anchor for wall material causes poor hold and damage. Drill the correct hole size for each anchor type. Match anchors to the wall surface for secure fitting.

Credit: www.nvent.com
Frequently Asked Questions
How Do I Anchor 3/4 Emt Conduit To The Wall?
Use EMT straps or clamps to secure the conduit. Position the straps every 3 to 4 feet. Attach them to the wall with appropriate anchors or screws for a firm hold.
What Tools Are Needed To Anchor 3/4 Emt Conduit?
You need a drill, screwdriver, measuring tape, level, EMT straps, and wall anchors. These tools ensure precise, secure installation and proper alignment of the conduit.
Can I Anchor 3/4 Emt Conduit Directly Into Drywall?
No, drywall alone is not strong enough. Use wall anchors or mount the conduit to studs for a stable, safe installation that supports the conduit’s weight.
How Far Apart Should Emt Conduit Straps Be Placed?
Place EMT straps approximately every 3 to 4 feet. This spacing prevents sagging and maintains a neat, secure conduit run along the wall.
Conclusion
Anchoring 3/4 EMT to the wall is simple with the right steps. Use proper tools and fasteners for a secure fit. Measure carefully to keep everything straight and strong. Tighten all screws to avoid loose fittings. Check your work to ensure safety and durability.
Follow these tips, and your installation will last long. Taking your time makes the job easier and better. Now, you can confidently attach EMT conduit to any wall.